Today I am sharing a stunning black dresser DIY.
Black continues to be one of the most popular colors for furniture makeovers, and it’s easy to see why. A sleek, dark color finish like black can fit with just about all home decor styles, from modern to farmhouse.
I’m going to share with you lots of ideas for how you can take old furniture and give it a whole new look using a variety of black paint and techniques.
Let’s get started with this old dresser!

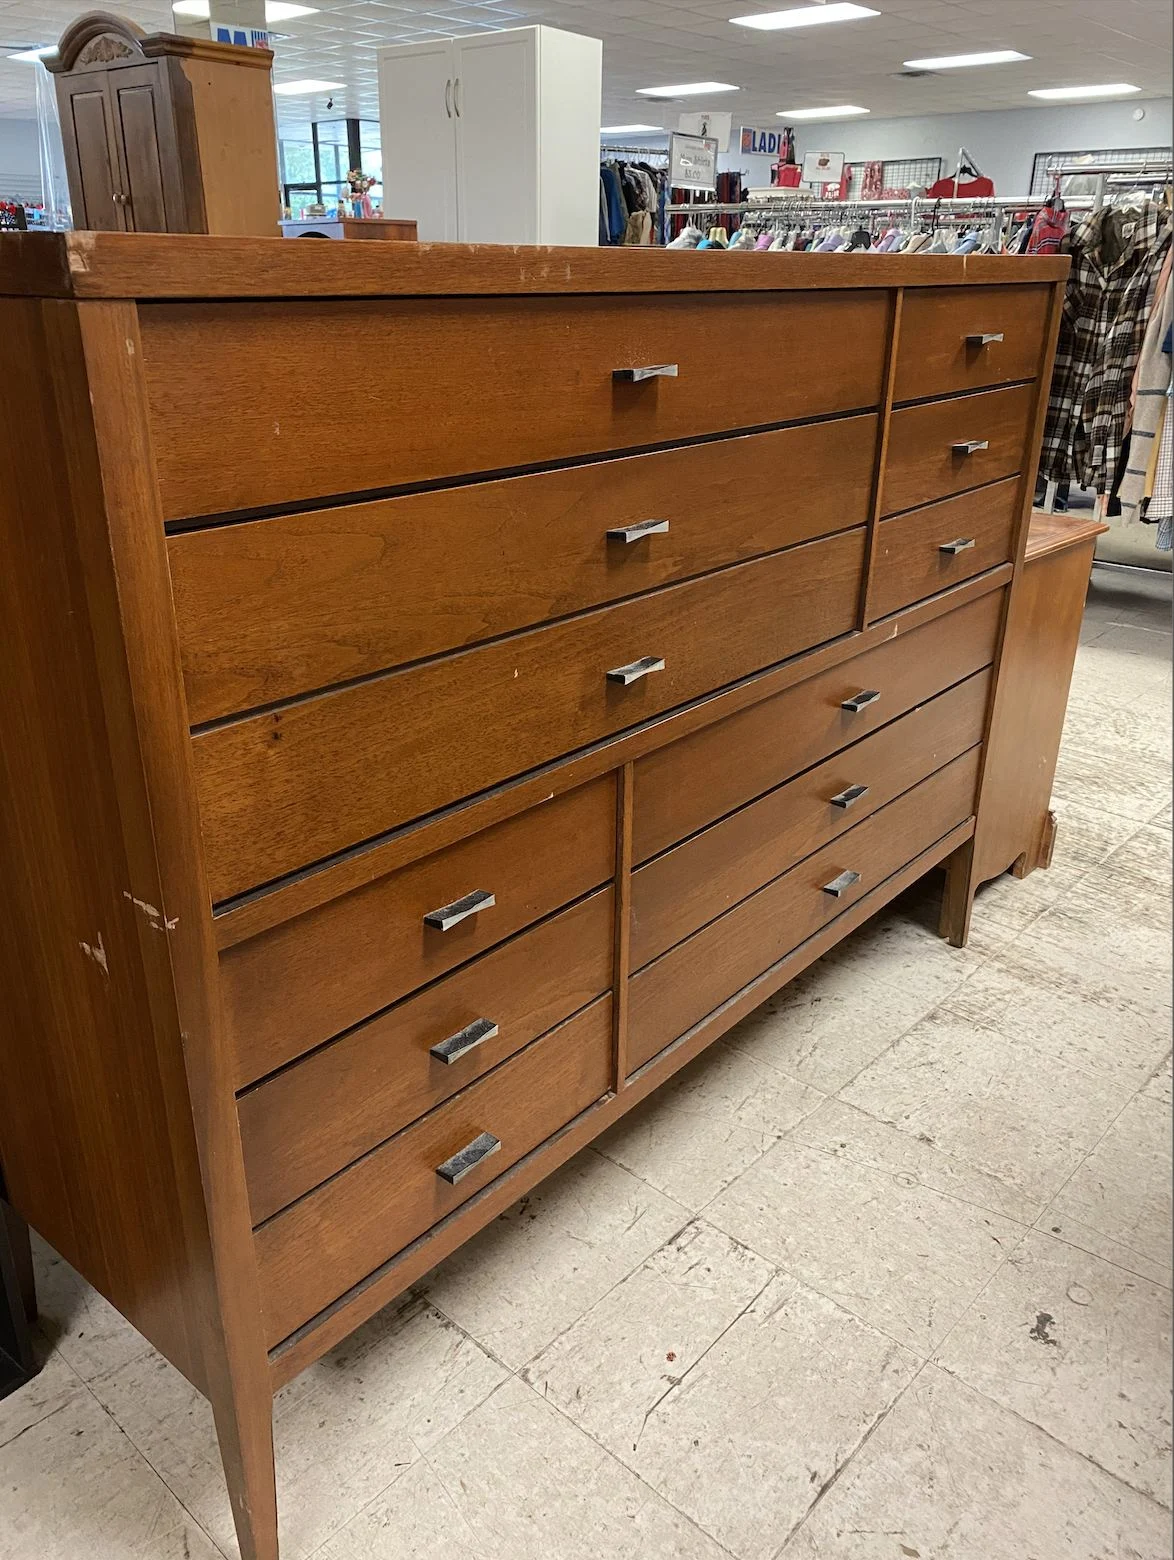
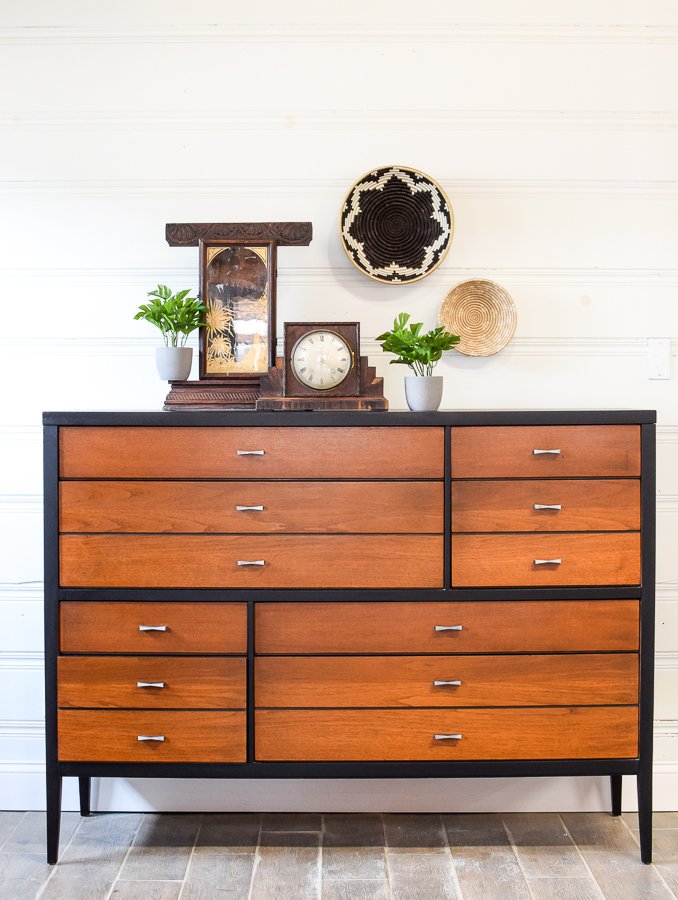
I was out visiting my local thrift store recently, when I spotted this amazing mid-century Lane furniture dresser, what a score!
If you know anything about furniture, Lane pieces are good quality and truly built to last.
And this piece had that great mid-century-modern vibe that is popular right now.
The drawer fronts on this furniture piece were in good condition, but the rest of the piece was a bit beaten up. Because good wood furniture like this though has such great bones, I knew it would be an excellent candidate for a makeover.
So let’s give it a new look!
I am an Amazon affiliate and this post contains links to products on Amazon and other websites outside of LostandFoundDecor.com. These links are provided for your shopping convenience. It does not cost you any extra to shop through these links, but I do earn a small commission.
Supplies & Instructions


Materials
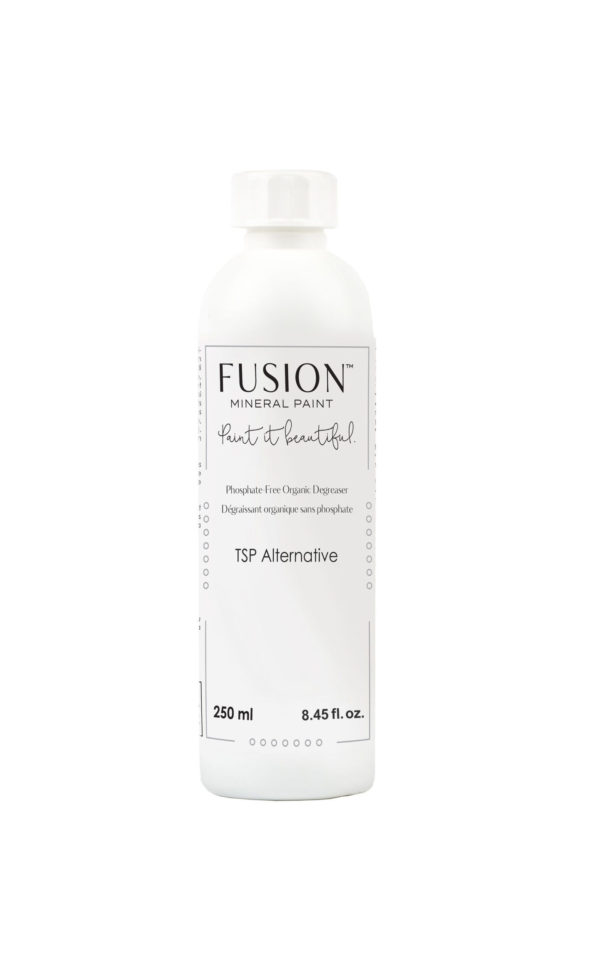
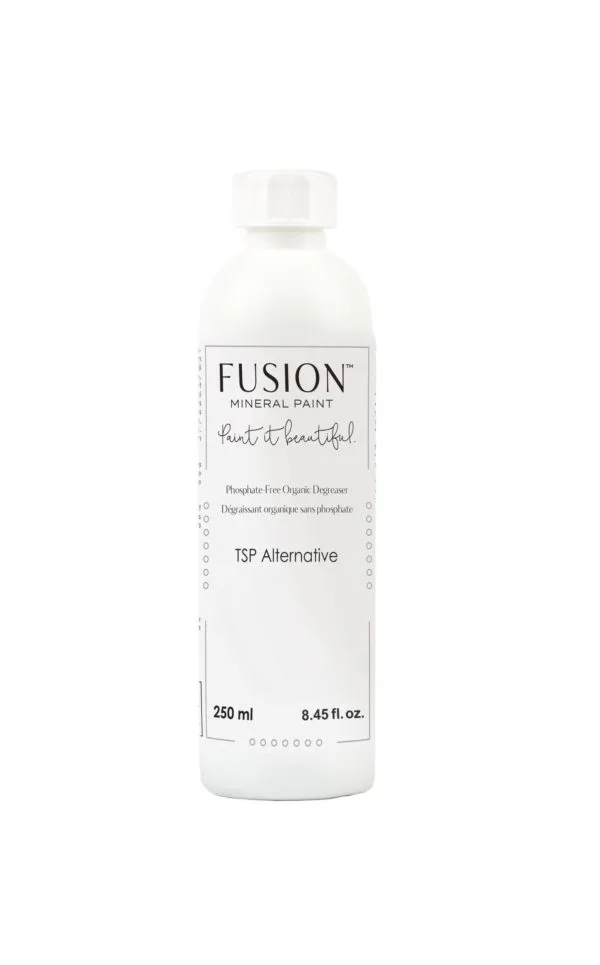
- TSP Alternative Degreasing Cleaner
- Dobie Sponges
- Blue Shop Towels
- Mid grit sandpaper
- Wood Filler
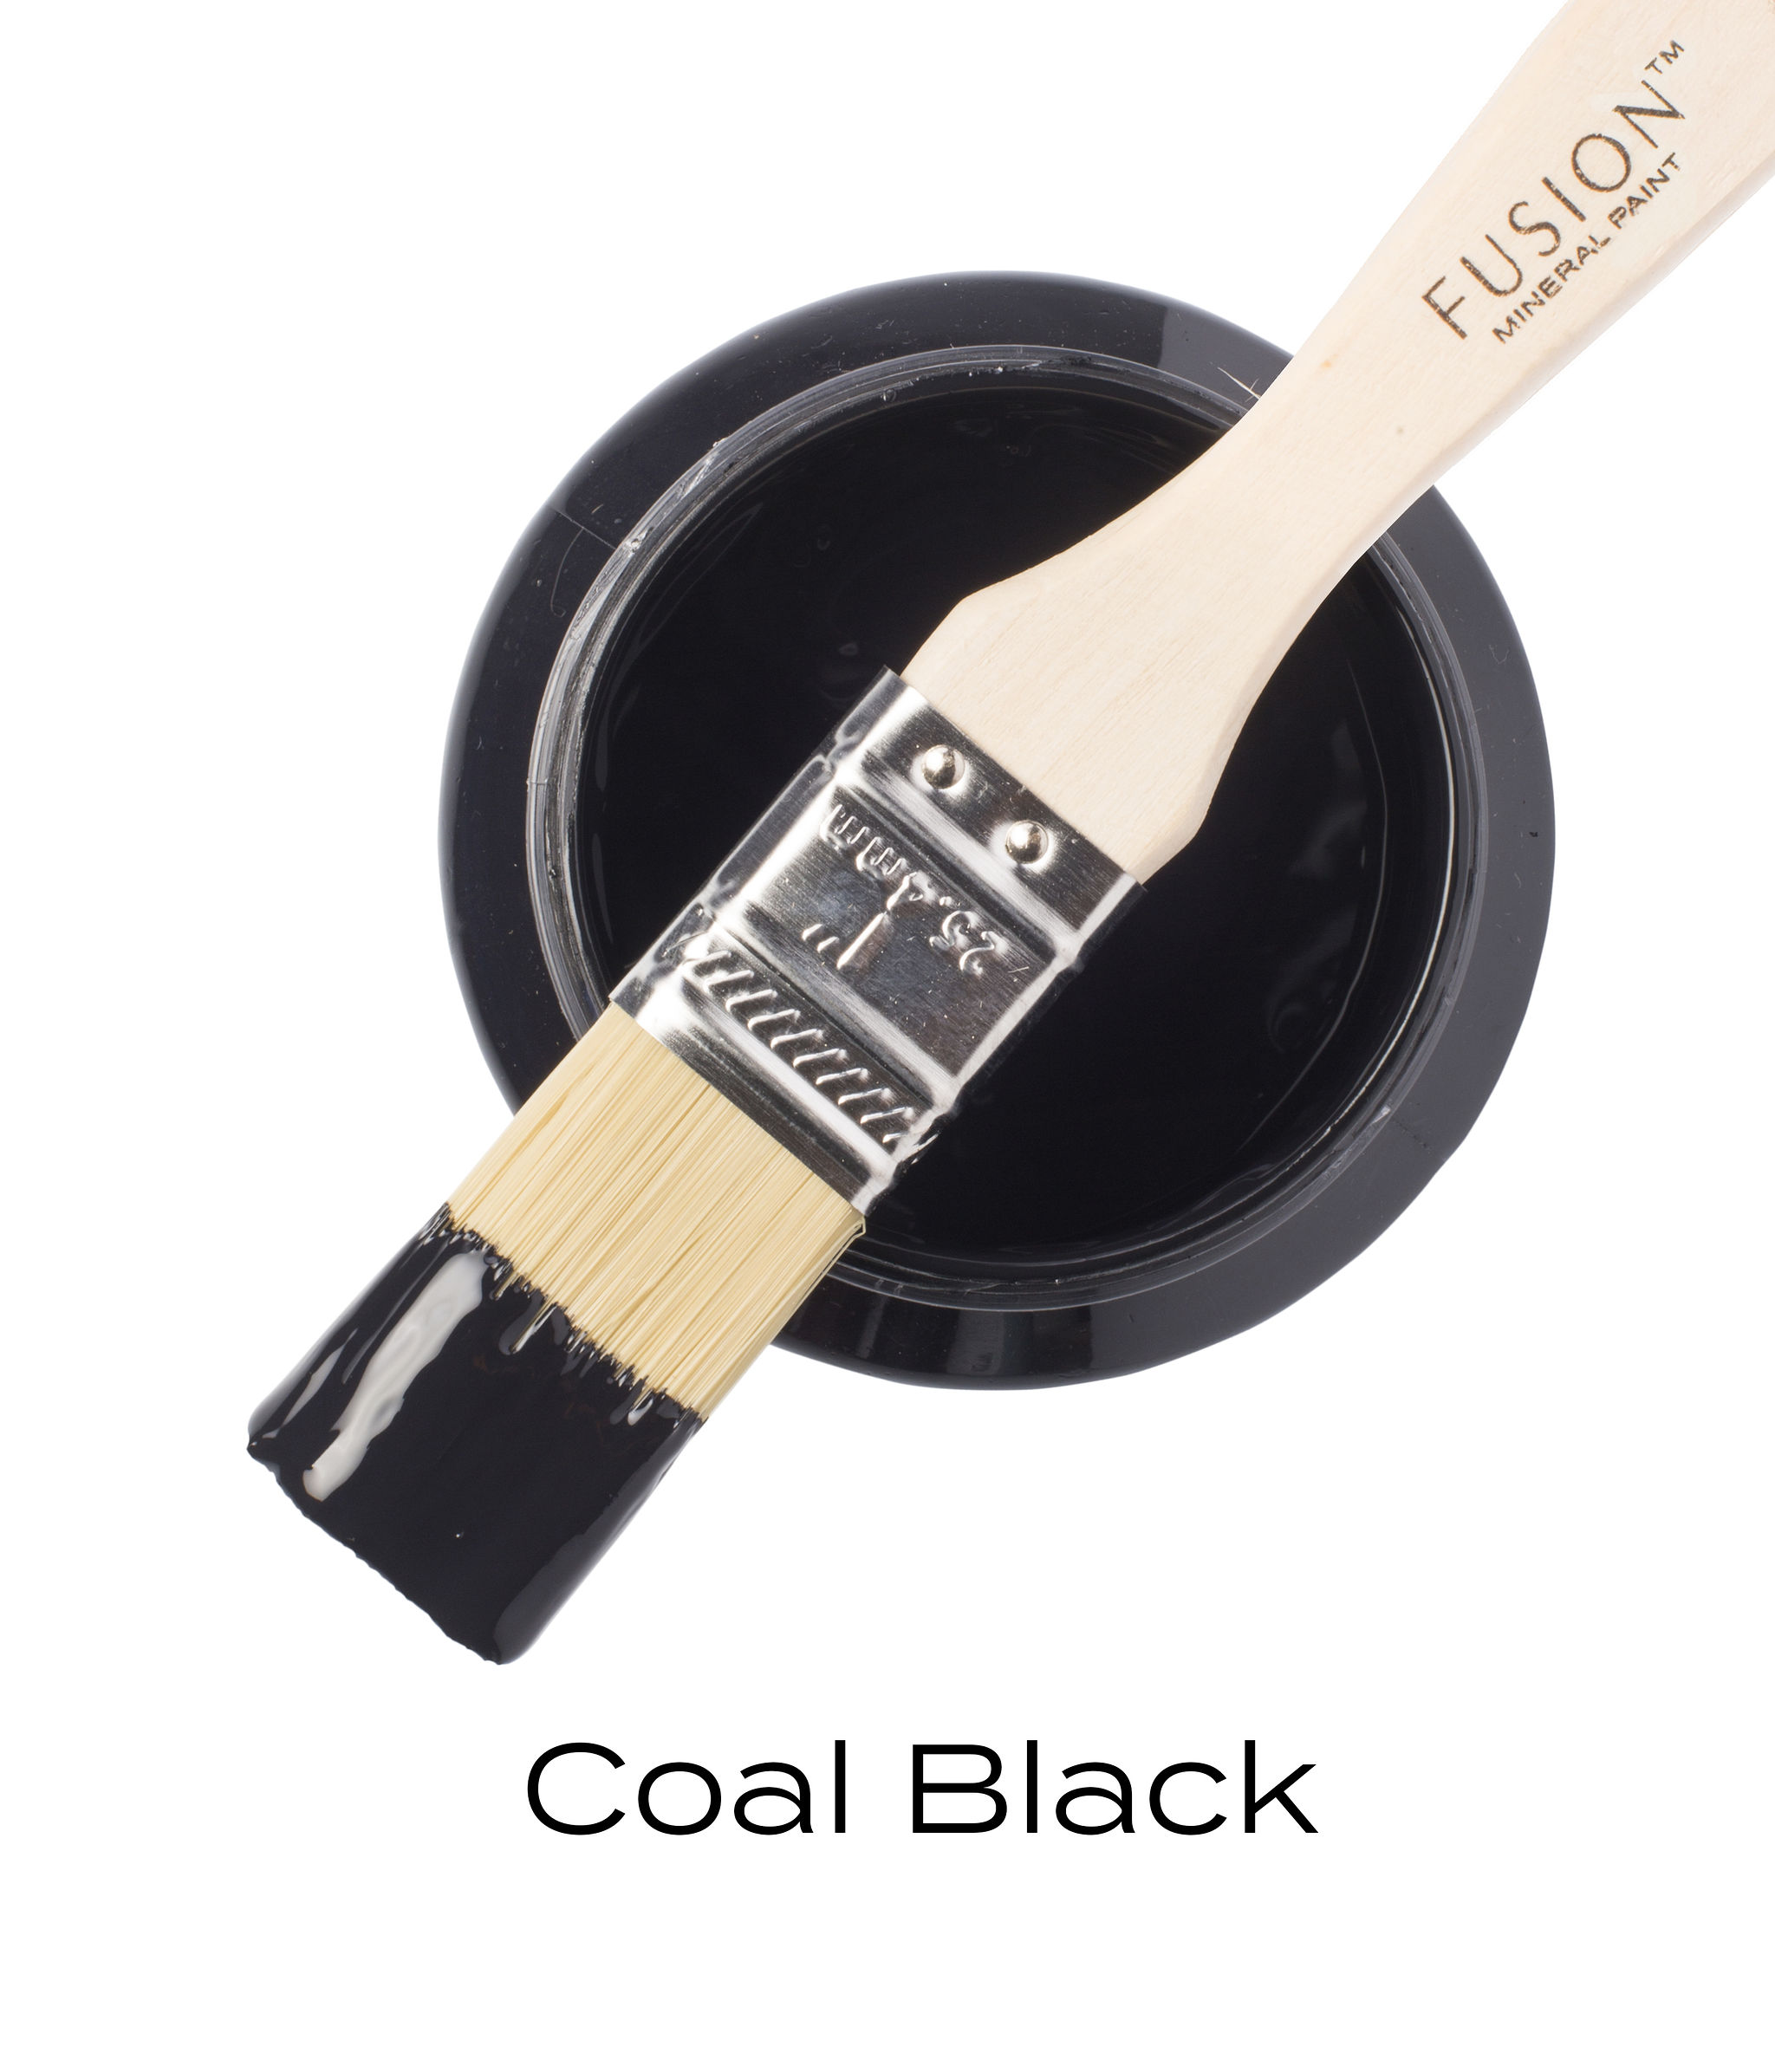
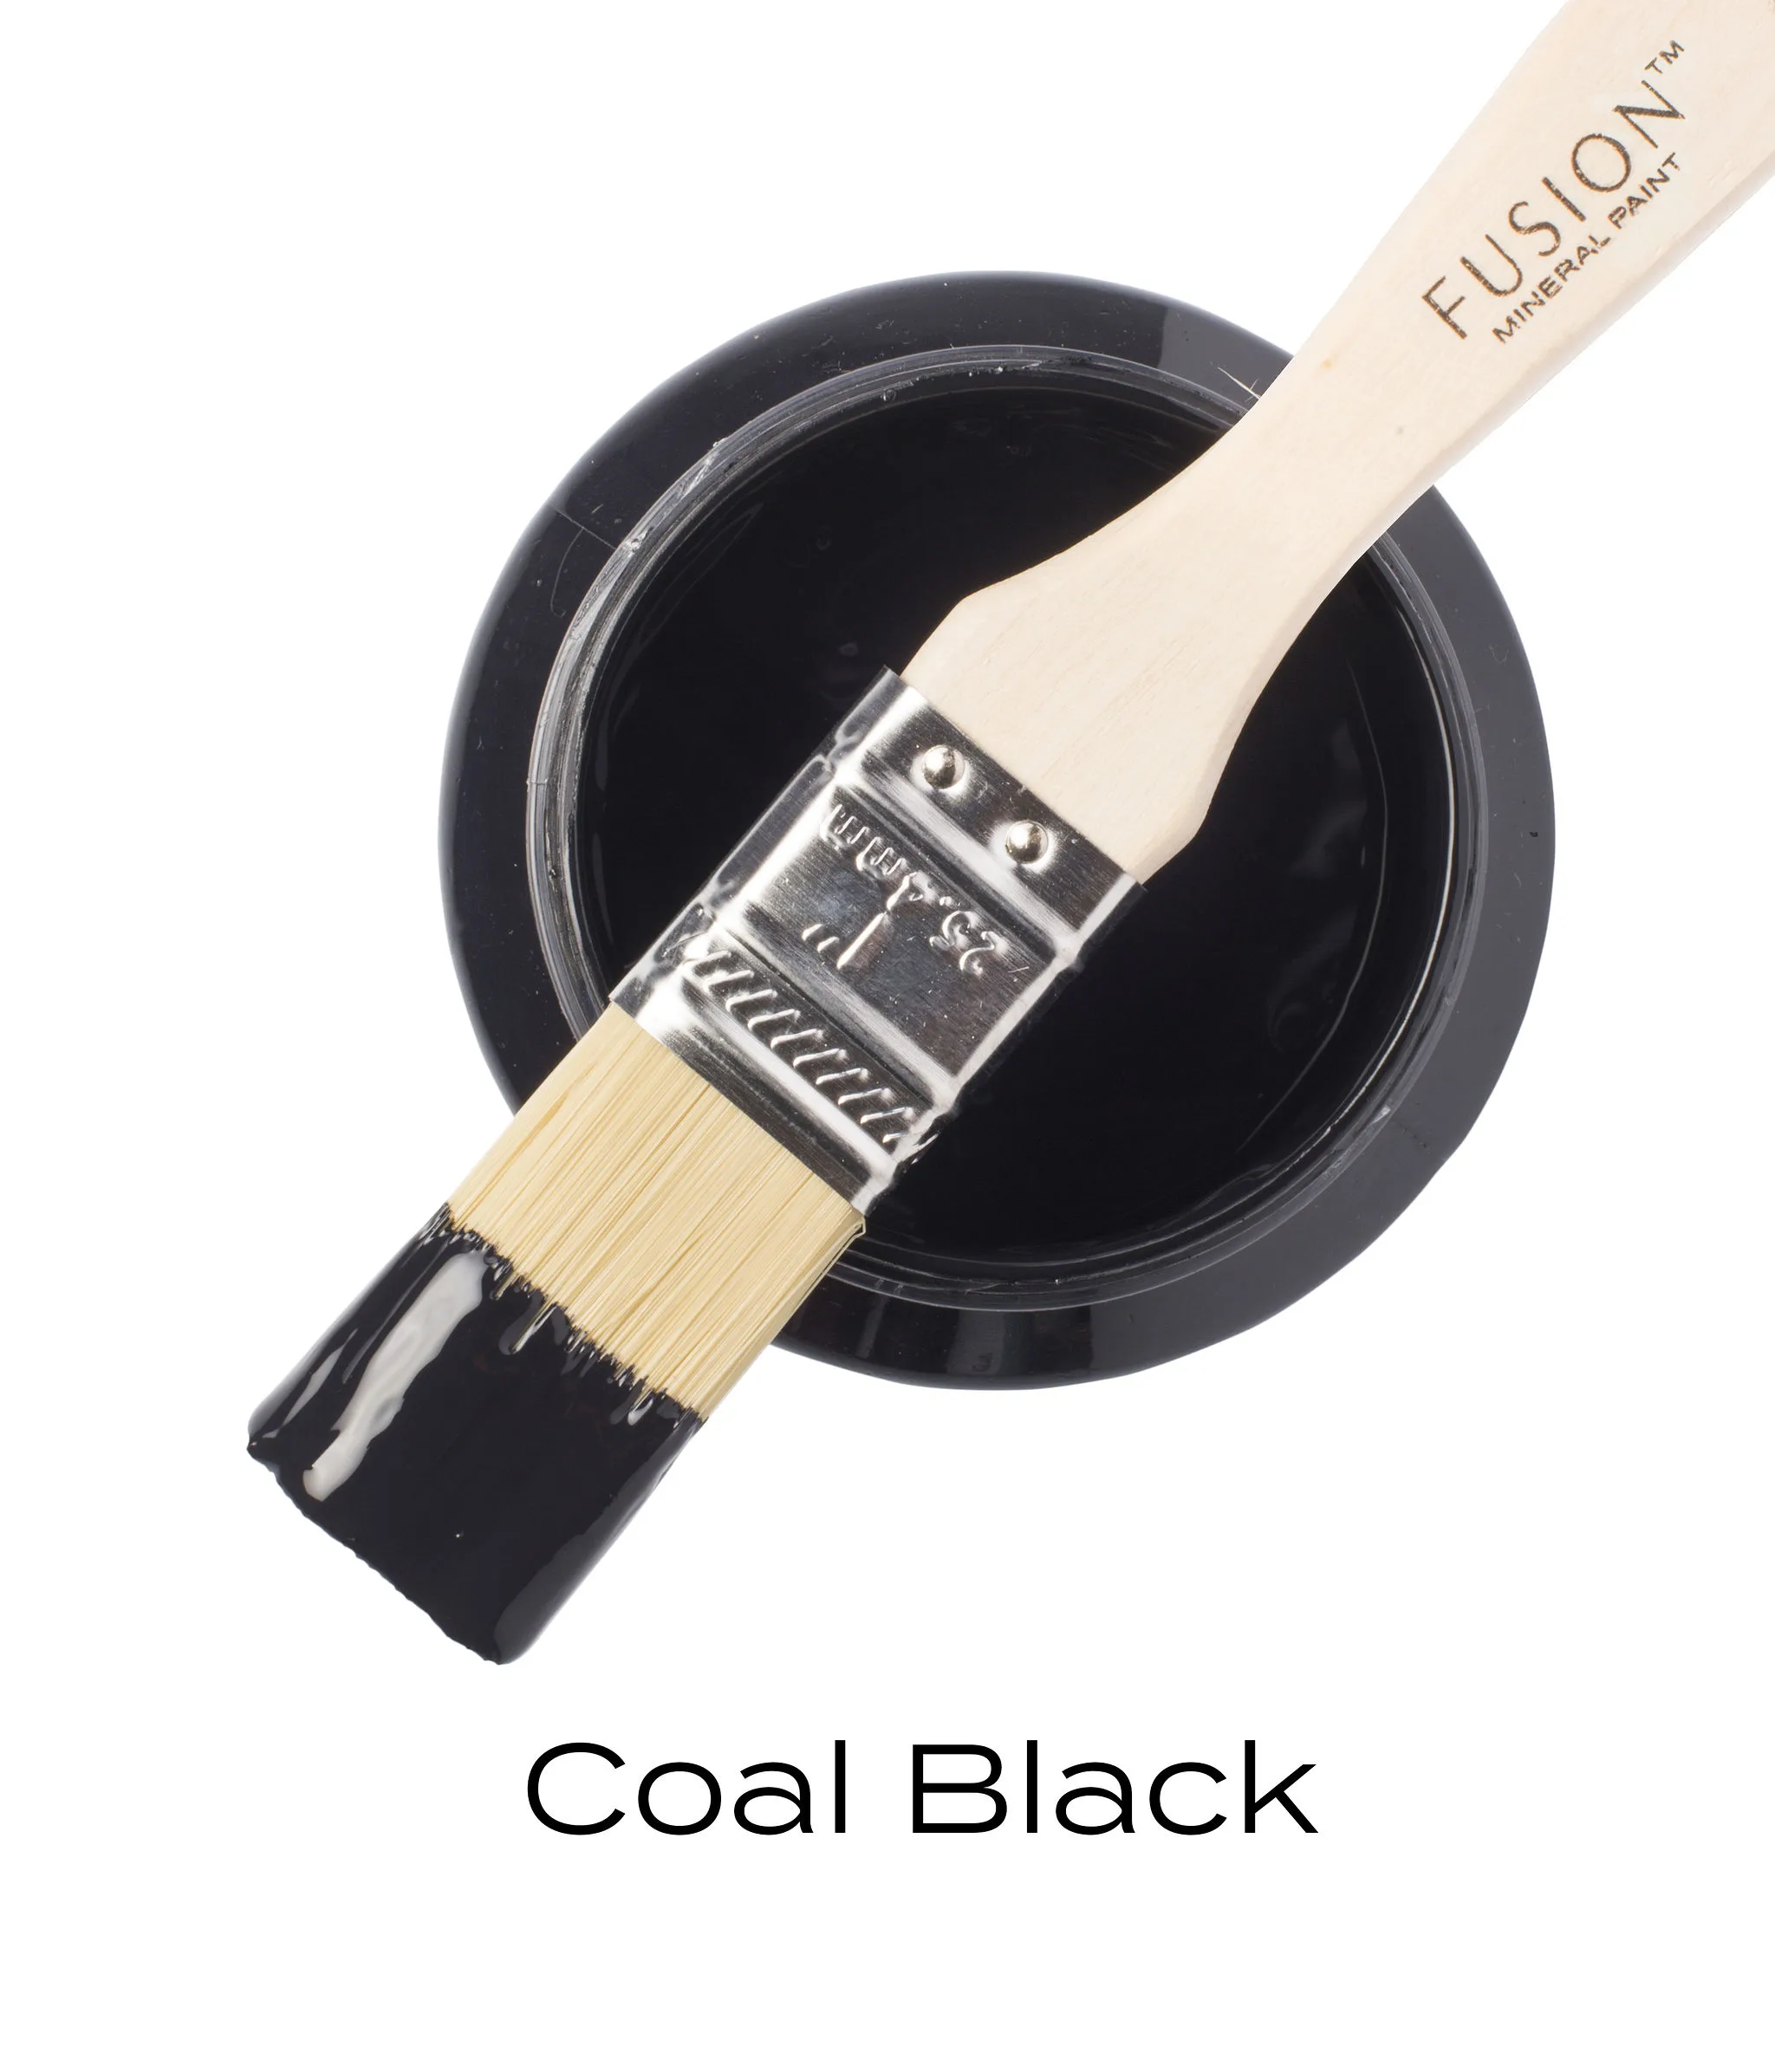
- Fusion Mineral Paint Coal Black
- Stain & Finishing Oil in Natural (top coat)
Instructions
- Remove hardware and store in a safe place.
- Clean all areas to be painted thoroughly with degreasing cleaner. Rinse with clean water and wipe dry.
- Scuff sand surfaces to be painted with a mid-grit (180-ish) sandpaper or sanding block. Wipe off all sanding dust.
- Apply Fusion Mineral Paint in thin coats, using a roller or brush. Allow each coat to dry 2-4 hours before applying the next coat.
- Buff on in circles a light amount of Stain & Finishing Oil, making sure to buff off all excess.
- Wipe Hemp Oil on drawer fronts to restore luster.
- Rettach hardware.
Recommended Products
As an Amazon Associate and member of other affiliate programs, I earn from qualifying purchases.
Supplies:
- TSP Alternative Degreasing Cleaner
- Dobie Sponges
- Blue Shop Towels
- Mid grit sandpaper
- Wood Filler
- Fusion Mineral Paint Coal Black
- Stain & Finishing Oil in Natural (top coat)
Step-by-Step Tutorial for a Black Dresser Makeover
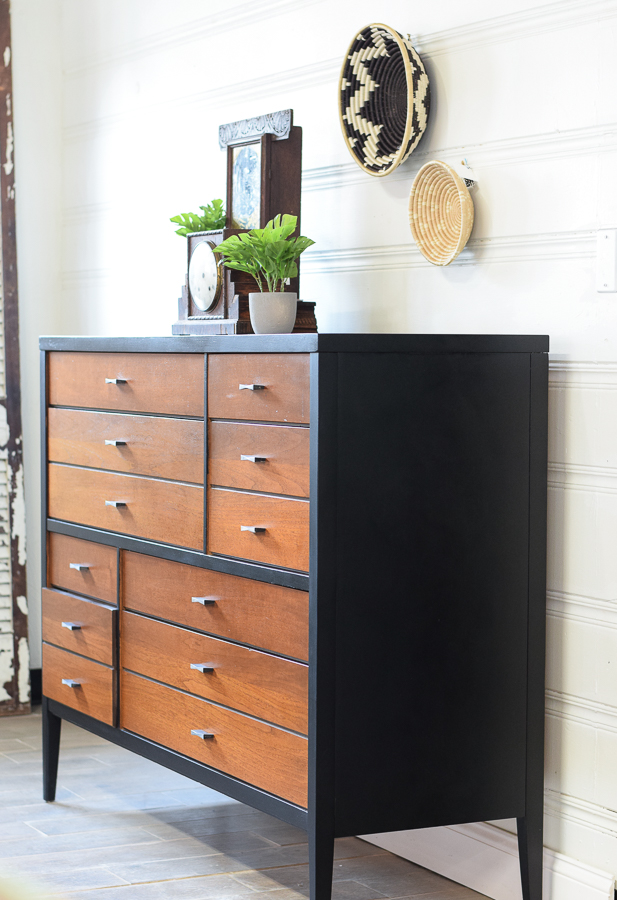
I was excited to give this old piece a new life with a little paint.
I decided to only paint the body of the dresser, and leave the wood drawers stained since they were in overall good condition.
Let’s go through the steps I took (and the ones you will take) if you tackle a project like this yourself.
How to Prepare Dresser for Paint
You first need to remove any old hardware and store it in a safe place (especially if you plan to reuse it!)
Then your next step is to clean the furniture well with a degreasing cleaner, this is my favorite kind to use.

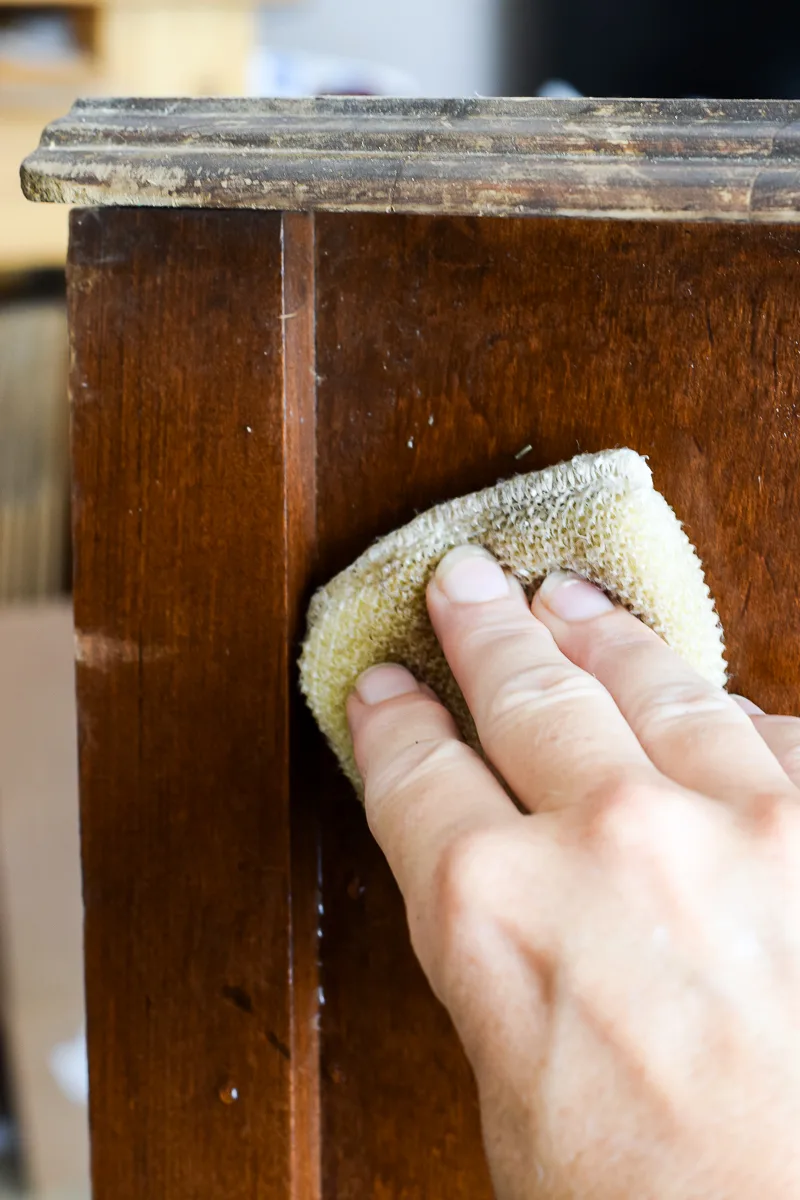
I use a spray bottle to spray down the wood, then scrub it well with a Dobie Sponge.
Pay attention to any areas that look dark or where your sponge sticks–those are telltale signs of grease.
Once your piece is clean, wipe off all residue with a damp cloth and clean water, drying it off when finished.
Check out this blog post for more information on why you need to clean your furniture before you paint it.
Sanding your Furniture
It is a good idea to lightly sand the parts of the dresser you plan to paint.
I typically use a mid-grit (180-ish) sanding pad or sand paper to scuff sand the wood. This helps open up the pores of the old finish, which will help your paint stick better.
Be sure to sand in the same direction as the wood grain! Then wipe off all sanding dust so the piece is clean again. You can use a tack cloth if you choose to help remove the sanding dust.
Painting the Dresser
There are many types of black furniture paint you can use for a project like this and I have a bunch more examples of different paints for you below–so keep reading!
For a sleek, black finish though, my favorite paint to use is Fusion Mineral Paint’s Coal Black. It’s a rich black with a nice, matte finish.
Because I was only painting the body of the dresser and it was basically a flat box, I used a roller to apply each coat of paint. Painting with a roller is one of the easiest ways to avoid having brush strokes on large surfaces.
For best results with a roller, it’s important to not load too much paint onto the roller. Applying multiple, thin coats of your black paint is going to give you a smoother finish and better overall look.
Here’s a short video showing a few more roller tips:
When working with Coal Black and a roller, it usually takes me three thin coats of paint to get full coverage. If you’re painting with a brush, you will probably only need two coats of paint.
Applying a Topcoat
When you’re using black paint that is matte (not shiny), it’s a good idea to apply a topcoat that will add some shine.
A dark matte finish will show lots of fingerprints, scuffs, and dust. The way to help disguise that is to make your final finish a bit shinier.
It’s also best to use oil-based topcoats over dark color paint. Sometimes water-based topcoats can get cloudy over dark colors, leaving a hazy look.
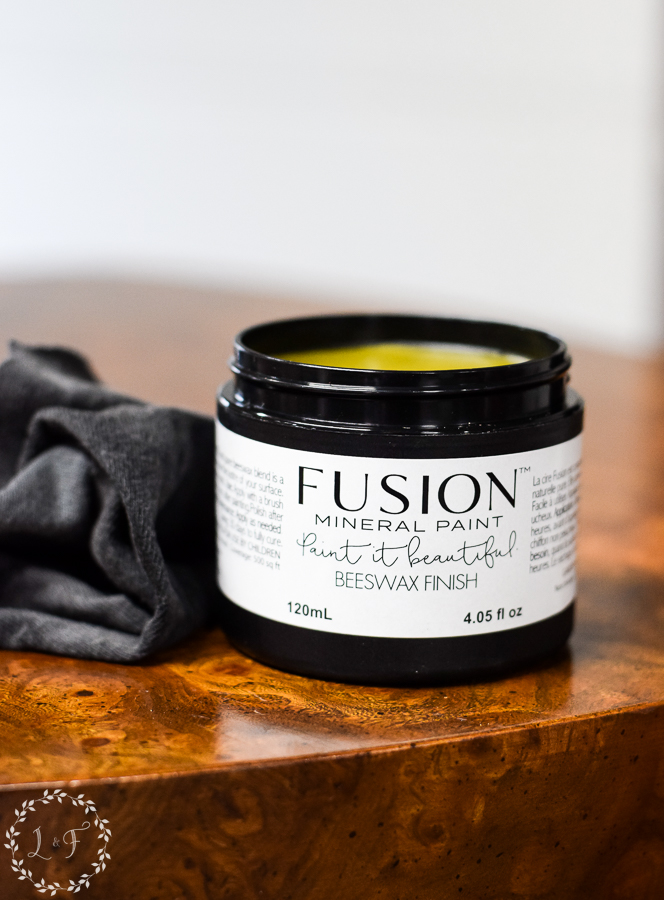
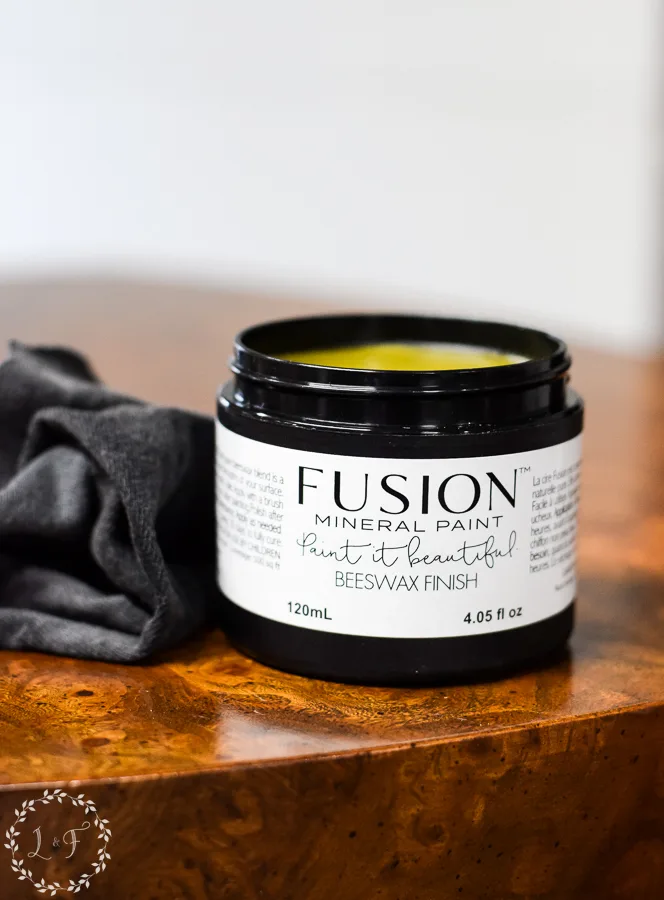
I have two products I typically use as a topcoat over Coal Black: Fusion’s Beeswax Finish or Fusion’s Stain & Finishing Oil in Natural (Clear).
Both are oil-based and will add a little more shine to your black paint.
The Beeswax Finish is very easy to apply–just rub on a small bit with a lint-free rag, then buff off any excess.
The Stain & Finishing Oil in Natural is a bit more work to apply, but also a great product.
It’s a clear oil that adds a protective layer to the paint while also adding shine. That’s the product I ended up using on the Lane dresser.
The key to applying the Stain & Finishing Oil is to use the tiniest bit! I usually dip the tip of a sponge into a bit of the oil, buff it on in circles, then flip over the sponge to the dry side and immediately buff off the same area.
You will repeat this process, working your way across the sides and top of your dresser, until you have applied the oil over the entire dresser.
Would you like to try Fusion Mineral Paint for your next furniture project?
They have generously offered my readers a 10% discount on all Fusion products when you click and purchase here.
The discount will automatically be applied in your cart. Yay!
Freshen up Drawer Fronts
The last step of this makeover was to polish the wood on the drawer fronts. Overall, it was in pretty good condition, but there were a few light and small scratches.
My favorite way to revive old wood and deal with light scratches is to wipe on a bit of hemp oil.
It’s amazing the difference it can make, and you can read all about how to fix light scratches in wood with hemp oil here.
Let’s see her new look!
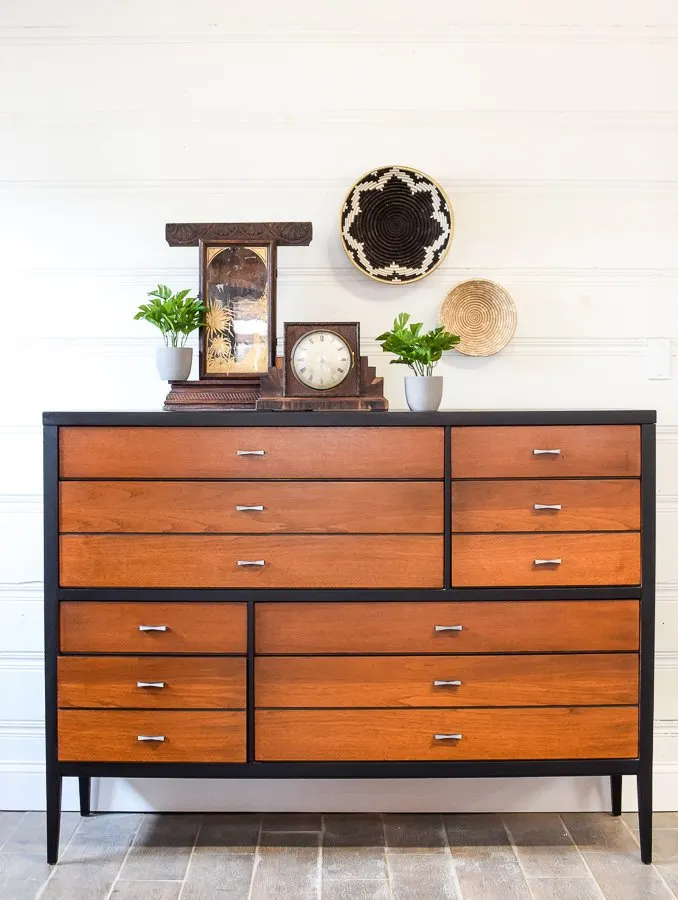

The black paint covered all the dings and dents on the body of this dresser, and it’s now sleek and elegant! And the contrast with the warm wood of the drawer fronts is perfect.
I hope you love it as much as I do!
More Black Furniture Makeovers
If you’re looking for more inspiration for your own black dresser DIY makeover, here are some other great pieces.
Cherry Bedroom Dresser
Erin from Practical Whimsy Designs started with an old cherry bedroom dresser and used one of her favorite black paint colors to give it a sleek, modern look.

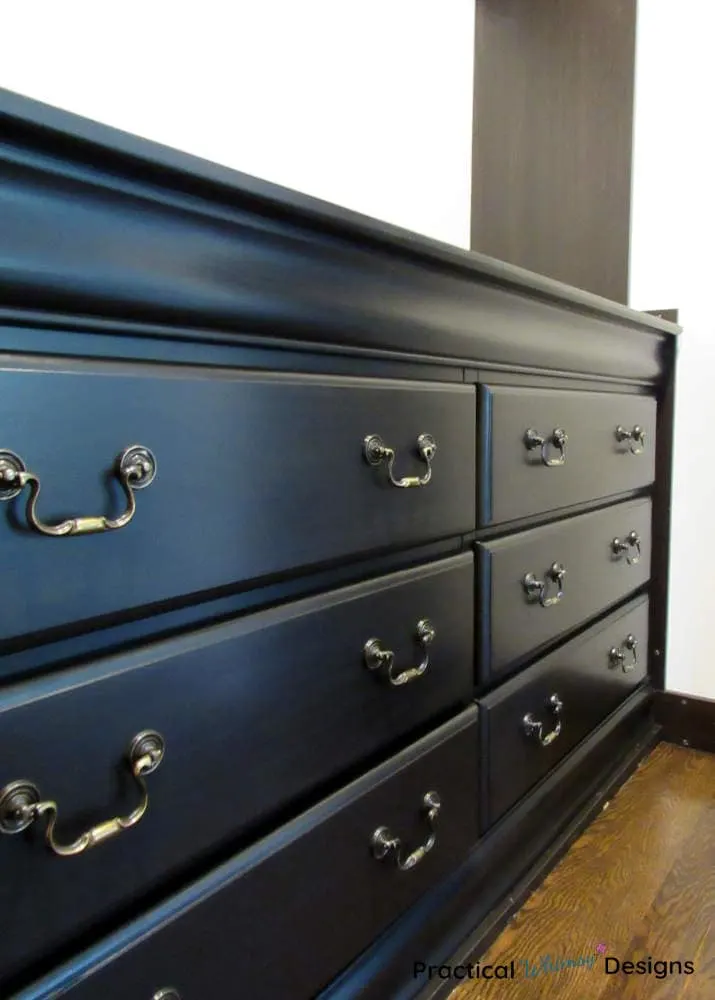
She shares her tips for how she got the super sleep finish without any brush strokes, you can see more of her project here.
IKEA Dresser Makeover
Amanda from Love & Renovations has been helping her good friend makeover her daughter’s bedroom. You won’t believe how she was able to update this plain jane Ikea dresser using some glued-on wood trim and black chalk paint.
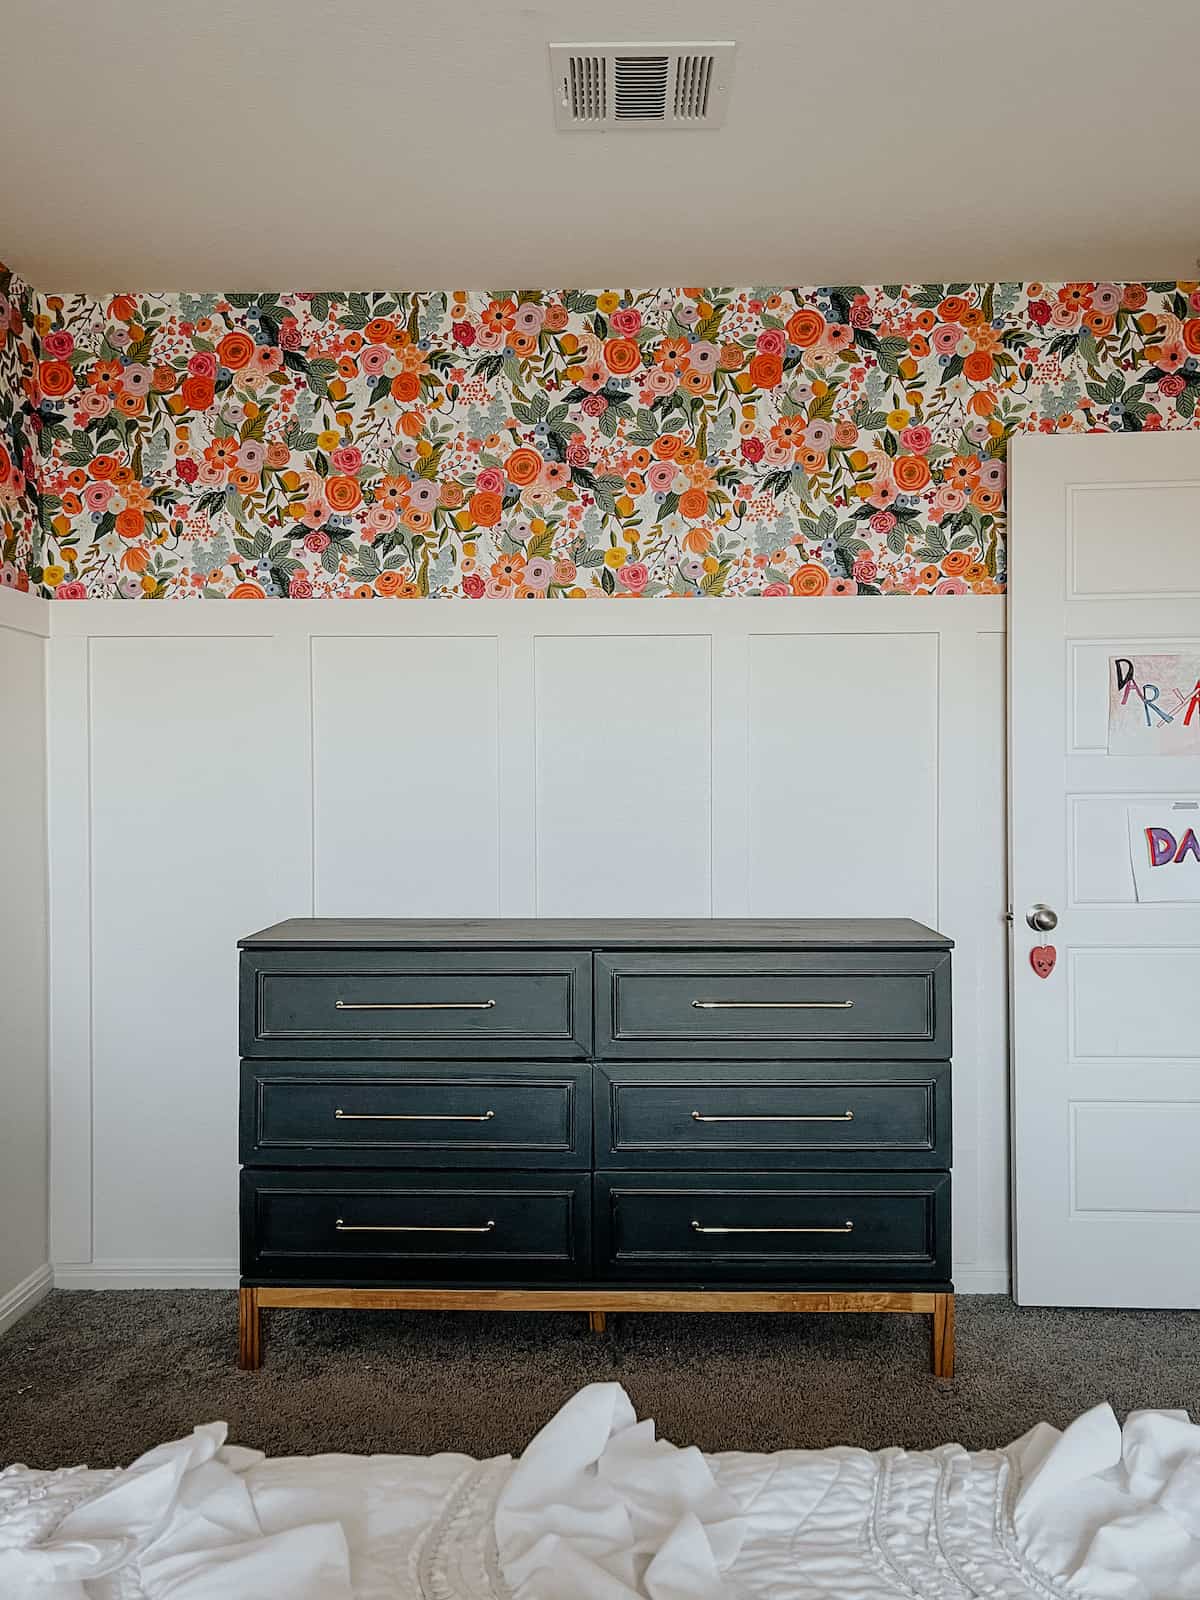

Check out her full tutorial here.
Farmhouse Style Black Dresser
Natalie from A Ray of Sunlight took this basic wooden dresser and turned it into a farmhouse classic.

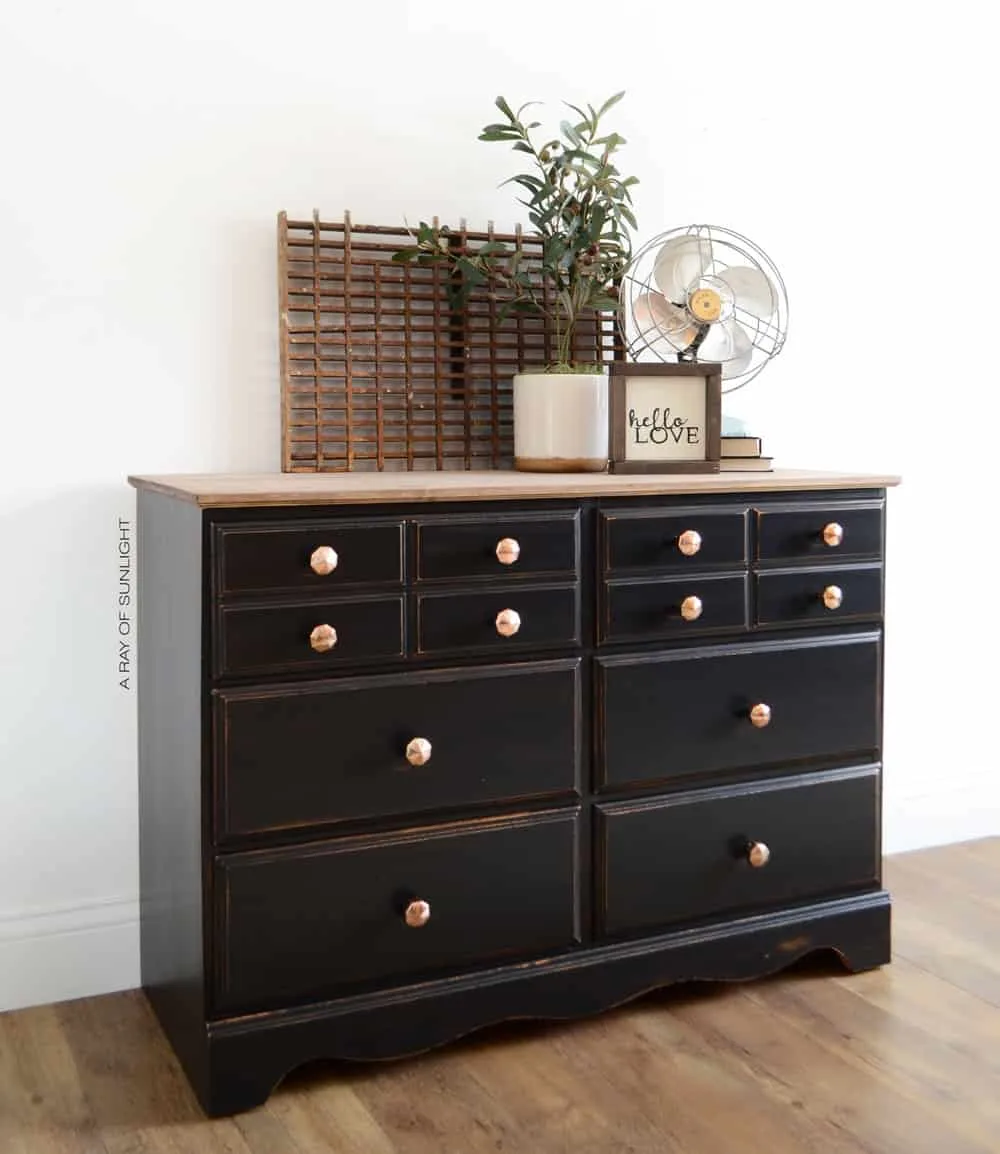
She replaced the pressed wood top with real wood, then finished off the black painted dresser with a distressed look to help create that real farmhouse charm.
You can read all about her makeover and the products she used here.
Faded Black Chest of Drawers
Speaking of a distressed look, De De from Designed Decor shows off her technique for how to get this amazing, faded paint look on this antique chest of drawers.
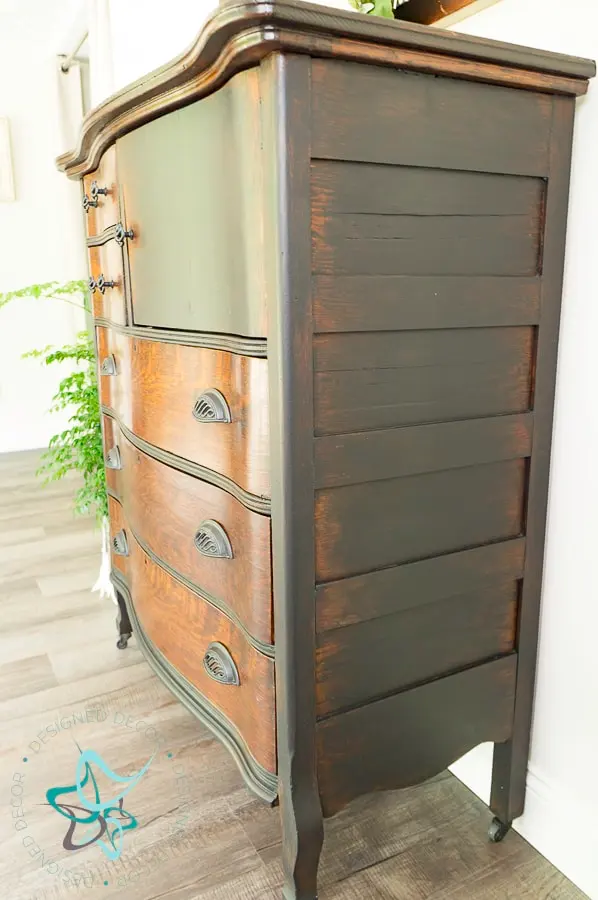
She has a full workshop that shows just how to get this gorgeous look, you can find that here.
Black Dresser for a Nursery
Black furniture for a baby nursery may not be your first thought, but Maria over at Simple Nature Decor proves that it can work!
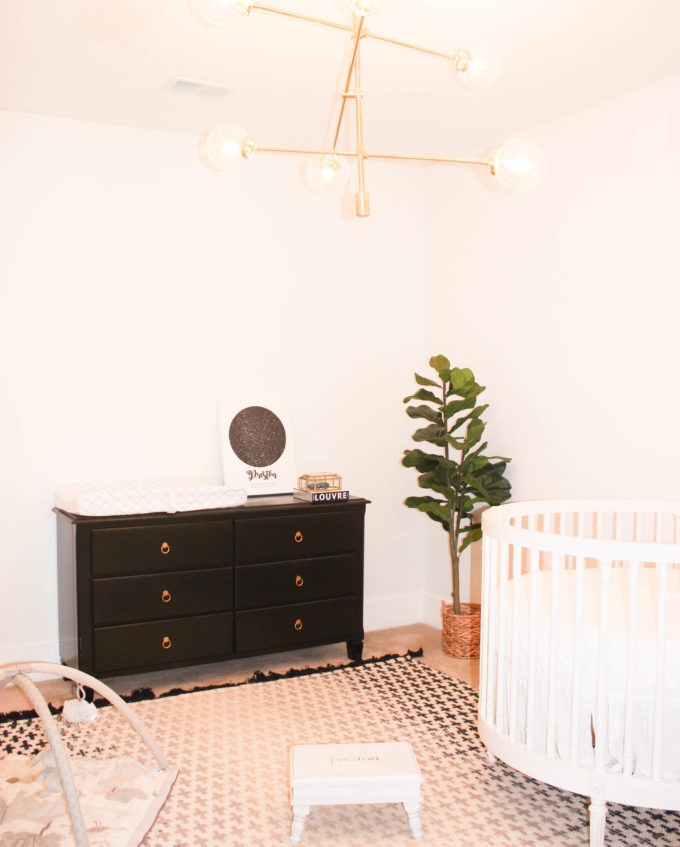
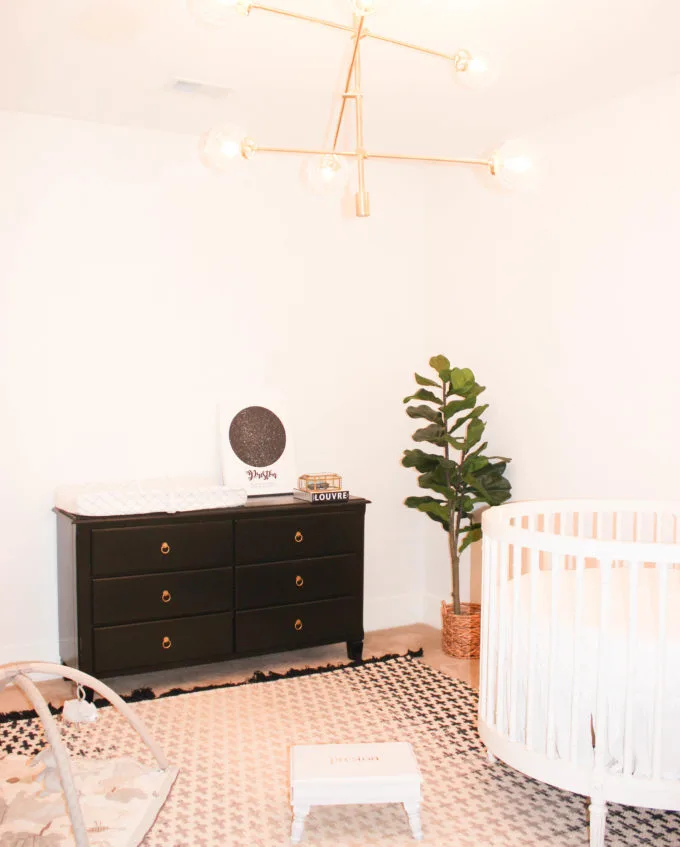
She helped her daughter makeover a thrift store dresser for her new nursery, giving it a shiny black coat of paint. You can read all of her tips here.
Spray Painted Black Chest
Can you use spray paint to makeover an old piece of furniture? Meg from Green with Decor says absolutely yes!


She shows how she gave this chest of drawers a completely new look with a can of spray paint and new hardware. Please visit her full tutorial here.
Vintage Dresser Painted with Milk Paint
Do you love the look of aged, primitive furniture? If so then milk paint may be the right type of paint for your project.
What is milk paint? You can read all about it here!
Jen from Eight-Hundred Furniture used black milk paint on this antique empire dresser.

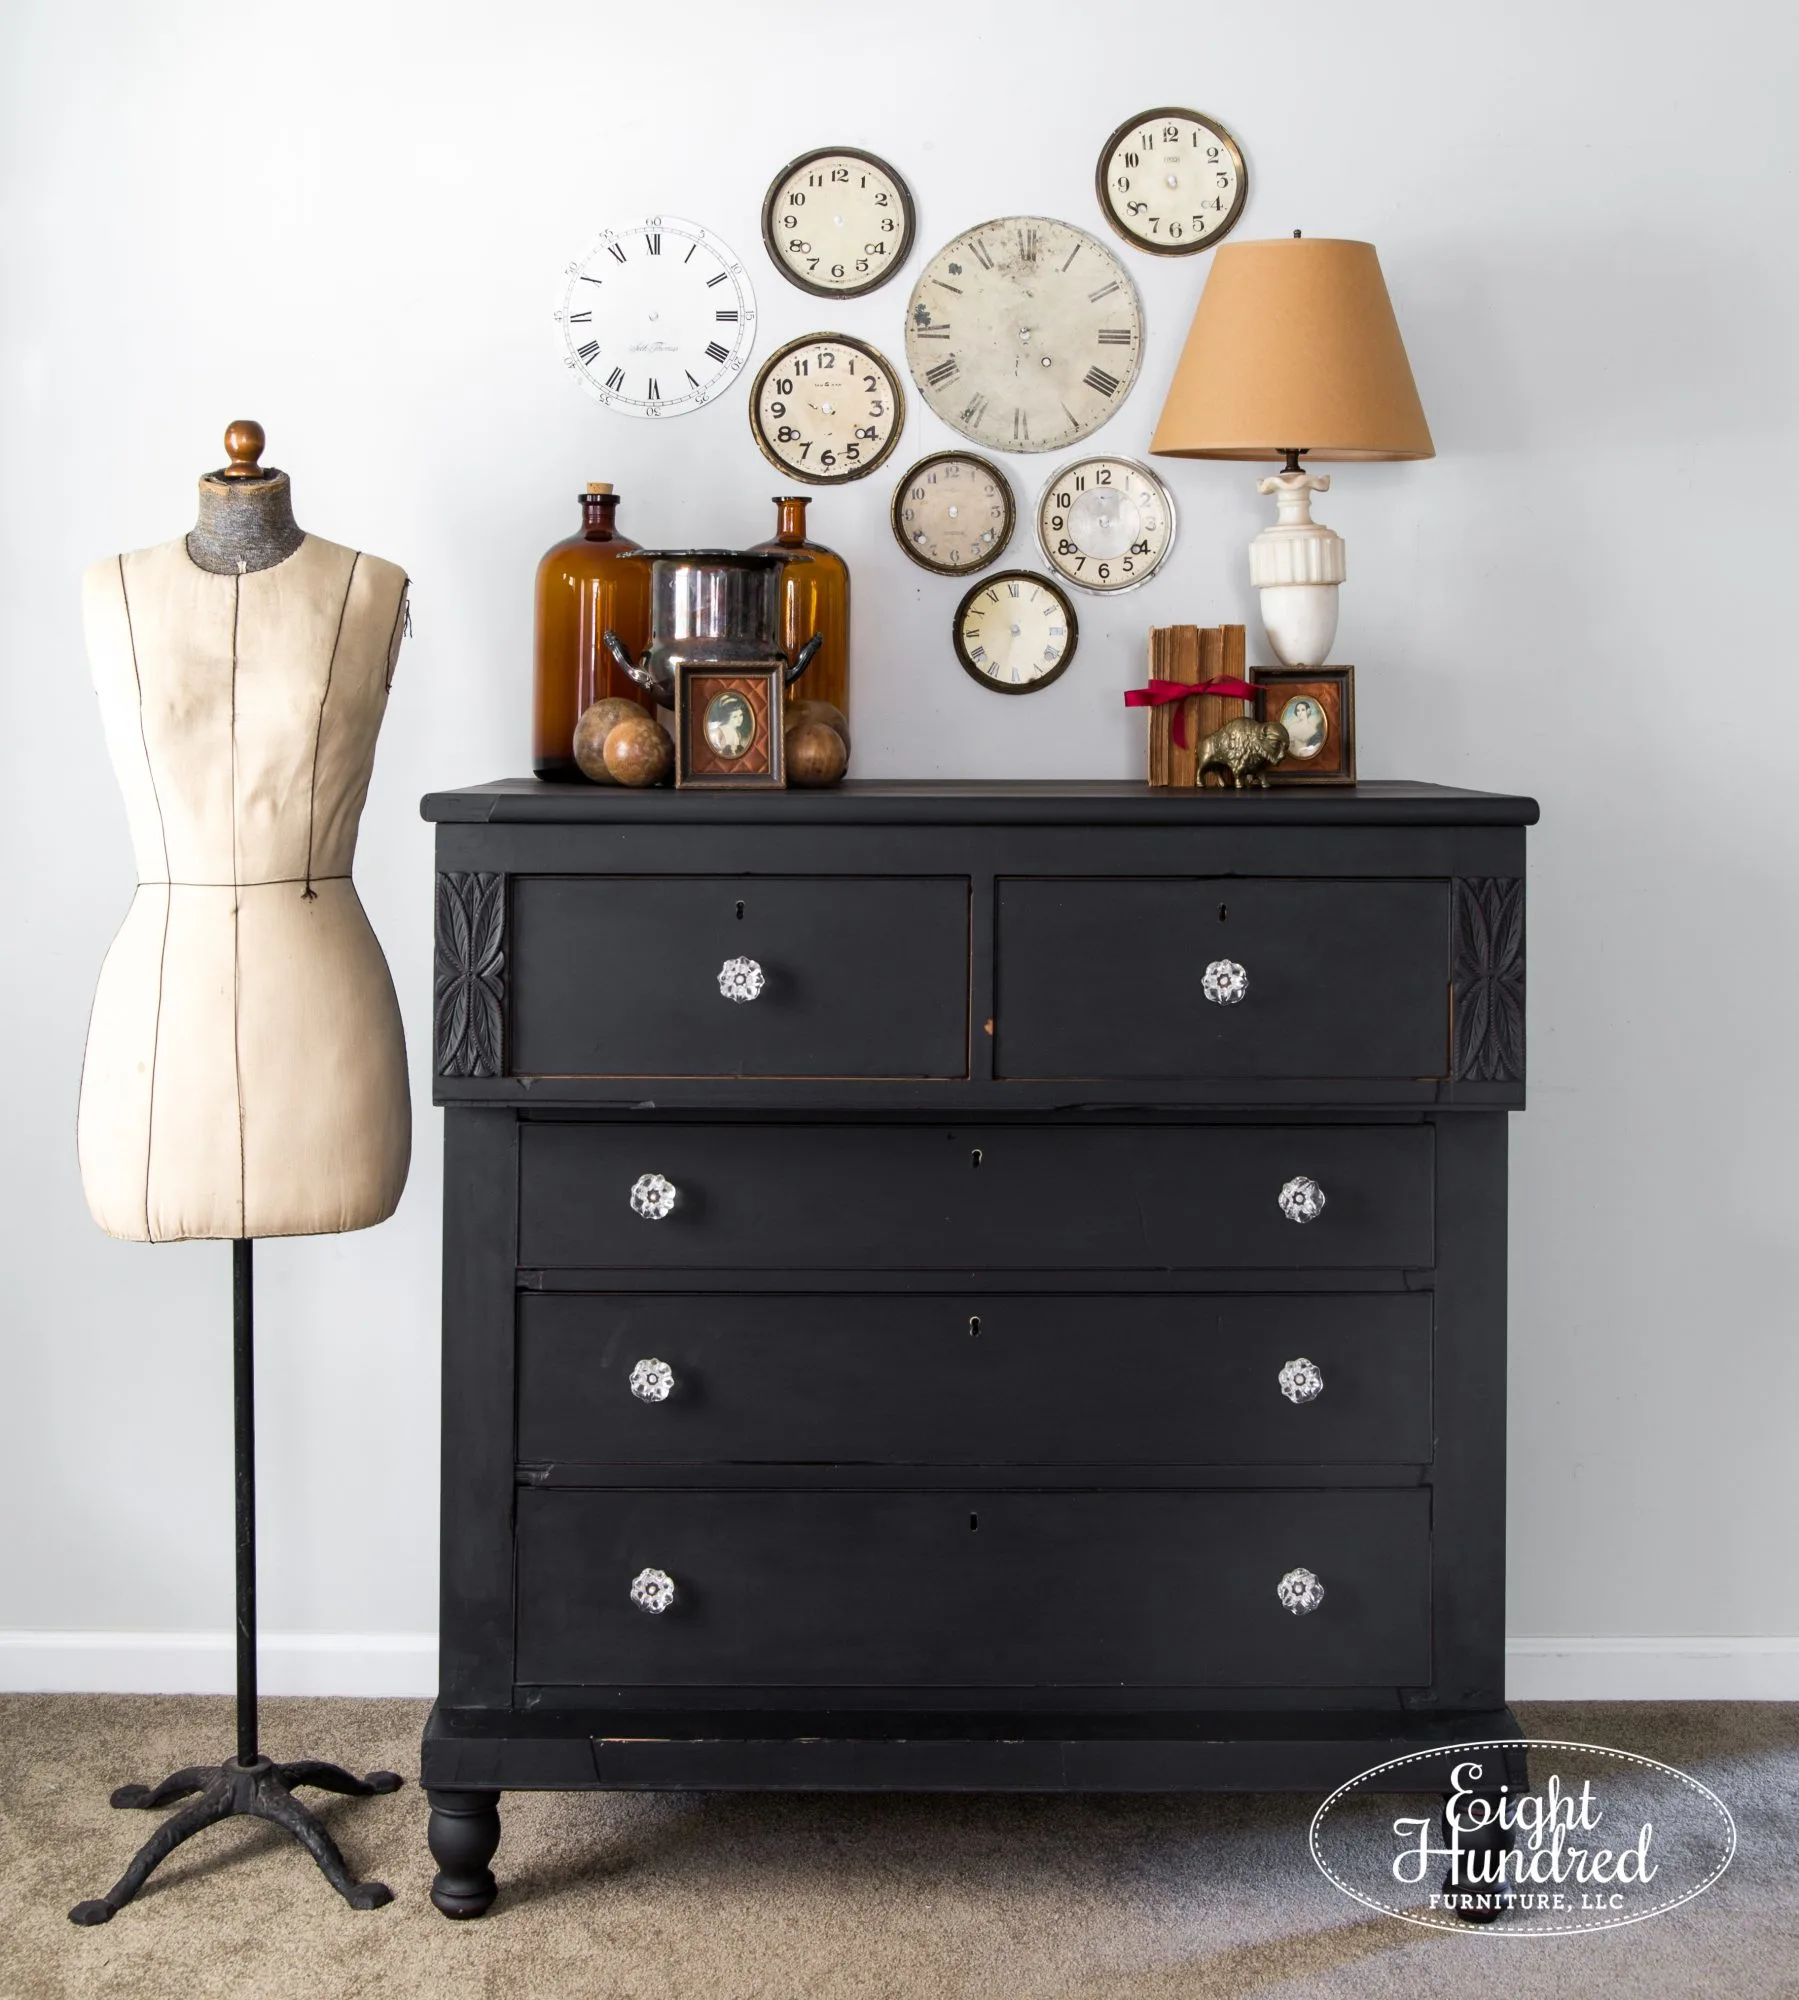
It’s gorgeous and sleek, but also still has that great aged patina. You can read all about her full makeover at her blog post here.
Black Wash Technique
One more makeover I have to share, even though it’s not a dresser . . . but a pair of nightstands!
This look is so unique and just may be the exact perfect thing for your black dresser project.
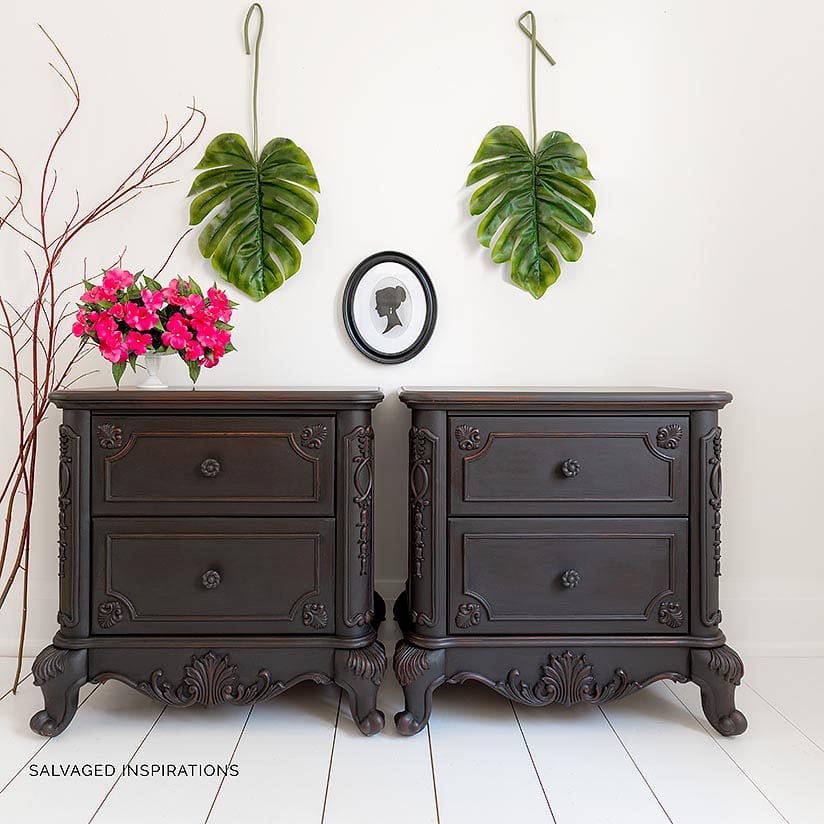

Instead of painting the entire piece, Denise from Salvaged Inspirations watered down her black paint and used a wash technique.
This is a great way to tone down any wood color tones you don’t like and add some darker color to your furniture, without going full-on black.
You can read her full tutorial over on her blog here.
Pin this for Later!


I hope you enjoyed this collection of furniture makeovers!
And perhaps you found just the right inspiration for your own black dresser DIY project 🙂
If you’re looking for more painted furniture ideas and inspiration, check out these posts as well:
How to Pick the Right Paint Color for your Next Furniture Makeover
10 Incredible DIY Armoire Makeover Ideas
6 Gorgeous Makeovers: Inspiration for Green Painted Furniture
How to Strip Furniture {Nightstand Makeover}
When and How to use Antique Glaze or Dark Wax on your Painted Furniture
Thanks for joining me today!