We’re working on a budget DIY patio spring refresh!
I love the warm weather and spending time outside, especially on my back patio. It’s a place where I can relax, refresh, and recharge. If you’re anything like me, you probably try to survive the winter months, and your patio may have been neglected during that time.
But don’t worry, with a little bit of elbow grease, some thrifted finds, and a few splurges, you can transform your outdoor area into a beautiful space that you can enjoy all season long.
So, let’s get started. If you’re more of a visual person, you can watch the full makeover in our video below!
Creating a Beautiful Space on a Budget
First, let me share my formula for creating a beautiful space.
I truly believe that you can have a stunning home on a small budget. Creating a space you love doesn’t have to cost a lot of money if you’re willing to put a bit of creativity into the decorating process.
My decorating philosophy is to work mix what I call “splurges” with “steals”– Spend a bit more money on a few quality items that give you that “Wow” factor, while filling in the space with more budget-friendly finds.
That’s exactly how we pulled together this backyard makeover!
We added a couple of splurges to anchor the space, then finished out the patio area with a mix of items we already had, items we found at flea markets, and items we upcycled.
So, let’s take a look at how we applied this formula to our patio refresh.
The “Before” Picture
When we first walked out onto our patio a few weeks ago, it was a mess. It had become a catch-all for everything during the winter months.
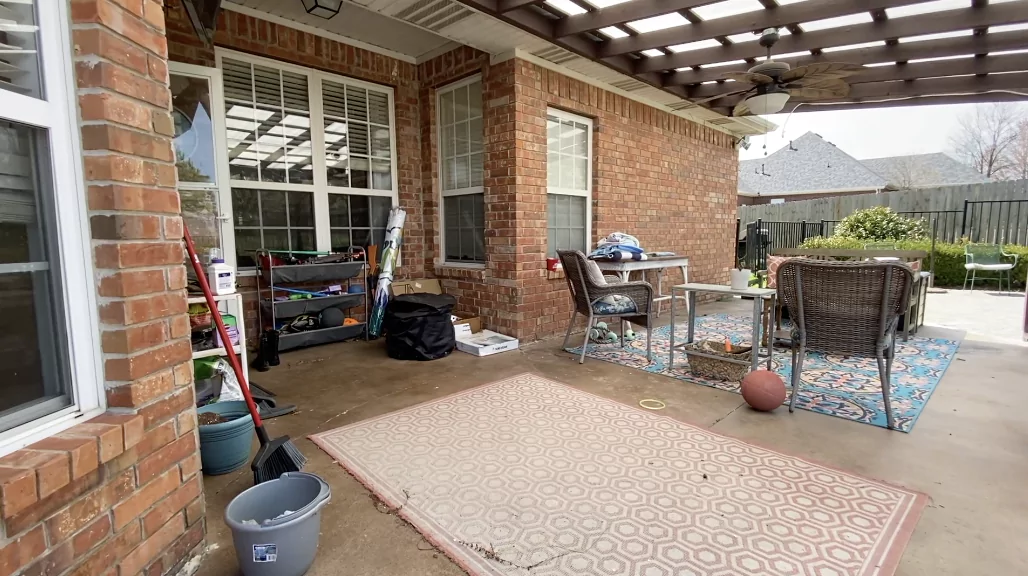 The pool was dirty, all the plants were dead, and it was just a generally uninviting space.
But, a little elbow grease goes a long way! The best place to start your patio project is with a good cleaning.
Cleaning and Clearing the Space
The first thing we did was clean and clear the backyard space.
We trimmed the giant wall of boxwood bushes that lined the patio, swept away the dirt and debris, and got rid of any junk that had collected over the winter. 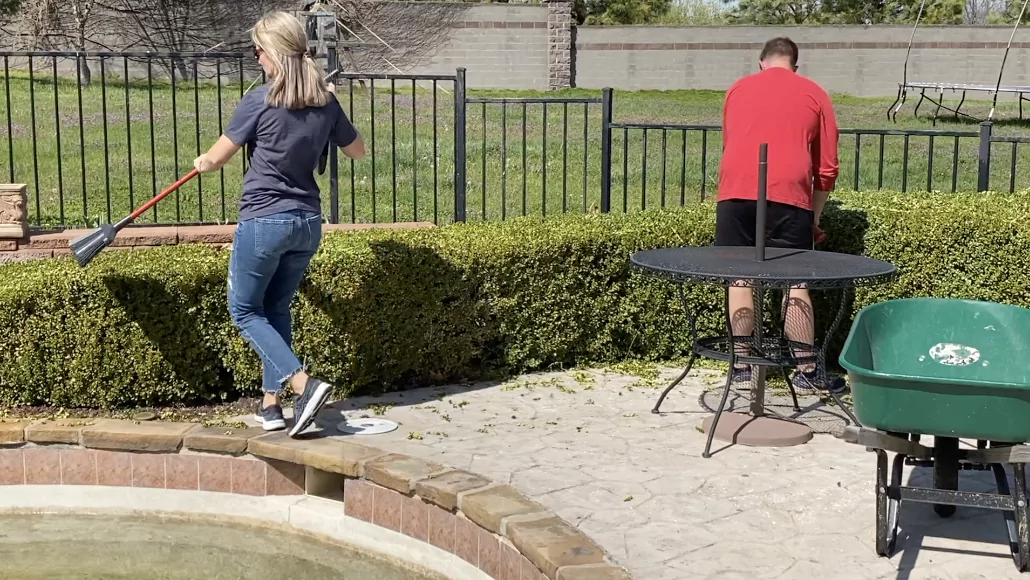
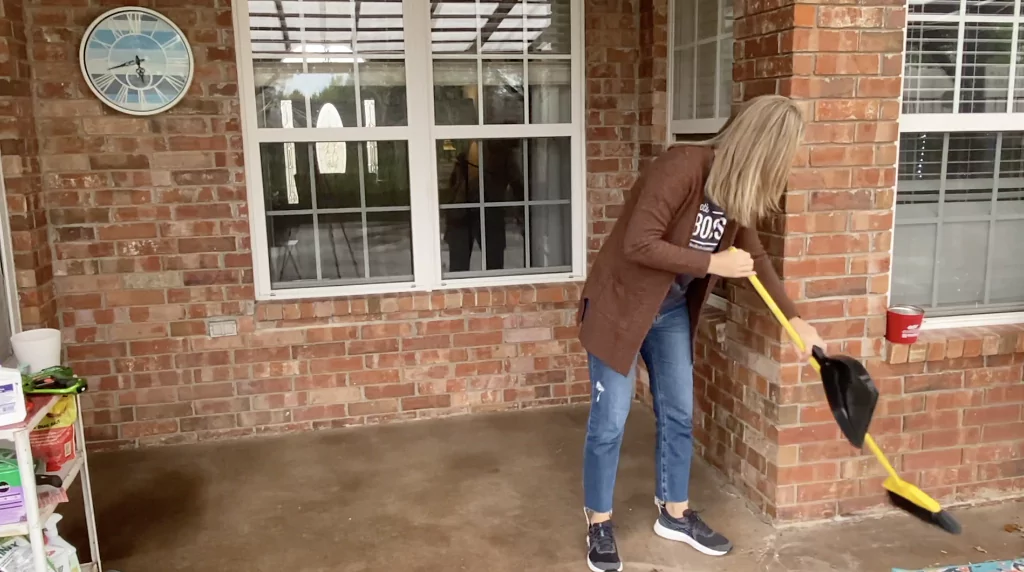
We didn’t do anything fancy, just rolled up our sleeves and put in some work. And already, the space was looking better.
It’s amazing how just cleaning out your garden beds and giving your outdoor space a good sweep can make such a big difference, and that’s completely free!
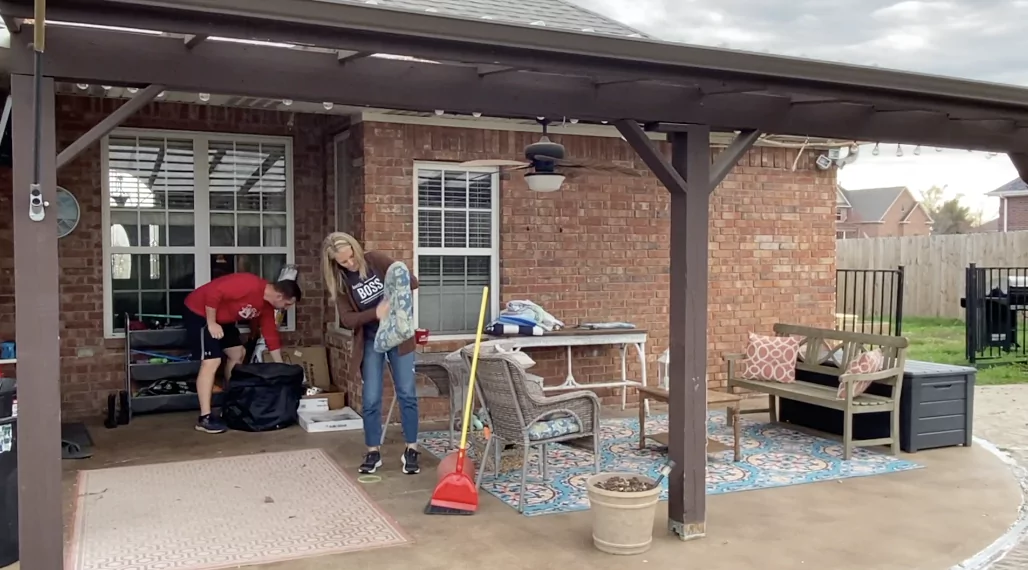
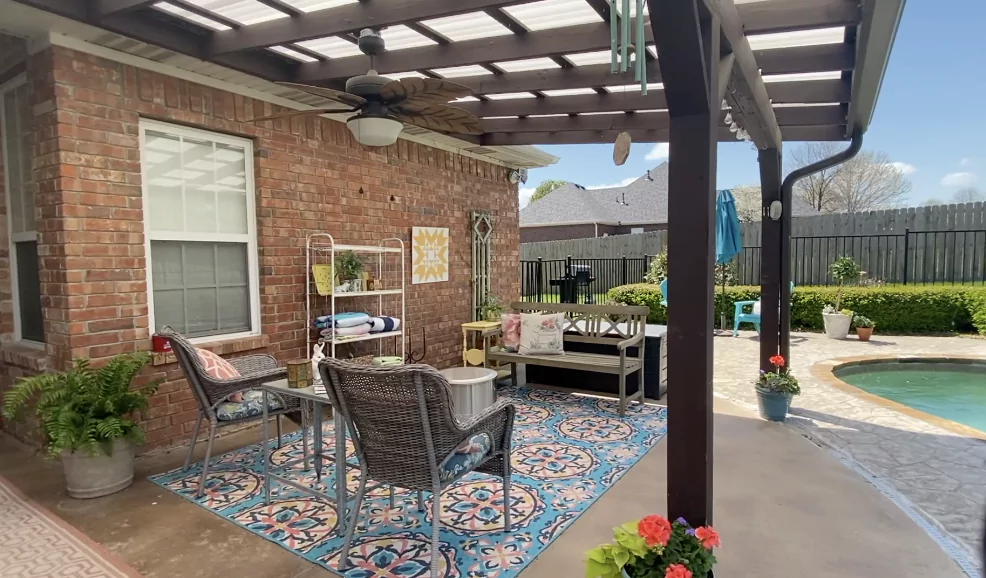
Furniture For Outdoor Living Space
Next, we moved the main outdoor furniture pieces back into place. Our goal was to create a relaxing outdoor living space that also met our needs for life around the pool.
We were needing a place to store pool towels, and a wire rack I bought several years ago at a flea market was the perfect solution.
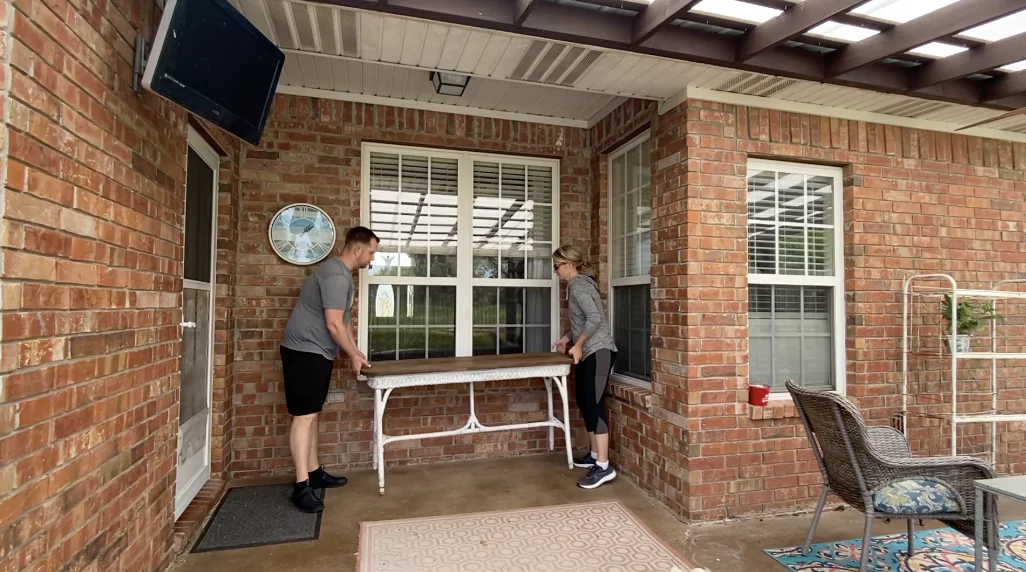
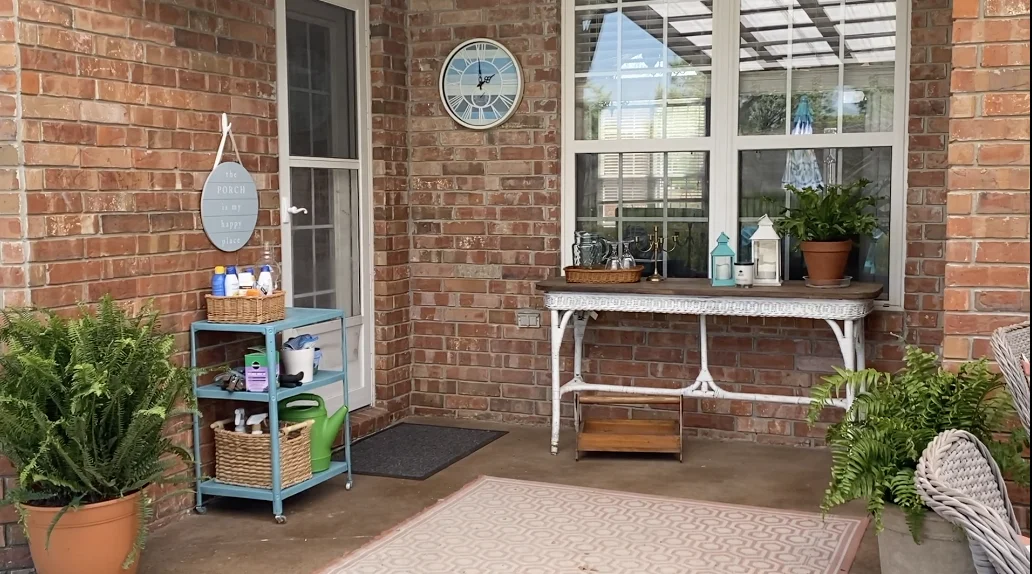
We also switched out a white table (another thrifted item) and placed it by a window where we could stage some pretty decor. These small changes made a big difference in the overall look and feel of the space.
Rearranging the patio furniture pieces you may already have is an easy way to bring new life to a space for zero cost.
Adding Plants for a Container Garden:
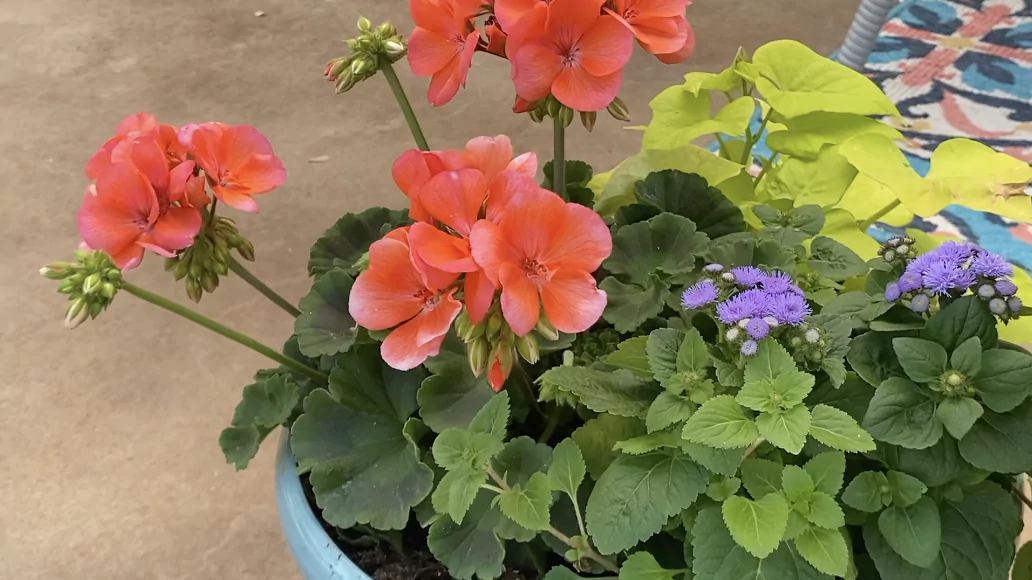
Next, we added some plants to the space. I personally think potted plants are the best way to add that lush, tropical feeling to your patio.
Having plants on the patio adds color, texture, and life to the space.
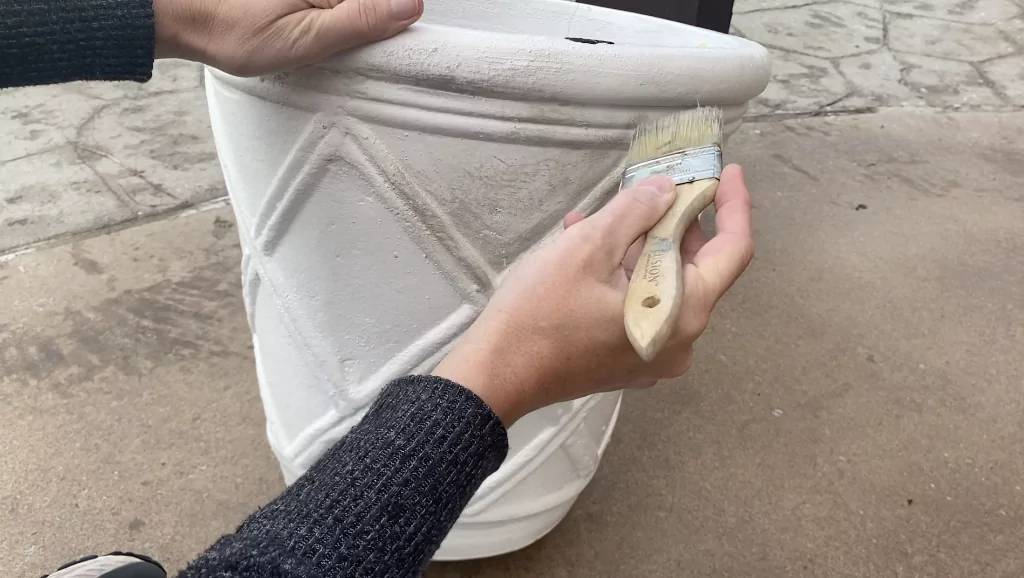
I save money on my patio plants by re-using pots from year to year and also buying my pots from discount stores.
This year, I found a pot I liked at Tuesday Morning, but decided it was a bit too white for my taste. So I used some gray paint and a dry-brushing technique to tone down the bright white and add a bit more interest to the pot itself.
If you would like to see how dry-brushing works, be sure to check out the full makeover video below and also this blog post.
A few other tips to get the most out of your potted plants:
1. Don’t just put one plant in a pot. Add 2-3 plants of various sizes and shapes (spiky, trailing, or bushy) in one pot for a more interesting arrangement.
2. When planting annuals in pots, don’t be afraid to overcrowd them. Since they are only growing for one season, they don’t need a lot of room to establish roots so you can cram a lot into one pot without any real issue.
3.Large ferns are a great solution for adding life and freshness to corners and shady spots. A beautiful fern can make as much of a statement as a bunch of bright flowers!
DIY Projects
One of the things I love about refreshing our patio is getting creative with DIY projects.
Not only do they save money, but they also add a personal touch to the space. Here are some DIY projects we tackled for our patio refresh:
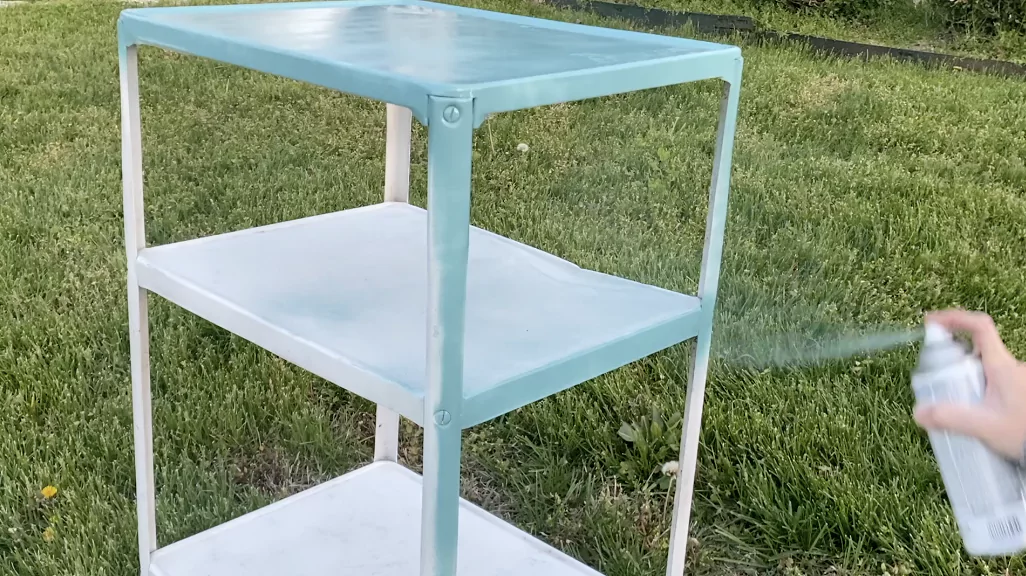
Spray Painted Metal Cart: I purchased this rusty 3-tier metal cart from Facebook Marketplace for under $20. I cleaned it off and sprayed on a coat of Kilz primer to cover the rust. Then I gave it a fresh coat of paint in a pretty blue to add a coordinating color. It was an easy project that took me about an hour from start to finish. And now it’s a nice place to store our garden tools and sunscreens.
Garbage Pile Side Table: I found a cute yellow table in a curbside trash pile. The yellow paint coordinates with the colors in our patio design, so all it needed was a good cleaning and makes a great addition to our seating area.
DIY Outdoor Art: I created my own outdoor art by painting a 24″ piece of wood in a barn quilt design. It’s a unique and eye-catching piece that adds a pop of color and personality to our patio.
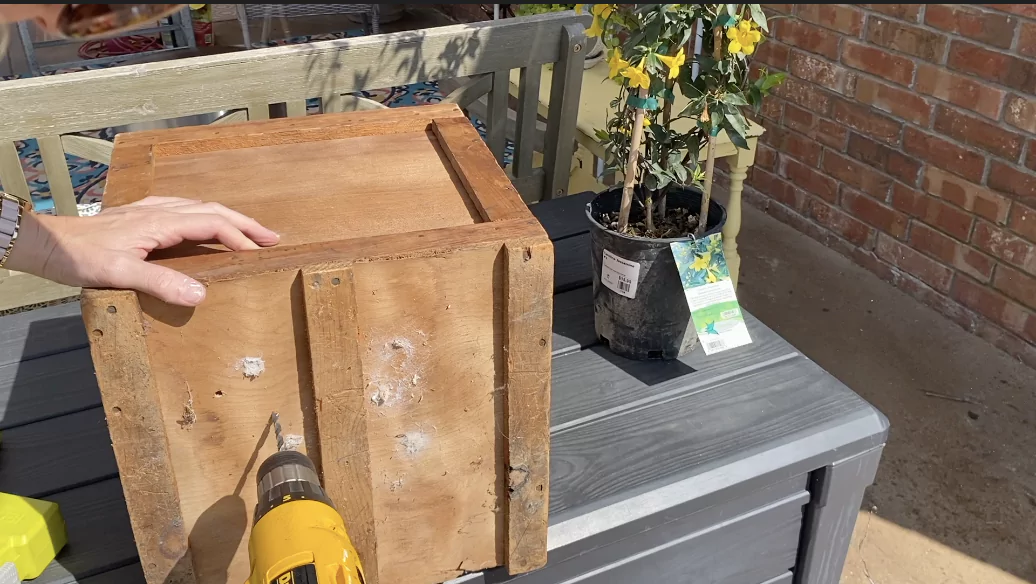
Planter from Old Crate: To fill in an empty space on the far wall, I made a planter out of an old crate I found at a flea market. I drilled holes in the base to allow water to drain, then planted with a Carolina Jasmine vine for a pop of yellow color.
You can see all of these projects in full in the video below!
I am an Amazon Affiliate. This post contains shopping links to products on Amazon. It does not cost you any more to shop through these links but I will make a small commission. Thanks for supporting my blog!
A Few New Pieces:
While we focused on budget-friendly options for our patio refresh, we also decided to splurge on a few new items that we felt would elevate the space and make it even more enjoyable. Here are some of the splurges we made:
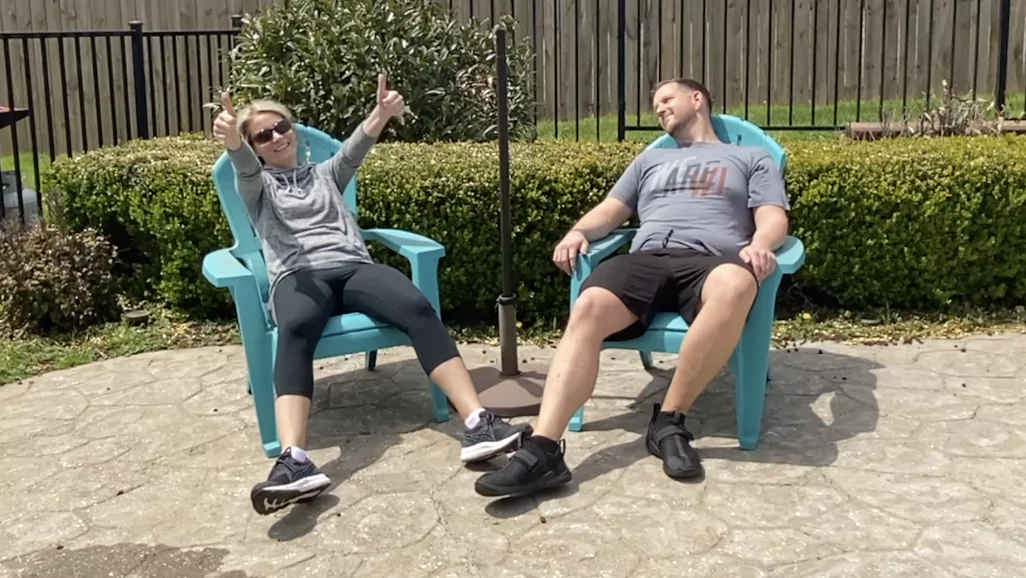
New Lounge Chairs: We invested in a pair of new chaise lounge chairs from a company called Bluu. They were easy to put together and add a bit more upscale feel to our poolside seating area. As a bonus, they are super durable and fade resistant, so they will last us for years to come!
Adirondack Chairs: The vintage patio chairs in our second poolside seating area were not my husband’s favorite! So I took them to my antique booth, sold them, and used the money to purchase these Adirondack chairs from Lowes. Even though they are heavy-duty plastic and not wood, they are a good size, super comfortable, and coordinate with the colors of our outdoor rug.
Finishing Touches with Outdoor Decor:
If you want your outdoor space to feel like an extension of your indoor living area, it’s important to add some small decor pieces.
I like to use thrifted or flea market items as an inexpensive way to add these decorative touches.
Here on our patio I used some old metal tins and trays, a few candles, and some outdoor lanterns to add that visual interest to the space.
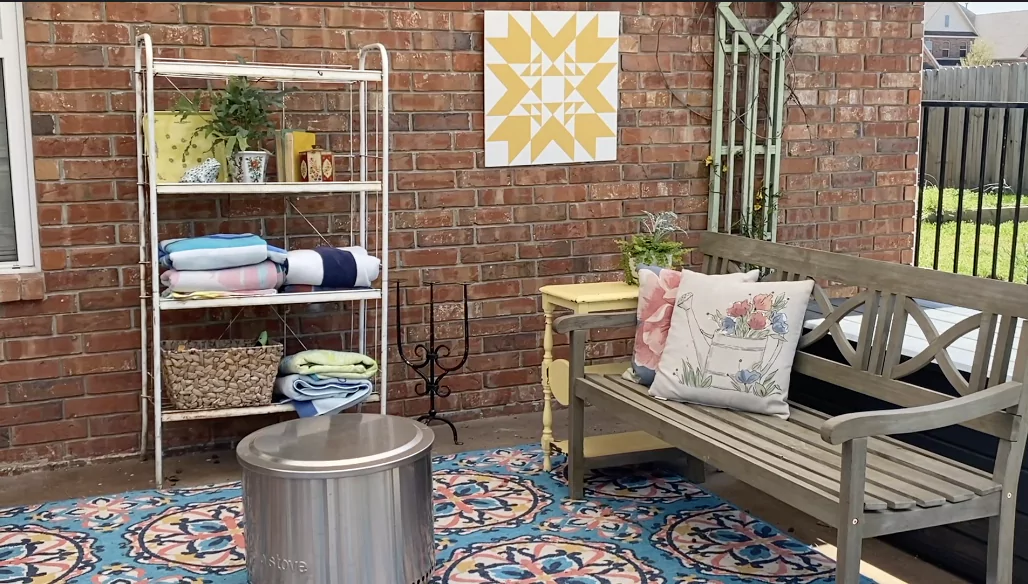
I also wiped down and shook out our outdoor throw pillows and two outdoor rugs, then added them back into the seating area.
You don’t have to spend a ton of money on these items–I purchased mine over the years at places like Target, Wal-Mart, and TJMaxx, then re-use them year after year.
Maintenance Tips:
Once you’ve completed your patio refresh, it’s important to keep up with regular maintenance to ensure that your patio remains beautiful and inviting throughout the season. Here are some maintenance tips to keep in mind:
Regular Cleaning: Sweep or hose down your patio regularly to keep it clean and free from dirt, debris, and leaves. Clean any spills or stains immediately to prevent them from setting in and becoming difficult to remove.
Plant Care: Water and fertilize your plants regularly to keep them healthy and thriving. In the heat of the summer, I water most of my outdoor pots every morning and every evening (if it doesn’t rain). Prune any dead or overgrown parts of the plant to maintain their shape and appearance. Remove spent flowers to promote more blooming.
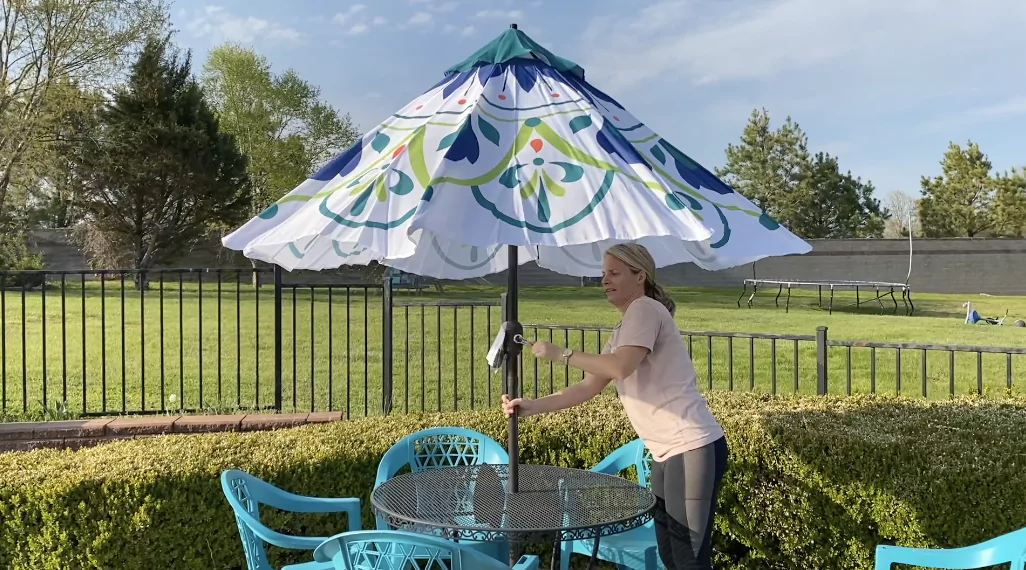
Umbrellas and Patio Furniture: We pack up and store in their original plastic bags our umbrellas when not in use. This keps them from being faded by the sun or damaged during heavy wind or storms. You also want to be mindful of your patio furniture when you know a storm is coming: it’s a good idea to stack it up under cover or find a way to tether it down so it’s not blown about or damaged by debris.
See the FULL Patio Makeover Video!
Wanna know the best part about this patio makeover?
We now have a beautiful patio that is truly ours and unique to our style and needs!
That’s my favorite thing about taking the time to do your own designing and refreshing–you get to create the look you enjoy instead of just a cookie-cutter patio space that may not fit with your needs or lifestyle.
Below are links to shop for similar items as I used here in my patio makeover! Shopping these links helps support this blog and all the free tutorials and inspiration we offer, thank you!

Refreshing your patio can be a fulfilling and rewarding DIY project that can transform your outdoor space into a beautiful and inviting oasis.
With some creativity, budget-friendly options, and a little bit of elbow grease, you can create a patio that reflects your personal style and enhances your outdoor living experience.
From repurposing old furniture to adding new decorative elements, the options are only limited by your imagination.
Our back patio is now our favorite place to connect with nature, relax, and make memories with family and friends.
So, don’t hesitate to embark on your own diy patio refresh project. Be bold, be creative, and be inspired to create a patio that reflects your unique style and personality. With a little bit of effort, you can transform your outdoor space into a sanctuary that you can enjoy for years to come.
Looking for more patio or garden inspiration?
Follow our Home Exterior & Garen Board on Pinterest!
You can also check out these other posts:
6 Step Recipe for Partial-Sun Container Garden Plus Planting Tips
Easy Ways to Boost Your Curb Appeal; Front Entry Refresh
Easy Rustic DIY Light Fixtures for Your Porch


Linking up to: Fabulous Finds Party
Transform Your Patio: Summer Decor on a Dime
Saturday 12th of April 2025
[…] more ideas on how to refresh your patio on a budget, check out this guide on budget-friendly DIY patio refresh for inspiration and practical […]
Jackie
Monday 10th of June 2024
I love the look of this! Now that it is summer I have a few home projects I want to get done. I would love to upgrade our outdoor space & will totally be using this as inspiration. I am having our kitchen cabinets painted this week & then the next area to tackle will be the backyard! Thanks for sharing!!!
Susan
Tuesday 2nd of May 2023
Great move placing the lower console table in front of the window. A pet peeve of mine is seeing the back of a too table from inside when looking out a window, lol. Now when decorating it can be equally appealing viewed from inside! I see you have a Solo Bonfire fire pit…we love ours and use it through three seasons on Long Island, NY. I also added a closed vintage cabinet where we keep some games, bug spray and candles. Now, if it would only stop raining here! 🙂
Melanie Alexander
Wednesday 3rd of May 2023
Yes! We love our solo stove! And about the rain . . . ugh! It's been bad here too. Here's to hopefully sunny days ahead!
Rachel-The Antiqued Journey
Monday 24th of April 2023
It looks SO GOOD, Melanie!! Each area is so pretty with all of the unique touches that you decorated with. What a fun place to spend the summer months!!
Melanie Alexander
Wednesday 26th of April 2023
Thank you! We really enjoy it out there, it's my happy place for sure.