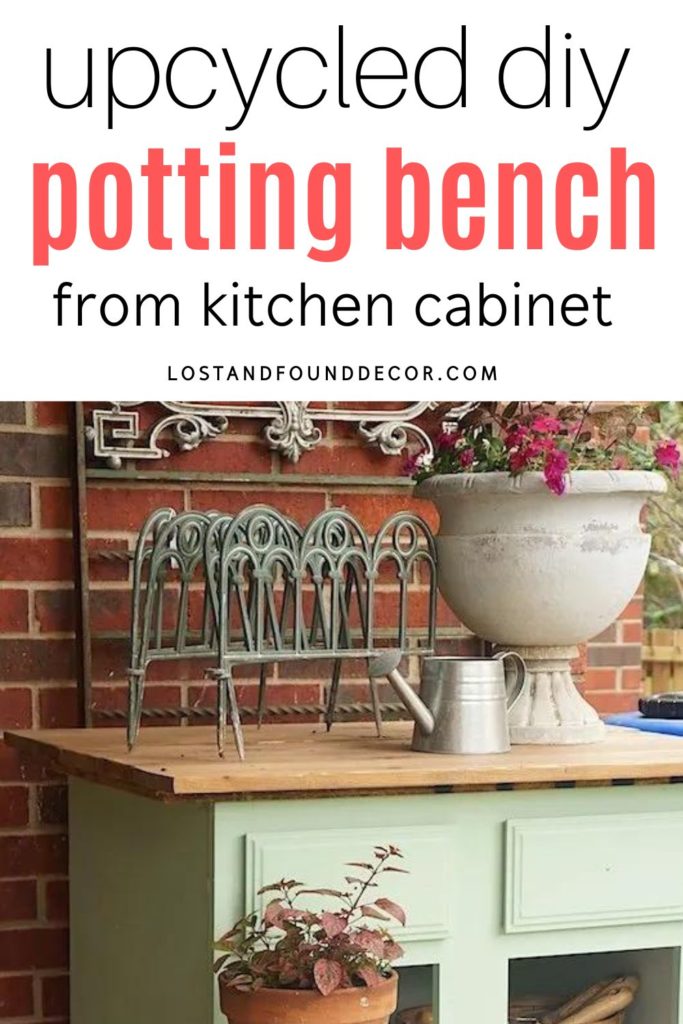
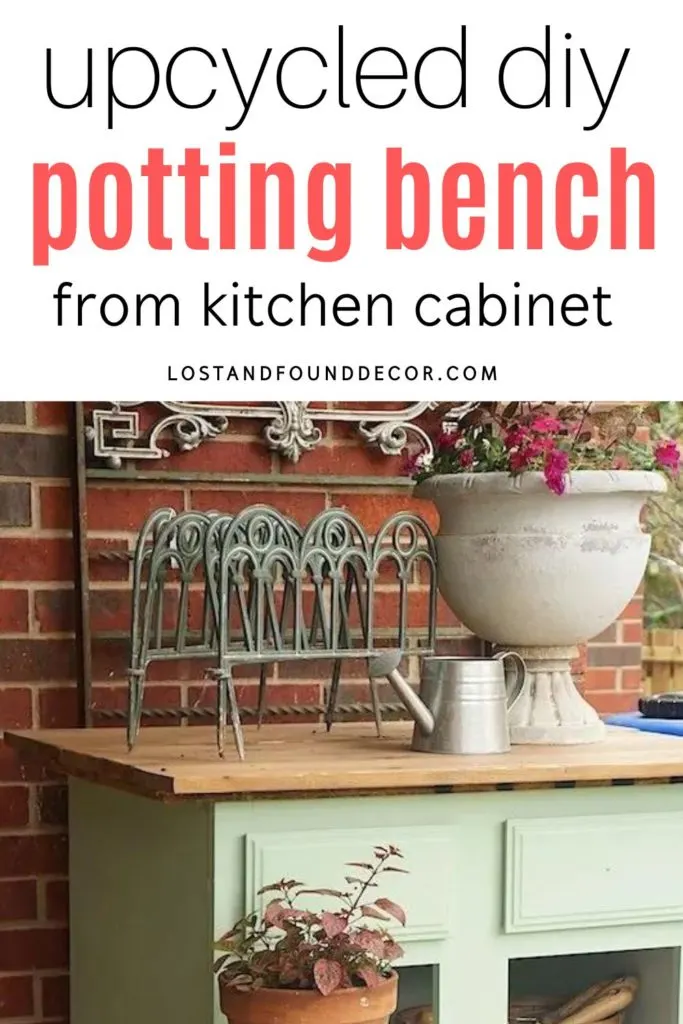
Today I am excited to share with you this upcycled DIY Potting Bench!
Potting benches provide storage space, a convenient work surface, and easy access to all your gardening supplies.
Whether you are an avid gardener or just looking for a place to store your garden tools, having your own potting bench is a great addition to your outdoor space.
In this post, I’m sharing my full tutorial for how to transform an old kitchen cabinet into an upcycled diy potting bench for my back patio, along with other a few more great diy projects from my blogging friends.
Pin this Resource!
I really enjoy filling pots with colorful flowers and greenery each spring but have never had a great place to store my gardening tools or do the actual work of planting.
Let’s be honest–squatting down and bending over to work with pots on the ground gets old real quick!
I really needed a place to do my gardening work comfortably, so this project was perfectly timed.
My husband and I recently created an easy potting bench for less than $25 out of an old kitchen cabinet.
It all started with a funny anniversary gift for my husband . . .
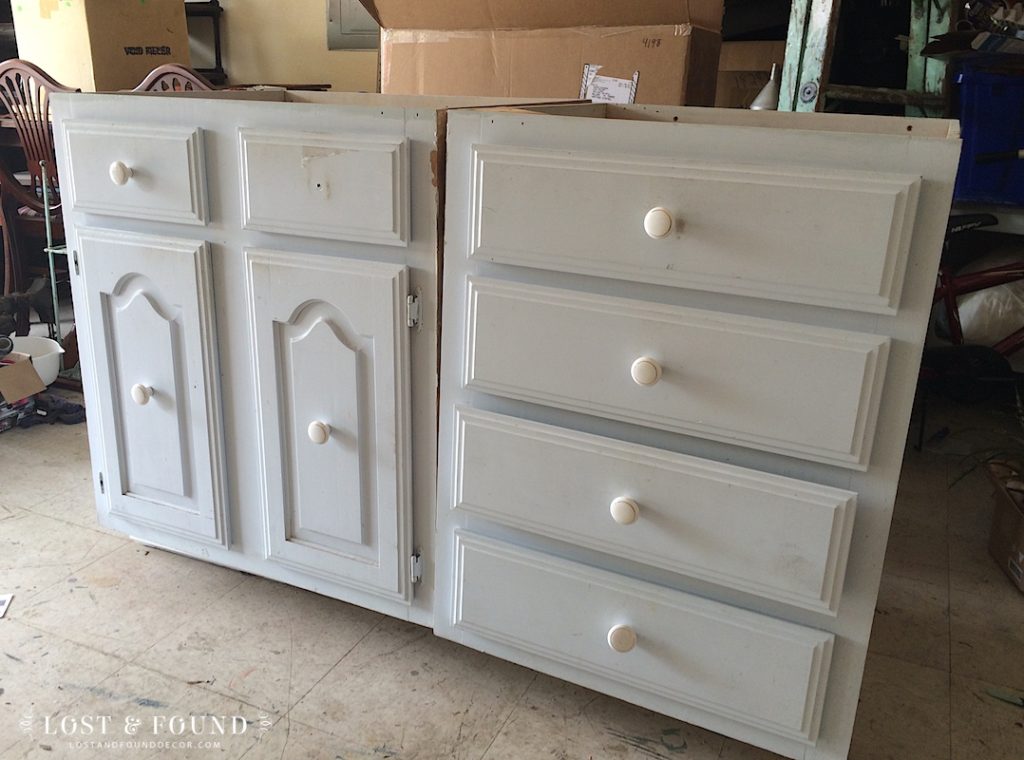
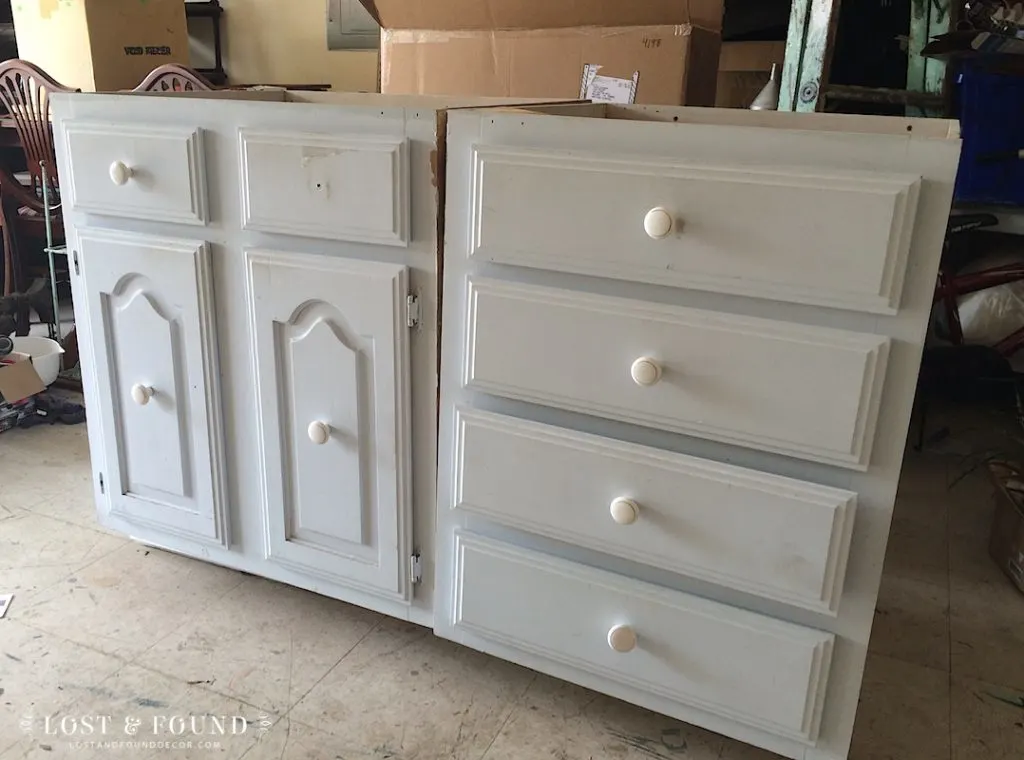
I found this lovely pair of old cabinets at a local thrift store, and decided to gift them to my husband for our anniversary.
Now before you go thinking I am a terrible wife, let me explain . . .
My husband and I typically don’t do large anniversary gifts.
And when we do give gifts, we have nothing against them being practical!
The story on this cabinet though . . . my husband desperately wants more storage in our home.
So when I spotted these cabinets while out thrifting, I thought they would make the perfect gift 🙂
Amazingly, they were marked 75% off the price, and I got them both for $25! Not too bad for ready-made storage.
He decided that he wanted to use the one with the drawers in our laundry room, and put the other on our porch.
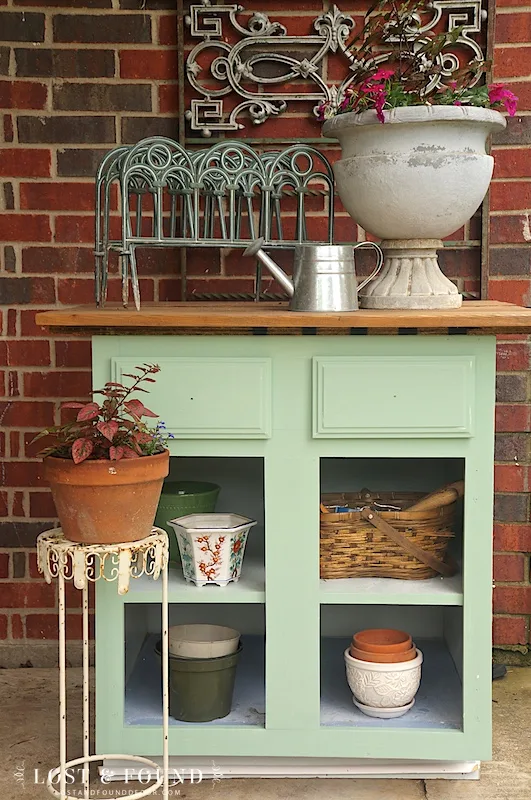
Not too long later, he set about upcycling the porch cabinet into a potting bench, using Fusion Mineral Paint
He wanted a bright color, so he picked a color called Lily Pond *Note, this color has been discontinued. For a similar color, try Brook*


I agreed that green would make a lovely color for this outdoor project. So fresh and fun for our patio!
How to Prep the Cabinet for Painting
Anytime you are painting a piece of furniture or cabinetry, it’s a good idea to clean it well first. Dirt or grease will keep your paint from sticking, so this is an important step.
To clean this cabinet, we gave it a wipe-down with a vinegar/water mix.
Then we lightly sanded the surface with medium grit sandpaper and wiped off all sanding dust.
He then gave it a fresh coat of paint, using the pretty green color he picked, and allowed it to dry.
One side of the cabinet was unfinished–just particle board–and I was a little concerned about how the Fusion would perform in that spot.
We decided to go ahead and try painting the piece as it was, and the Fusion painted just fine on the particle board, no issues at all!
Other Adjustments to Make
In order to make the cabinet more functional as a potting table, we decided to take off each cabinet door.
The exposed interior shelves would provide plenty of room to store gardening tools, plant pots, even bags of potting soil.
The old cabinet didn’t have a top, so to make it a functional workspace we had to add one.
Good thing we had some leftover wood on hand!
For the top, we used a piece of plywood and cedar fence pickets we had left over from a fence project.
The sheet of plywood was glued and screwed into the cabinet, then the cedar pickets were screwed in on top.
A light sanding and one coat of stain finished off the cedar and made it look a little more upscale, rather than just like fence boards!
How Tall Should a Potting Bench Be?
You want the working area of your potting bench to be tall enough that you don’t have to bend over to use it.
At least 36″ tall (which is the standard height of a base cabinet with countertop), is a great height.
Since this was a standard base cabinet, the height was perfect as-is.
But, if you are taller or want to have your work area higher, then you could add extra height by adding a wood base or feet to your cabinet.
If you are using an old piece of furniture for your potting bench project (like an old dresser or table), be sure to measure its height to make sure it will be comfortable as a work space.
So here is my husband’s first upcycled diy project with Fusion Mineral Paint:

It’s a little rough in places . . . he didn’t paint the inside or the toe kick, but since it’s going to sit on our porch I don’t think it really matters.
Overall, he did a great job updating this cabinet and I know we will be able to enjoy it for a long time!
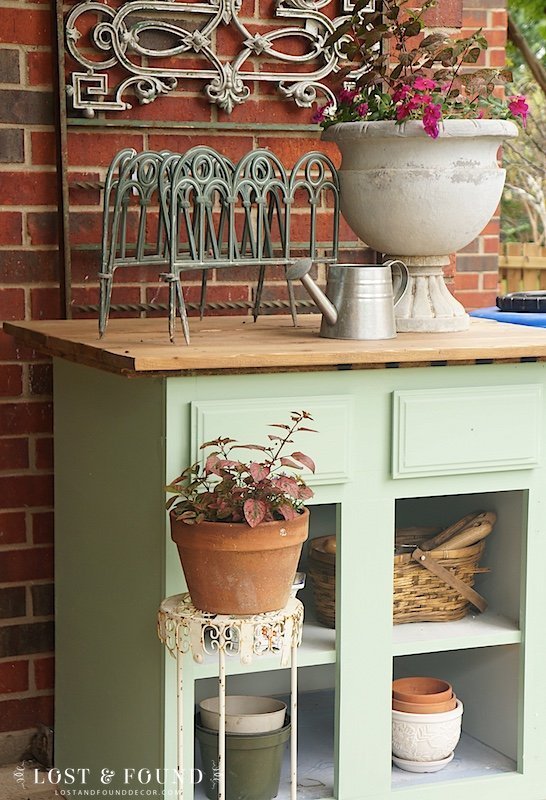
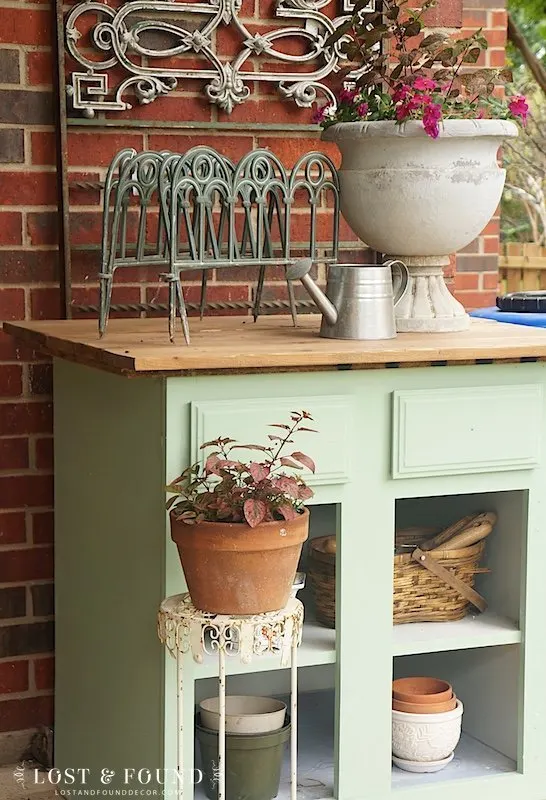
The top shelf is the perfect place to store our smaller hand tools, while the bottom shelf has enough extra space for extra pots.
You can’t have too many flower pots, right?
Fusion is a great option for a project like this, since it cures up to be waterproof and wipeable. The cedar too is plenty durable for the top–remember its normal use is in fencing?
The best part about this amazing diy though is the cost!
For $12.50, plus some leftover materials, we have the perfect potting bench for our porch.
And I have a happier husband, who now has more storage outside, and one more cabinet to use inside.
More Potting Bench Ideas
Several of my blogging friends have their own upcycled diy potting bench plans to share!
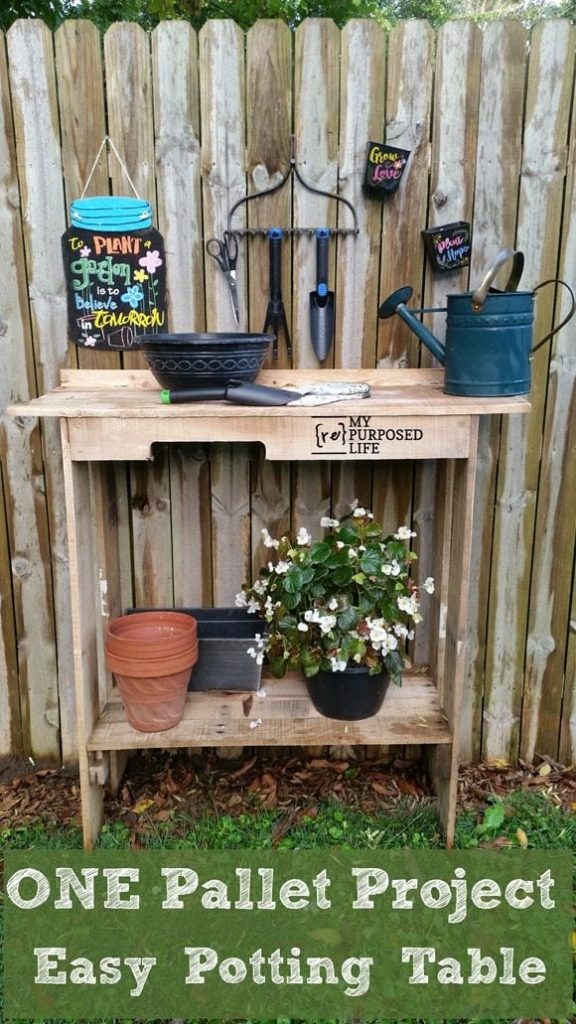
Christina from The DIY Mommy shares step-by-step instructions for how she built a large potting bench from an antique window and wooden pallets.


For another pallet-turned potting bench idea, check out Gail from My Repurposed Life’s potting table she made from one single pallet!

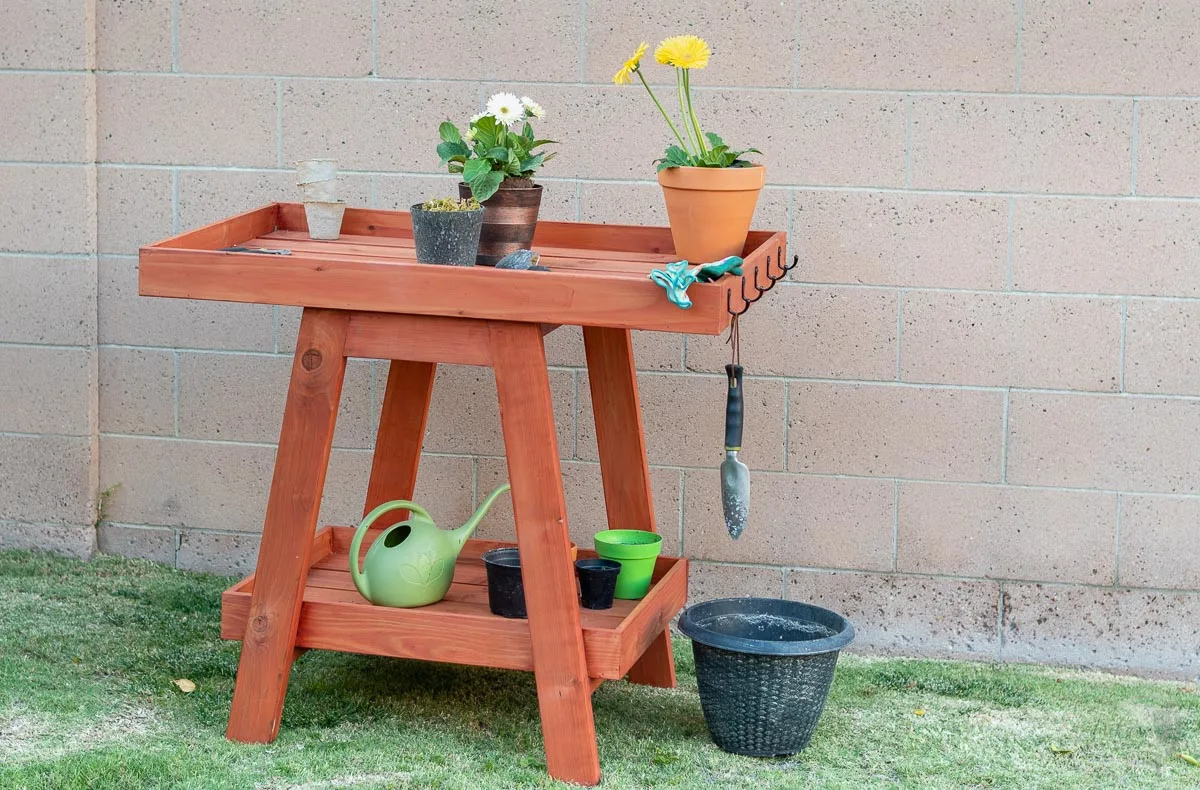
Anika from Anika’s DIY Life shares detailed plans for how to build your own potting station, which is the perfect size for a small garden patio.

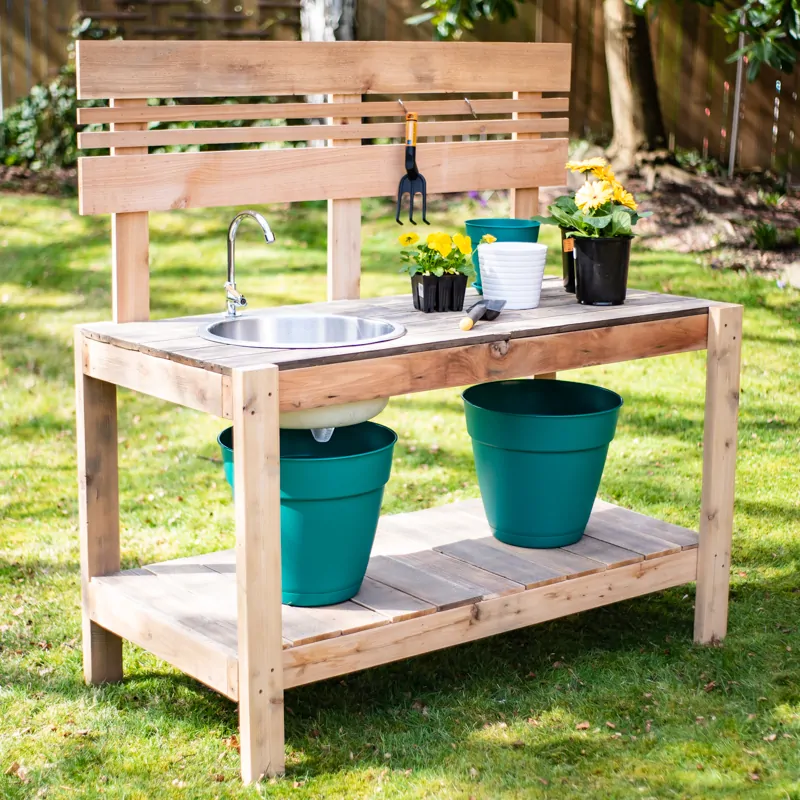
Vineta from The Handyman’s Daughter turned worn-out outdoor seating into a garden work bench, complete with a sink! She shares her step-by-step building instructions so you can follow along and make your own.
Morgan & Sean from Charleston Crafted share detailed instructions for a DIY potting bench with an extra great feature–hidden storage!
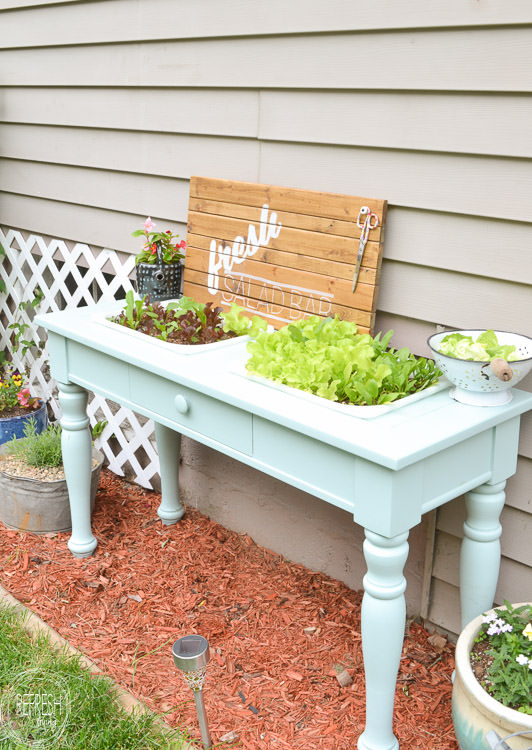
Lastly, how about Jenny, from Refresh Living! She turned an old sofa table into potting table, complete with small gardening beds!

I hope you can see from my project and all the projects from my talented blogger friends, that you can make your own upcycled diy potting bench from just about anything!
Thanks for joining me today, time to get gardening 🙂


Upcycled Old Furniture Garden Ideas for Creative and Cozy Outdoor Spaces - Dope Gardening
Tuesday 19th of August 2025
[…] You save money and end up with a spot that’s perfect for working with your plants. If you’re curious, here are easy upcycled DIY potting bench ideas. […]
Whimsical Old Furniture Garden Ideas to Brighten Your Outdoor Space with 25 Creative Tips - Dope Gardening
Tuesday 19th of August 2025
[…] If you want more ideas, check out this guide on repurposed cabinets as potting benches. […]
21 Potting Bench Ideas for Outdoor Storage - Craftsy Hacks
Monday 3rd of February 2025
[…] 12. Upcycled Kitchen Cabinet turned Potting Bench […]
7 Creative Ways to Recycle Old Furniture into Garden Decor - Complete Gardening
Monday 13th of January 2025
[…] © Lost & Found Decor […]
15 Creative Ways to Upcycle for a Potting Bench - Northern Feeling
Monday 22nd of July 2024
[…] For more information, check the complete guide on lostandfounddecor.com. […]