I’ve been seeing a lot of natural wood pieces showing up in the furniture flipping world lately.
I’m not talking about furniture that hasn’t been painted (although in some areas that is getting more popular), but furniture where the finish has been stripped and the wood left completely natural.
It’s actually a really cool look! It gives the piece a rustic vibe and shows off the patina of the wood, rather than covering it up with stain and shiny gloss.
If you can find a piece made of good, solid wood (oak and pine work well), you can strip off the existing finish and create one of these pieces yourself!
Now I’m not gonna lie. Stripping furniture is a messy and time-consuming process.
But man, going through the process can be so worth it!
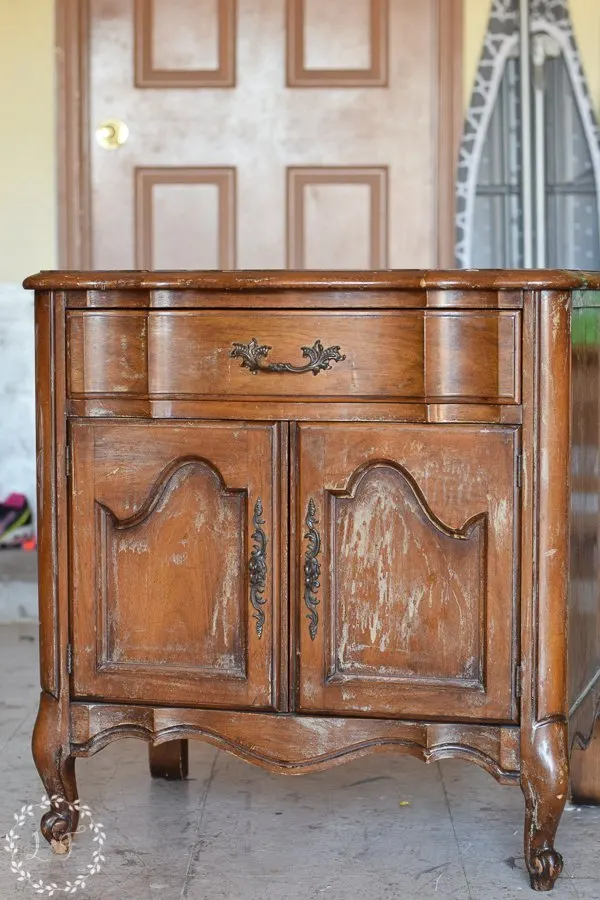
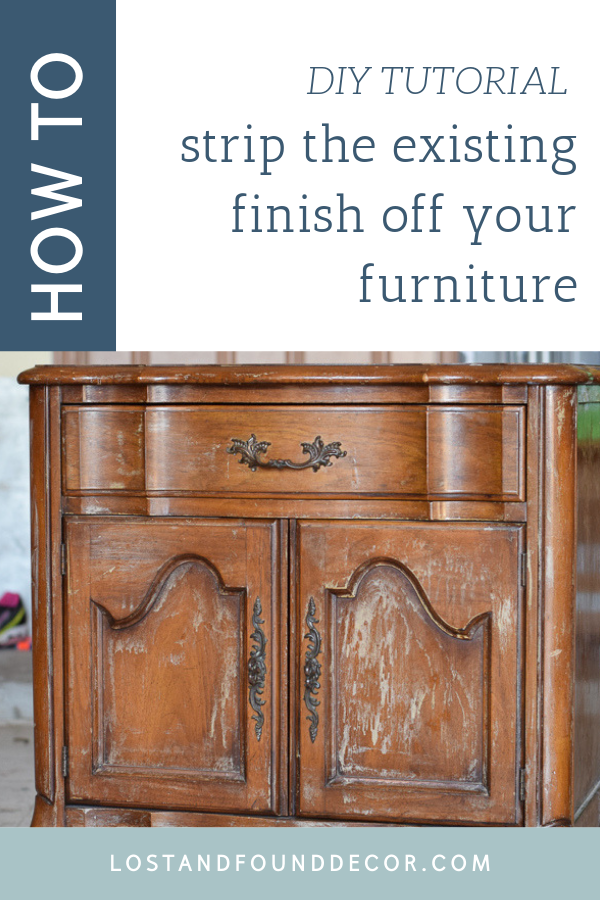
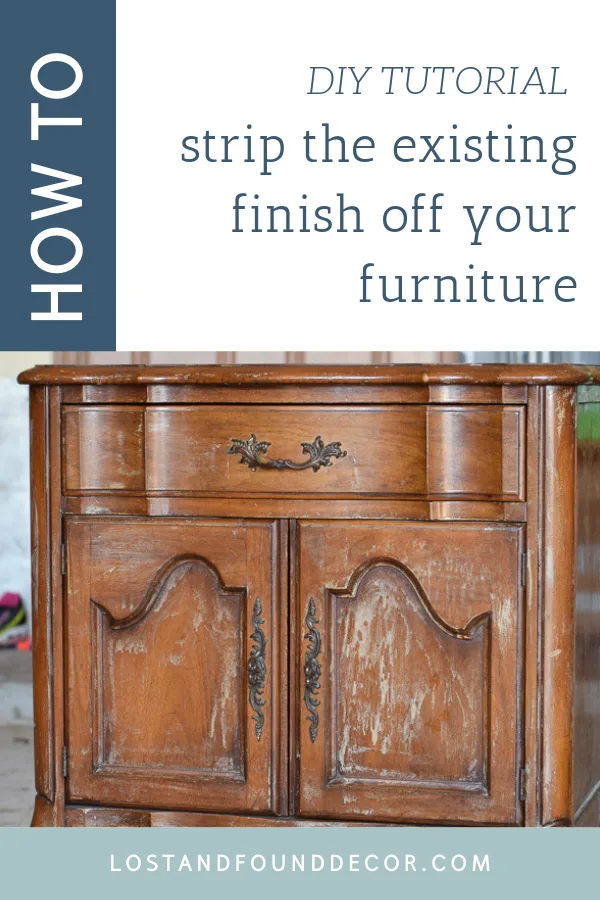
I found this cute little french provincial nightstand a while back on Facebook Marketplace, and I thought it would be a good piece to experiment with. So today I want to walk you through the process I used to makeover this piece.

How to Strip Furniture
Now if you do a quick Google search on how to strip furniture, you will find a million different methods and products.
I’ve tried many different things and want to share the method that works the best for me.
There are eco-friendly and “green” products out there, as well as more traditional solvents and thinners.
Both can do the job. I’ve had success with the green products. Other times they just didn’t work for me.
There are several factors that affect how well a furniture stripping product works.
Such as:
- Is it super hot outside?
- How many layers of paint are you taking off or what other kinds of finish may there be?
- And of course, how patient can you be?
So with that said, I encourage you to try a few different products and have an open mind about what you may use.
I started stripping first with some eco-friendly products I had on hand, but they just weren’t getting the job done.
For whatever reason, this finish was super gooey and just didn’t want to come off!
I decided to switch products though, and once I did the project went super fast!
This post contains links to websites outside of LostandFoundDecor.com. These links are provided for your convenience and comply with affiliate program rules. It does not cost you any more to shop through these links, but it does help support this blog. Thanks for the love!
Here are the products I used:
- Klean Strip Stripper
- Klean Strip Laquer Thinner
- Heavy duty rubber gloves
- Plastic scraping knife
- Coarse Bristle Small Brush
- Fine steel wool
- Plastic trash bag for disposal
- Face Mask (optional)
- Disposable chip brush
These are pretty heavy duty products for stripping furniture. So it’s important to take safety precautions when using them.
Be sure to work in a well-ventilated area (I worked in my driveway).
Protect your hands, eyes, and clothing, and dispose of your chemicals and stripped finish in accordance with your local laws.
Yes – it kinda sounds like a pain. And it is a bit of one, to be honest!
But I promise you, when working with the right piece, the result you will get is totally worth the hassle!
And the more you use the technique, the more comfortable you will get with the products and the faster you will be able to work and clean up.
Here is the process:
- Using a chip brush and working in sections, brush on the Klean Strip Stripper relatively thickly. Allow to sit for 2-3 minutes and watch as the finish starts to pull away from the wood.
- Scrape off the stripper and finish using a plastic scraping tool. Use the brush to get into detail areas and corners.
- Rinse off the surface with lacquer thinner, rubbing with steel wool. This step really cleans up the surface and gets off the remaining bits of finish.
- Allow to dry, and you’re done!
If you’re a visual person, check out this excellent YouTube video that follows this exact process to see just how this works.
Here is what my nightstand looked like once I finished stripping the finish:

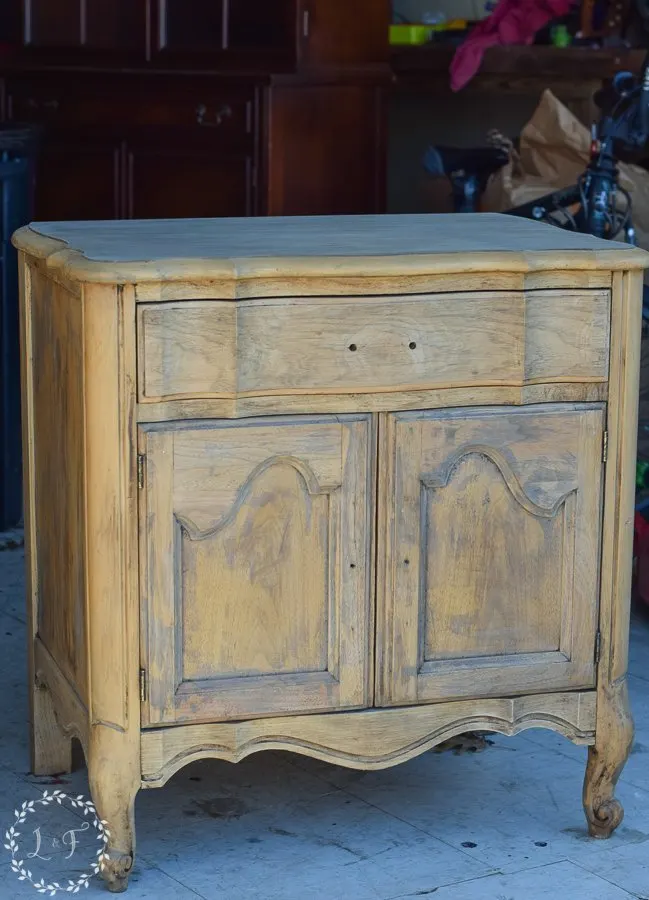
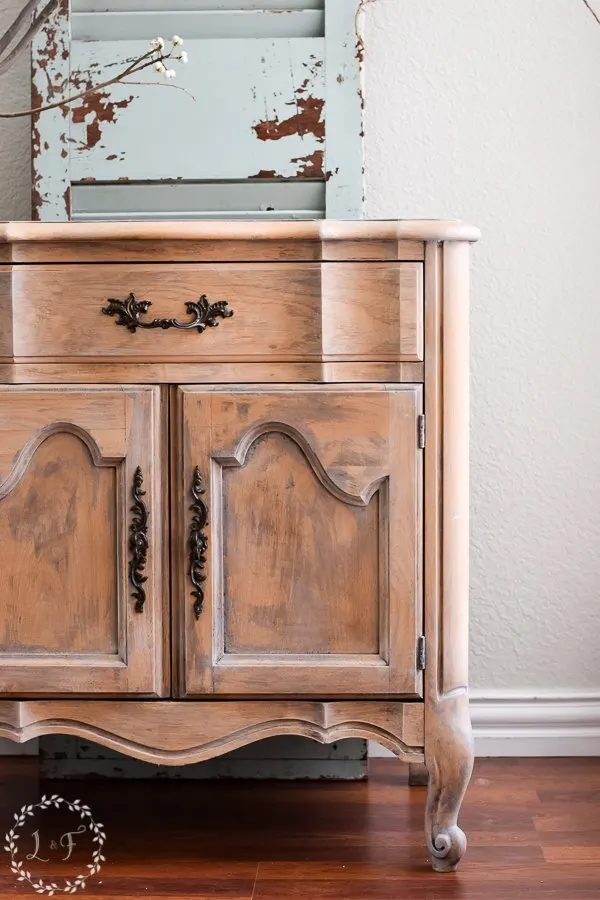
Once all the finish was off, I realized there were several different types of wood on this piece, with oak being the main parts of the body.
The oak pieces looked really amazing, some of the other wood was more ok.
And I’m not certain what the deal is with the stains on the door fronts?
That’s one of the things that can happen when you strip furniture–you may be surprised to see damage underneath you couldn’t see while the wood was still stained.
All in all, though, I was pleased!
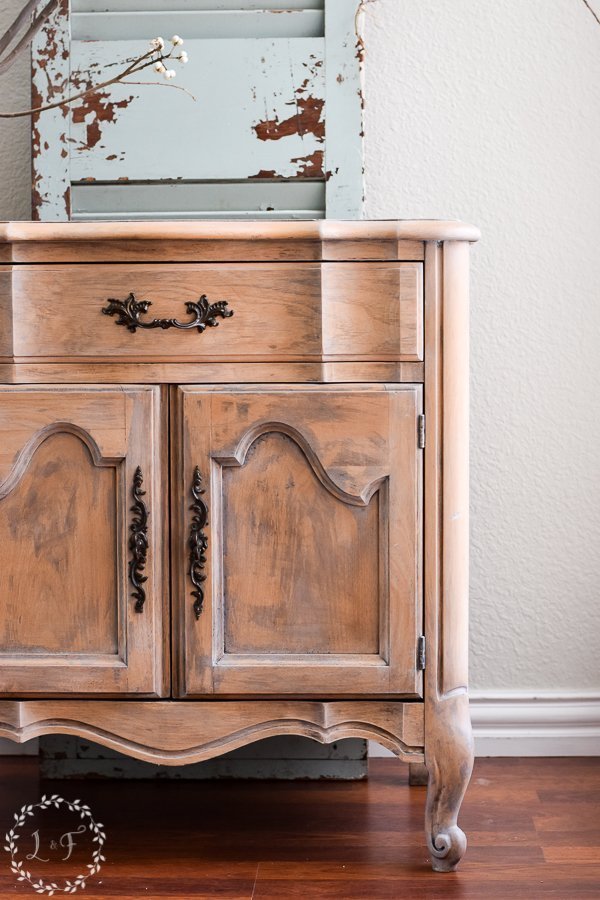
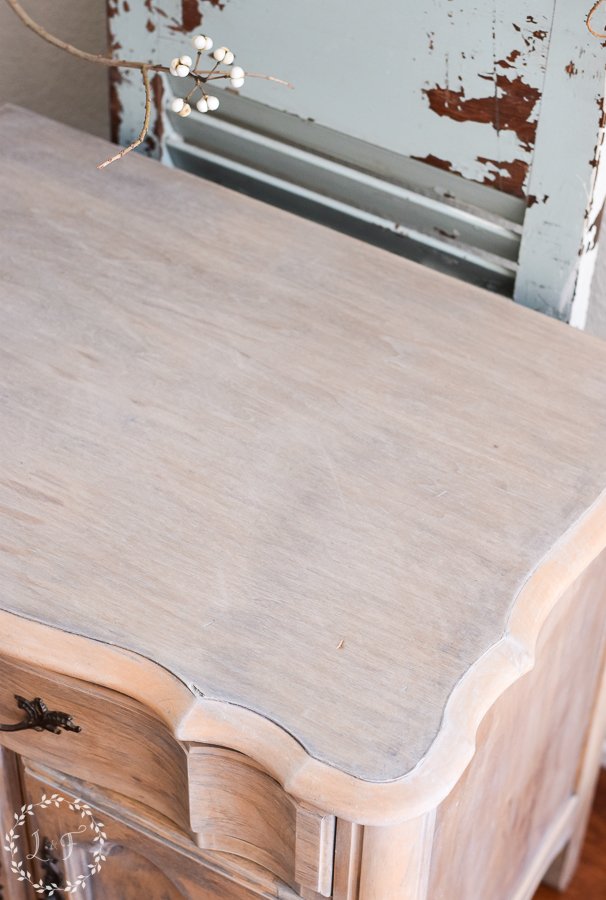
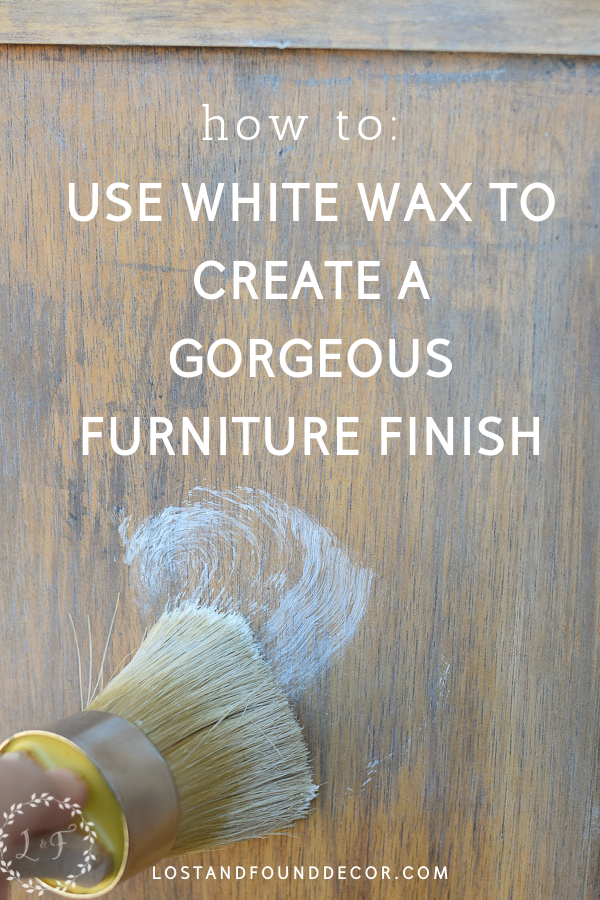
Applying White Wax
Now that my piece was back to raw wood, I needed to apply some sort of topcoat to protect the wood. I could have used any sort of wax or poly, but I decided to go for white wax.
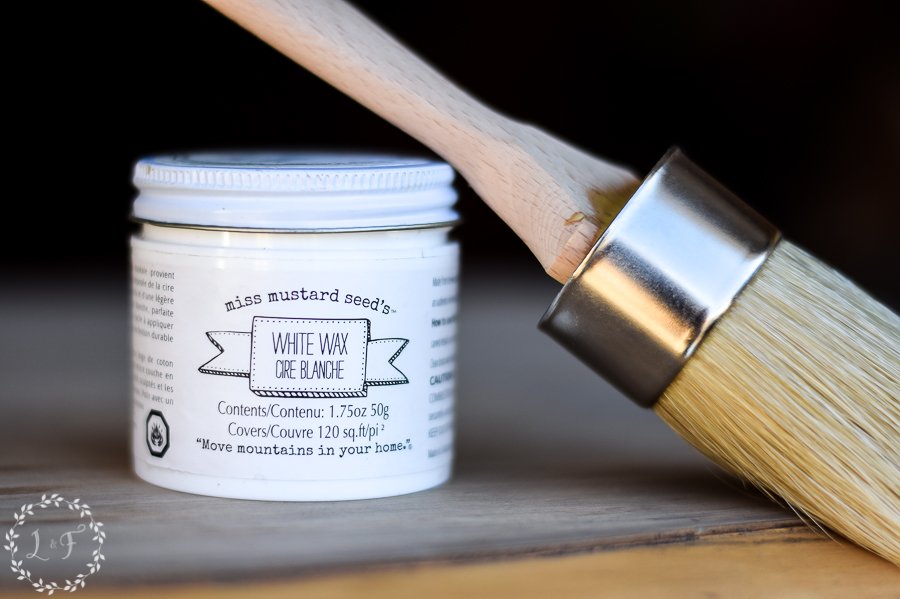

I wanted the white wax to settle down into that oak wood grain, which would create a neat whitewashed effect.
The goal was to tone down the orangeness of the wood and tie together the different wood types, while also camouflaging those stains on the doors.

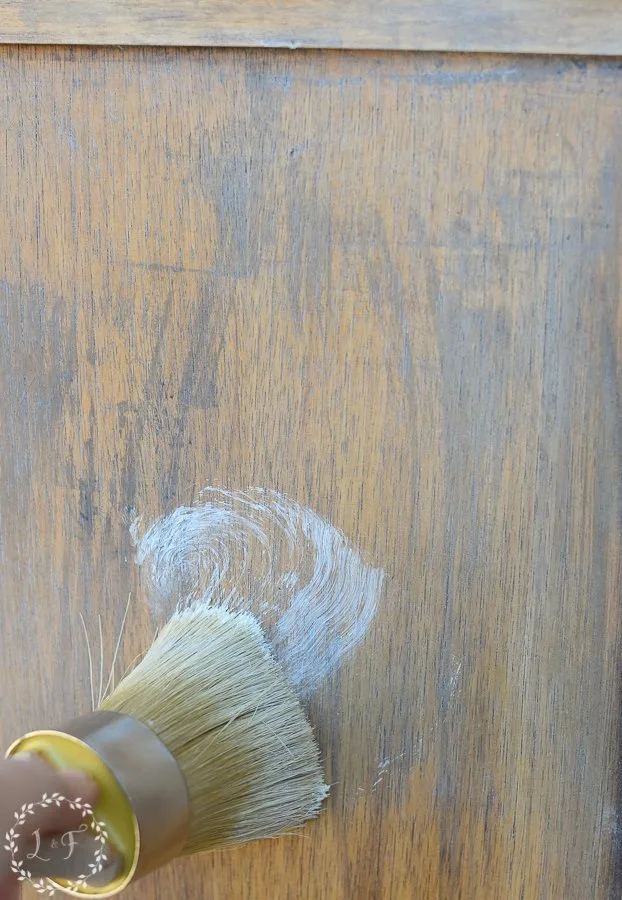
Using a wax brush, I applied the wax by brushing it on in circles, making sure to really push it down into the wood grain.
Then I wiped off any excess with a lint-free cloth. It worked like a charm and created exactly the look I was going for!
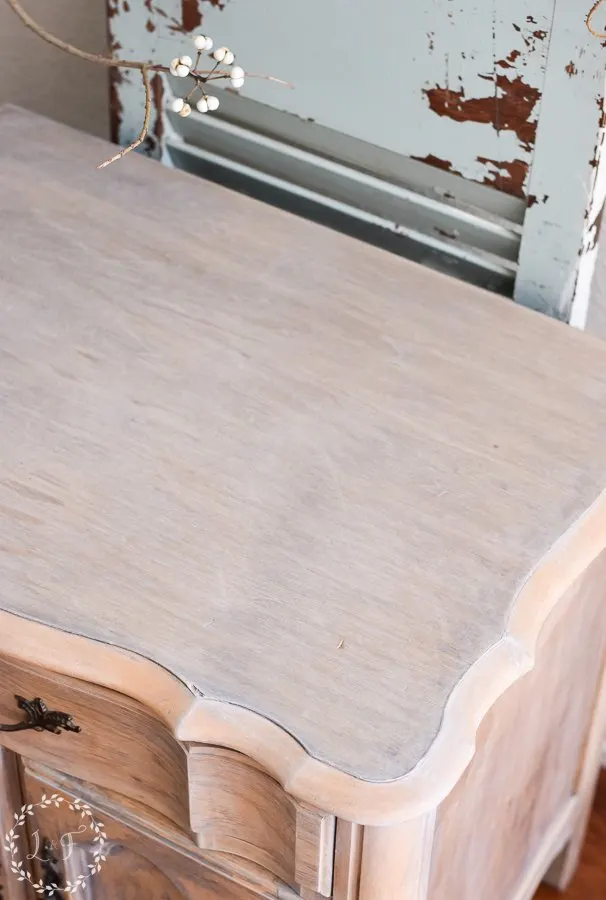
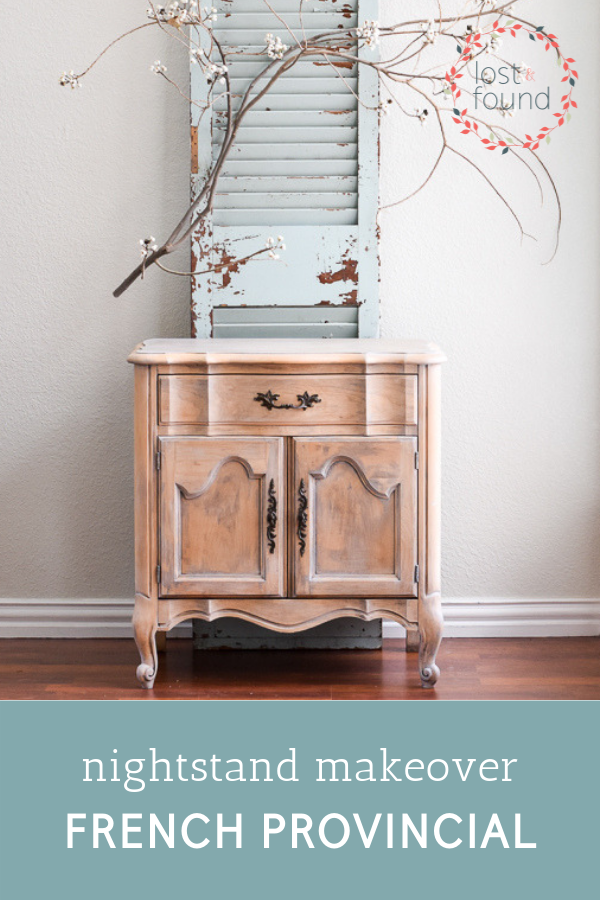
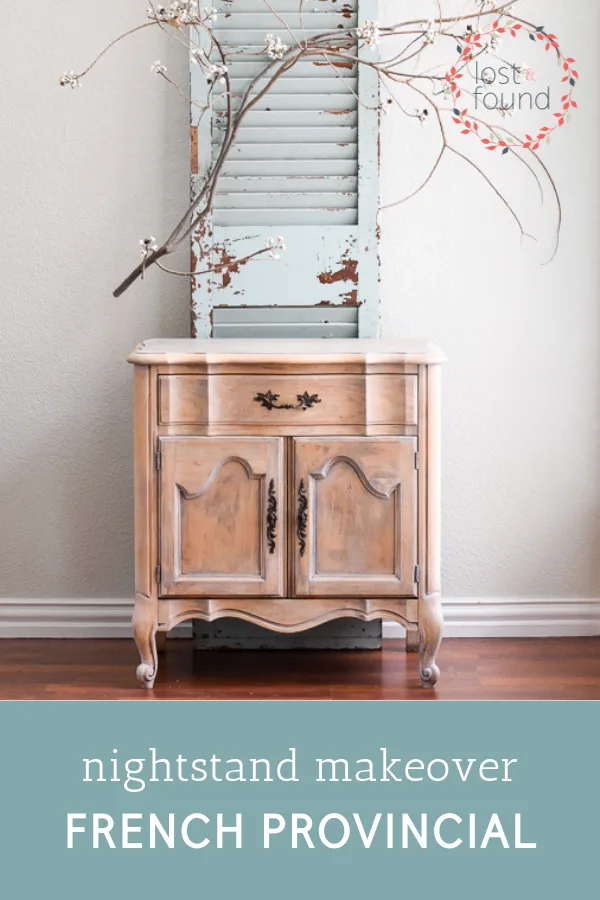
After Photos!
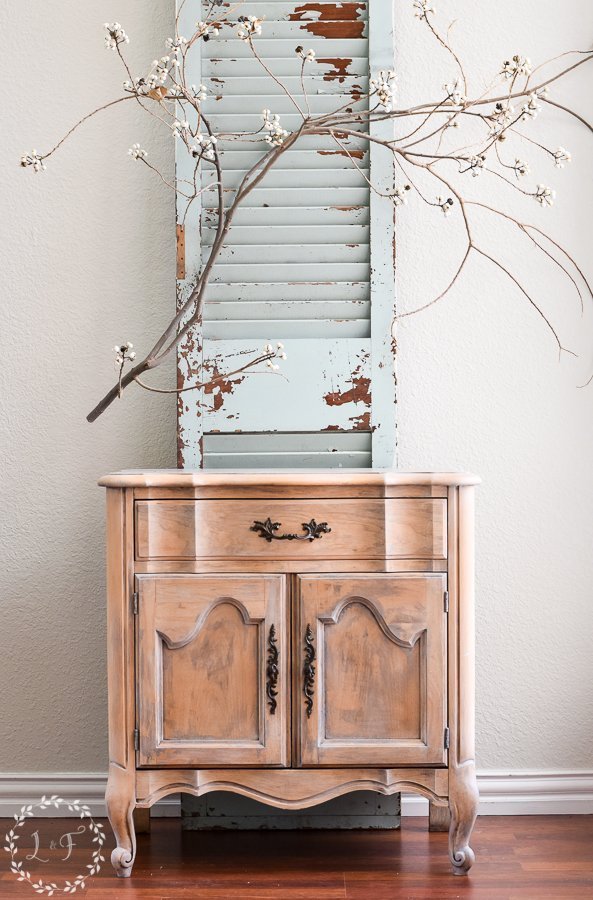

What a HUGE difference, right?
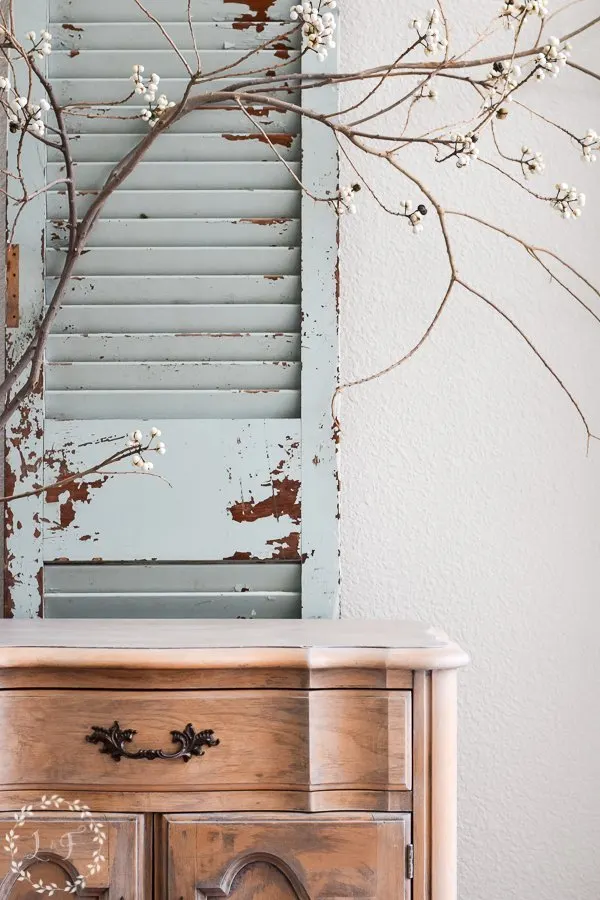
This piece now has such an amazing vintage patina and complements the whole Farmhouse or French Country decor theme perfectly.
The piece has a much softer and lighter feel.
So much better than the dark stain.
And that pretty oak wood grain shows up so well!


So yes, this piece did take me a while, but I was soooo happy with how it turned out.
And I now feel much more confident and up for trying stripping a bigger piece of furniture as well.
I hope you like it too!
If you found this a helpful resource, would you please pin this post?

And as always, you can grab the Miss Mustard Seed’s White Wax and Wax Brush I used over in my online shop (along with lots of other goodies!)


Home Imagined Link Party #20 - Master"Pieces" of my Life
Tuesday 13th of June 2023
[…] how to strip furniture | 20 milk paint before and afters […]
Home Imagined Link Party #20 - The Antiqued Journey
Tuesday 13th of June 2023
[…] How To Strip Furniture 20 Milk Paint Furniture Before and […]
Anna
Monday 12th of June 2023
Melanie! This is SUCH A GOOD post! I'm with you, I hate that gooey, gloppy, sloppy, slimy mess that citristrip leaves behind. Your french nightstand looks amazing. I love the waxed finish. Thanks for the tips!
Jan Anderson
Thursday 16th of May 2019
A great transformation! That piece is just beautiful now. Thanks for your thoughtful review of stripping techniques. Jan
Glenette Brodzinski
Monday 27th of May 2019
I love the results! I have a piece that I am going to try this fall!!! Love your tutorials!
Jan Anderson
Thursday 16th of May 2019
A great transformation! That piece is just beautiful now. Thanks for your thoughtful review of stripping techniques. Jan
Glenette Brodzinski
Monday 27th of May 2019
I love the results! I have a piece that I am going to try this fall!!! Love your tutorials!