Milk Paint is one of my favorite paints to work with!
But it comes with a lot of questions: How do you mix it? Is it durable? What if you don’t want it to chip? Does it actually have milk in it?
Those are just a few I’ve gotten over the years 🙂
So today I want to try and give you a Milk Paint 101 introduction, and answer as many questions as you may have about this great paint! It’s a fantastic, eco-friendly, affordable option for your painted furniture projects and I would love to see more people giving it a try.
So let’s get started!
Pin this Resource!
This post contains links to websites outside of LostandFoundDecor.com. These links are provided for your shopping convenience and are referred to as “affiliate links”. You are not charged any more if you choose to shop through these links, but I will make a small commission. Thanks for helping support this blog!
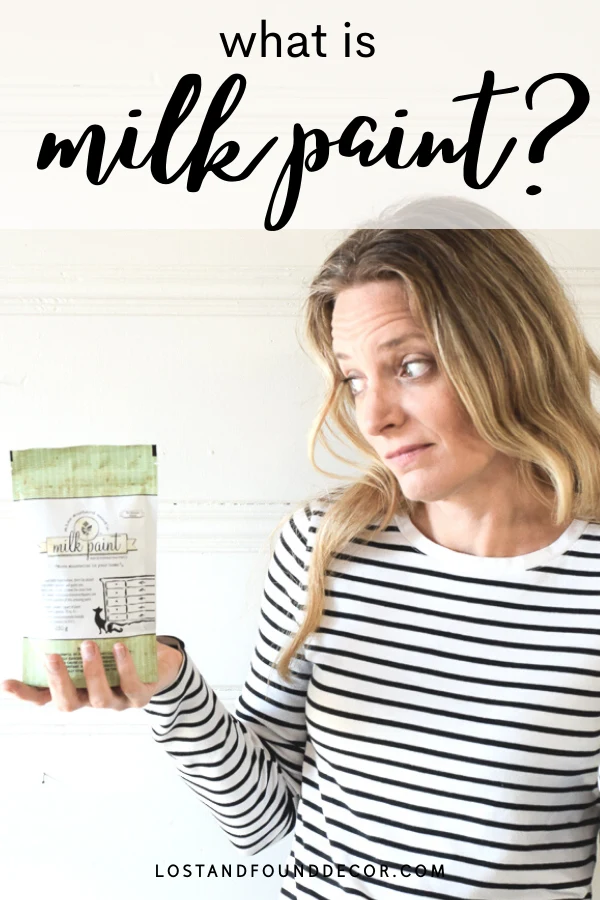
What is Milk Paint?
Milk Paint is actually a very old form of paint that has resurfaced over the past few years as furniture painting has grown in popularity. In its most basic form, it is a simple pigmented powder that you mix with water to make a thin paint.
My favorite brand of milk paint–Miss Mustard Seed’s Milk Paint–is made of only 5 ingredients: limestone, clay, chalk, milk protein, and the pigments. It is a zero VOC, natural product that has no chemical odor, no toxicity, and is very versatile.
How Do You Mix Milk Paint?
There are some milk paints on the market currently that come pre-mixed, in a liquid form. But in its most pure form, milk paint is purchased in a powder and mixed by the user when they are ready to paint.
Mixing milk paint is as easy as mixing a boxed brownie mix! Simply measure out equal parts paint and water, add to a container, then stir until fully combined.
My favorite way to mix milk paint is to add the water and powder to a mason jar, screw the lid on tightly, and shake. Easy peasy!
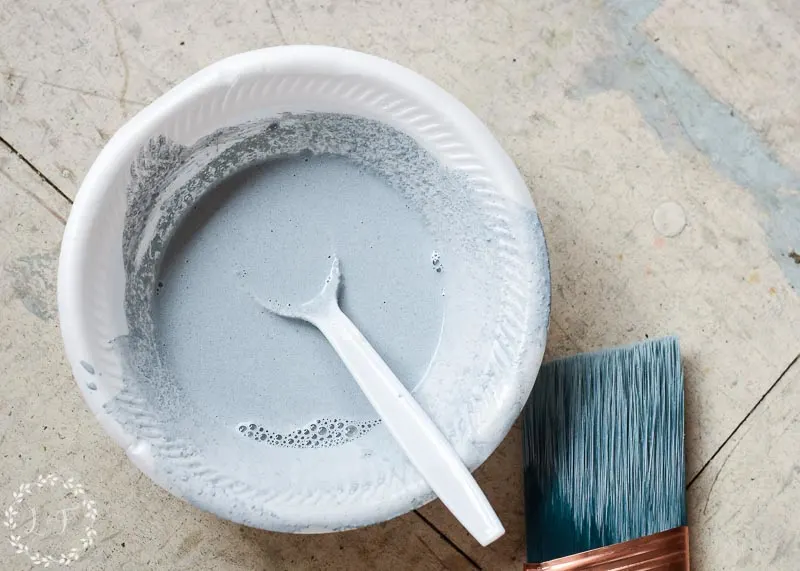
You only want to mix up the amount of paint you need for your project (I usually start with 1/3-1/2 a cup for your average furniture piece), because once it’s mixed, milk paint has a shelf life of about 10 days.
Good news though–in its powdered form, it will last indefinitely sealed up inside the bag!
Many times the color of the powder is not exactly the color of the mixed paint–so don’t be discouraged if you open up your bag and think “that looks nothing like the color I chose!”
Often the color comes to life when you add the water, like in these next photos.
Here is the powdered form of a color called Kitchen Scale:
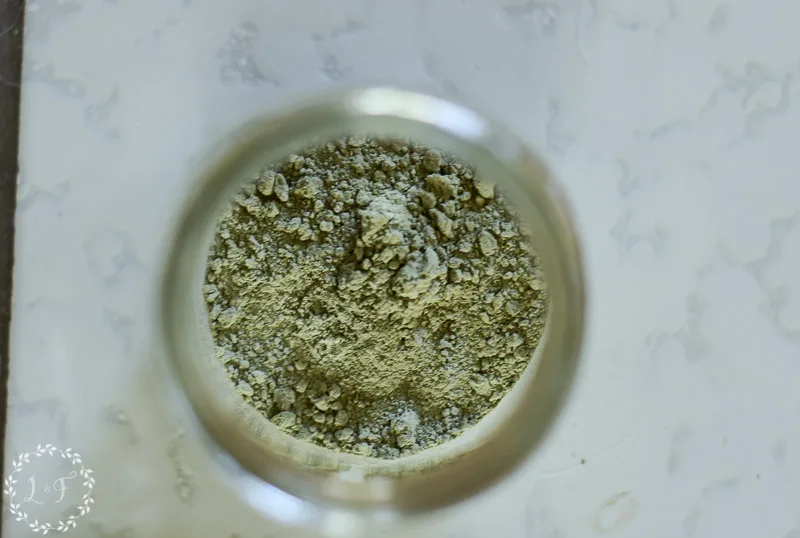
and here is it is after it’s mixed with water:
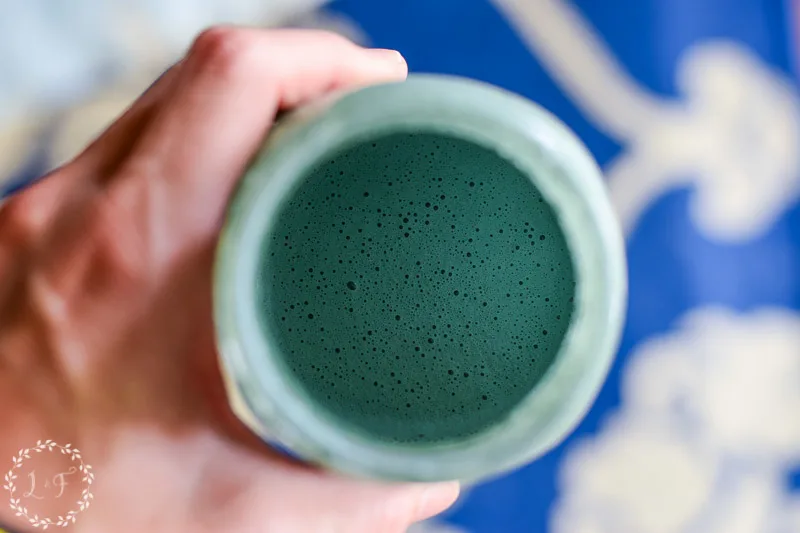
Amazing, right?
How Do you Prep for Milk Paint?
Milk Paint prep is basically the same as most other furniture paints. Step one is to clean your piece well with a degreaser, then lightly scuff with sandpaper.
Sometimes though I skip those steps, and just start painting! That’s usually because I want to let my milk paint choose where it wants to stick–that’s one of my favorite things about it!
Often over slick or dirty surfaces, milk paint will flake and chip, for a really authentic primitive look.
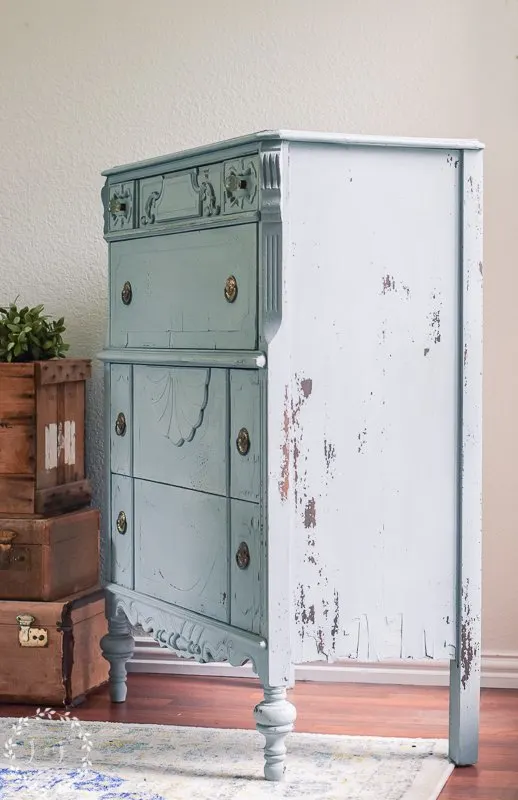
I personally love this look! But if that’s not your cup of tea, then just clean and scuff your furniture first.
What Can you Paint with Milk Paint?
Milk Paint can be used on any wood surface with the prep steps I mentioned above. If you want to paint a non-wood surface (like laminate, metal, glass, or plastic), you can add a Bonding Agent into your milk paint mix to help it adhere to the surface.
Typically, I reserve milk paint for those great wood pieces where I want to see the texture of the original wood still show through–that’s where milk paint really shines!
Is Milk Paint Durable?
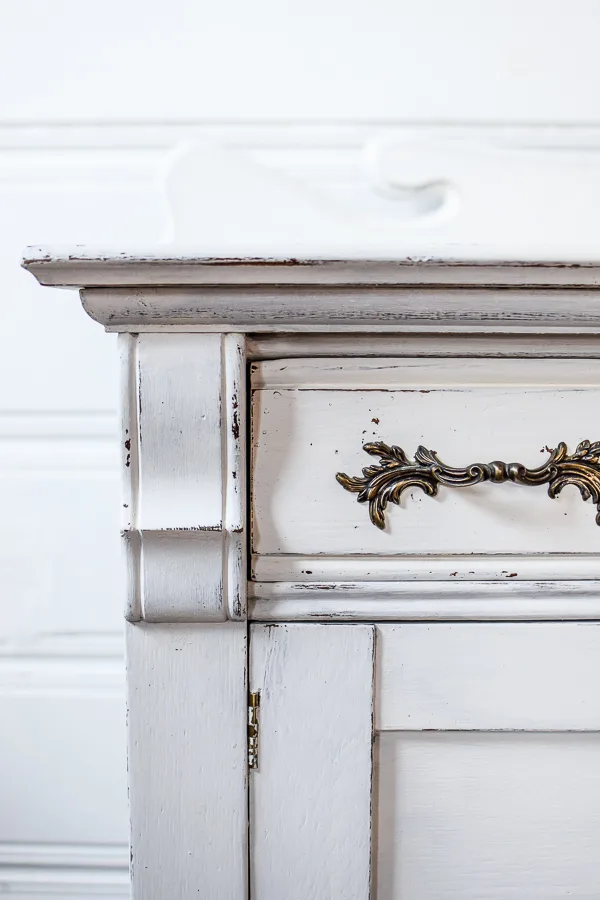
I find milk paint to be incredibly durable paint! It does need to be properly sealed (which I’ll talk more about it a minute), but with proper prep and sealing it holds up amazing under everyday wear.
Even if you have a piece where your milk paint is chipping some, once you apply your topcoat the chipping stops and you’re left with that great texture and patina.
How Do you Seal Milk Paint?
Milk Paint is a porous paint, so you do need to seal it with something to get a good finish. You can use an oil-based sealer like a wax or Hemp Oil, or you can use a water-based poly product to get a more water-permanent finish.
You can read a lot more about your options for sealing milk paint in this post here!
How Long Does it Take to Paint a Piece with Milk Paint?
Milk Paint can make for a quick makeover! After your basic prep, you mix your paint and then plan on 2-4 coats of paint, depending on the color you choose and the color of what you are painting.
Fair warning–the first coat of milk paint often looks pretty terrible! But don’t worry, with more coats you will start to see its magic!
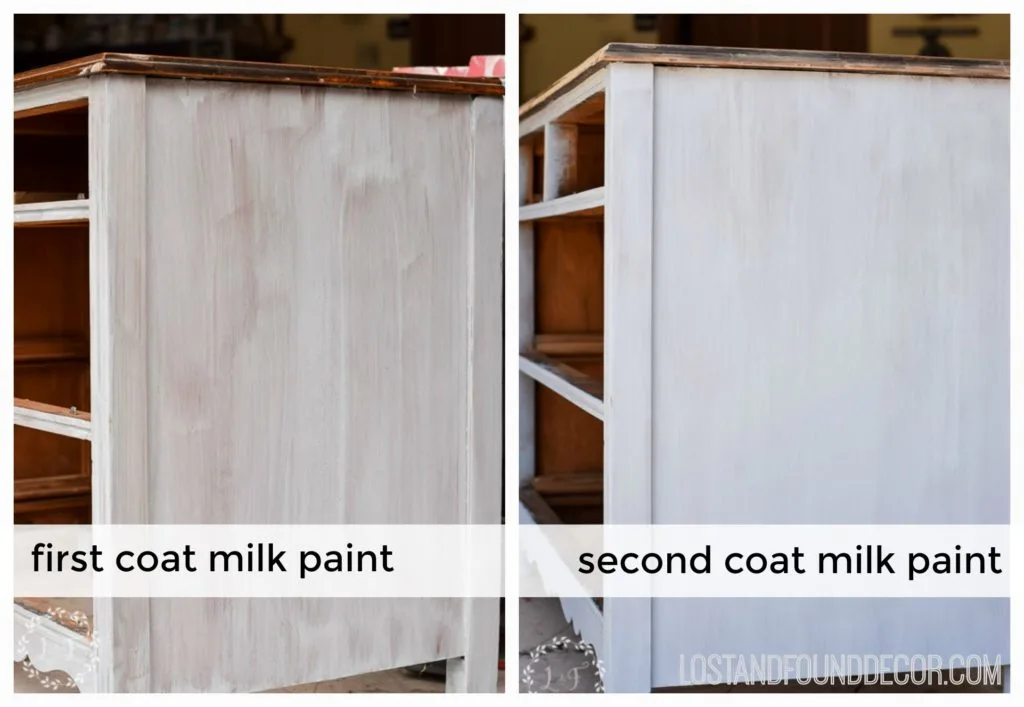
The good news though is that each coat is dry in about 20 minutes, so you can add extra coats without having to wait hours in between.
Once my last coat of milk paint is dry, I always finish sand it with a fine-grit sandpaper to take care of any gritty feeling. Then you can apply your topcoat of choice, with a wax or oil being the quickest.
I’ve finished a piece with milk paint in less than 2 hours!
Why Use Milk Paint Instead of a Chalk-Type Paint or Mineral Paint?
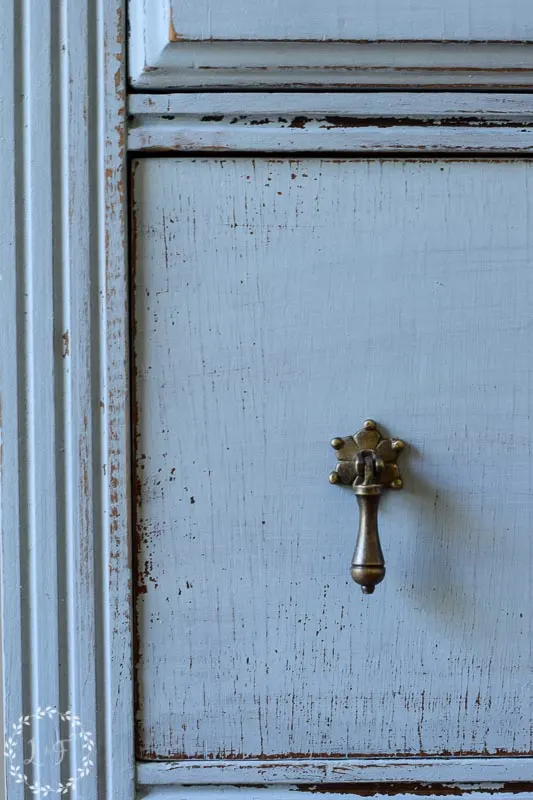
I tend to use milk paint when I am painting an older, solid-wood piece and I want to have a distressed finish. Milk Paint is amazing at creating authentic patina on your painted furniture, better than any other paint I have ever worked with.
I also like to use milk paint on craft projects where I am working with raw wood.
When you’re painting raw wood with milk paint, the paint literally soaks down into the wood and will never, ever come off!
And if you like, you can mix your milk paint with more water (3:1 water to powder), and then it will work like a stain.
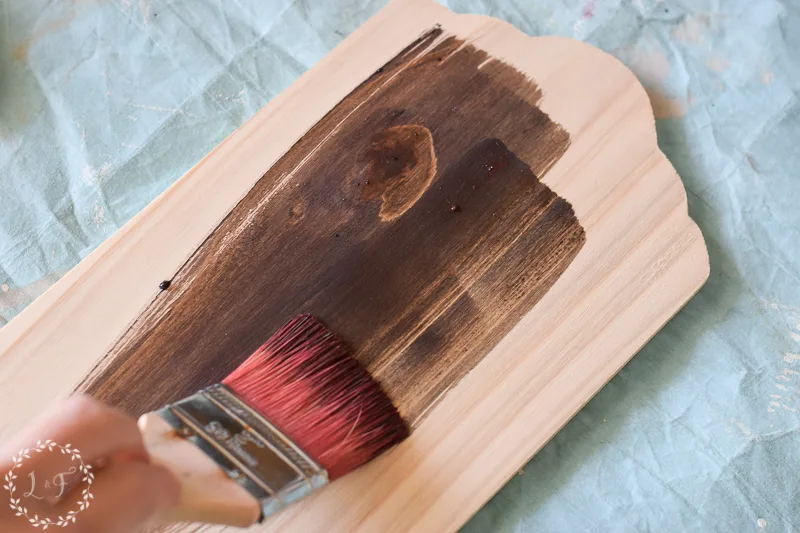
Imagine having an all-natural, non-smelly stain in basically any color you want? That’s what you can get with milk paint 🙂
Any other Reasons Why to Love Milk Paint?
In case you’re still not convinced that milk paint is amazing, let me give you a few more reasons why I love it!
Because there are no synthetic binders in milk paint, you can paint without leaving any brush strokes. Seriously, no brush strokes!
And you can use a basic, flat synthetic brush with milk paint as well, rather than a more expensive round brush that is recommended for other types of paint.
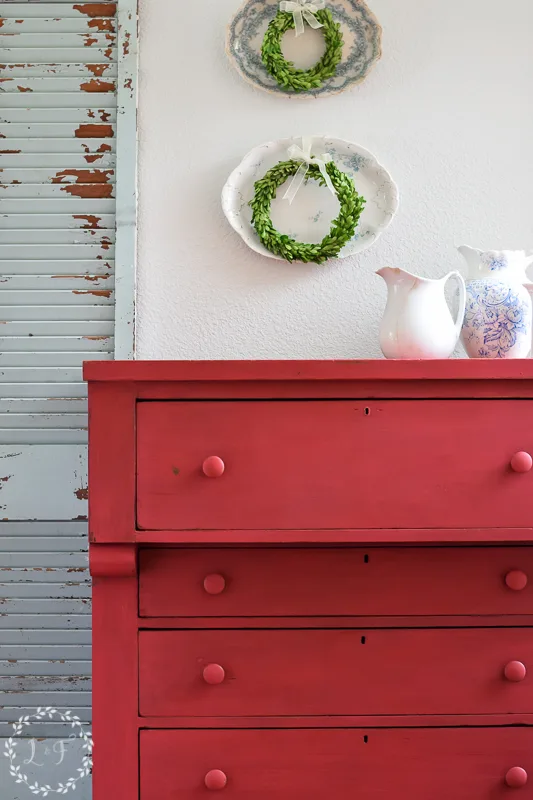
I also love the depth of color that you get from milk paint. Instead of a flat, solid color, your finished piece of furniture has amazing dimension and visual interest.
It’s a look that you can create with other paints, but with a lot more work! Milk Paint does it naturally 🙂
So are you ready to give milk paint a try? I hope so!
If you would like to see some of the projects where I’ve used milk paint, here are several below 🙂
Hoosier Cabinet Makeover with Lucketts Green Milk Paint
Painted Oak Washstand Makeover with Eulalie’s Sky Milk Paint
Milk Paint Oak TV Stand Makeover
Oak Washstand Makeover with Milk Paint Mustard Seed Yellow
DIY Gather Wood Sign with MMS Milk Paint
Thanks for being with me today!
