For the longest time we lived with yellow-cream walls in our living room. Not by choice–they were that color when we moved in, and we just had to make do for awhile. After 6 years though, I was finally able to hire someone to come in and paint the giant 2-story walls a nice, light gray.

I was so happy when the yellow was gone! But I wasn’t prepared for the issue that came next–none of my decor looked right in the space anymore!
All of my warmer-toned furnishings and decor had paired well with the yellow-ish walls, but not so well with the gray ones. So I started re-working the space, scrapping what I could and re-doing what I couldn’t afford to replace.
My main challenge for the space was changing the color scheme from warm to cool–all while keeping my same green couch. I love my couch, and I did investigate replacing it with a more neutral one, but wasn’t able to find one I liked in my budget. This couch has a lot of years of life left in it anyway, so I decided it was going to stay and I would just have to find a way to work around it.
Side note–I firmly believe that you don’t have to break the bank to redecorate a space! Don’t get discouraged if you can’t go run out and buy all new furniture every time you want to change up your room. By changing smaller pieces or accents, you can get a whole new look and keep your foundational pieces of furniture.
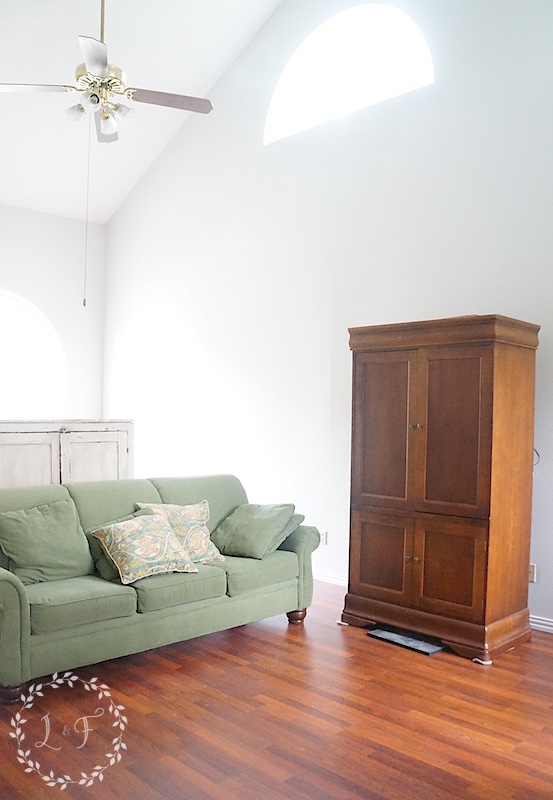
One of the changes I knew I could make though was with the large TV armoire.
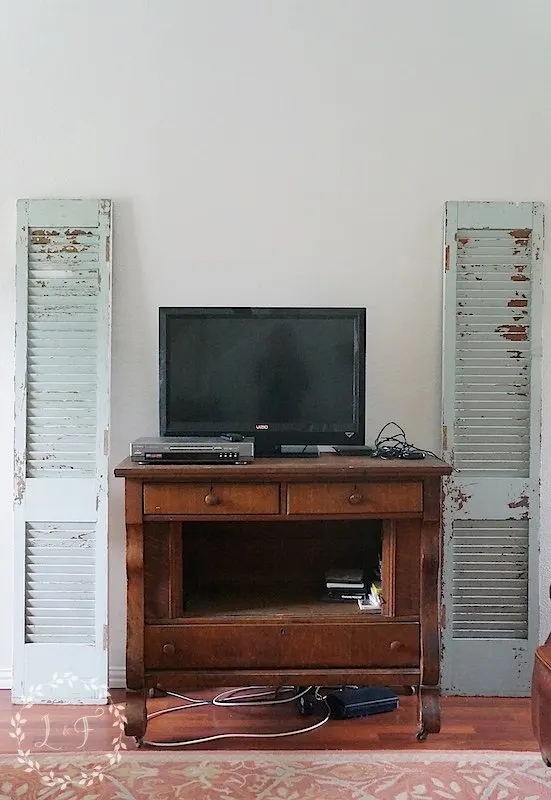
In my garage, I had an old oak buffet that had seen better days. I found it at a flea market and bought it originally for a client, but when they said it wasn’t the right size for their room I decided to keep it for myself. I swapped it out for the armoire, which instantly made the space feel less heavy.

I knew I needed to do some work on it, but it took me a long time to figure out exactly what direction I wanted to take it. And by long time, I mean like, 2 years!
If you paint furniture to sell, maybe you have the same problem as I do–it’s easy to pick a color and design for a piece you are flipping, but it takes you forever to decide on a makeover plan for one of your own pieces. Anybody with me?
Again, whatever I did with it had to work with that green couch, but also had to go with a cool color scheme. And even though the white and neutral farmhouse look is all the rage right now, deep down inside I knew I would enjoy some color!
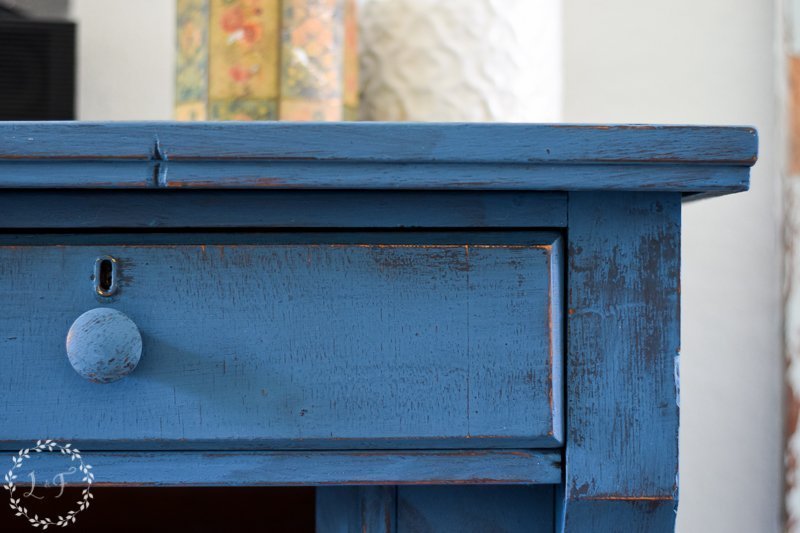
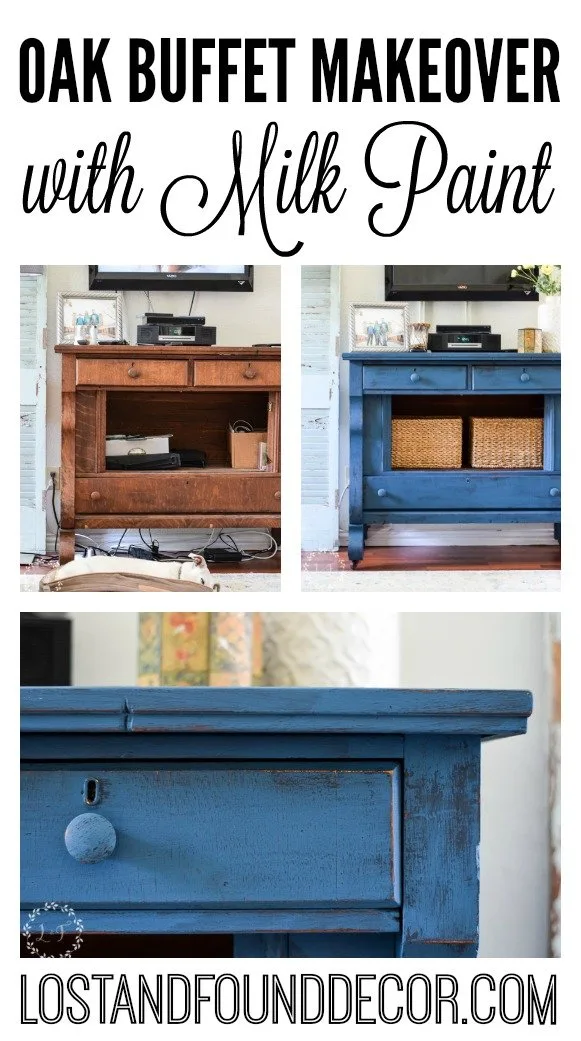
So I finally settled on a layered blue finish. I wanted the piece to maintain its character, have lots of depth and texture, and still look old–the easiest way to achieve that was by using Milk Paint! I found an inspiration piece online and decided to try and duplicate the same look.
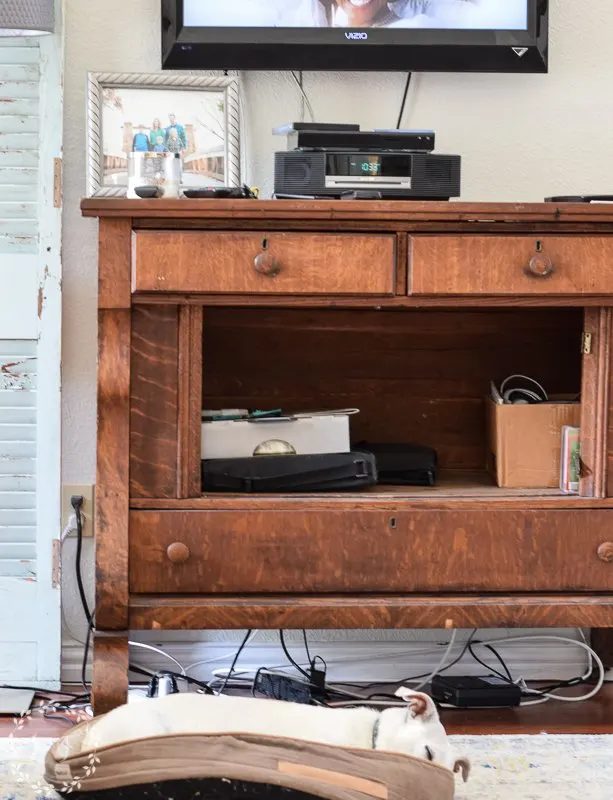
The Makeover
Here is another shot of the buffet before, complete with a billion cords and my dog:

Materials Needed
- Miss Mustard Seed’s Milk Paint Artissimo
- Miss Mustard Seed’s Milk Paint Flow Blue
- MMS Pure Beeswax
- Wax Puck
- Hemp Oil
- Wax Brush
Prep & Process
Prepping a piece like this for milk paint is super easy–basically there is none! This wood was old and dry, so I figured the milk paint would soak in and adhere well. But if it chipped some too, that was ok with me! So all I did was wipe off the dust bunnies.
I tossed down a painting tarp in the middle of my living room, mixed up my paint, and started painting. I think in total it took me about 2.5 hours, from start to finish. Another great thing about milk paint is that it dries in 15-20 minutes and is ready to be recoated as soon as it’s dry, so you can apply multiple coats in a short perdiod of time.
My plan was to layer the 2 blue colors, starting with the Artissimo first, then the Flow Blue. To get the layered look I wanted, I needed to create a resist in between the layers, which I did using the Beeswax and Wax Puck.
I put together a short video that walks you through the whole process:
So the steps were 1 coat Artissimo, then rub the Beeswax and Wax Block all over, then 1 coat Flow Blue. After it dries, lightly sand the whole piece with fine grit sandpaper and seal with a coat of Hemp Oil.
This process may look complicated, but I promise it is so easy! This is what I call “messy painting,” which is much simpler than trying to get a smooth, clean finish. Just keep playing around until you get the look you want–there’s no right or wrong way for it to wind up looking!
After Photos
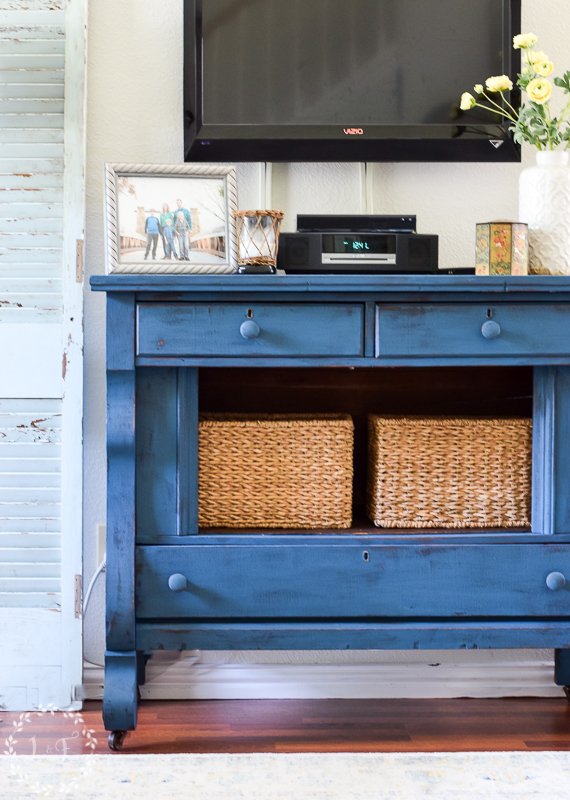
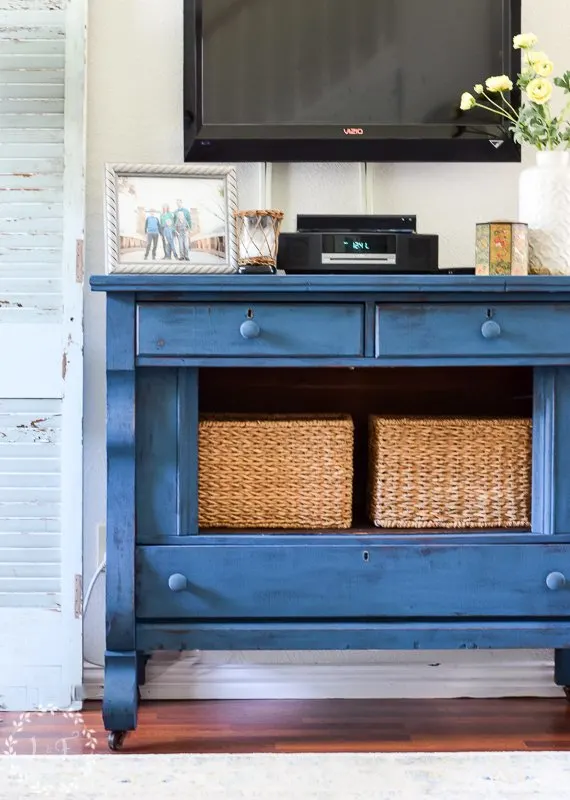
I think I achieved my goal with this piece! Great color, amazing depth, and an aged finish.
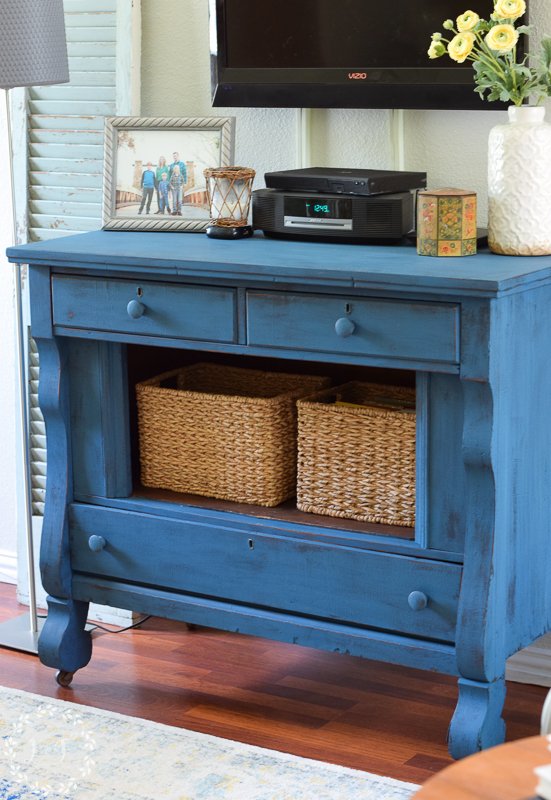

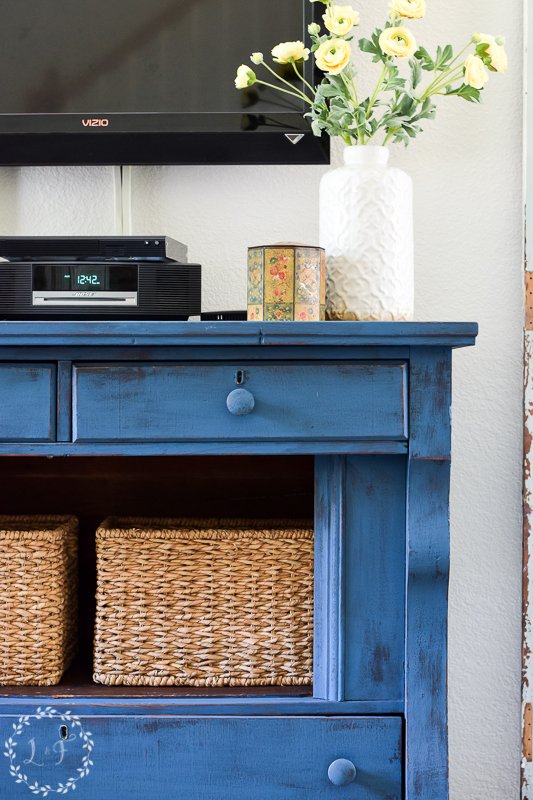
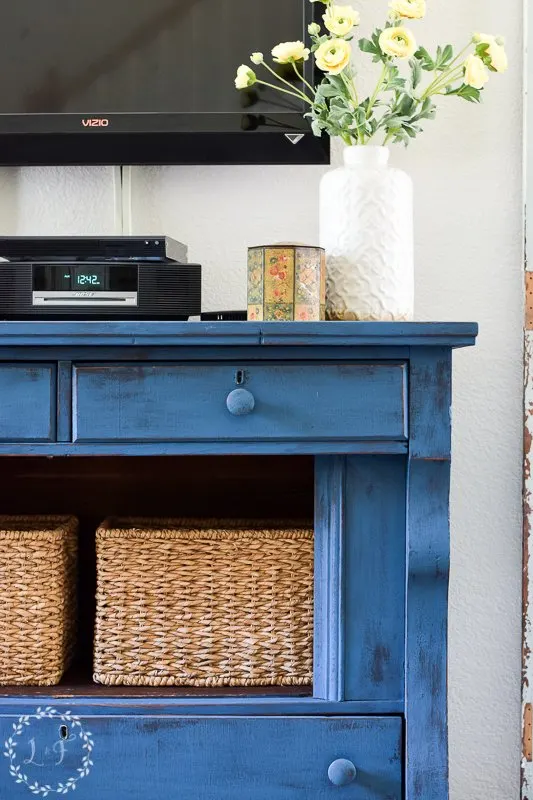
Along with painting, I added a few decorative touches and secured all of those cords onto the back side of the buffet, so they don’t dangle underneath anymore–so much easier to keep that space clean now!
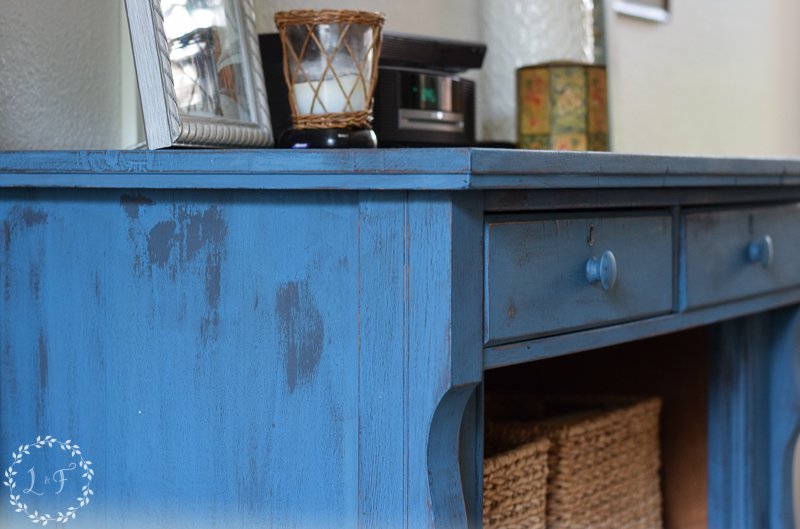

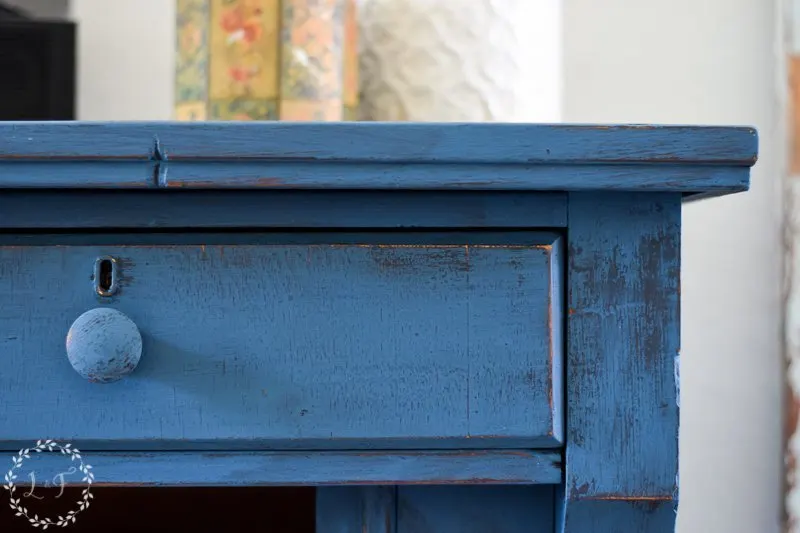
Just LOOK at the depth of this finish! And even though there is so much great texture to it, the finish is soft and smooth to the touch. Only with Milk Paint!
So my first step in the living room update is finally finished! I’ve made a few more changes that I will show you next week–more ways you can change the color scheme and feel of a space without having to break the budget.

Thanks for joining me today! And if you enjoyed the video, I would love for you to follow along with me on YouTube. Lost & Found has a YouTube channel now, and there are lots more videos there to watch, and more to come!


Cindy
Thursday 20th of September 2018
I love the layered look on this piece!! Great job Melanie!!
Cindy
Thursday 20th of September 2018
I love the layered look on this piece!! Great job Melanie!!
Jackie B
Tuesday 18th of September 2018
Beautiful job, Melanie!
Jackie B
Tuesday 18th of September 2018
Beautiful job, Melanie!
Rose
Thursday 13th of September 2018
It looks so good.