The most common questions I get about using chalk paint have to do with the wax finish.
Turns out, chalk painting furniture is really pretty easy! But when it comes to knowing which furniture wax to choose or how to get the best results with chalk paint wax, that’s where the confusion starts.
The questions I hear typically go something like this:
“Why do I have to use wax on top?”
“Can I use something else as a topcoat?”
“What brand of wax is the best?”
“How do I put it on?”
“Will it be durable?”
There is a lot of confusion about how to get the best results with chalk paint wax! So in this post, I am going to share with you all about the top brands of wax for chalk paint and how to apply it for best results.
Furniture Wax is not a new invention, but the popularity of chalk and milk paints have brought it to the forefront of the DIY furniture painting world.
Why is that? Well, chalk and milk paint are flat-finish, porous paints. So they require a topcoat of some kind to seal them and upgrade their finish to a more matte or satin appearance.
Polyurethane or polyacrylic products have been the unofficial standard topcoat for many, many years, but they can be difficult to work with and may yellow over time (especially over light colors).
They also may chip off in large pieces (since it basically a dried piece of plastic laying on top of your paint), so their finish is harder to touch up.
Furniture paste wax is then the marketed option for most chalk and milk paint projects. And while it produces a very different finish than poly, it’s a good option for a protective coating on your chalk-painted furniture.
There are ups and downs to wax though too, which I’ll talk about more a bit later.
Ultimately, the reason furniture wax is sold as the topcoat of choice for chalk and milk paints is that, unlike poly, it will settle down into the porous paint finish and cure up over time.
When scratched, it won’t flake off in big chunks like poly because in essence, it “becomes” part of the paint’s finish.
Because of that reason, I believe it is the best option for a topcoat over chalk paint (with a few exceptions, which we’ll get to below).
Is everybody following me so far?
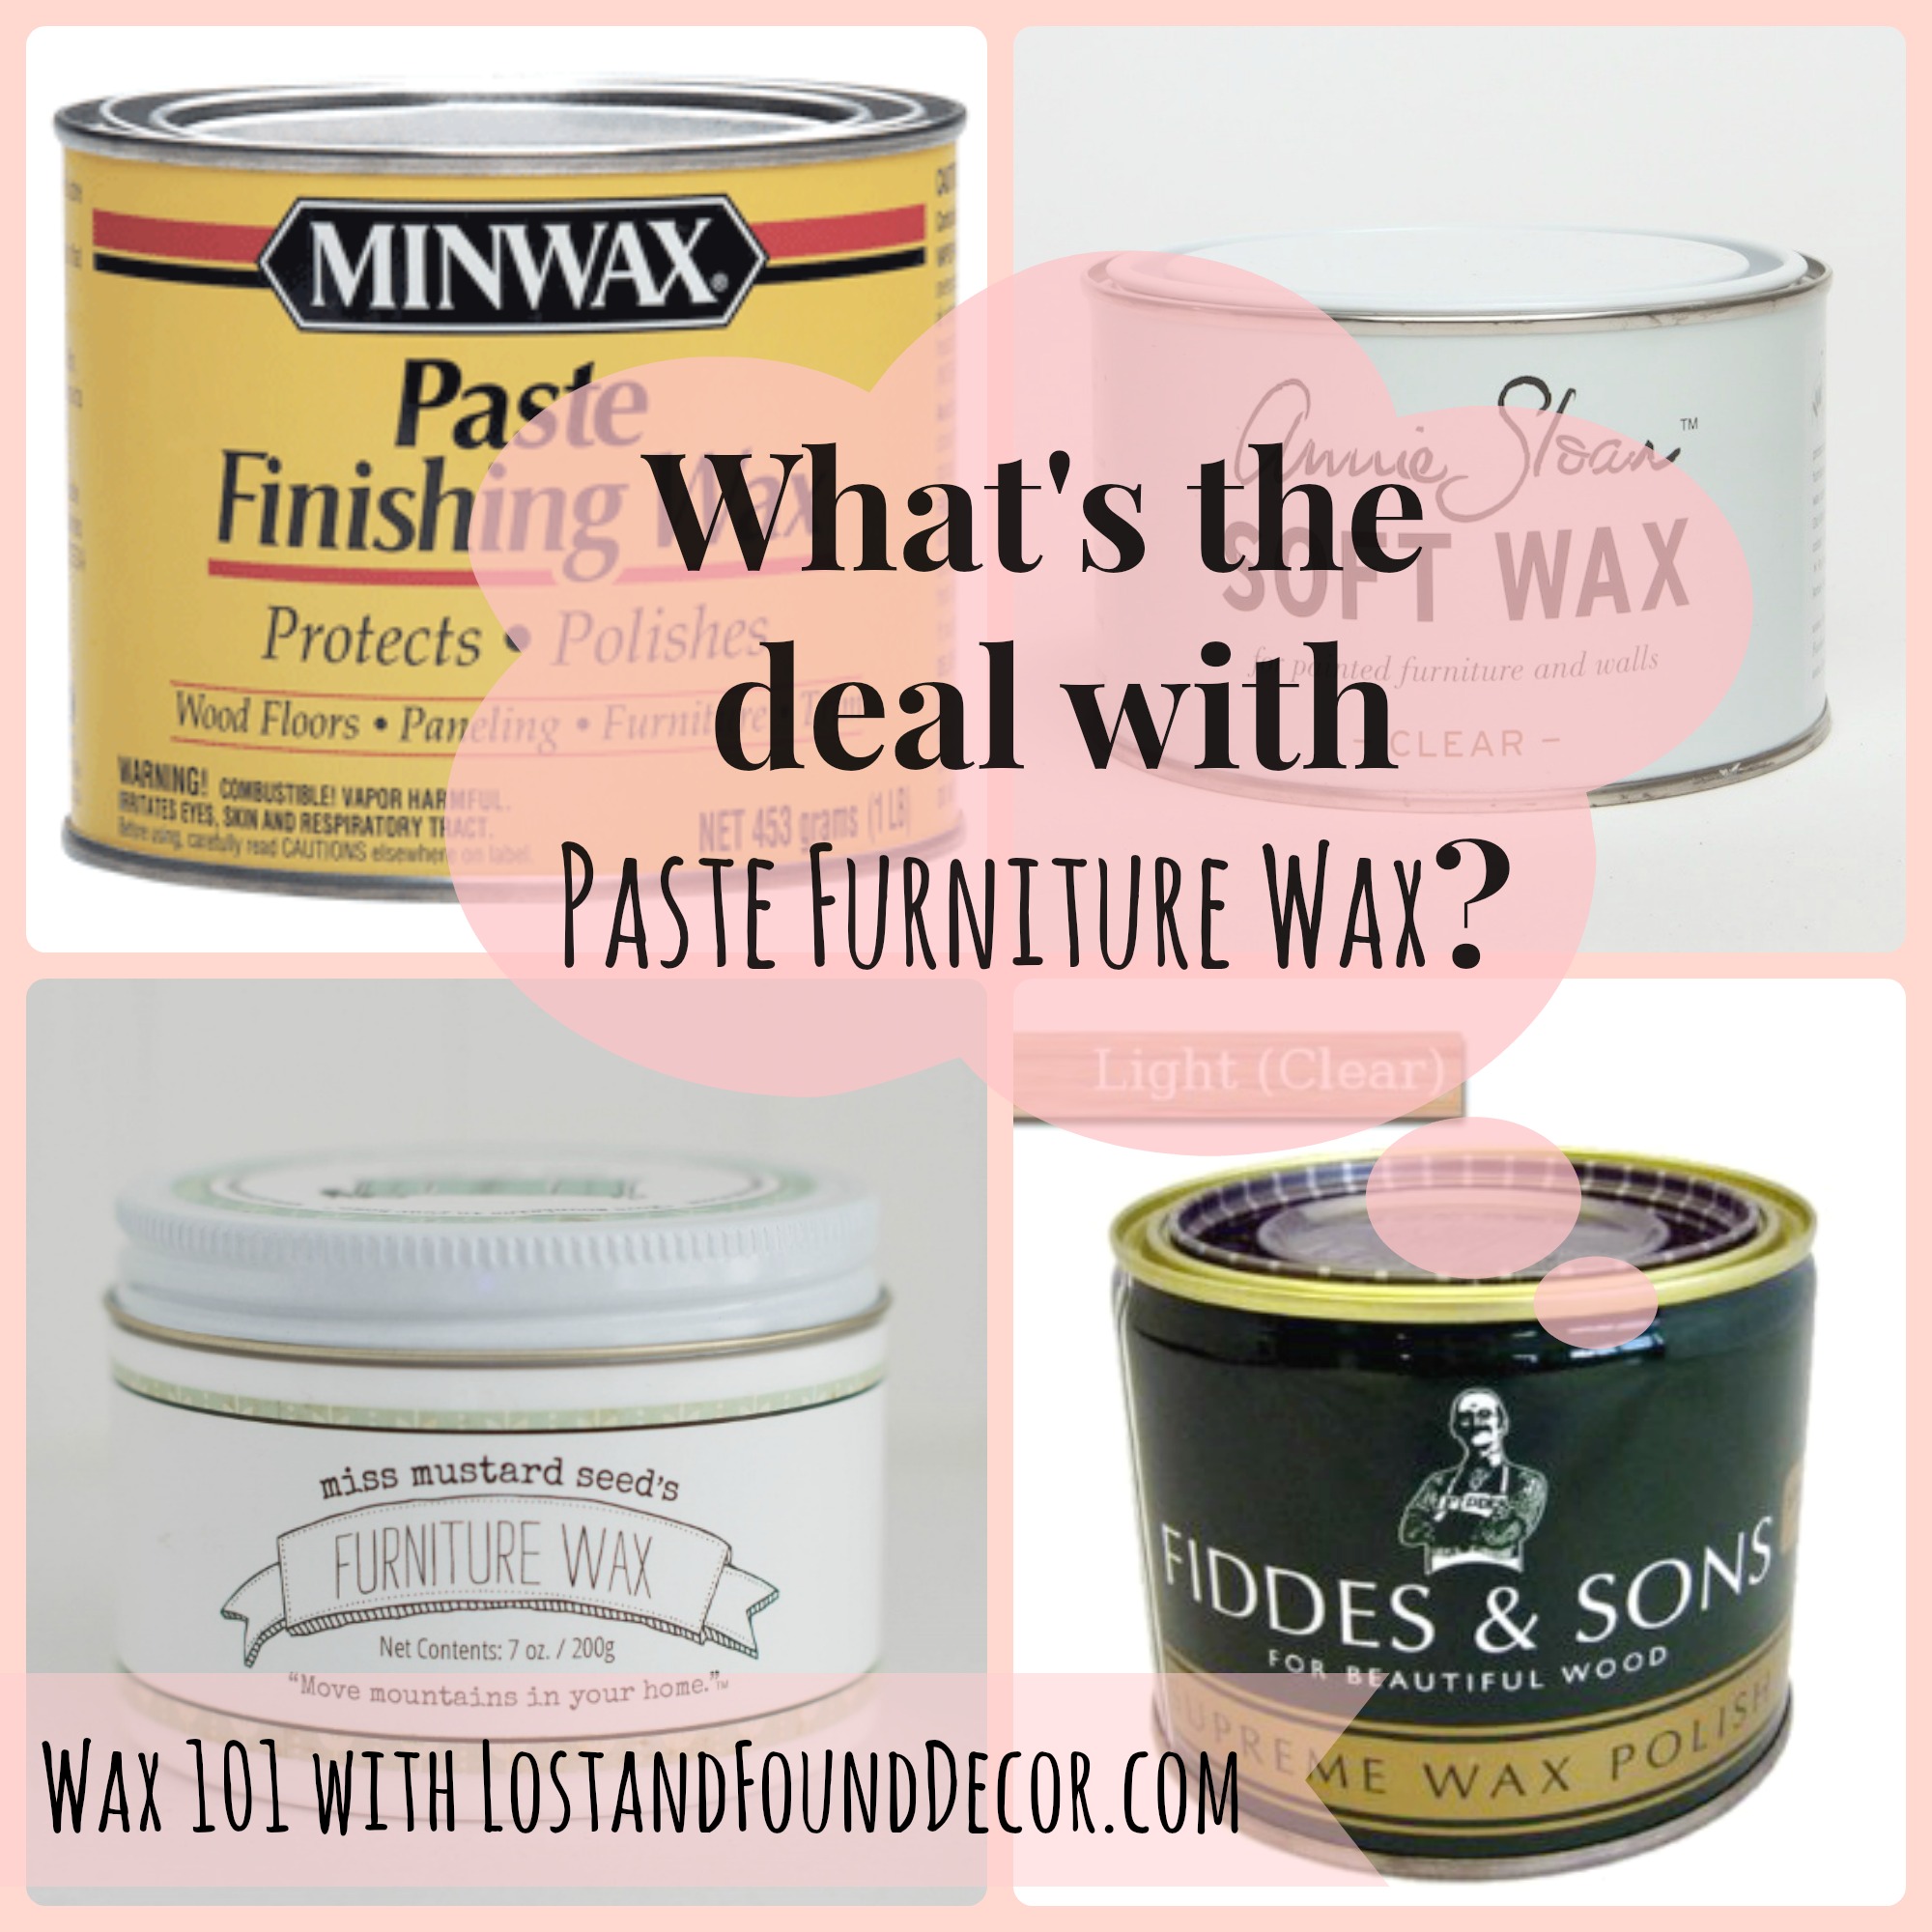
Different Wax Brands?
Many brands of furniture paste wax exist, from cans you can buy at Home Depot to more “boutique” waxes sold with chalk and milk paint lines.
From my personal experience, the main difference in the varying brands is in how environmentally friendly their ingredients are and their softness or consistency.
Most brands of wax you will find at your local hardware store are harder, paste-type waxes. Mixwax and Briwax are two well-known brands you will see readily available at places like Lowes, Home Depot, and online at Amazon. A major pro of these brands is that they are more affordable that some others we will discuss later.
However, I find these types of paste waxes to be hard work. They require a lot more elbow grease to apply and are not my personal preference.
In an effort to cut down on cost, I tried these lesser expensive brands but was disappointed with them overall. In general, I found them more difficult to work with and that they also had a strong odor.
Over these past several years, I have tried many different waxes and used many different waxing techniques. I know what I like and what I don’t like, what seems to generally work, and what most often doesn’t.
For me, it’s worth it to pay a bit more for a brand that is easier to apply and that doesn’t have a strong odor, so I tend to use the more “boutique” furniture waxes for that reason.

The best wax I have found come from the Fusion Mineral Paint line. These waxes are wonderfully creamy, with the consistency of room-temperature butter.
They are made from natural beeswax, a bit of carnauba wax, and an odorless mineral solvent which helps make them spreadable. These waxes are more of a soft wax, and so much easier to apply than the other brands mentioned above.
They are also available in a variety of colors, including dark-colored wax you can use to create an antique effect, and also several metallic colors.
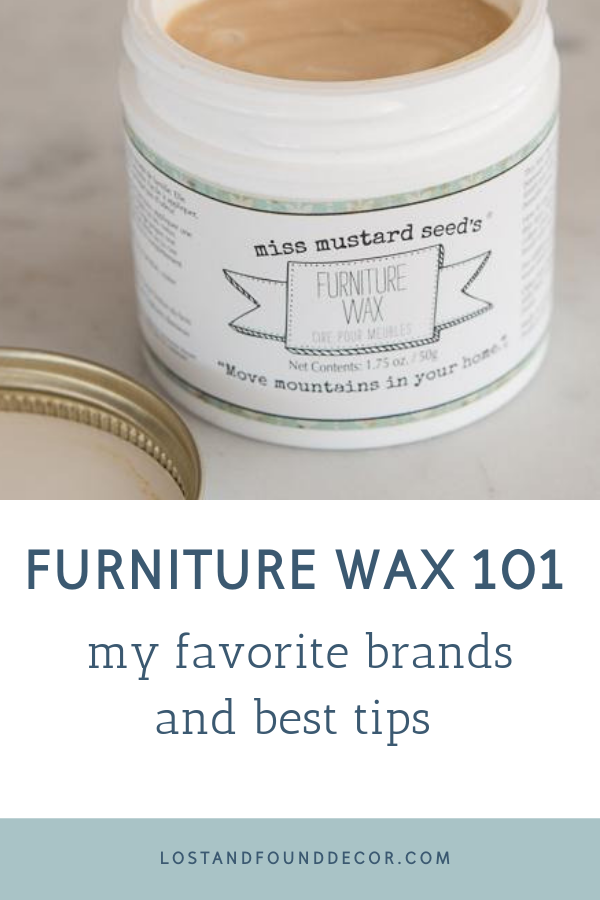
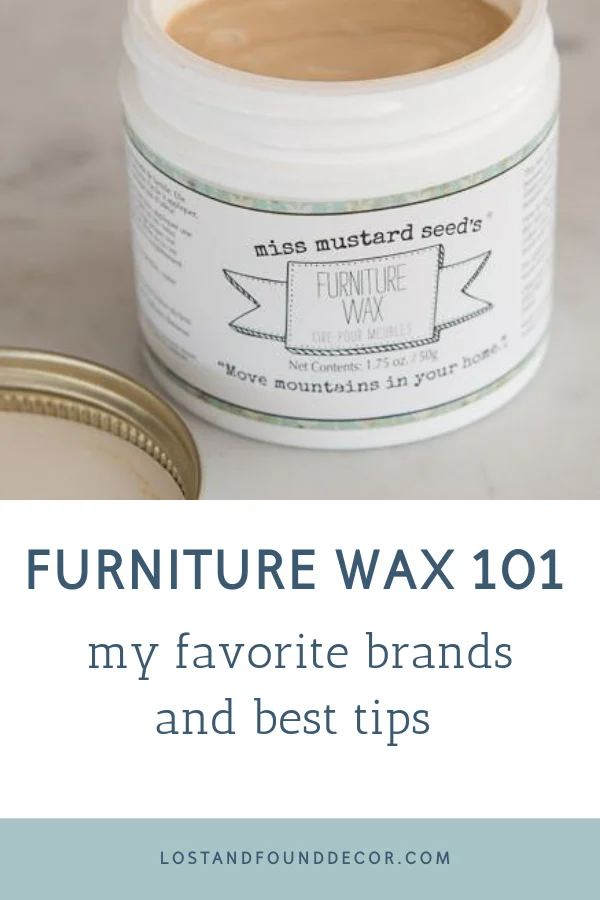
I also really enjoy working with waxes from the Miss Mustard Seed’s Milk Paint line. They are similar in consistency to the Fusion waxes and also have no odor.
How Do You Apply It?
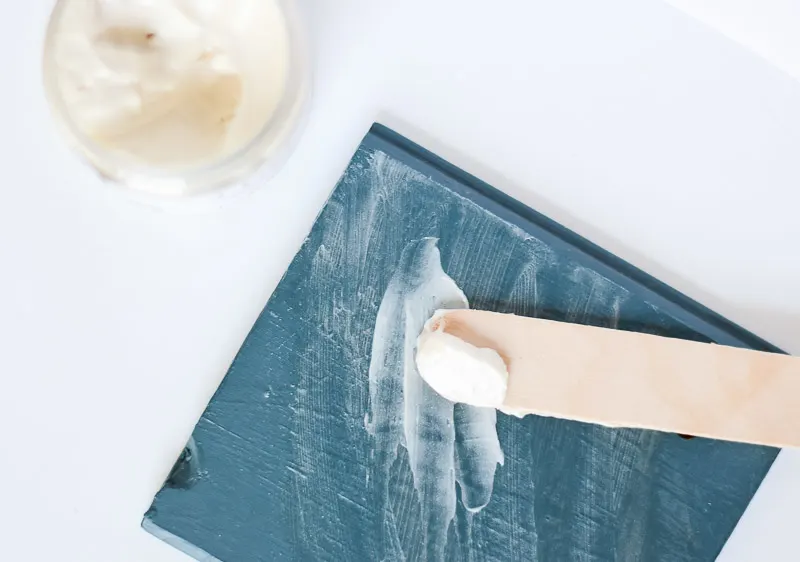
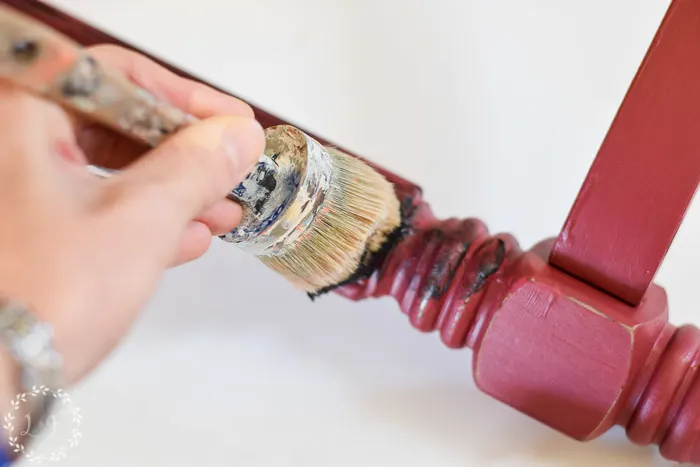
Every painter has their own method of applying wax, and I believe really it comes down to preference. When I have a large piece to work with, I will brush my wax on with a wax brush because it is quicker. In smaller areas like trim or furniture legs, I often apply wax with a lint-free cloth.
In general, you need to apply your first coat of wax over your painted surface by working in small sections.
- Buff on a small amount of wax in a circular motion.
- Allow the wax to dry for 1-3 minutes
- Buff off any excess wax with a lint-free cloth, again working in a circular motion.
And yes, you need to cover the entire piece of furniture with wax!
Remember where we talked about above how chalk paint is porous and needs to be sealed? If you paint a whole dresser in chalk paint but only wax the top, the rest of the dresser won’t have the protective finish it needs.
Another tip for success is to apply the wax in a thin layer. Most issues that come with wax are related to way too much being used!
When you apply more wax than needed, it never dries out really well and stays tacky–and nobody wants sticky furniture!
Some hard-working surfaces, like a dresser top or tabletop, will benefit from a second coat of wax. You have to make sure you wait until your first coat of wax though is fully dry before you try and apply a second (be sure to check the manufacturer’s drying time recommendation).
If you apply your second coat too soon, the mineral solvents in the fresh wax will start to pull off your first coat of wax, kind of acting like an eraser.
In general, furniture wax will give your finished painted surface a matte finish. If you want more shine on your paint color, you can buff your completely dry wax with a soft cloth.
Note, buffing is not the easiest task! It takes some real elbow grease, and don’t expect to create a deep shine like on factory-finished furniture. However you can make the final finish feel smoother and have a bit more luster if you take this final step.
What about a wax brush?
Wax brushes are marketed and sold along with many boutique waxes, like these I have in my online shop:
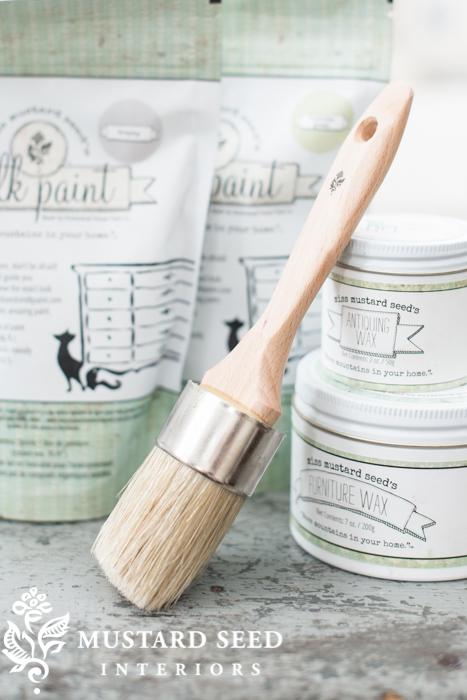

A good wax brush is a great option! But I’m the first to admit that they can be a bit expensive, especially if you only paint furniture every so often.
If you aren’t ready to invest in a nice wax brush, you can use inexpensive chip brushes from the hardware store, just watch out for bristles coming out and sticking onto your finish.
You will also want to make sure you use a cloth to wipe back the excess wax you apply with a brush, or else you may see brush strokes in your dried wax.
The one time where a brush really does work better than a rag is when you are trying to apply wax into detail areas or areas with trim. The main reason is the brush can push the wax into the cracks and crevices much better than a rag can.

Is it Durable?
Yes, I have found wax to provide a durable finish, good enough for daily use on most chalk-painted furniture. But it’s quite different from the durability a poly product provides, and it’s a good idea to understand the difference so you can be happy with the results you will get.
What I like about wax is that if you do scratch a small area, often a little more wax will fix the problem, or a bit of touch-up paint to the spot. Blending in a spot of chalk paint to a scratch and adding a bit more wax is pretty easy and usually works like a charm to fix any small spots of damage.
It’s harder to repair a scratched spot or damaged area that has been coated with a poly product. Because it’s a “hard-finish”, blending in new paint is almost impossible. Usually, the whole area has to be sanded down, repainted, and a new layer of poly reapplied.
The problem I have found with wax’s durability is that the finished surface stays “soft” . . . meaning that the scrape of a fingernail or sliding an object across the surface will leave a mark in the wax that shows up in the sunlight.
Wax is not going to produce the hard, glossy finish that poly will, so while the paint itself doesn’t scratch, the wax sometimes does.
This has been an issue for several of my clients, mainly because it’s not what they expect from a protective finish.
Like I said above, it’s good to understand exactly the type of finish you will get using the different products.
If you want a perfect, spotless, hard finish–like the finish of manufactured painted furniture, then you should consider using a hard finish like a poly or varnish instead.
Are There Surfaces Where You Should Not Use a Wax Topcoat?
Here is a good rule of thumb: wax and water don’t mix well. So any areas that you paint with chalk paint that you expect to see regular exposure to water, you should not use wax as your topcoat.
This goes for kitchen cabinets, bathroom cabinets, a kitchen table top, or even possibly a coffee table top. If you plan on regularly wiping the piece or surface down, I would suggest using a hard polyurethane or polyacrylic topcoat instead of a furniture wax over your chalk paint.
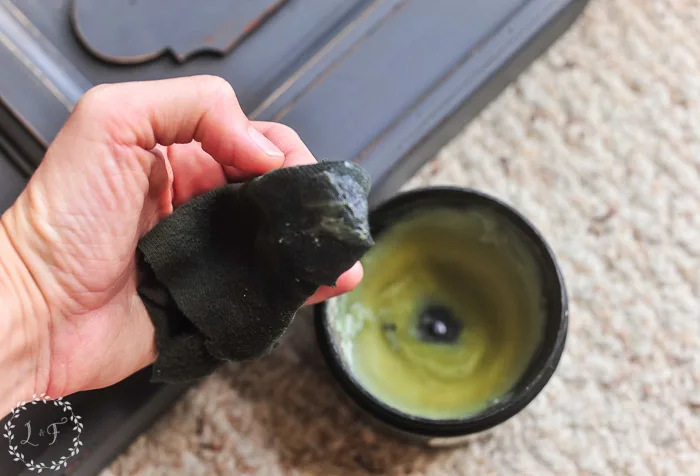
What About Dark Wax?
Using a dark wax or antiquing wax product to add depth to a finish is a wonderful technique!
The best way to use dark wax over chalk paint is to first apply a thin layer of clear wax over the surface, then brush on a thin coat of dark wax. You can also mix a small bit of dark wax with a little clear wax on a paper plate, then apply to your piece.
Both of these tips will keep the dark wax from “staining” the porous chalk paint and will help you have more control over how dark and antiqued you want your finish to be.
If you want a full, step-by-step tutorial on how to use dark wax, you can check out this in-depth blog post I wrote on that exact topic.
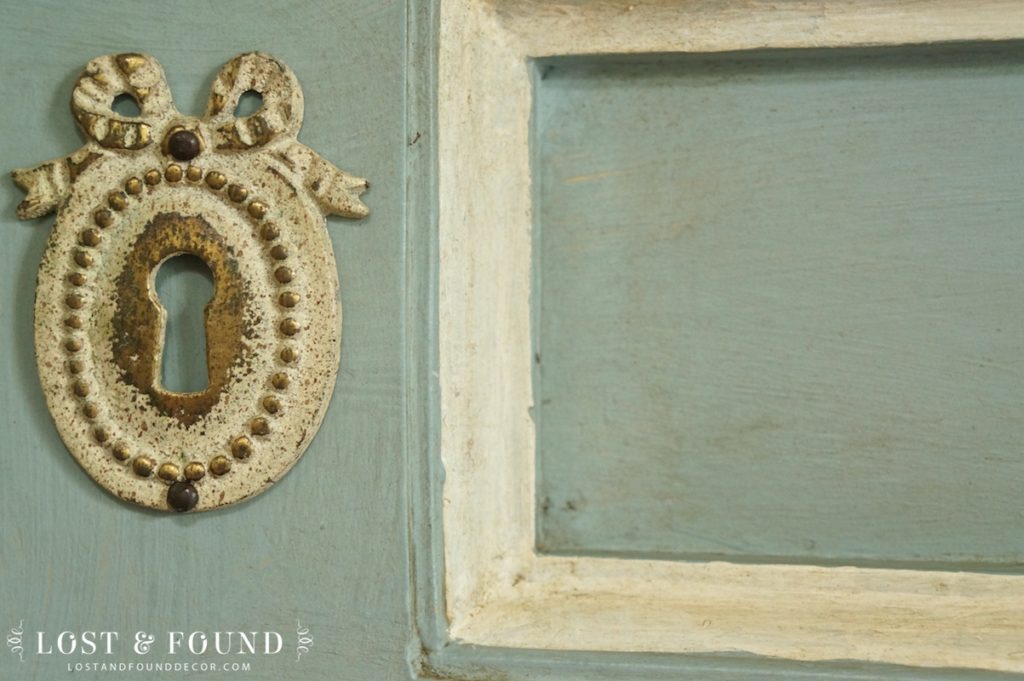
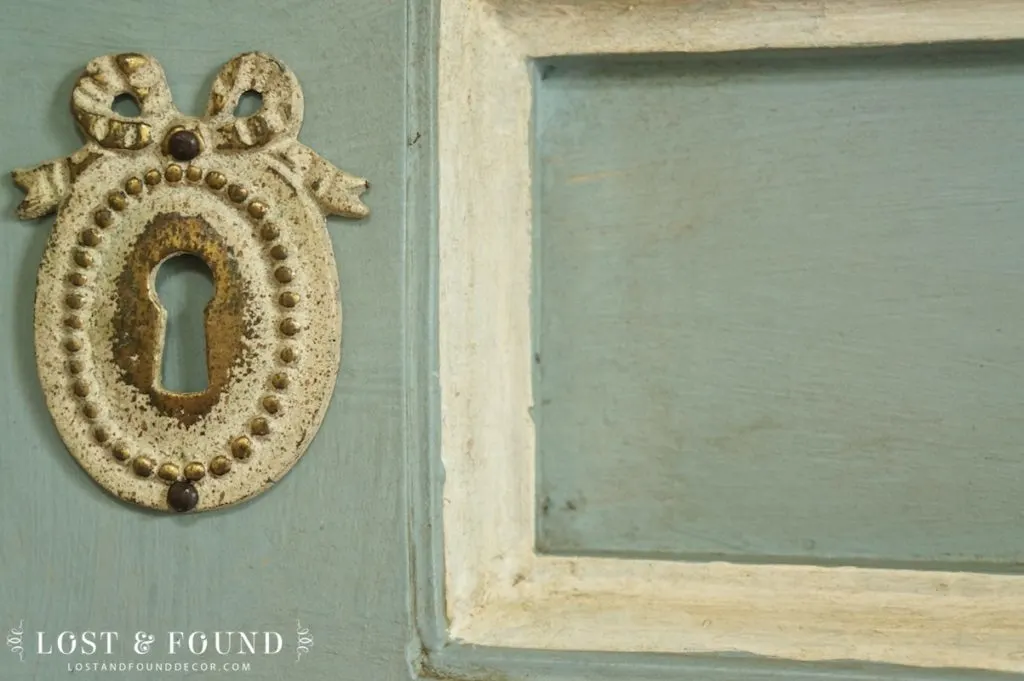
The best way to get an authentic antiqued finish is to focus on applying your dark wax into the corners and cracks of the furniture, to mimic the look of “dirt” collected over the years.
You can also change how dramatic your antiqued effect is by changing the color of your dark wax. For example, a black wax will have a more dramatic effect than a light brown wax.
One can of dark wax will last you forever! It only takes a very little bit to make a big difference, so use it sparingly. A little goes a long way.
Is there light-colored wax?
Furniture wax tinted dark can give you an antiqued finish, while a light-tinted furniture wax can create that beachy look or a driftwood finish!

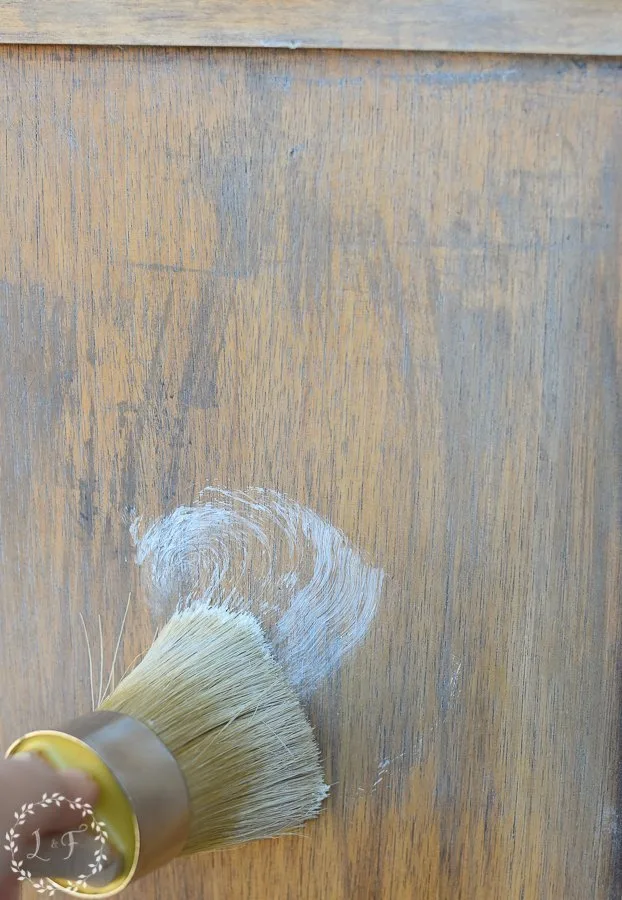
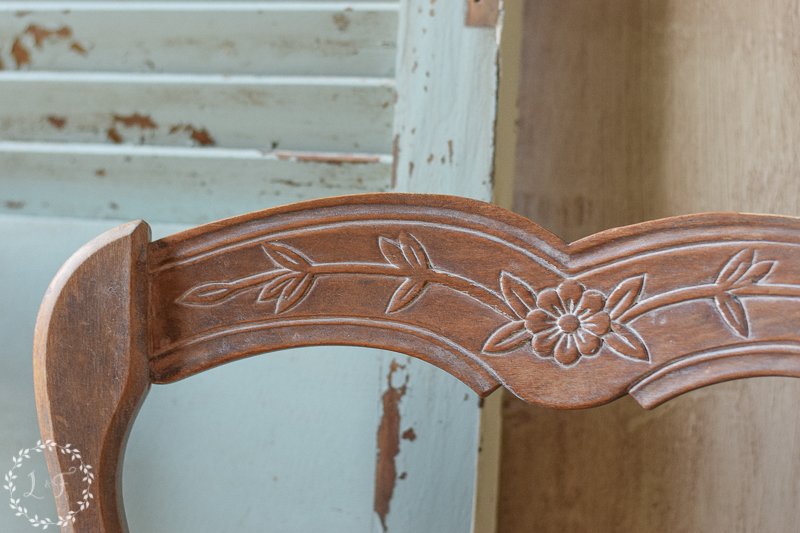
White wax or Liming Wax is a great option over stained wood furniture. It will change the look of the wood and help it appear lighter. I used it on this washstand to add a whitewashed look to the oak top.

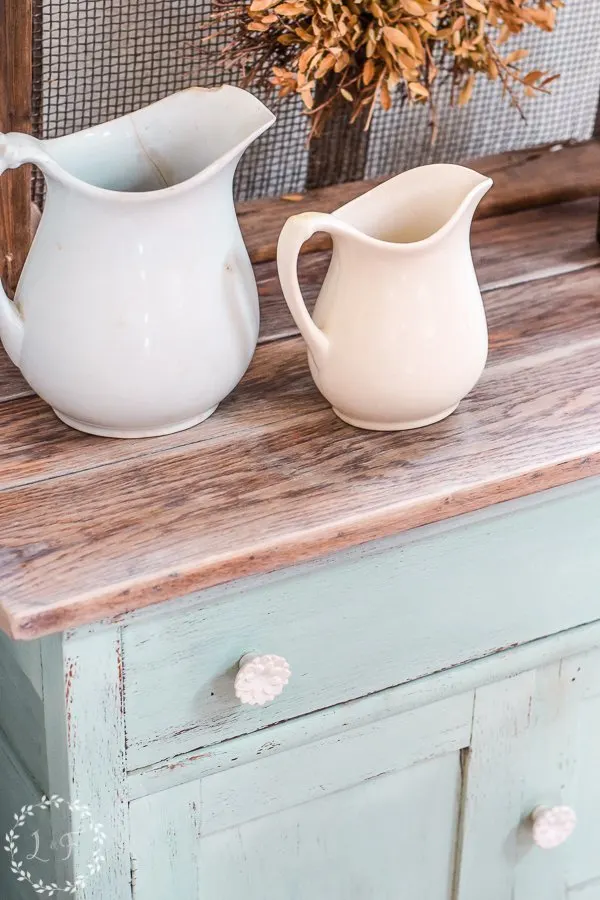
You can also use a light colored wax to neutralize a strong color. I used liming wax on these pine chairs, to help tone down the orange in the finish.

Can I Remove Furniture Wax?
Perhaps you have a furniture piece that you decided to give an antiqued finish with dark wax, but don’t love it anymore . . . are you stuck with it forever?
The good news is no! Furniture wax can be taken off by lightly scrubbing with mineral spirits.
In fact, if you ever decide to repaint a chalk painted furniture piece where you have applied wax, you will need to remove the wax first before any new paint can stick.
I have another great post on this exact topic, that will walk you through the steps of how to paint over your chalk paint.
Do I Like Using Wax?
The answer is overall yes!
In general, I find applying a hard topcoat, like a poly, much more difficult. It can easily get streaky and hazy, and it’s virtually impossible to fix any mistakes after it dries.
Wax is so much easier to work with! If you mess up, you can take it off with mineral spirits and try again. Or if you need to touch up a spot after it’s dry, just apply a tad bit more wax and you’re good to go.
One can of wax will last you a long time. Keep the lid tightly shut and it won’t go bad or dry out, like a can of poly does over time. I can usually get 4 to 5 furniture makeovers out of one can of wax! So it’s a cost-effective option as well.
Wax is typically my preferred option for a topcoat over chalk and milk paints. The more I use it, the more comfortable I get with it.
I really like the aged effect dark wax can give, and I like that a wax topcoat will not yellow or chip off in pieces like poly will.
One issue with wax I have found though is that it sometimes doesn’t work well with dark paint colors. If you apply too much, it can settle in the tiny cracks of the paint and get streaky or cloudy.


The only way to solve that problem is to buff like crazy . . . but even with the strongest arms it sometimes doesn’t clear up. In the case of this black headboard above I had to repaint the whole piece and use poly as the topcoat instead.
I tend to have this issue with harder paste waxes, and less with soft waxes. However if you want to avoid this problem altogether, you can opt for a wax with a higher oil content.
My go-to solution for this issue is the Fusion Beeswax Finish. It’s the best thing to use over dark colors!
It’s slightly different than the other waxes we have discussed above, mainly because it has a high oil content (beeswax and hemp oil mixed together) and no carnauba wax at all. It works perfectly over dark colors though and has never disappointed me!

I would not however use this wax over lighter colors, as the high oil content could cause your paint color to yellow. Stick with a regular furniture wax (paste or soft) and keep this product for using over your dark paint colors.
I also do not care for the sticky feeling that can sometimes linger with a wax finish, but remember, that’s usually from using too much! Make sure to only apply a thin coat of wax and buff off all of your excess if you want to avoid a sticky finish.
In all honesty, I believe that most people tolerate wax because they love chalk paint so much!
When you understand though how the different types work–paste, soft, oily wax– and are realistic about the finish it will provide though, you’ll find it’s one of the best top coat options out there!
It’s a good product, but it has its drawbacks, just like any other top coat option. It really comes down to what you’re comfortable working with, and what final look you are trying to create.
I hope this has answered some of your wax questions and cleared up some of the confusion about how to use the product. Please feel free to ask any other questions you may have in the comments!
I share from my own experience and do not claim to know everything about every wax product, so I expect that others out there may have differing opinions. Thank you for letting me share mine 🙂


Linking up to: Project Inspired,
Anna
Wednesday 9th of August 2023
Melanie - This is such a good post. I totally agree with you. I would much rather pay more and buy an all natural furniture wax. It's so easy to re-apply when needed. Best of all - they don't have any of those strong chemical odors. Thanks for the advice and tips!
Lizzy
Friday 3rd of February 2023
This is so informative! I love the look & feel of wax-covered chalk paint. I use ASCP's clear & white waxes the most. For the tops of furniture pieces, I do use poly.
Melanie Alexander
Friday 10th of February 2023
The ASCP wax is a bit more of a harder, paste wax from what I remember when I used to use it :) And properly applied, it can really give a great finish! Sounds like you have your system worked out :)
Sarah
Saturday 26th of November 2016
This is exactly the info I was seeking! Thank you! :)
Alicia
Monday 31st of October 2016
Sorry the above comment should read, I'm undecided on wax or poly for topcoat over black chalk paint.
Alicia
Monday 31st of October 2016
I've been reading several blogs and reviews on chalk painting and what works better was it poly... this is helpful, although I'm still undecided on what to use for my dining room cabinet... I would love to send you a photo of the piece I want to refinish.
Melanie
Monday 7th of November 2016
Please feel free Alicia! I will do my best to offer any insight I may have.