Are you a fan of black furniture makeovers? Then you’re gonna love this project!
Follow along to see how I transformed this furniture piece and how you can do the same with an old dresser you have.


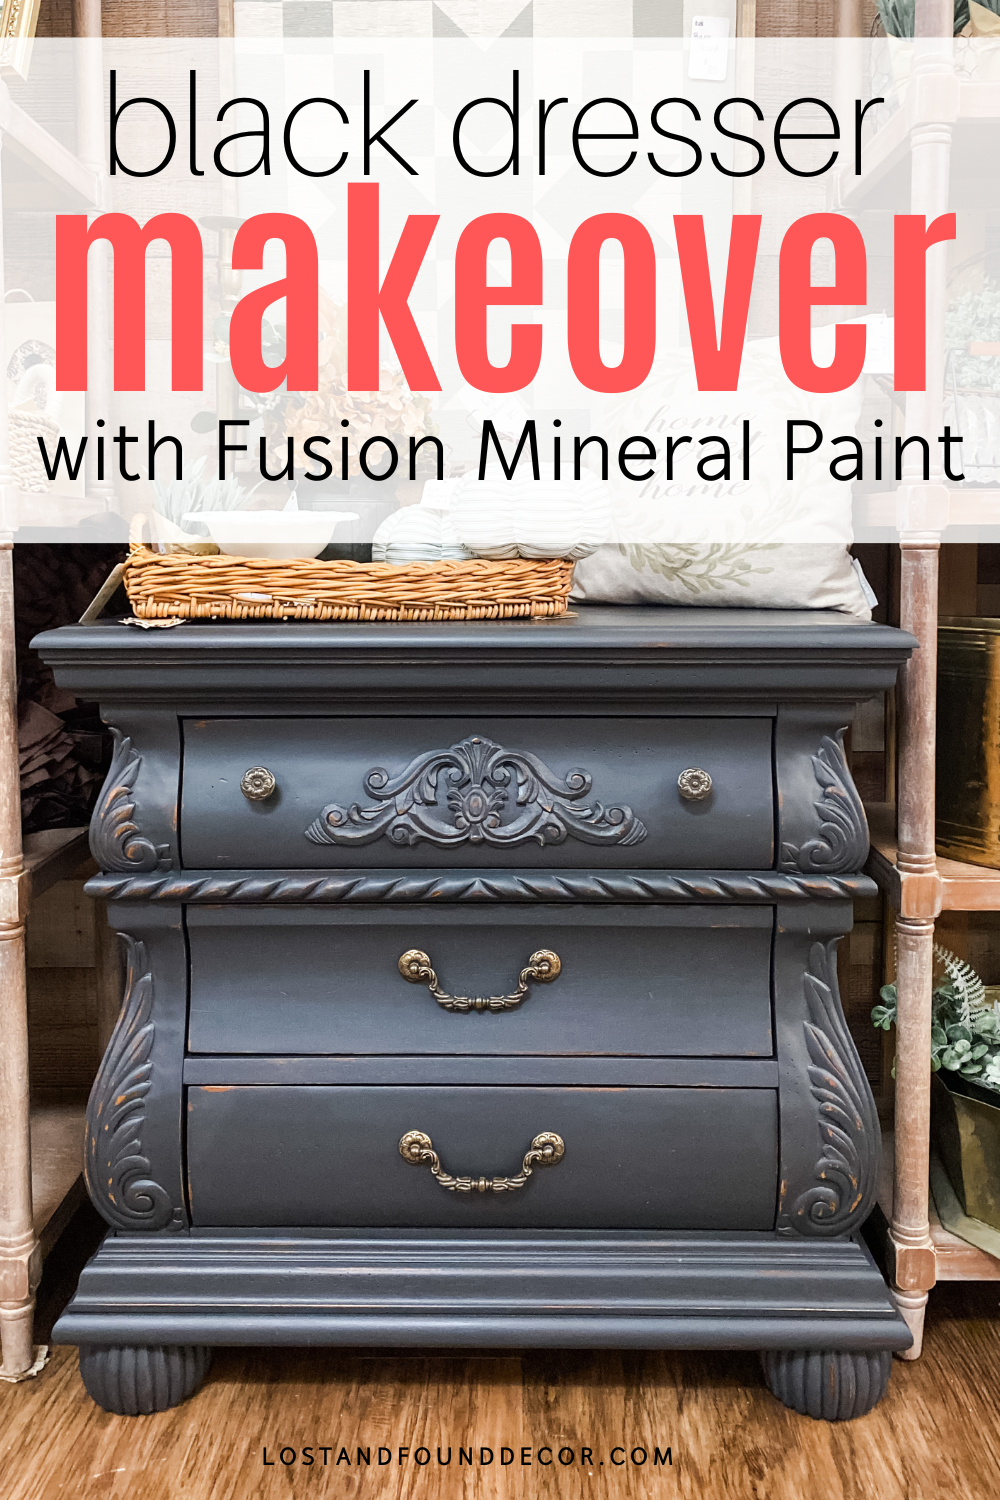
Black Dresser Makeover
This small dresser was a recent thrift store find. I love small chests of drawers like this because they can be used in so many places in your home, providing a little storage with style.

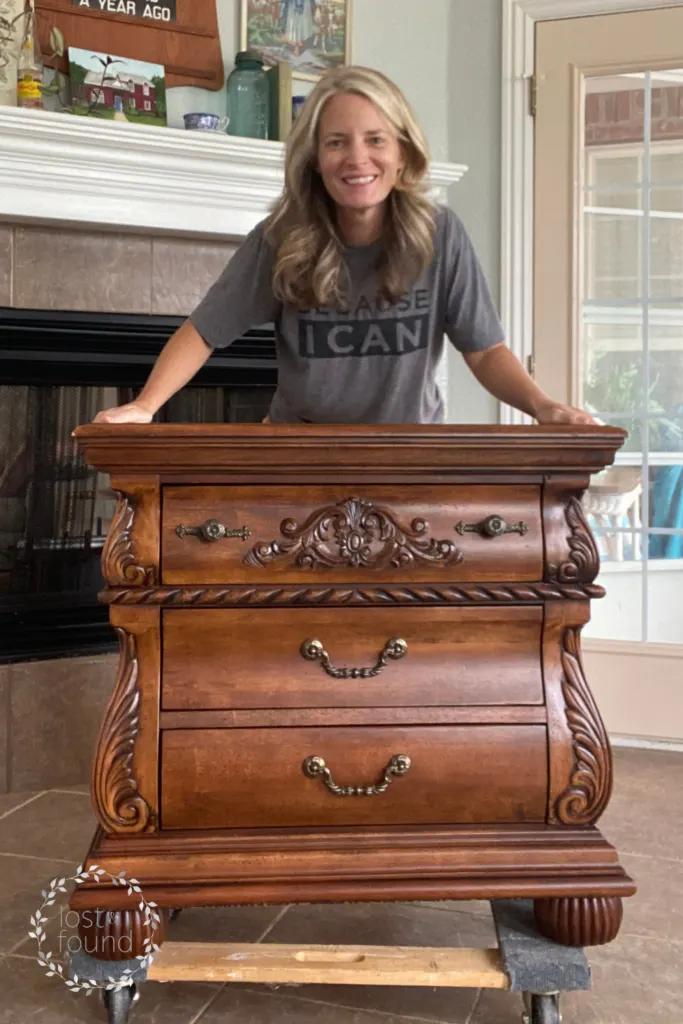
The wood finish on this piece felt a little dated. Add that to all the carvings and heavy hardware, and the piece just seemed way too busy.
A great way to simplify old furniture that feels busy like this is to paint it a dark color. It’s amazing how a fresh coat of paint can totally transform big, heavy furniture into something that feels light and sleek.

What is the Best Black Paint for Furniture?
In general, my favorite paint to work with when painting furniture is Fusion Mineral Paint. It delivers for me a smooth, durable finish every time.
My go-to color for painting a dresser black has always been Fusion’s Coal Black. But for this makeover, I decided to try a different color that’s new to the line called Cast Iron.

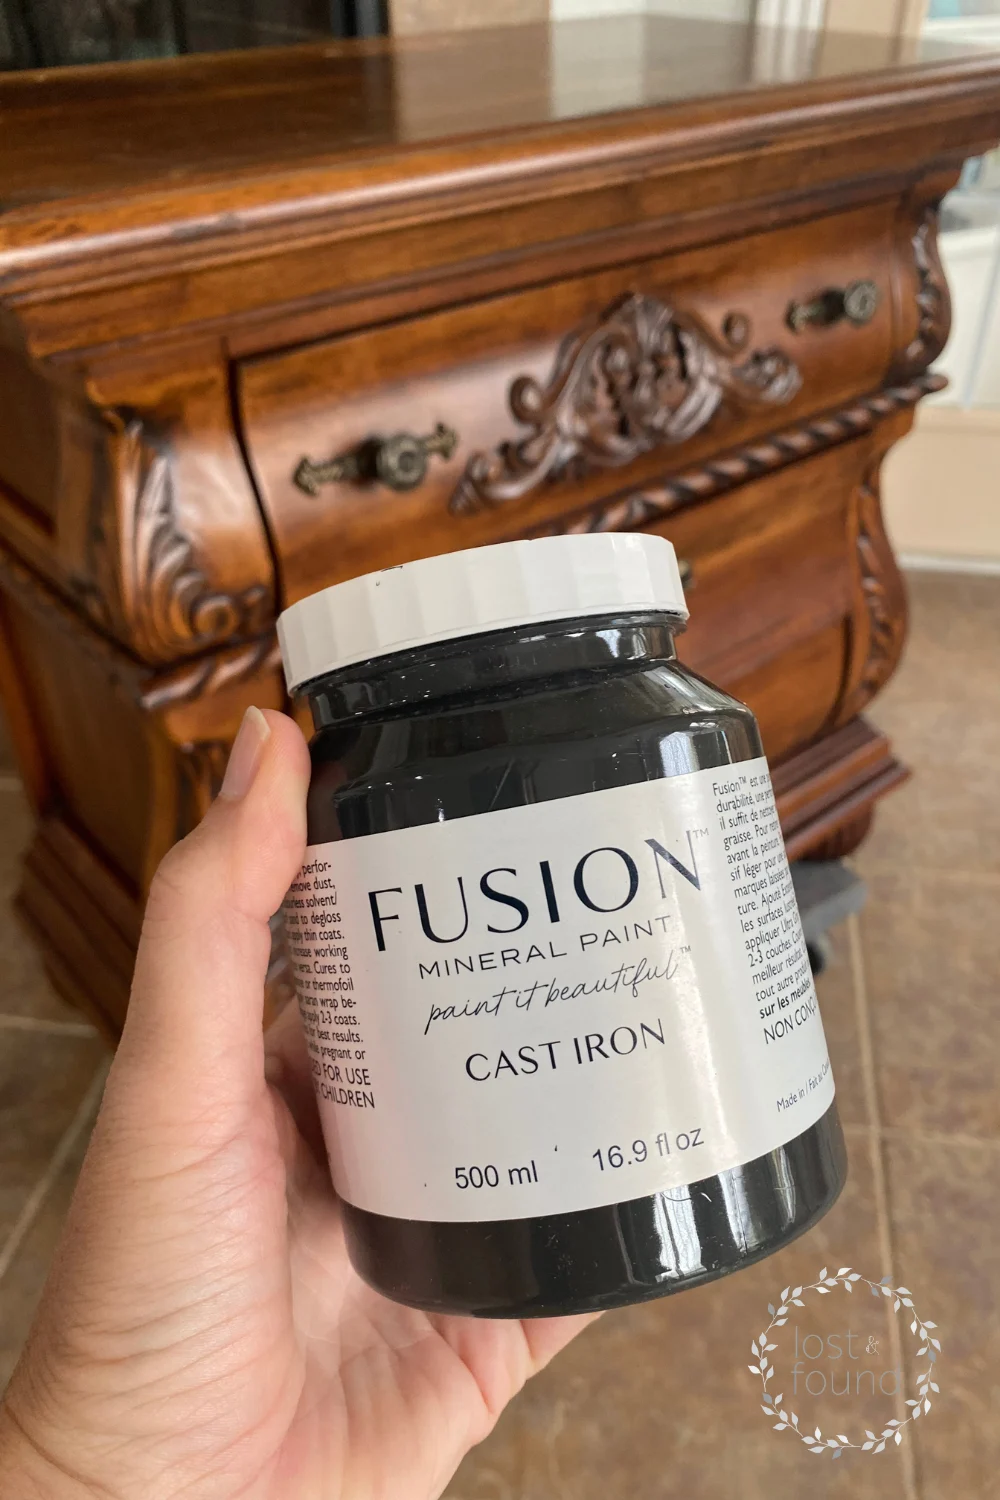
I have to admit I am in love with this color! It still reads a nice, rich black but has a subtle softness to it. I also found that I was able to get a smoother finish with it.
It will probably be my go-to black color from here on out.
Would you like to try Fusion Mineral Paint for your next furniture project?
They have generously offered my readers a 10% discount on all Fusion products when you click and purchase here.
The discount will automatically be applied in your cart. Yay!
Supplies for Dresser Makeover
- TSP Alternative Degreasing Cleaner
- Dobie Sponges
- Blue Shop Towels
- 180 grit sand paper and 220 grit sanding pad
- Good quality synthetic bristle paint brush
- Fusion Mineral Paint Cast Iron
- Fusion Mineral Paint Beeswax Finish
I participate in the Amazon Affiliate program and will receive a small commission off purchases through these links. Read my full disclosure here.
Full Tutorial Thrift Store Dresser Makeover
This was a good quality piece of furniture that just needed a fresh look. I knew a coat of dark paint would go a long way in updating the dated feel of this piece.
Let’s walk through the steps I took so you can tackle a project like this yourself.
First thing, you want to remove any hardware and store it in a safe place.
Once the hardware is off, cleaning your furniture well is the first official prep step. I always use a degreasing cleaner to break down any hand oils, pledge, or other grime that has accumulated over the years.
RELATED POST: Why You Should Clean your Furniture Before you Paint It
After you have cleaned off your furniture, wipe it down with damp cloth and wash of clean water to remove any traces of the cleaner or dirt.
The next step is to lightly sand the entire dresser to help open up the pores of the finish
When I say lightly sand . . . I mean just that 🙂 No power sander is needed, just around a 180-grit sandpaper and take 5-10 minutes to rough up the old finish.
Once you finish sanding, be sure to wipe off all sanding dust (sometimes I use the brush attachment on my vacuum cleaner!) so your dresser is nice and clean again.
RELATED POST: Funiture Flipping Prep 101: When to Sand Furniture
When your prep work is finished, then it’s time to start painting!
Fusion Mineral Paint does best when painted in thin coats, so don’t expect to get full coverage after your first coat.

By the second coat you will start to see full coverage. For most Fusion Mineral Paint colors, you can expect your project to need two to three coats of paint.
Tips for Getting a Smooth Finish
Unless you’re going for a really old world look, most people don’t want to see a lot of brush strokes when they paint their furniture. Unless you’re using an oil-based or enamel paint, it can be tough though to get a completely brush-stroke free finish without using a paint sprayer.
But I do have a few tips to share specifically for when painting with Fusion Mineral Paint.
One of my best tips is to not load too much paint onto your brush.
A little paint goes a long way, and if you have too much on your brush you will wind up painting your coats too thick and the paint won’t settle well.
For best results, always paint thin coats with Fusion Mineral Paint.
Another tip is to invest in a really high-quality brush. A great paintbrush can make all the difference in how many brush strokes you wind up seeing.
This is my current favorite brush to use:
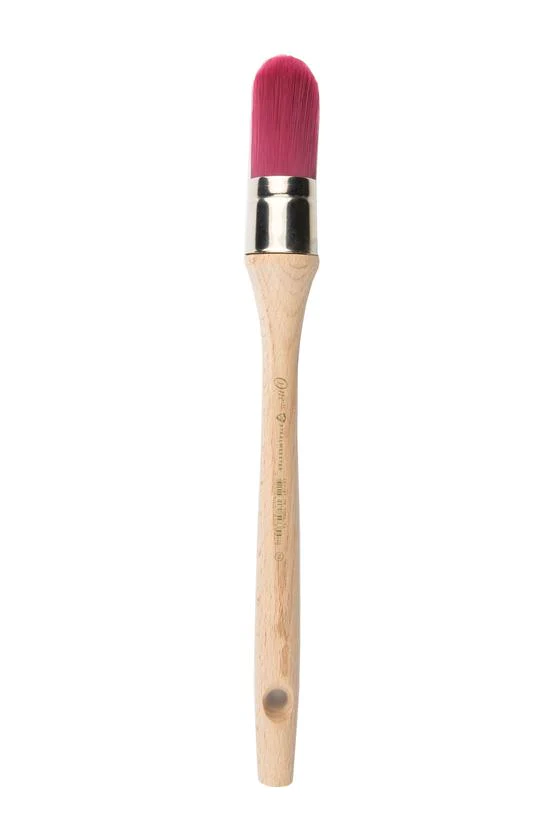
And yes, it’s pricey! But if you keep it nice and clean, it will last you forever.
And with my affiliate code above, you can always get 10% off all Fusion products . . . so maybe this brush can be a birthday or Christmas gift to yourself?
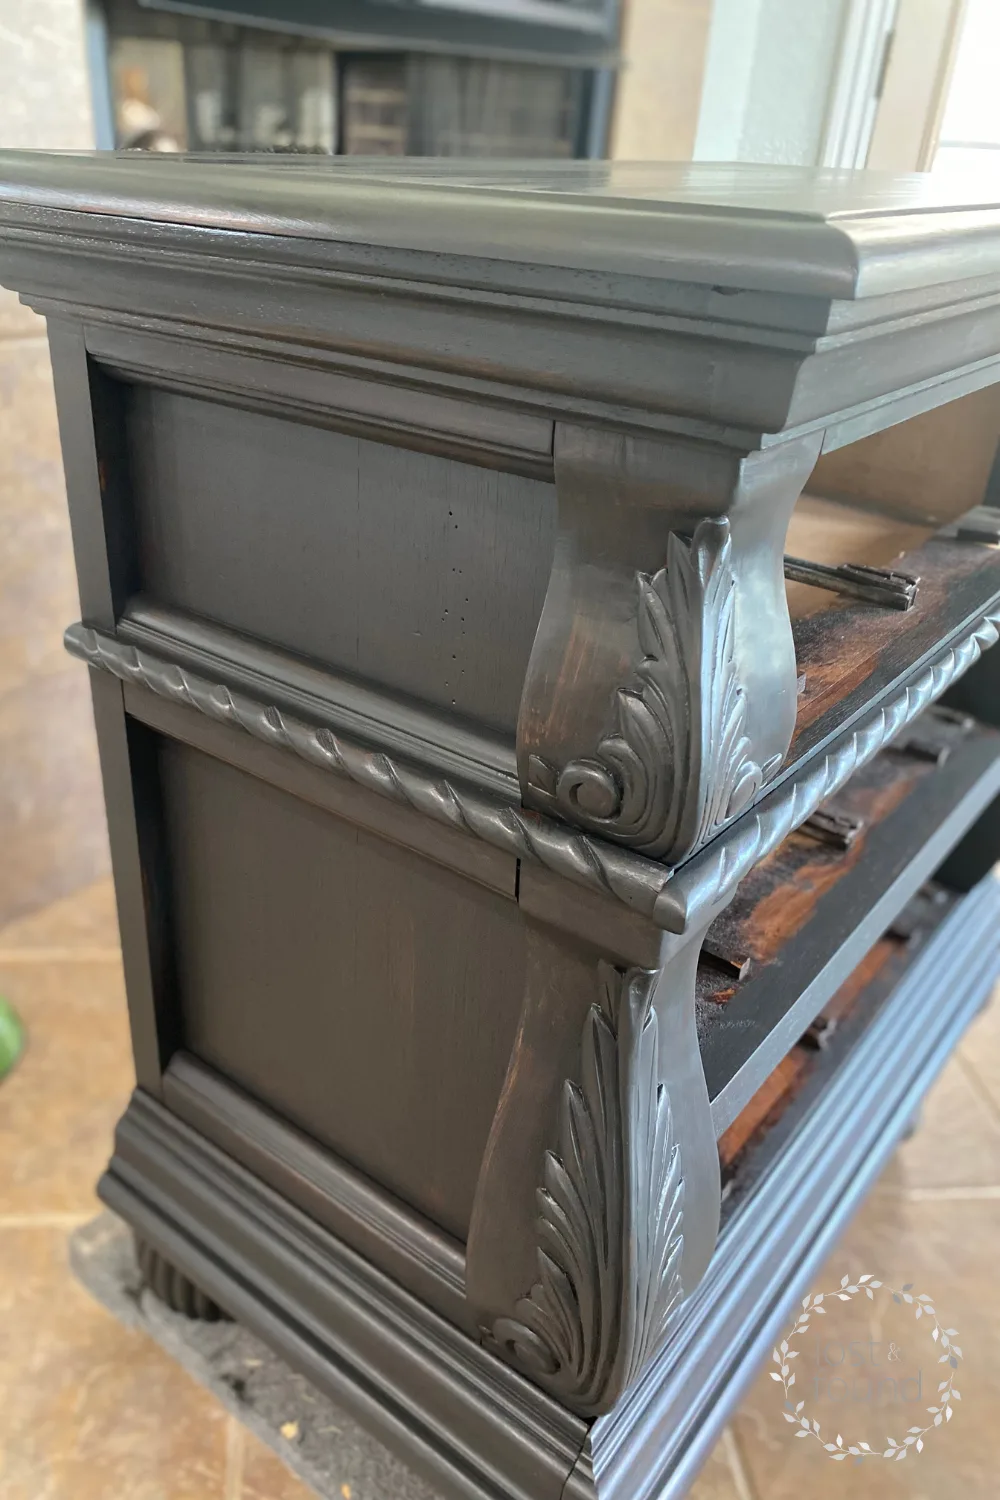
How to Get an Antiqued or Distressed Look
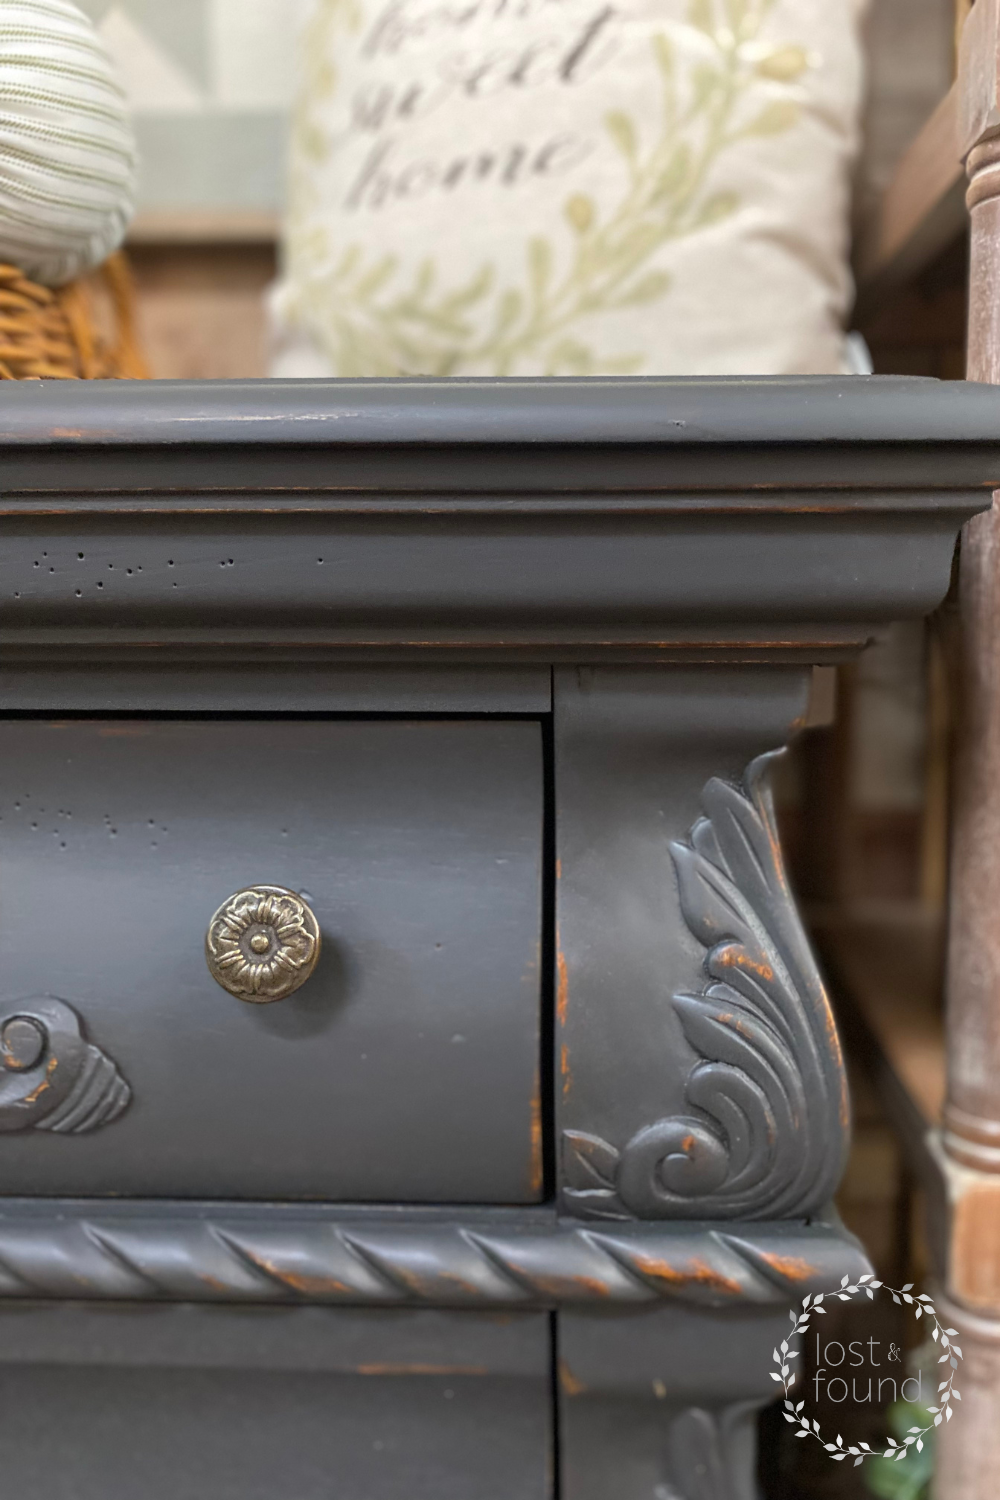
Whenever a piece of furniture has a lot of carvings and details like this one has, I like to go back and distress the paint in those areas. This is an easy way to help highlight those carved details and help them stand out.
There are lots of different techniques you can use, but I like to wet-distress because it produces the most natural-looking distressing.
To wet-distress, you will need a sanding pad that has been soaked in water, along with some paper towels or a dry cloth.
Take your very wet sanding pad and lightly rub along the raised carvings to remove the paint, then wipe off all the residue with your dry cloth.
Wet-sanding is also a great way to get a super smooth finish! I ended up wet-sanding the entire piece to make it feel ultra-smooth to the touch.
Here’s a short video tutorial showing just how to use this technique:
RELATED POST: How to Wet Sand Fusion Mineral Paint for a Super Smooth Finish
Finishing the Dresser with a Top Coat
Because Fusion is an acrylic paint, it actually doesn’t require any additional topcoat to seal the finish.
When I’m working with dark colors though, I like to add a little extra sheen, to help hide fingerprint marks and scuffs.
For this dresser, I buffed on a light coat of the Fusion Beeswax Finish to add a little more protection and shine to the final look. It’s a great product to use over your darker colors.
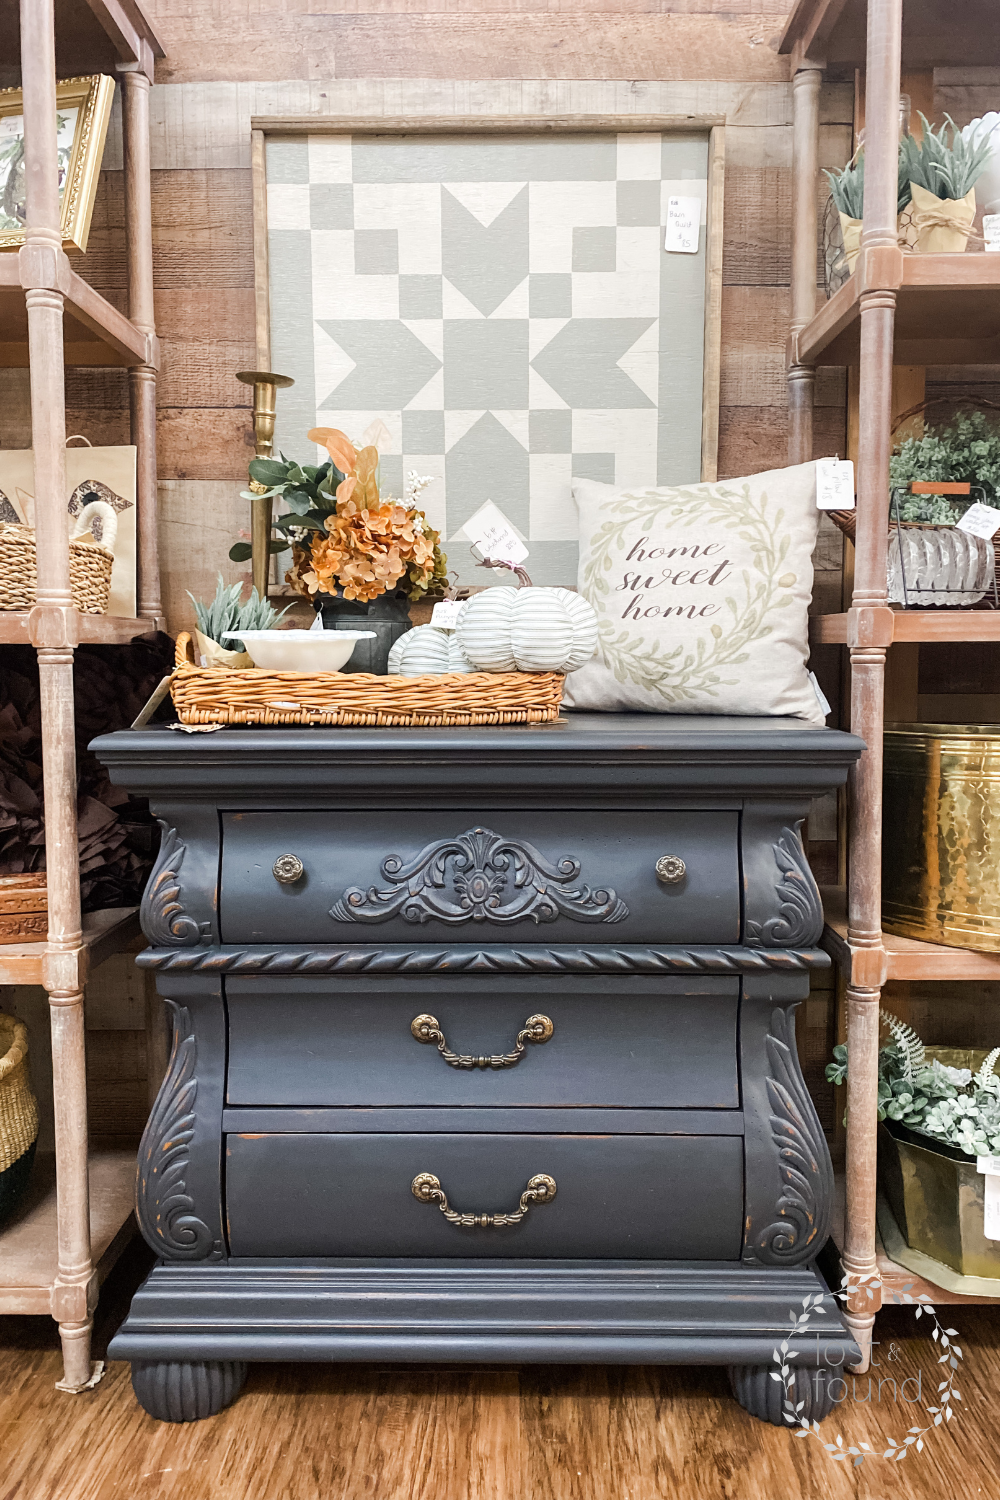
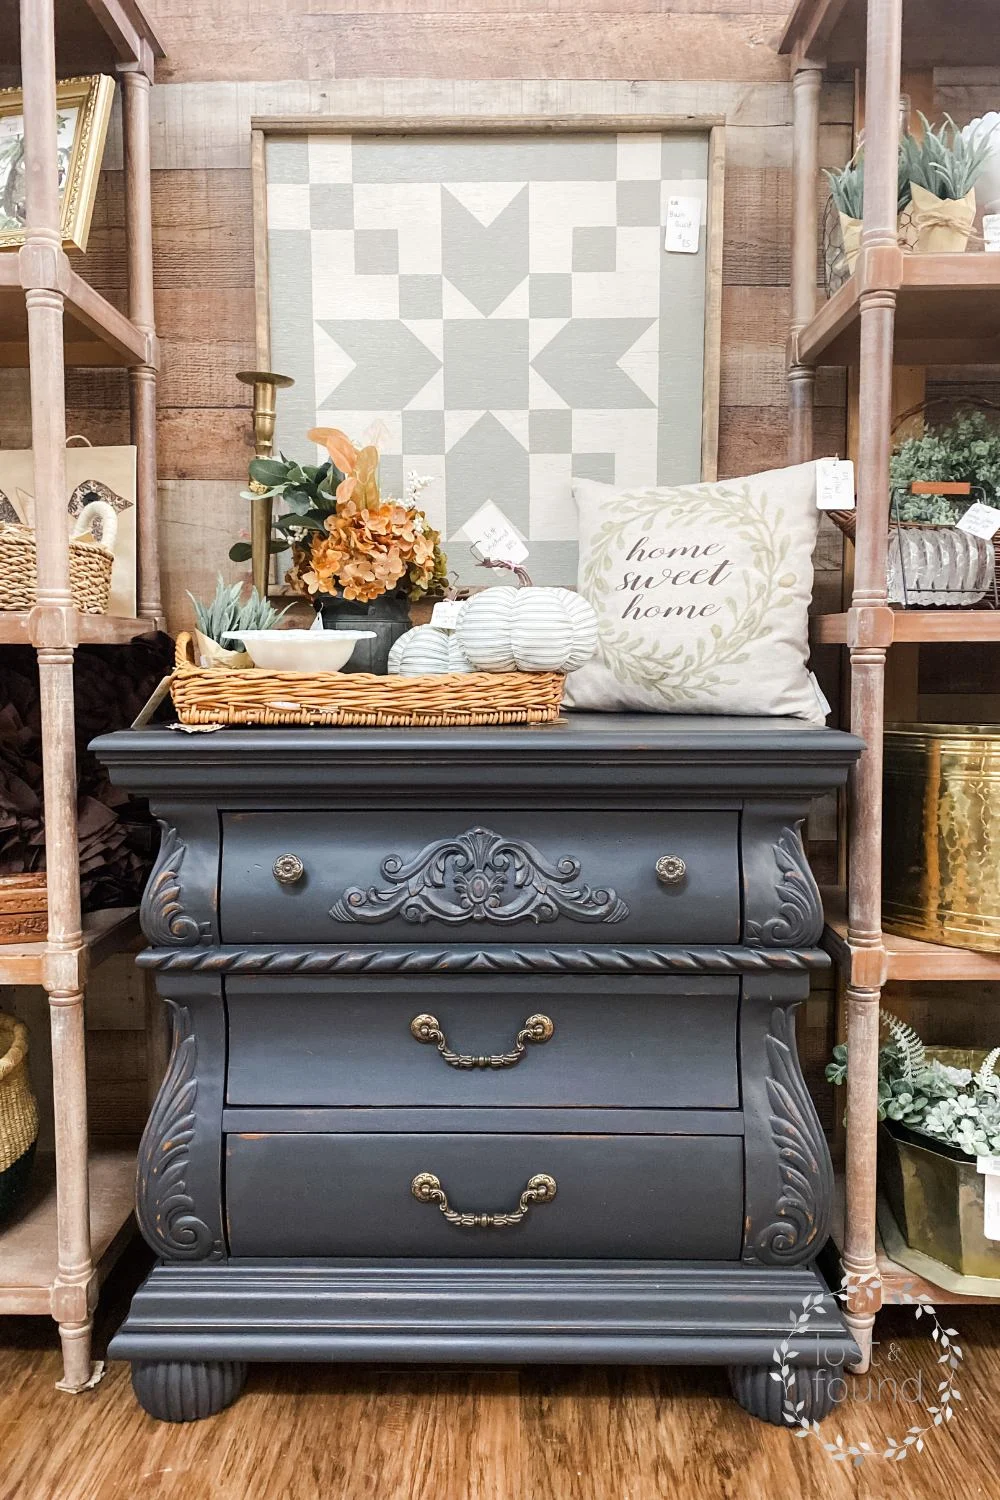

With a little love, this thrift store dresser has a whole new look! A black piece of furniture will always be in style, just like a little black dress 🙂 When you find furniture like this that’s in good condition but just needs a little updating, you can’t really go wrong with a nice black paint.
If you enjoyed this post, you may enjoy these other painted furniture ideas:
30 Gorgeous Green Painted Furniture Makeover Ideas
Black Dresser DIY , 8 Black Painted Furniture Makeovers
20 Milk Paint Furniture Before and After Makeovers
Easy Kitchen Table DIY – Weathered Wood Look
Pine Coffee Table Makeover | Farmhouse Style
Thanks for joining me today!
Anna
Monday 27th of November 2023
Hi Melanie - Your dresser turned out beautifully! I love how you can see the slightest hint of wood peeking through. Also your tip on applying thin coats of paint is super helpful. (It can be so tempting to apply one thick coat of paint . . .)
Melanie Alexander
Monday 27th of November 2023
It can be so tempting . . . bu it helps to be patient and go with those thin coats!