I am super excited to share this nightstand makeover with you today!
For one, I love how this project turned out and I will enjoy sharing a new paint method with you.
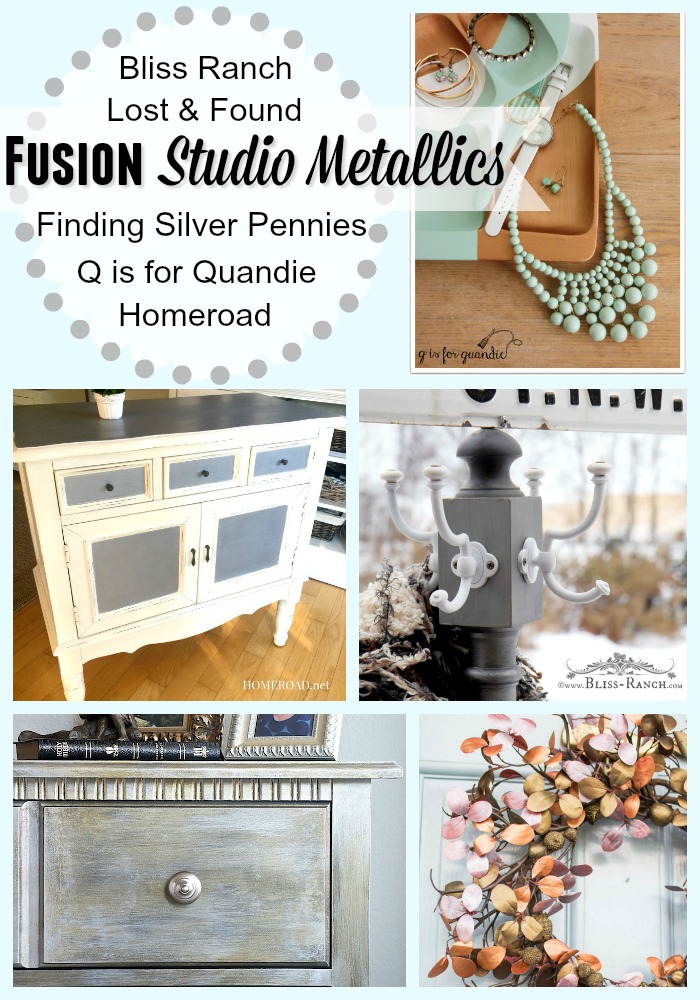
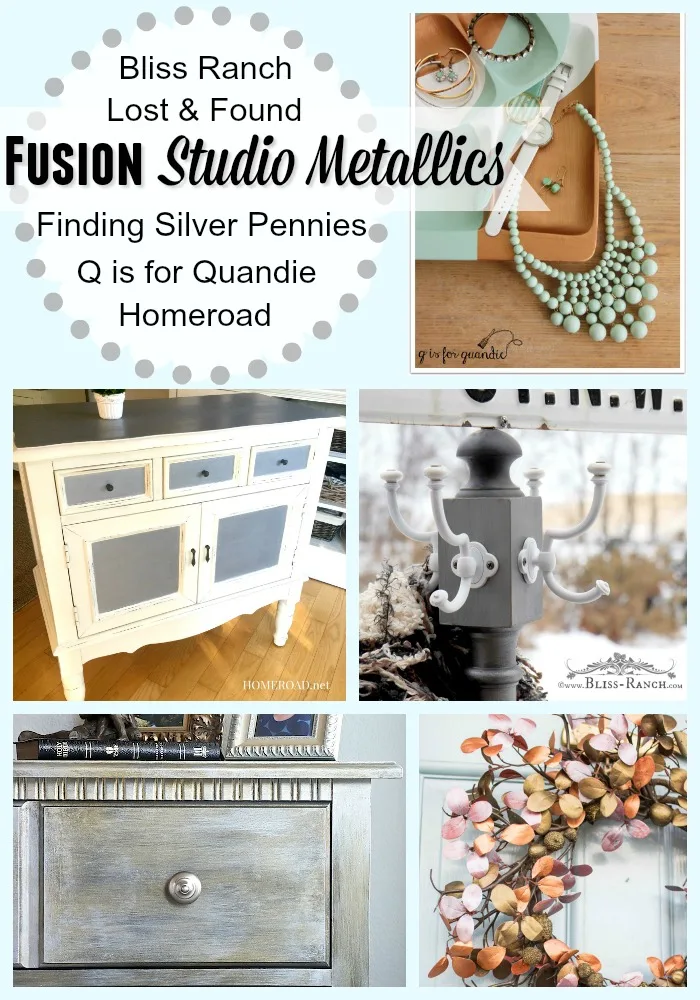
But also, I get to partner with 4 other great bloggers in showcasing Fusion Metallics while also offering a fantastic giveaway–it doesn’t get much more fun than that. GIVEAWAY NOW CLOSED.
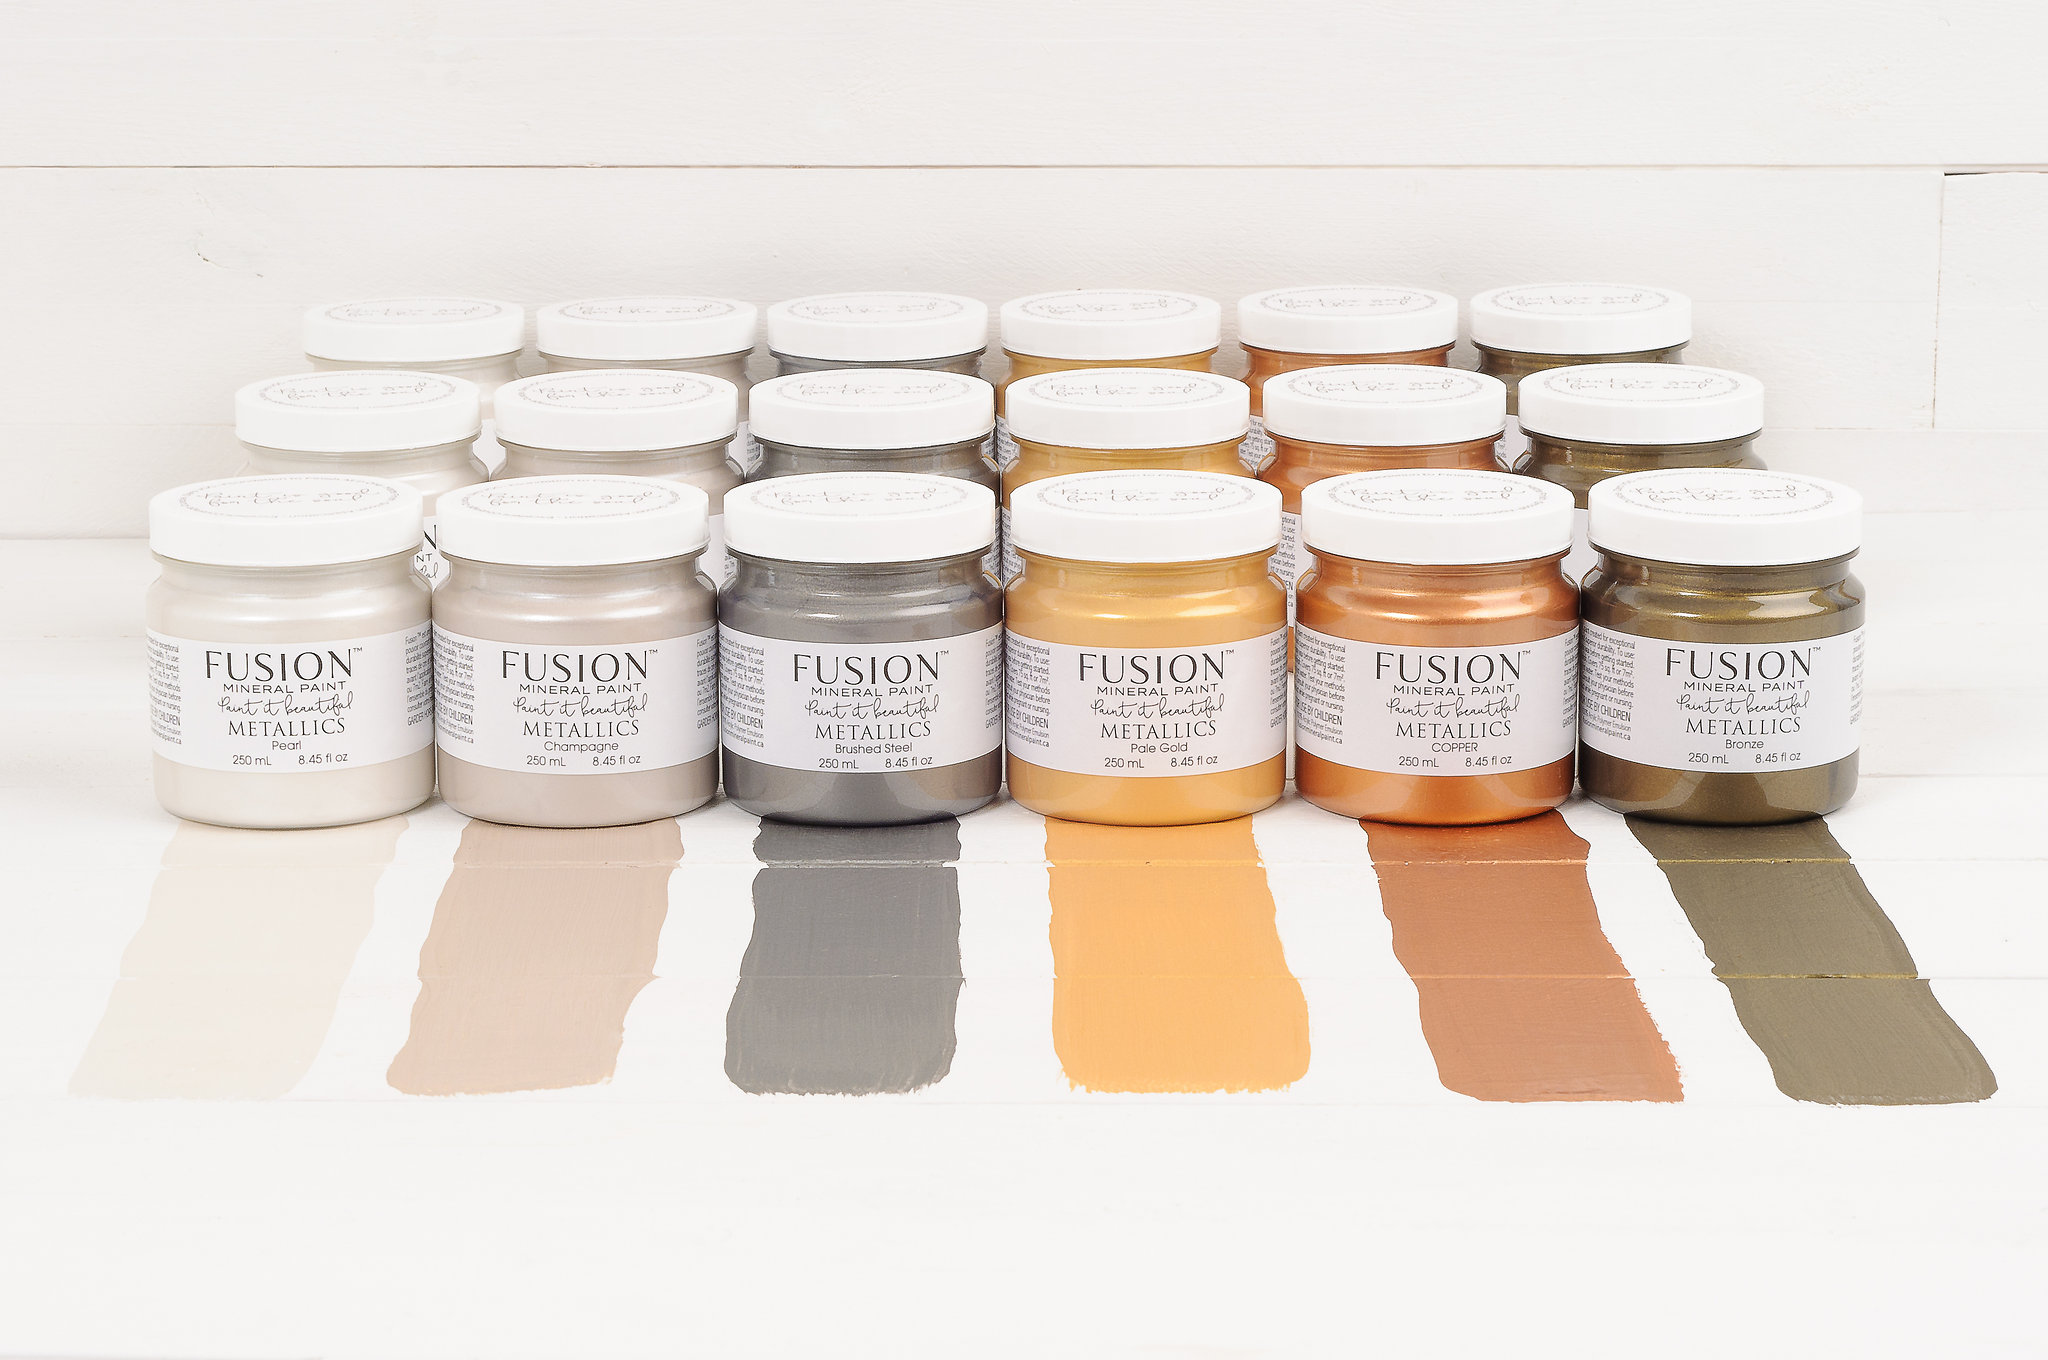
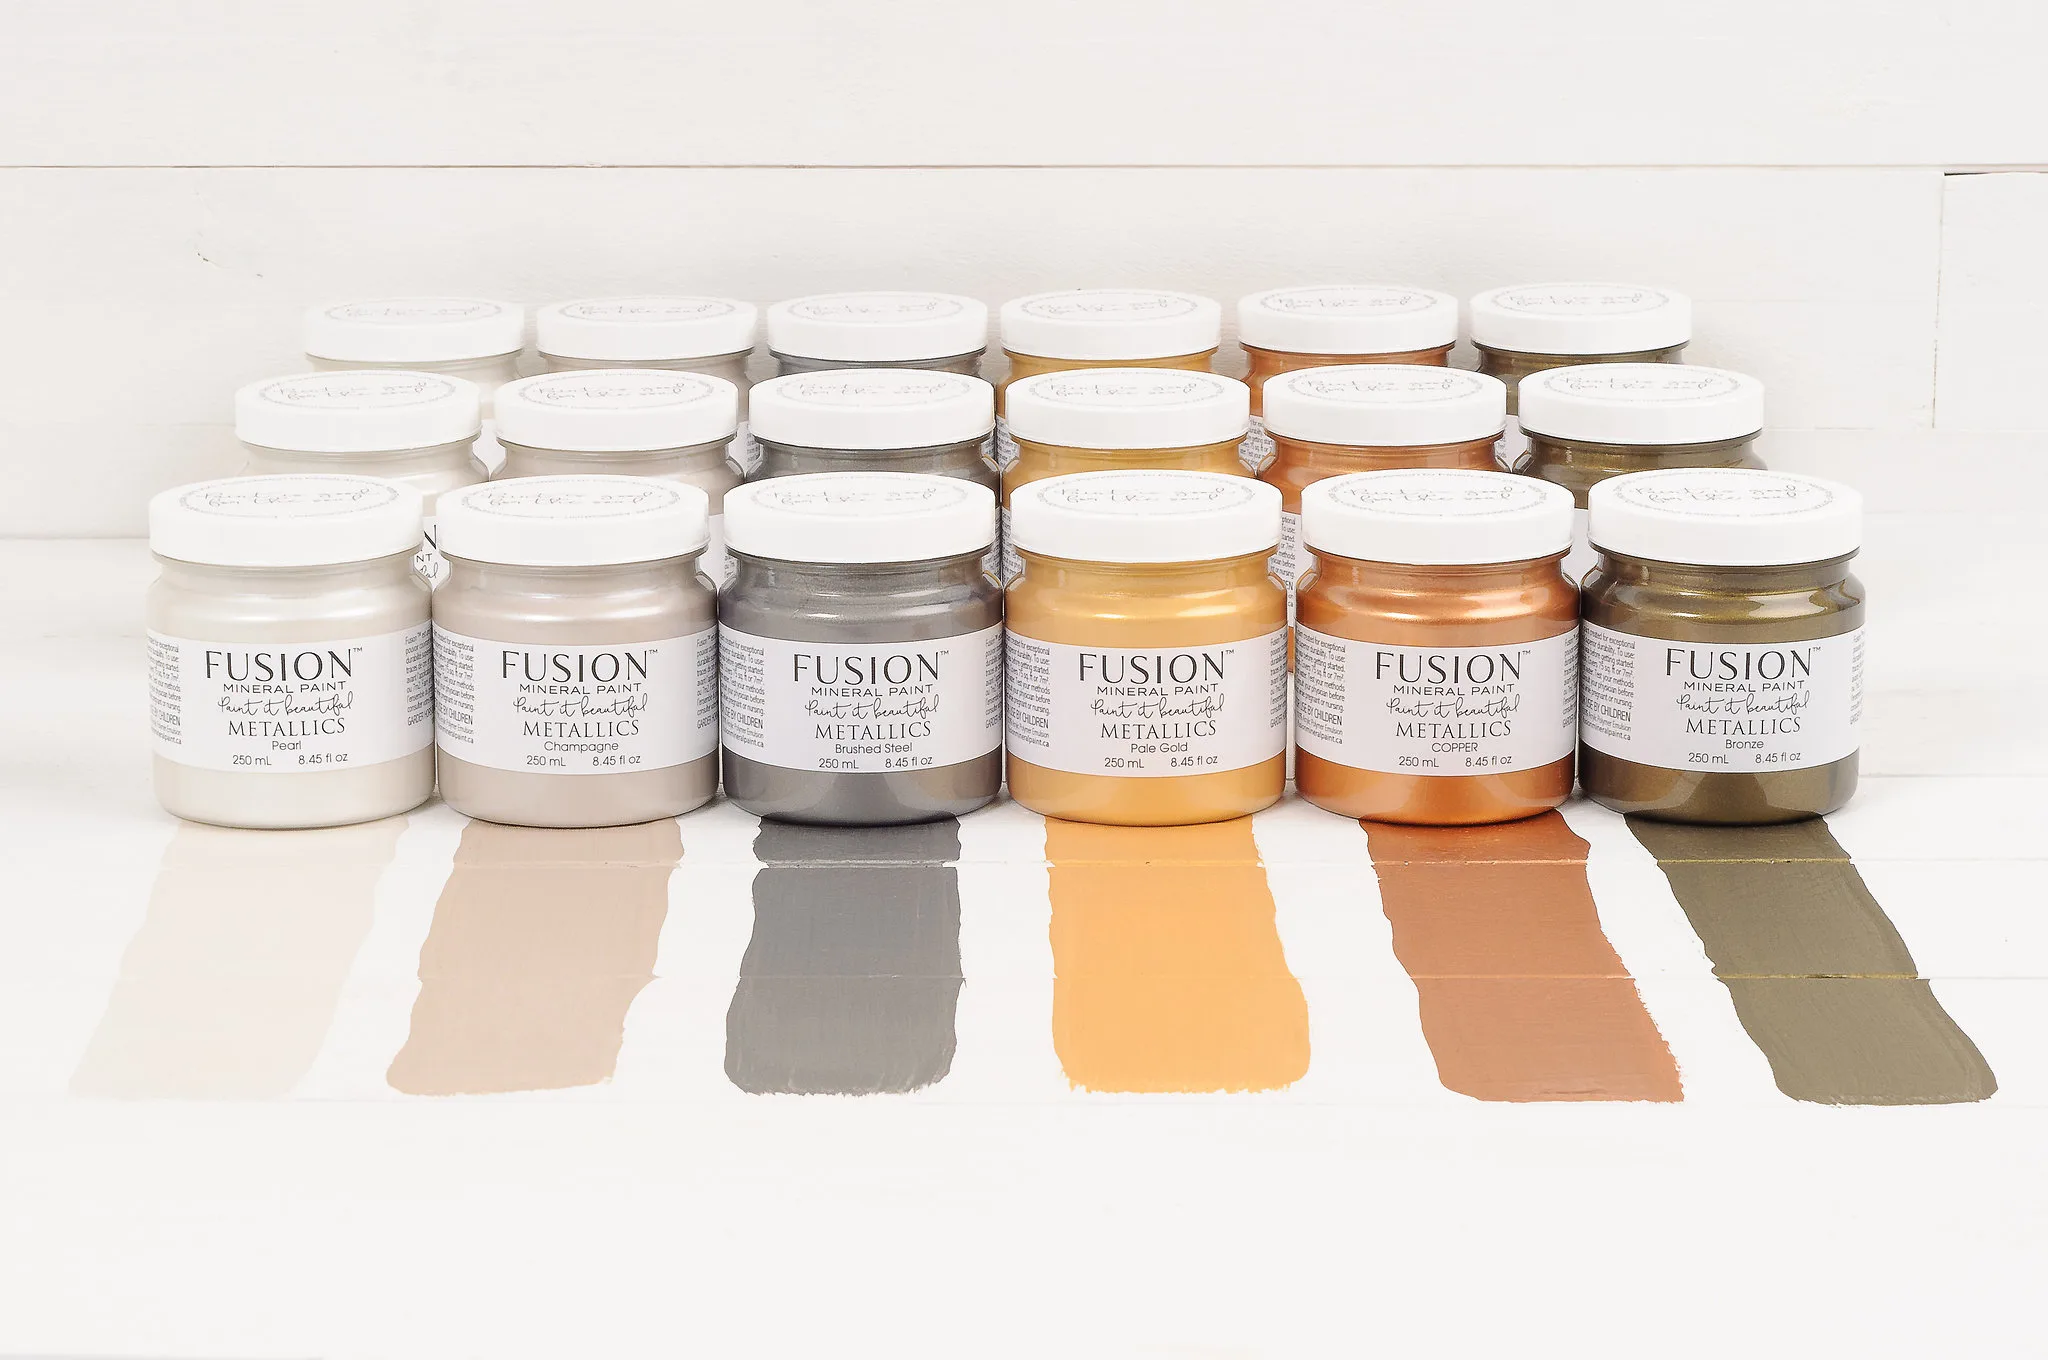
If you’ve missed the pub about the Metallic line from Fusion, let me fill you in a bit.
It has all the same great properties of the regular Fusion paint–acrylic base, zero VOC, no need for topcoat– but is made with metallic pigments for a soft, shimmering finish. They require little prep, have great coverage, and are waterproof and highly durable once fully cured.
I’ve played around with them a bit over the past few months, experimenting on picture frames and even this Magnolia Leaf-Wreath I shared with you back in November, but I have been itching to try them out on a whole furniture piece.
Luckily, a client of mine came wanting to transform her basic, mass-market nightstand into a dramatic, statement piece. Aha!! The perfect experiment piece.
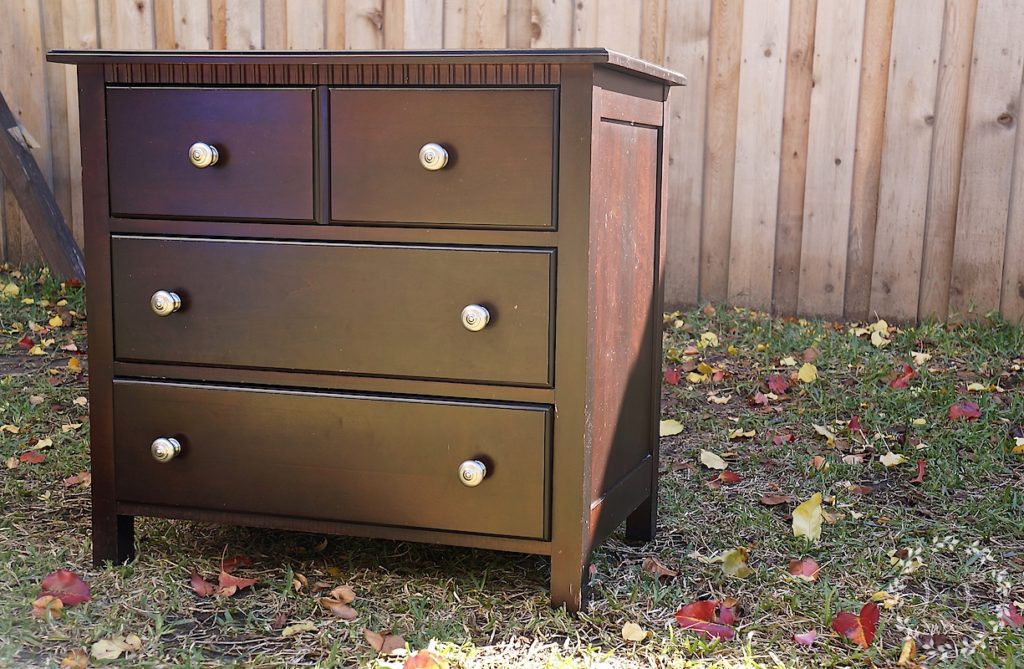
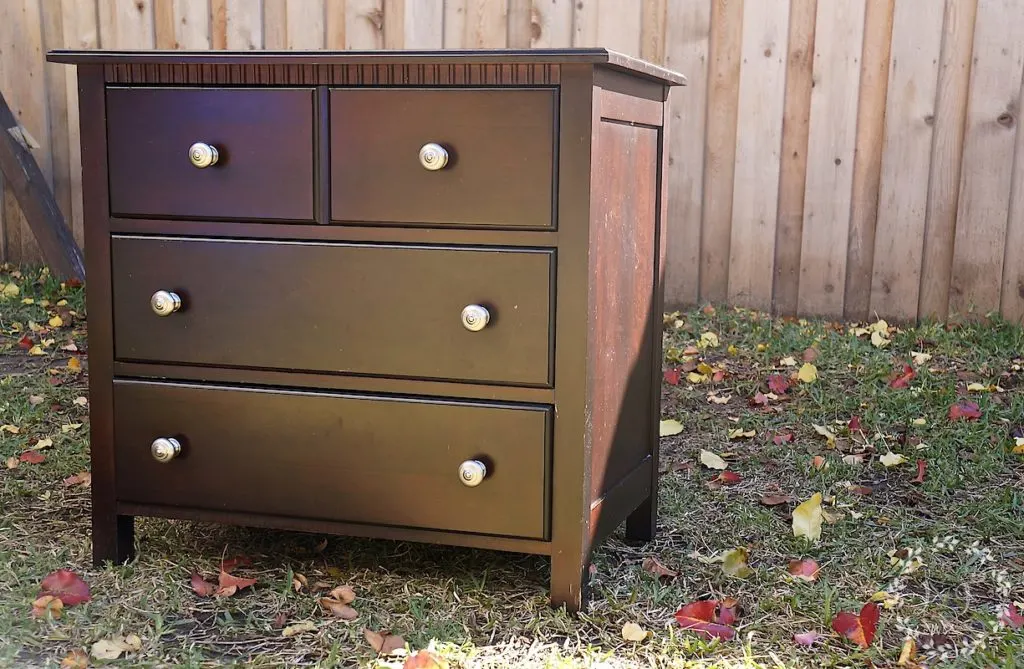
The other nightstand in my client’s master bedroom is a round table with an antiqued mirrored top and oil-rubbed bronze legs.
She wanted this nightstand to coordinate with that table, but wasn’t sure exactly how to get that look.
I knew I could do something great though with the Metallics, and thankfully she agreed to let me try them out on her nightstand.
To start, I cleaned this piece with Fusion’s TSP and then painted on a coat of Fusion’s Ultra Grip.
Why did I use Ultra Grip?
Well, this is a newer piece of furniture, made of wood laminate that is coated in that chemical-laden, factory-finish spray they load onto mass market furniture today.
That stuff can be like kryptonite to paint, so a quick coat of Ultra Grip would take away any adherence issues that might pop up.

After the Ultra Grip dried overnight, it was time to start layering on the metallic paint.
Layering the paint would help give the finish depth and create a totally unique look–I didn’t want it to look too perfectly finished or it wouldn’t work with the antiqued finishes on the coordinating table.
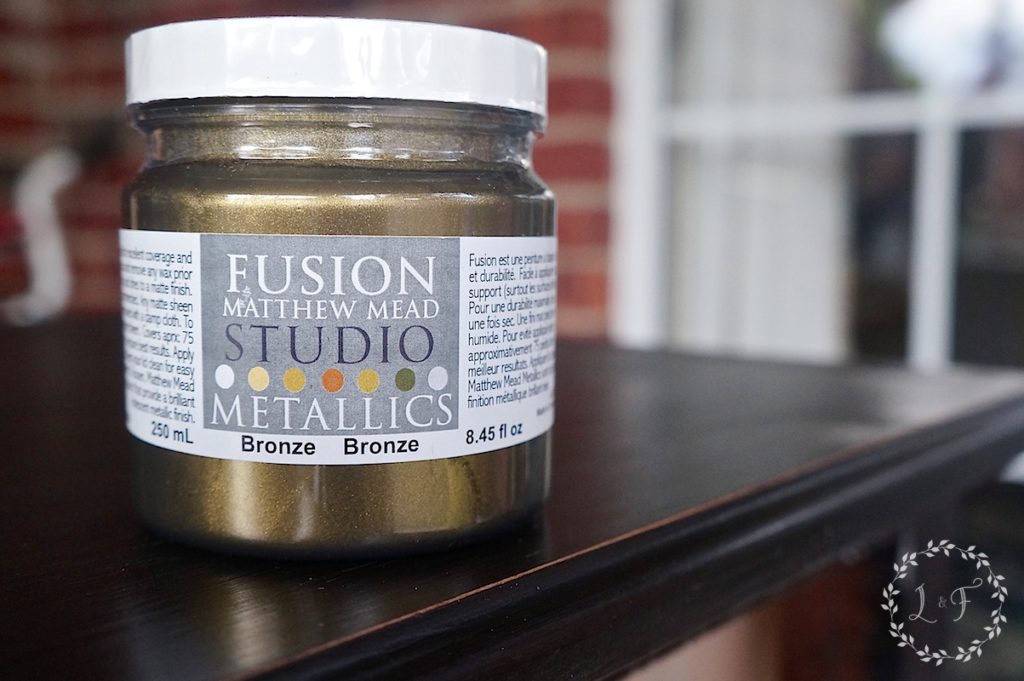
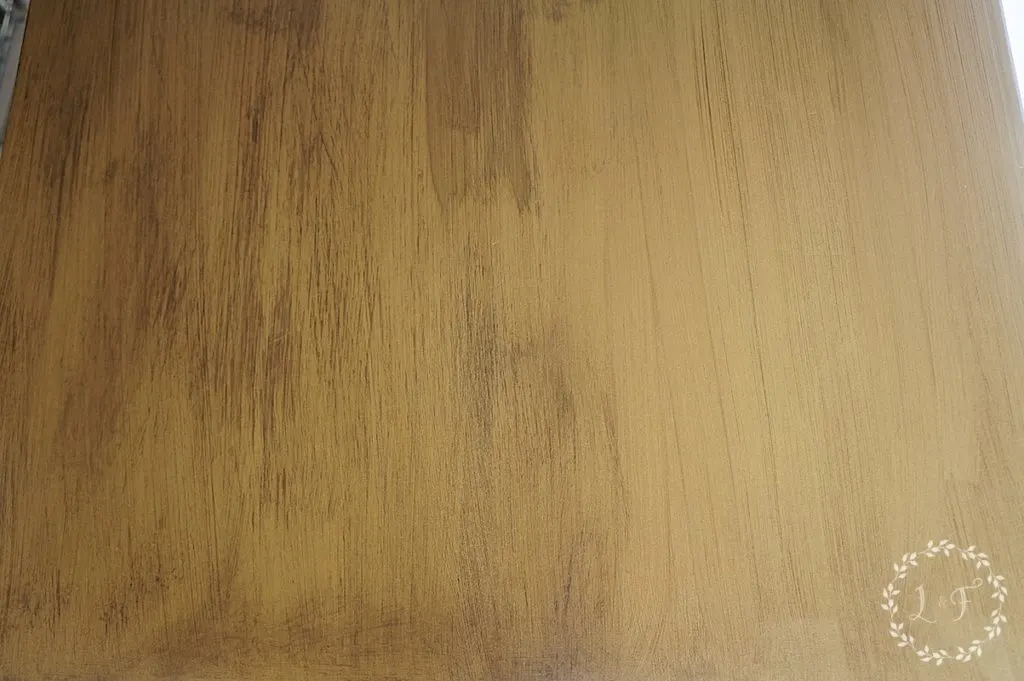
The first coat was the Metallic Bronze.

The coverage on this stuff is amazing!
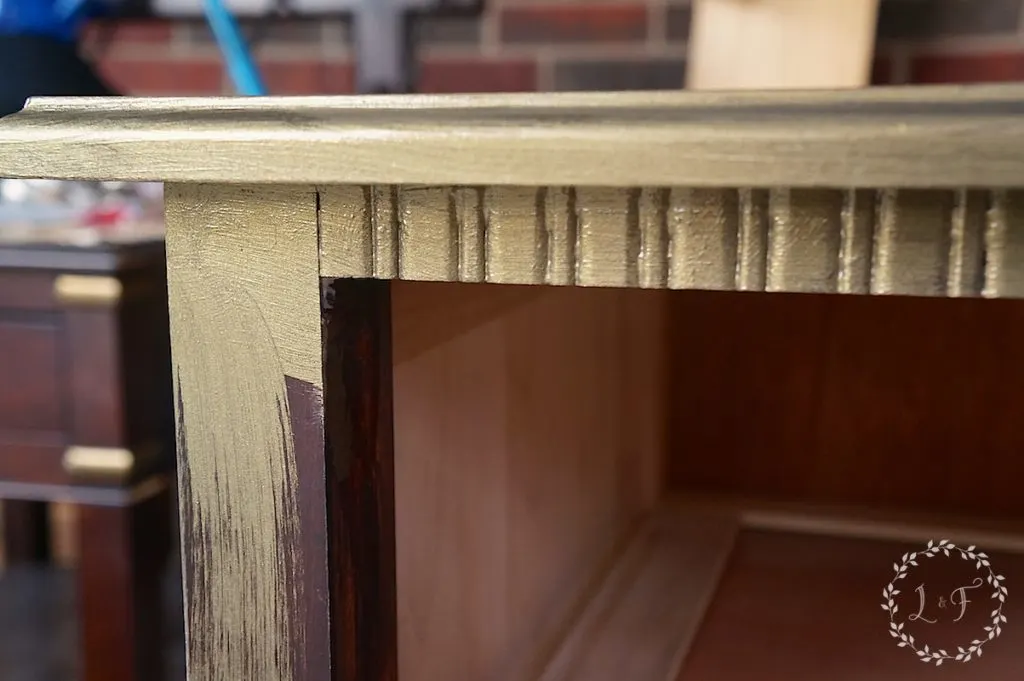
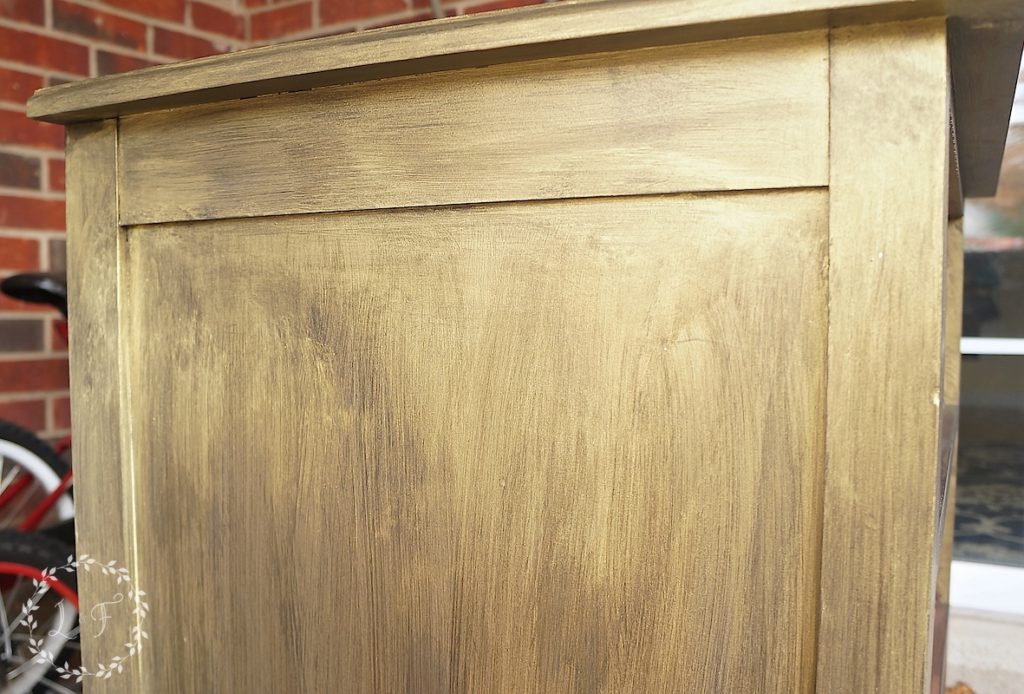
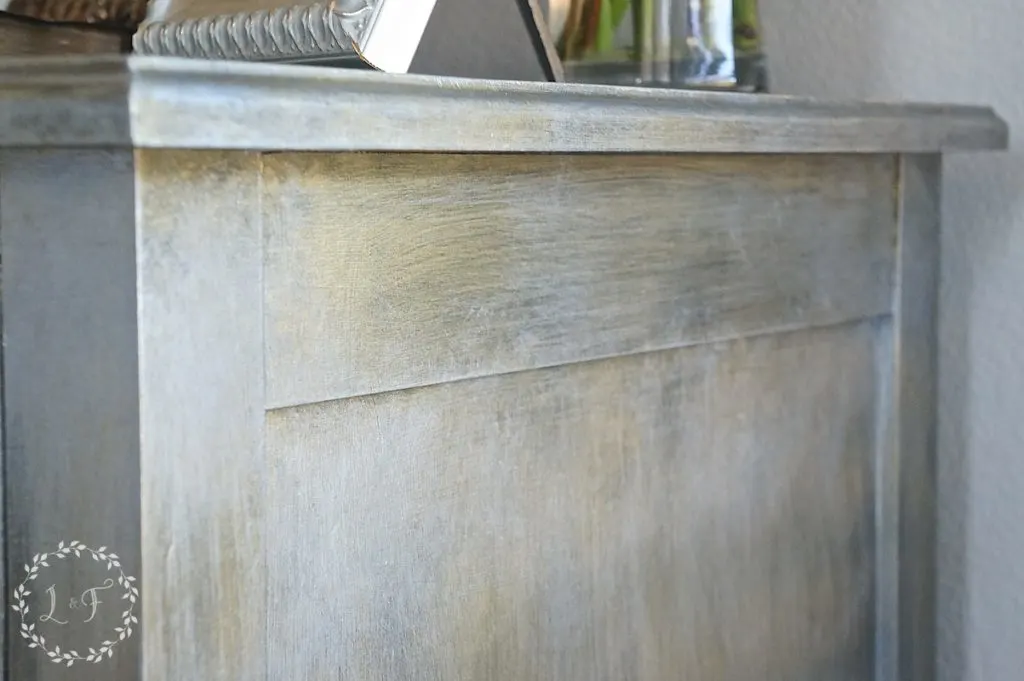
After the bronze was dry to the touch, I dry brushed on some regular Fusion Coal Black paint. (see how to dry brush paint here)

The straight bronze finish is on the right, and on the left is where I’ve added the black. You can see how the black adds some depth.
[/et_pb_text][et_pb_text use_border_color=”off” background_position=”top_left” background_repeat=”repeat” background_size=”initial” _builder_version=”3.19″]
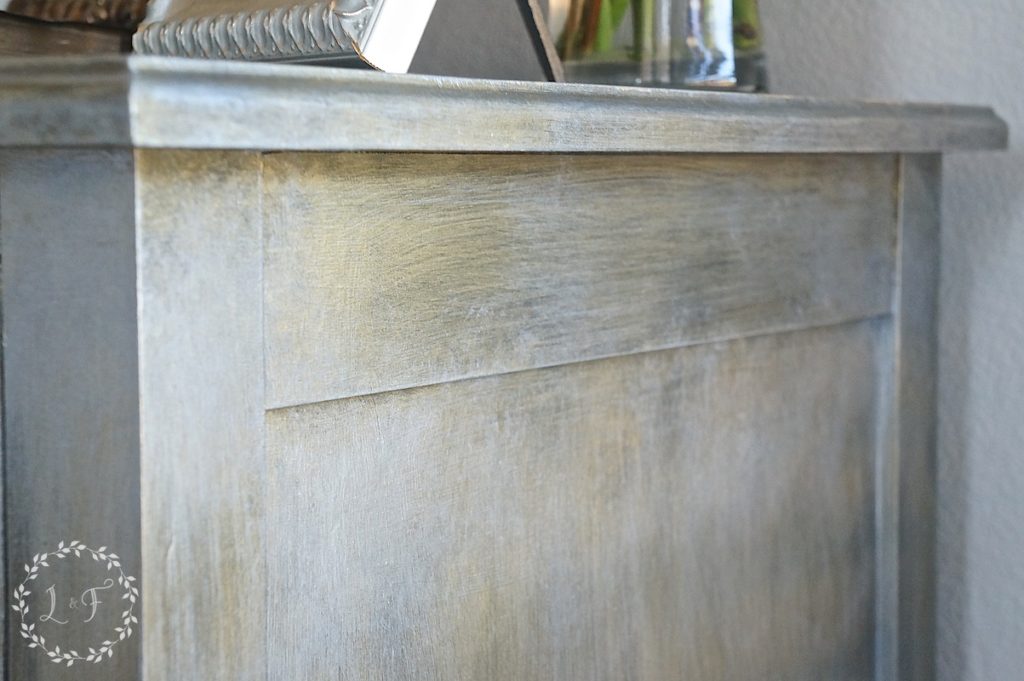
Here is a photo of the entire side of the piece with the black dry-brushed on.
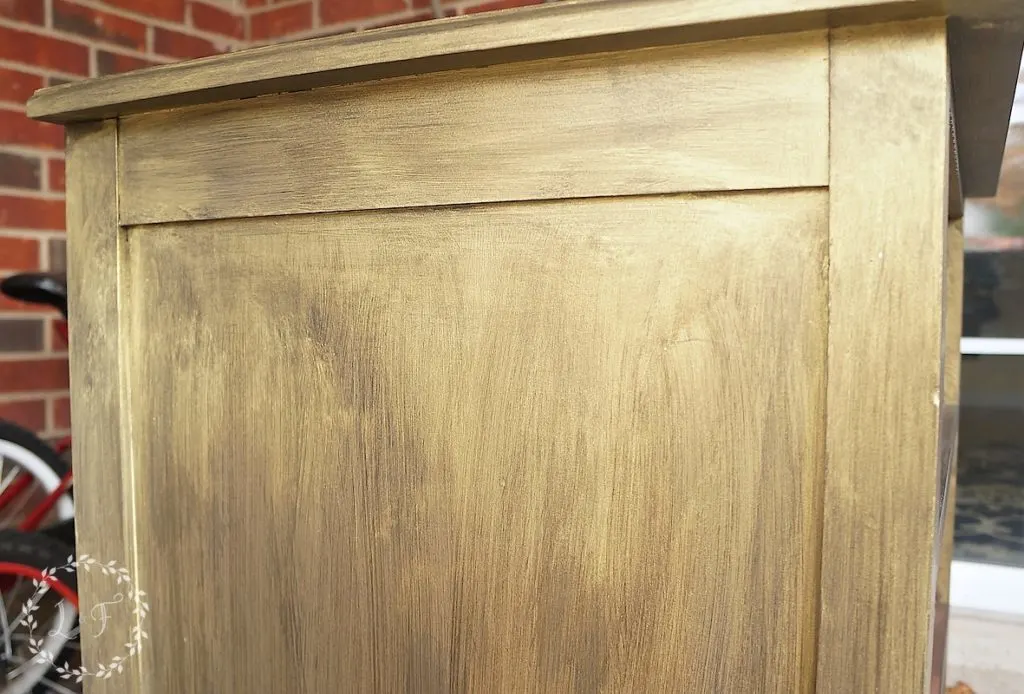
When dry-brushing, remember to keep a damp rag handy in case you get a little too heavy-handed with a color.
From time to time I would wipe back the finish, wiping off a little of the black if there were places where it looked too dark.
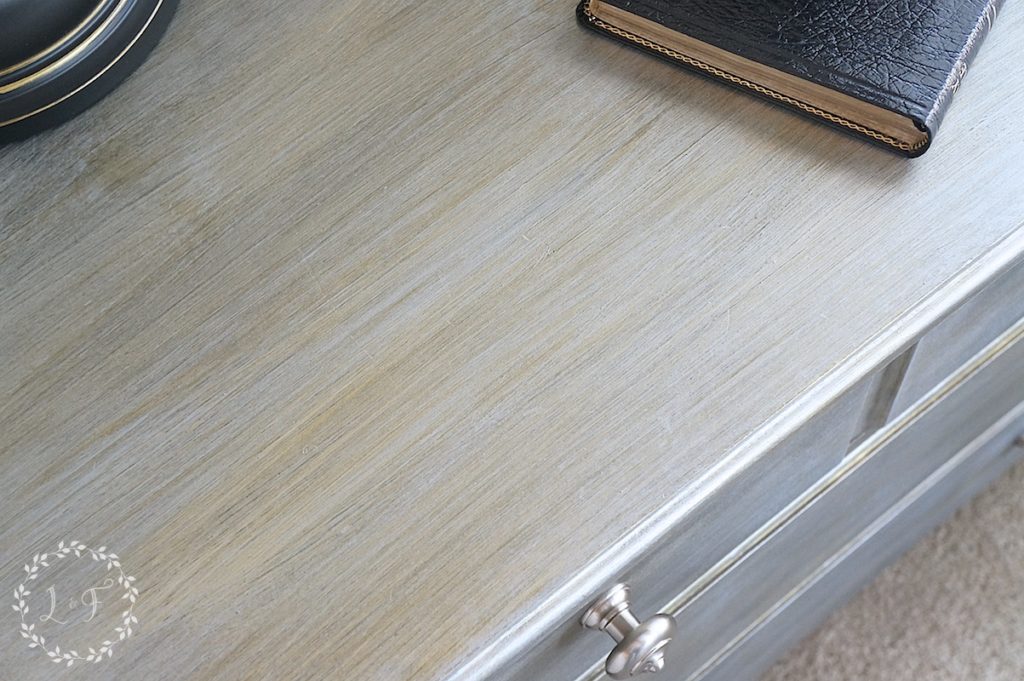
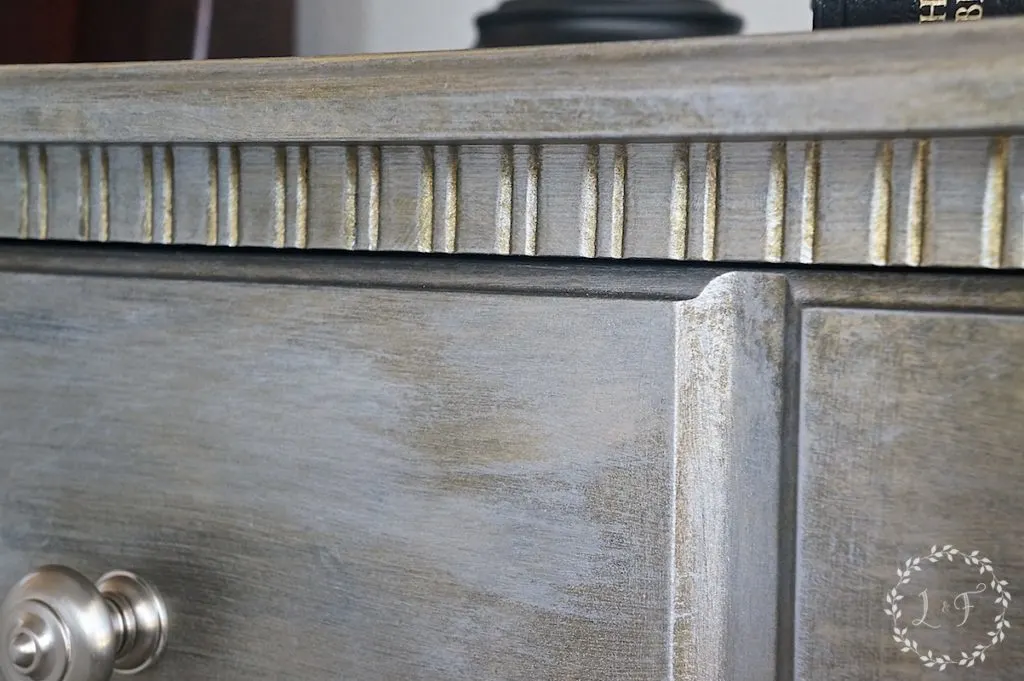
After the black, I dry-brushed on the top layer, which was the Metallic in Silver (no longer available, try Brushed Steel).

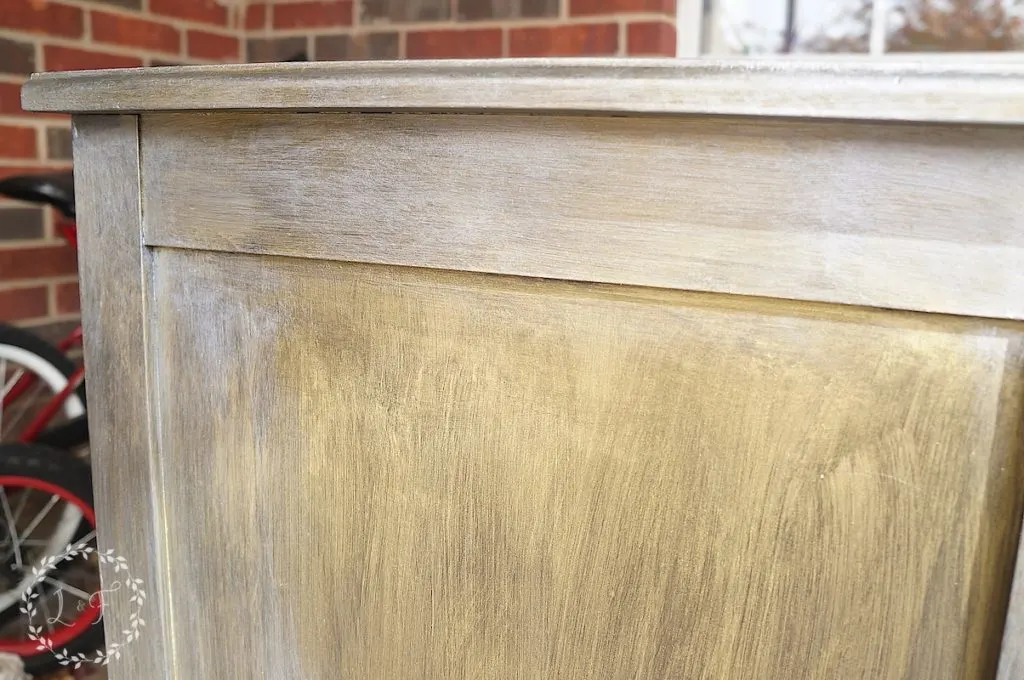
See how it’s brightening up the finish and toning down the gold? My client wanted more silver than gold, so I kept applying silver until I was satisfied with its coverage.
Dry-brushing is one of those techniques that takes a little extra time and patience.
While you’re in the middle of the project it generally always looks terrible . . . It’s not until you get all the way finished that the look takes shape.
So keep working at it, layering colors here and there, until you get the look you want.
After everything was good and dry, I finish sanded the whole piece with 320 grit sandpaper to make it feel buttery smooth to the touch, then it was time to go back to my client’s bedroom.
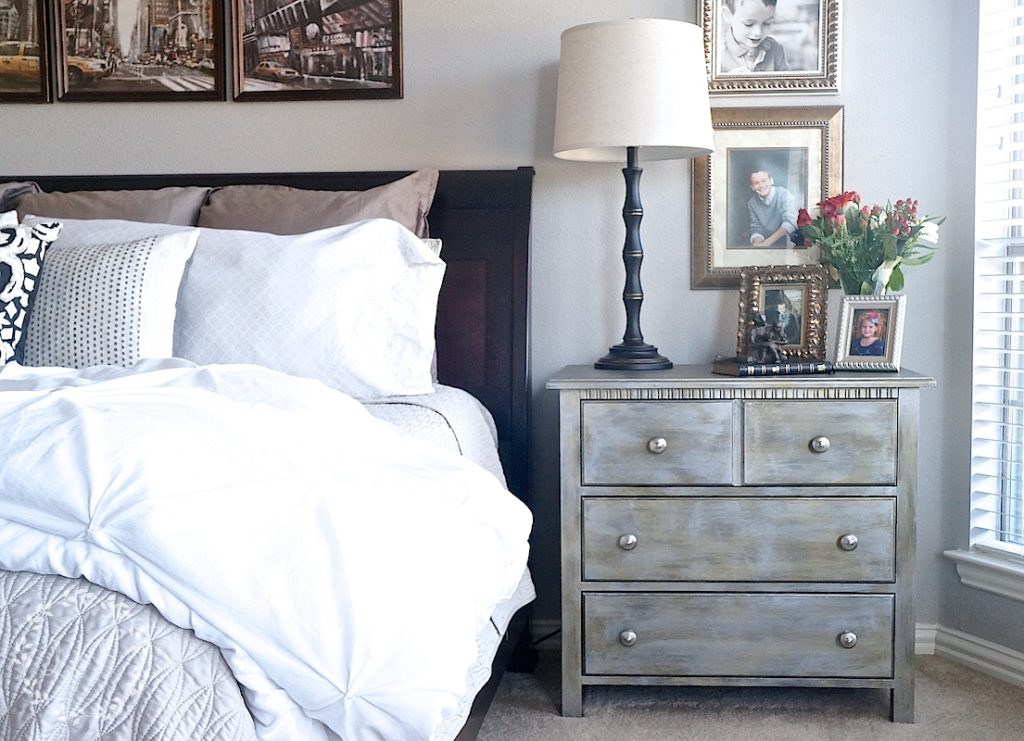
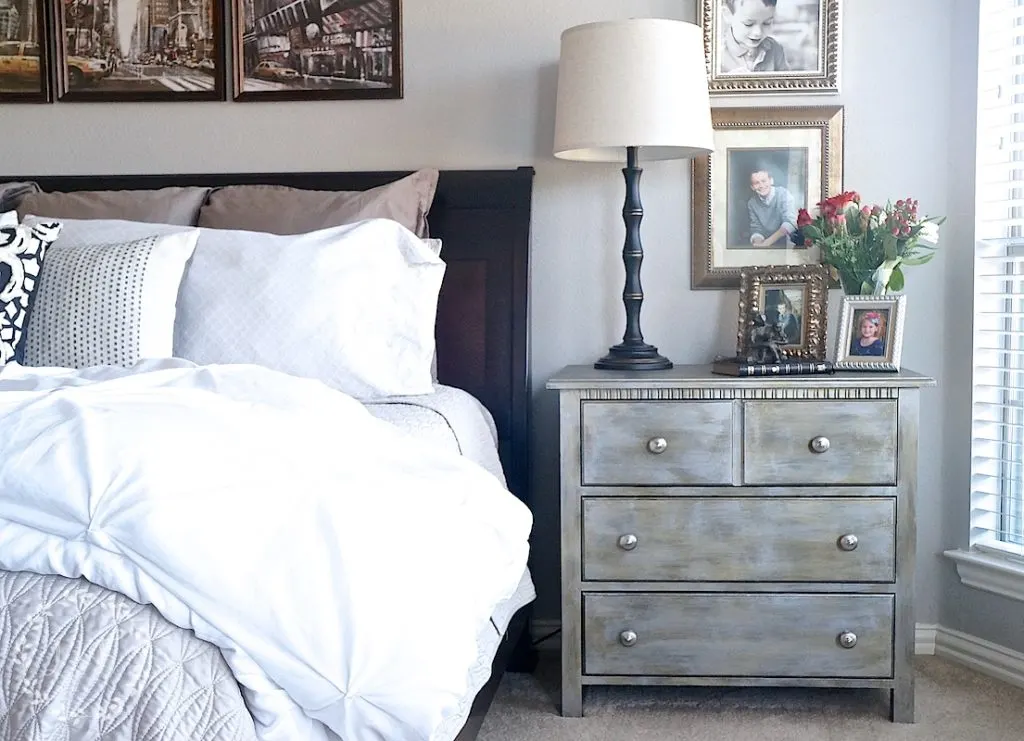
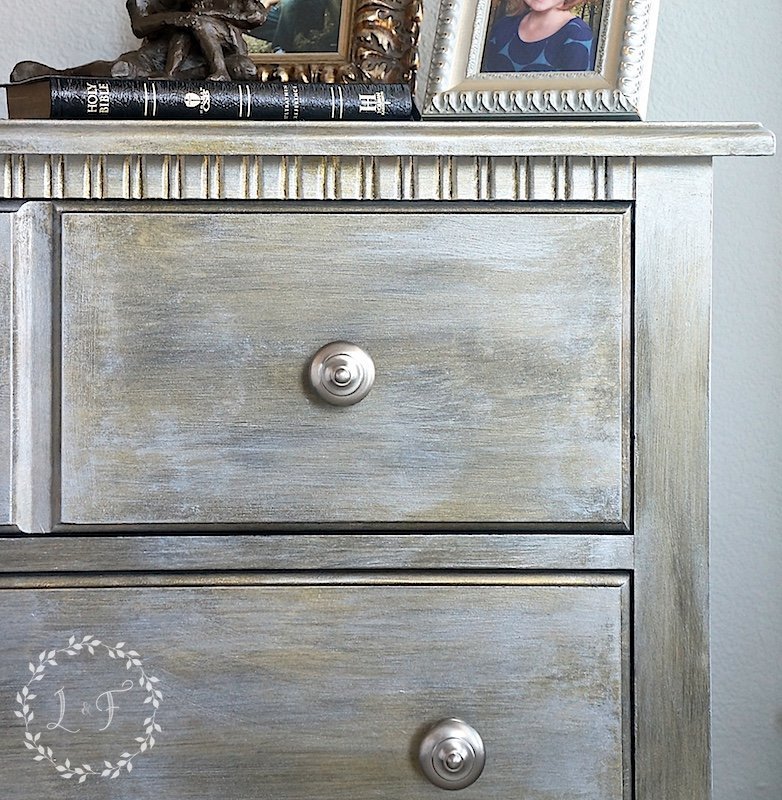
What do you think? I am smitten with it.
Thankfully, my client loved it and it worked perfectly in her space.

I really like how all of the different colors show up, and it even looks a little different when it gets in different light.

This may look like a complicated technique, but really I think it’s easier to paint like this than to try and achieve a super sleek, all-one color finish.
I call this “messy painting,” and the key is to just keep playing around with it until you are happy with what you see.

There are so many other things you can do with the Fusion Metallics, from accenting small craft projects all the way to transforming entire furniture pieces like this.
Today 4 other talented bloggers are joining me in showing off their projects using the Metallics. Please take a minute to visit each of their pages and see their projects as well.
Metallic Accented Wreath at Finding Silver Pennies
Madeover Jewelry Tray at Q is for Quandie
Silver Accented Chest at Homeroad
Brushed Steel Coat Tree at Bliss Ranch
All of these Metallic colors, plus more, are available in my 2 Dallas-area local shops as well as my online shop.


Michele
Sunday 28th of August 2016
Hi Melanie - I am attempting this technique for the first time after seeing your makeover and now I'm inspired. You mentioned that you sanded it after painting - but did you seal it/use a clear coat to protect the finish?
Keeping my fingers crossed mine comes out half as beautiful as yours!
Melanie
Sunday 28th of August 2016
Hi Michele! You can do it! And thanks so much for your kind comments. Regarding the sealer, Fusion Mineral Paint seals itself, and so does not require any top coat (I know, amazing!) It's acrylic-based and actually not a chalk-type paint, so there is no need to wax it or apply a poly, unless you want some added gloss. You can read more about the difference here, if you're not familiar with Fusion. And the sanding I mentioned was just with a very fine grit, to smooth out the finish so it feels soft to the touch.
Paige Johnson
Wednesday 20th of July 2016
Hi Melanie, I tried out this tutorial and shared it on my blog. I hope you don't mind I also shared a link to your page and gave credit to your beautiful work. Thank you so much for the inspiration. You can see my post here http://www.ayellowpeach.com/blog/2016/7/20/znpvtg87een1z050o90o82fyy736q9
Side Table Makeover Fusion Metallics
Tuesday 19th of July 2016
[…] The two projects I’ve done in the past for her were the Champlain China Cabinet and the Faux Mirrored Nightstand, so we decided to sort of combine those 2 looks onto this one […]
Front Door Refresh with Fusion Mineral Paint and a Giveaway! | Lost & Found
Monday 25th of April 2016
[…] you remember last year when we did the post highlighting the Fusion Studio Metallics? I teamed up with 4 other bloggers to show off different ways to use the metallics and also had a […]
Jen @ Girl in the Garage
Monday 4th of April 2016
Hi Melanie, I am in love with so many of your makeovers! This nightstand looks fabulous in metallic paint- SO elegant now. I would love to feature it on my 2nd site, DIY Furniture Makeovers (http://diyfurnituremakeovers.com) if that's alright. I'd share one before and one after photo with a brief description and link back. Let me know what you think. Thanks so much!
Melanie
Monday 4th of April 2016
Hi Jen! Thank you so much :) I would be honored to have you feature the nightstand. I was pretty excited with how the finish turned out as well. Thank you for stopping by and for asking. Have a great week :)