My DIY Kitchen renovation is chugging along!
I’ve painted 95% of my kitchen cabinets (there are 2 final doors I just can’t get motivated to work on), scraped and re-painted the popcorn ceiling, painted the walls, made-over my island, and am just about finished with my faux-tile stencilled backsplash.
I’m feeling like this project may finally get finished after all!
But you know when sometimes, no matter how badly you want to like something, it just isn’t working for you?
That’s the situation with my stencilled backsplash project.

*And for you grammar lovers out there, I checked on the correct spelling of “stencilled.” The American English spelling using one L, the British English uses two L’s. Two L’s seems to make more sense in my mind, so I’m gonna be British in this post.
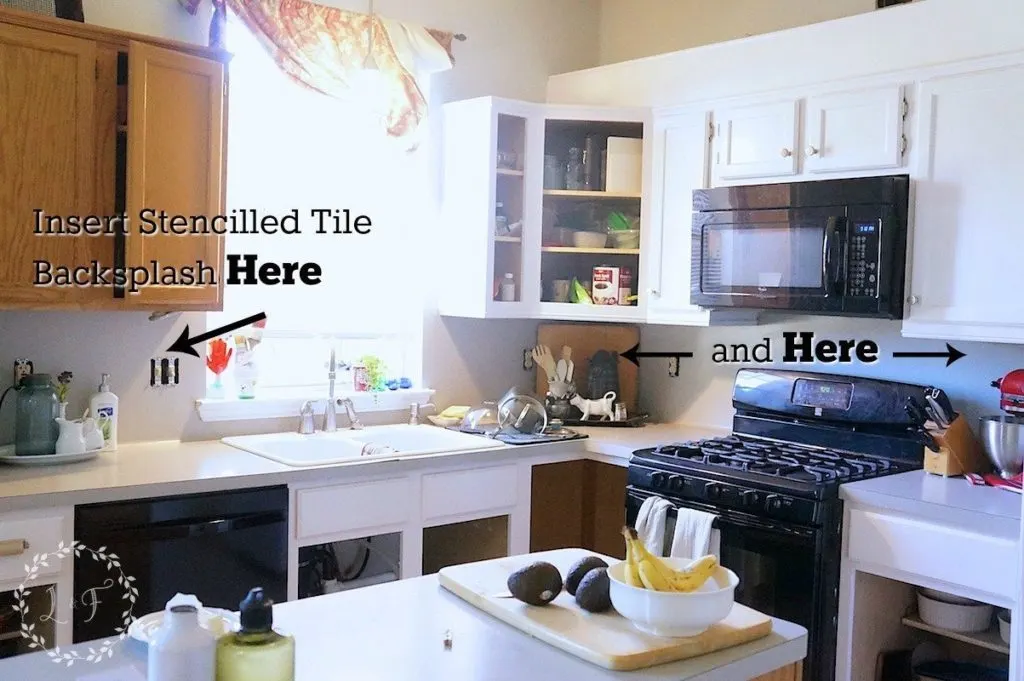
My original plan was to create a subway-tile look on my laminate backsplash using the Fusion Brick Stencil, Sand Stone Texture, and paint. I’ve taught a workshop using this method, and really liked the finished look.
I had the materials on hand, so I thought, “Why not?” Well . . . Stencilling my backsplash wasn’t quite as easy as stencilling a project board sitting flat on a table. There was lots of squeezing, bending, and a few mild unsavory words that slipped out while I worked on this over several weeks.
The faux-brick stencil method isn’t hard itself, it was trying to stencil in a small, confined space that was challenging.
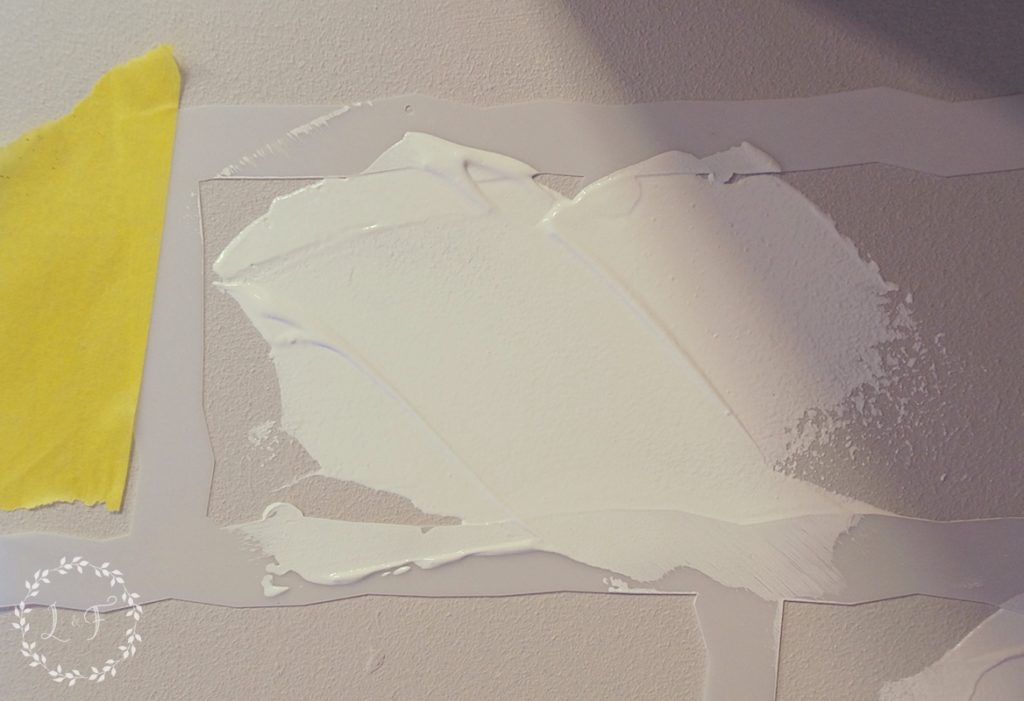

The process is pretty simple though– layering on several different shades of gray and white paint that has a little of the Fusion Sand Stone texture mixed in.
I used a dollar store spatula and swiped on the paint in random directions until the whole stencil area is covered.
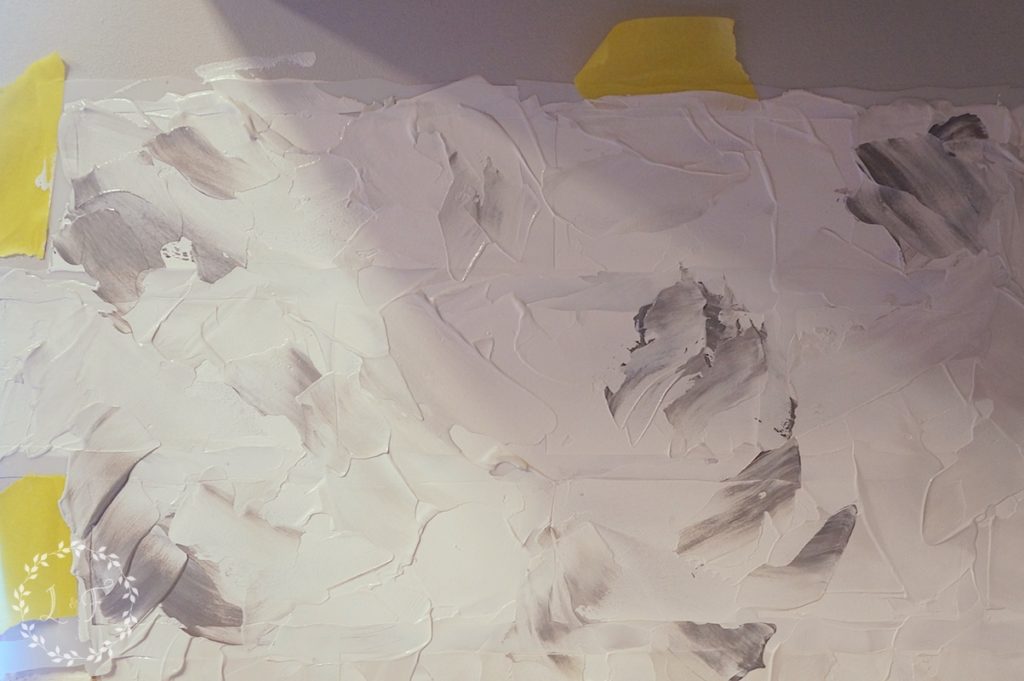

This method leaves you with a really nice, faux-marble tile look when you pull away the stencil.

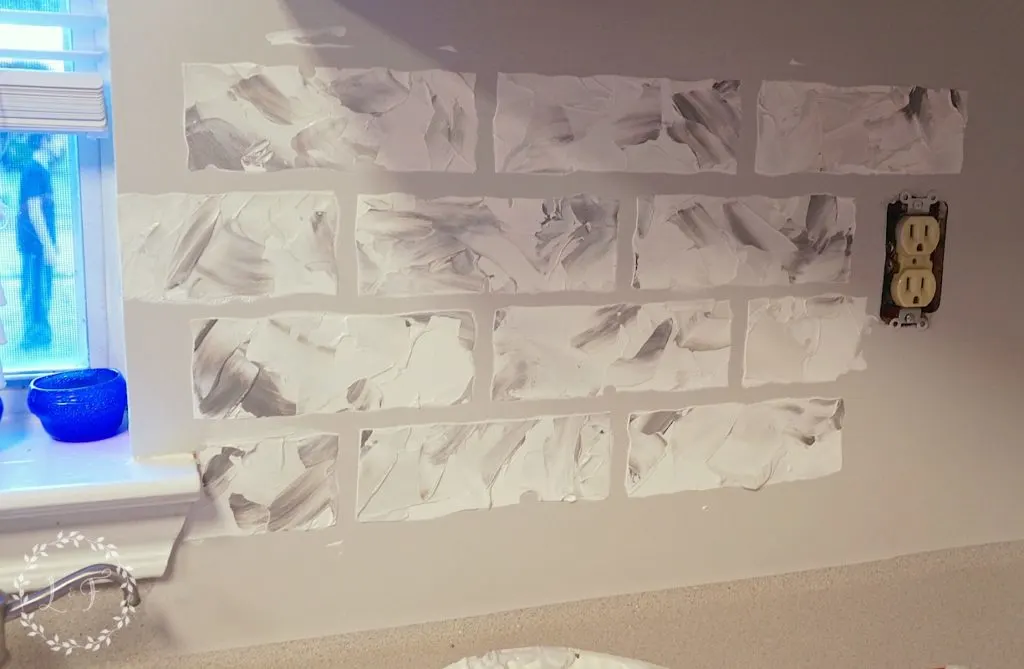
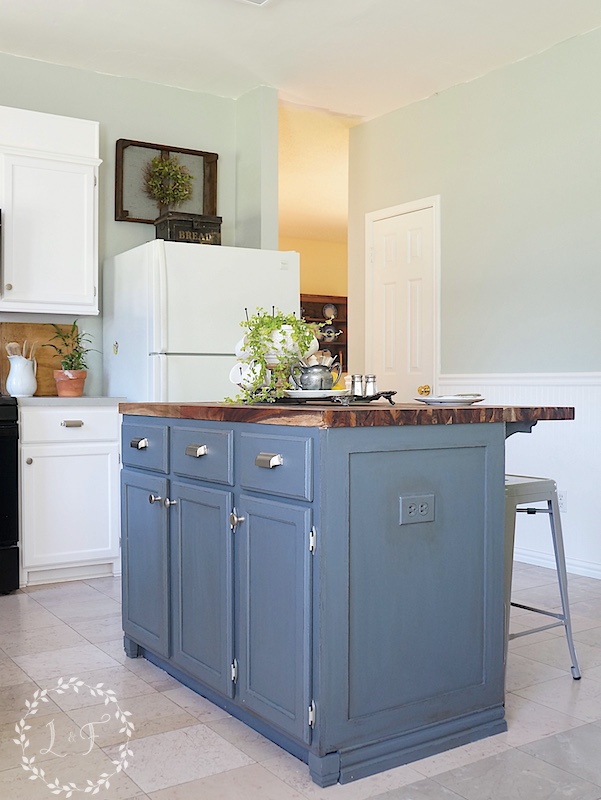
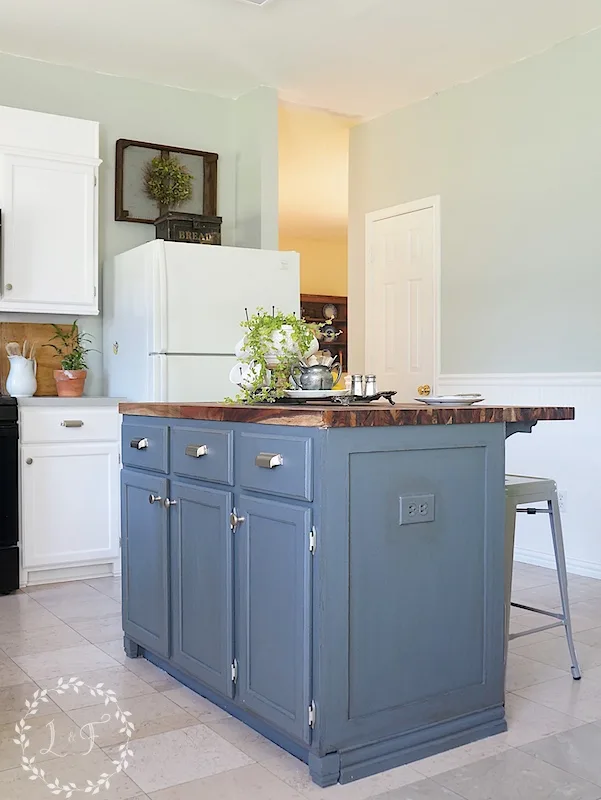
I really do like the look, but once I finished up my island, painted the walls, and got some of the other elements finished in the space, the color palette of the stencil just wasn’t working. It doesn’t provide enough contrast, and the grays I used (even though the darker gray is the same color I painted my island), comes out looking purple-ish.
The Practical part of me kept saying “Get over it Melanie! Just finish the stencil and be done with it.” The Designer part of me though felt a little irritated every time I looked at it.
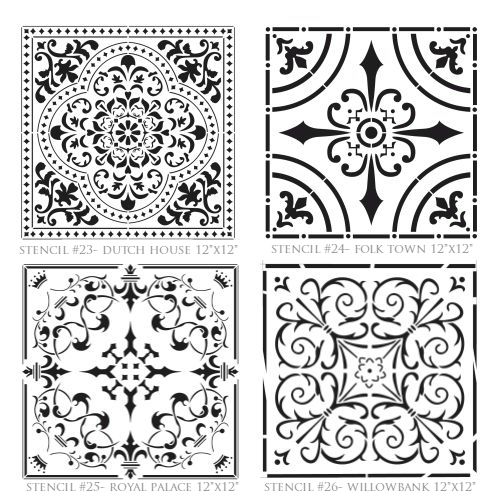
Here’s where the story gets more fun. While I was trying to decide whether or not to go ahead and finish the brick stencil or try something else, I got an email from my blogger friend Linda. She was looking around Pinterest one night and came across a picture of the Fusion Tin Tiling Stencils.

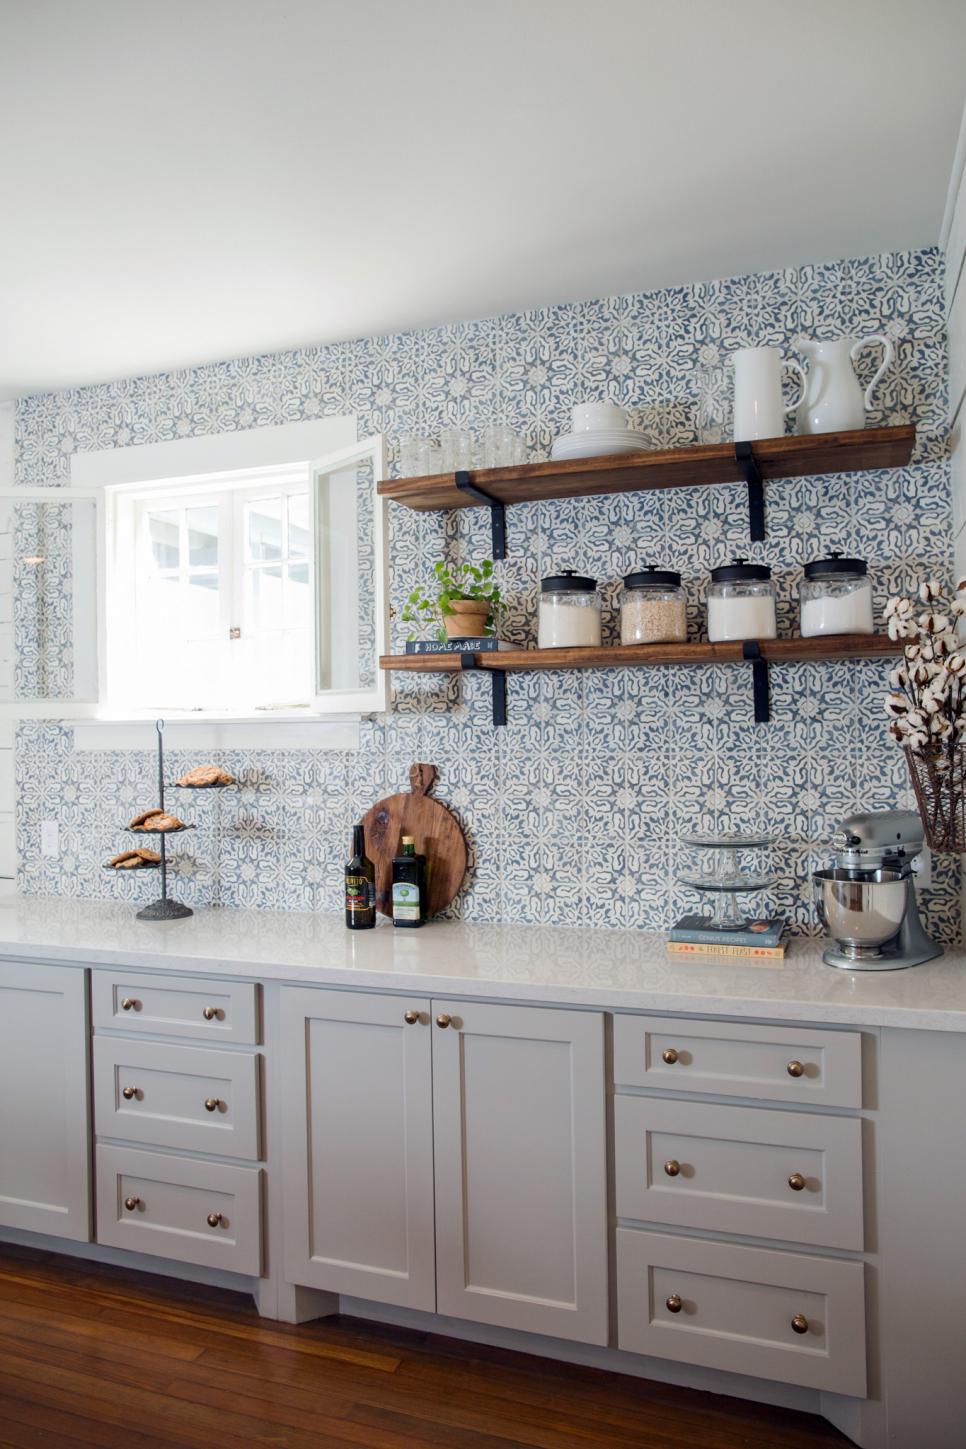
Her first thought when she was these gorgeous stencil patterns was Joanna Gaines and those concrete tiles she has been using all over Season 3 of Fixer Upper (doesn’t everything go back to Fixer Upper these days?)

via HGTV.com
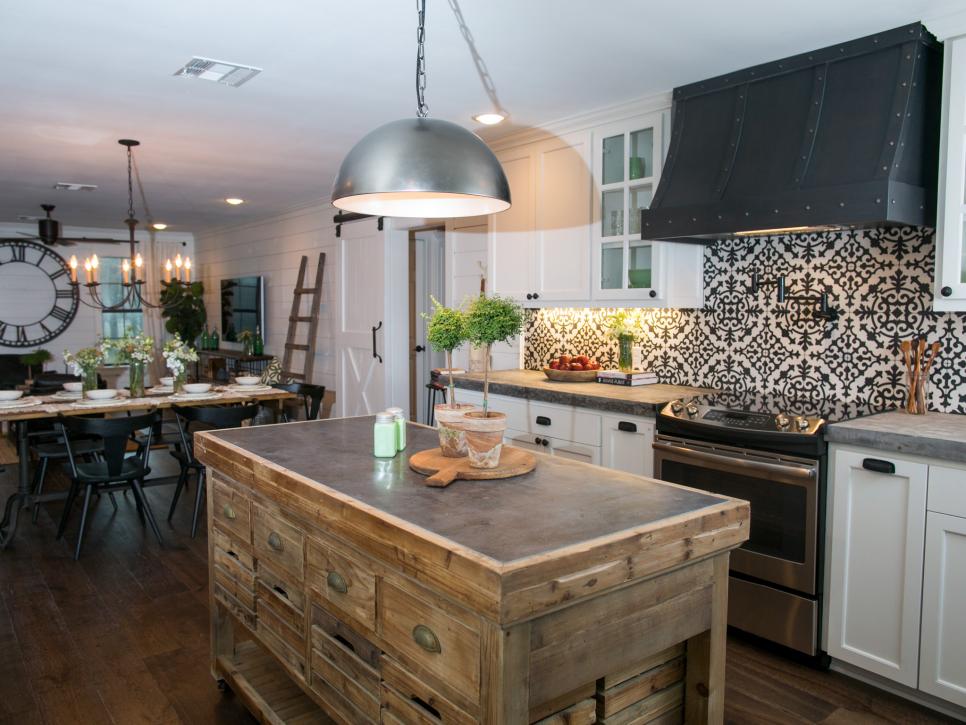
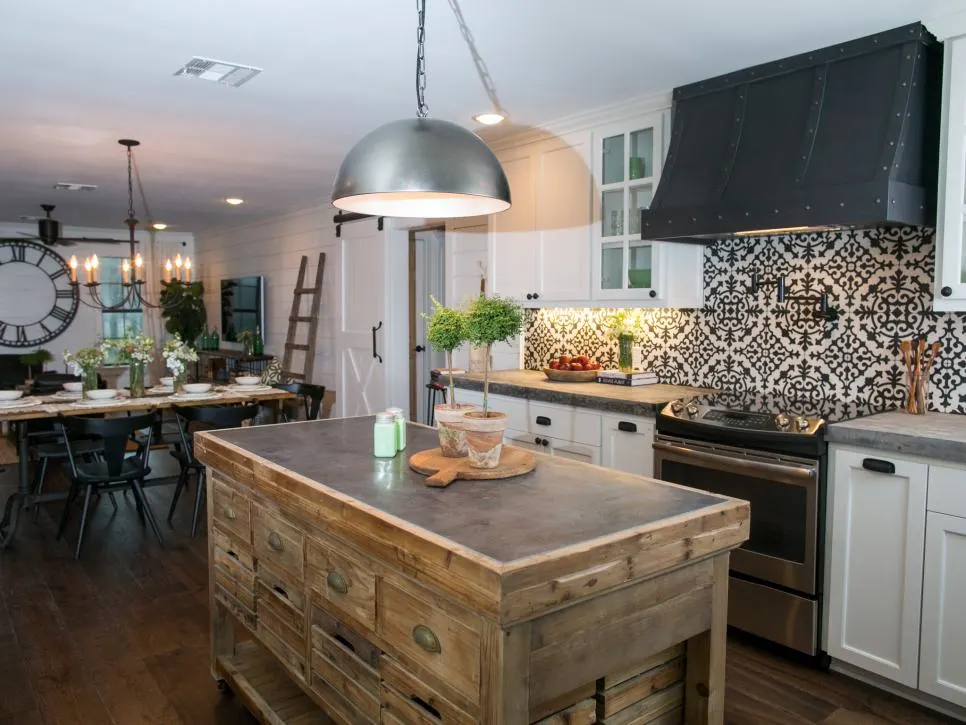
via HGTV
Linda thought that she could totally recreate the look of these patterned tiles using the Fusion tile stencil . . . The only problem was she didn’t have any space in her house that needed new tiling.
So she emailed me and suggested I try it out on my backsplash 🙂
Well, that darn practical part of me again didn’t want to think about starting all the way over on my backsplash . . . But that designer part saw the potential with this project and was hooked.
So, this is my new plan: Sand down the brick stencil and re-stencil by backsplash using the Willowbrook pattern from the Fusion tile stencil line.
I know this is a more bold look, but I think after it’s all finished it’s going to provide some really great contrast to my white cabinets and light gray walls, like it does in this photo from blogger Cassie at Hi Sugarplum.

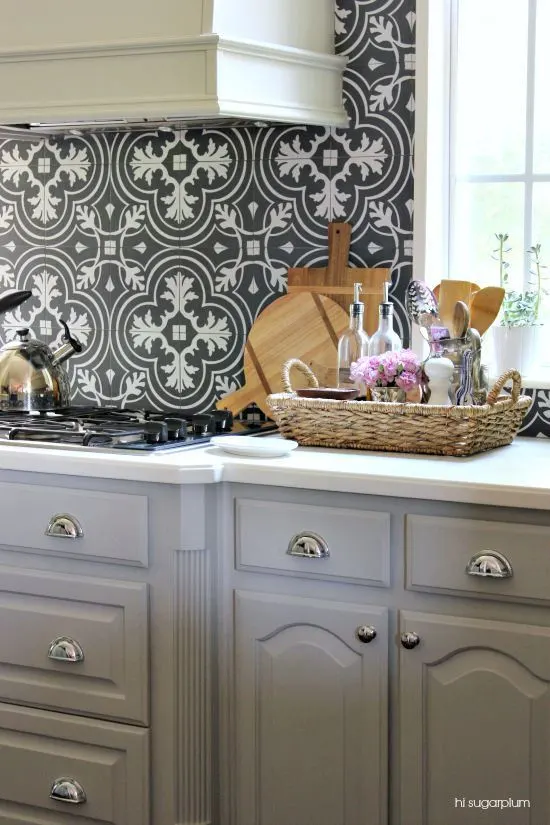
You really should click over and check out her kitchen renovation! It’s very stylish.
So you may be wondering at this point why in the world I am going through the hassle of stencilling my backsplash instead of actually installing tile . . . Well, let me tell you why 🙂
My countertops are laminate, and the laminate piece that is the top of the countertop runs seamlessly all the way up my backsplash to the base of my cabinets. It would be possible to tile over that piece of laminate, but then when/if the time comes where we have it in our budget to replace the countertops, we would have to rip out all of that tile too.
One day, I’m hoping to say bye-bye to my blue laminate countertops, but today is not the day. So, I’m gonna make do with them and save myself the cost of installing expensive tile to then just one day rip it out. Make sense?
Plus, the Fusion merchant and DIY blogger in me thinks it would be cool to recreate this look using materials I have on hand.
Before I start, the last decision I have to make is what color to use as the darker, base color for the stencil.
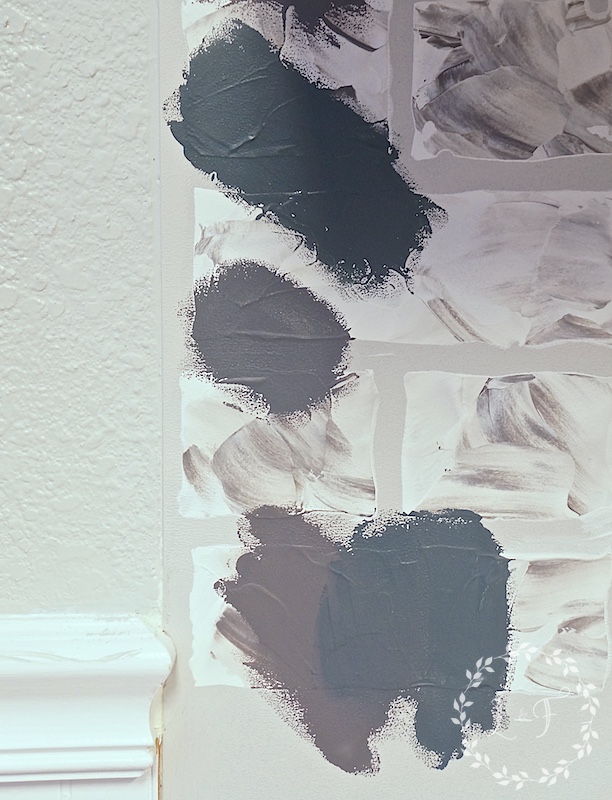
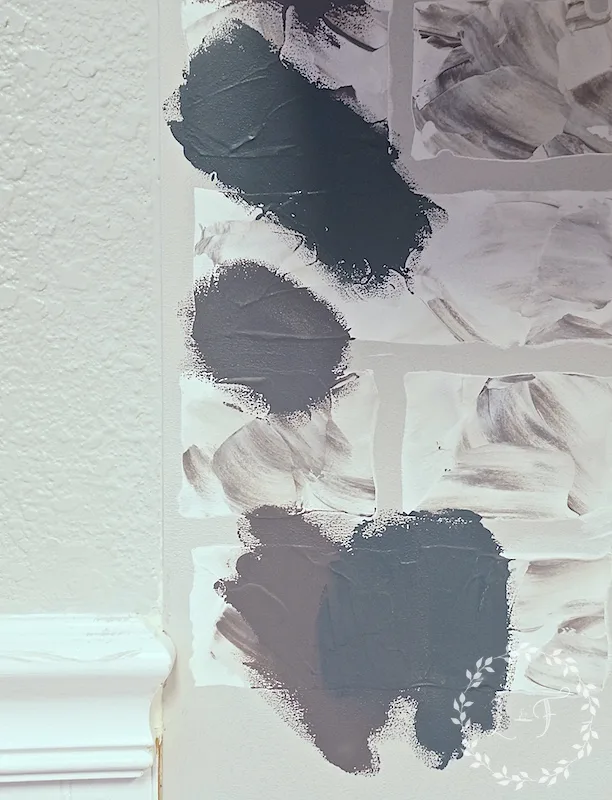
Here’s a little test spot I painted on my backsplash . . . From top to bottom, there is Homestead Blue, then Soapstone mixed with a little Homestead Blue, then Soapstone with Homestead Blue right next to it on the bottom.
The Soapstone is what I used on my island, but when I paint it on my backsplash it really wants to turn purple. I was afraid the Homestead might be too much of a blue, but I think I like it better. What do you think?
So, here I go again! Stencilling Round #2, all thanks to my friend Linda’s vision. Hopefully before too much longer I will have the full project to share with you.
Wish me luck!
Want to see more about my DIY Kitchen Renovation?
See where it started, here.
See my updated white cabinets, here.
See the customization of my kitchen island with trim work here, and with paint here.


Get a High-End Patterned Tile Backsplash Look with Peel & Stick Tiles | Stenciled Backsplash How-To with Fusion Mineral Paint | Lost & Found
Friday 7th of October 2016
[…] went through multiple plans for this backsplash, which you can read all about here. For various reasons, I wasn’t happy with the look I was getting, so in April I settled on my […]
Ivory
Thursday 21st of April 2016
I love the design tiles. Really nice job. The only bad thing here, we need you to come to our house and help me get this beautiful look. Thanks for sharing.
Melanie
Friday 22nd of April 2016
Thanks Ivory! Let's see how mine works out first . . . It may be a total disaster! Hopefully not :)
Suzanne
Thursday 21st of April 2016
I love that look I think the design tiles are pretty hot right now and a nice reprise from subway tiles! I can't wait to see how you do it with paint!
Melanie
Friday 22nd of April 2016
They are pretty trendy Suzanne, and usually I try to shy away from trends. But I figure since it's just paint, I can re-do it in a few years if it gets old.