Hi everybody!
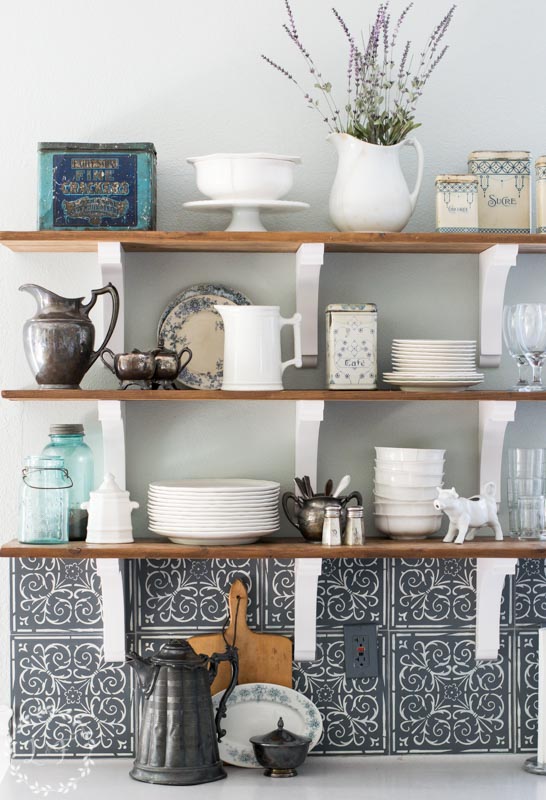
If you were with me last week you saw my most recent kitchen makeover project, my DIY Open Shelves.
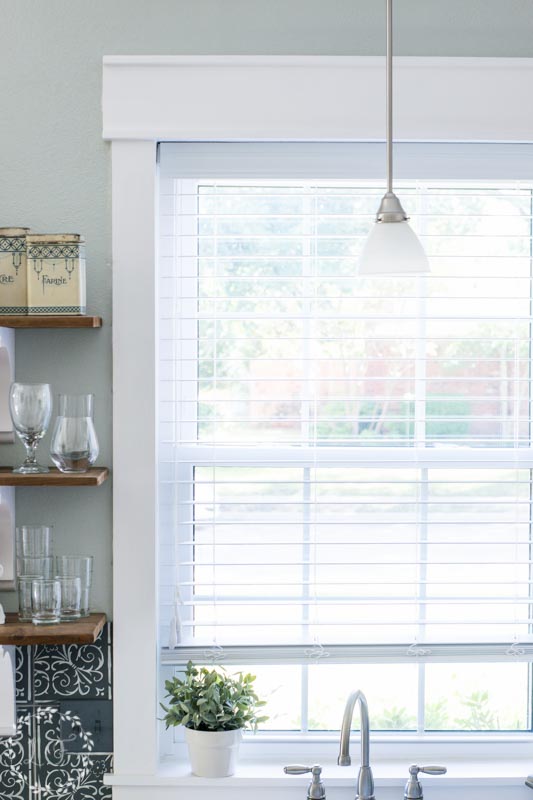
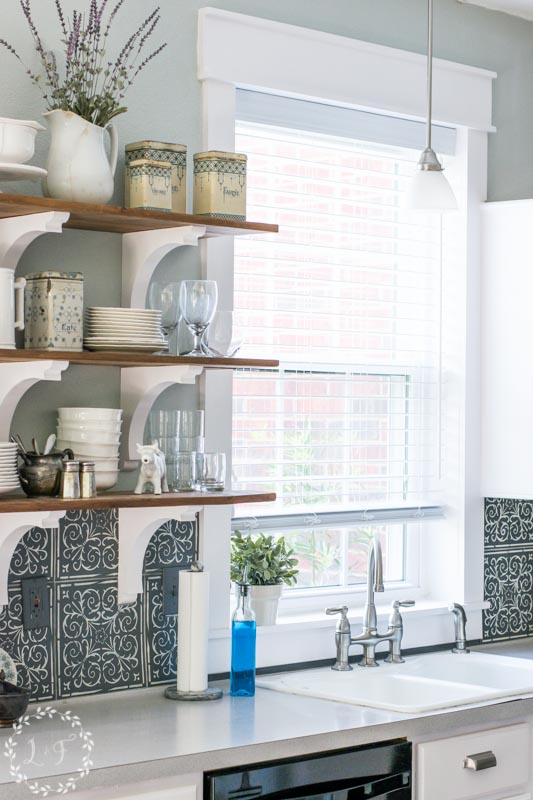
At the end of that post I promised to share the last step in my kitchen makeover, which was installing some Farmhouse Style DIY Window Trim.
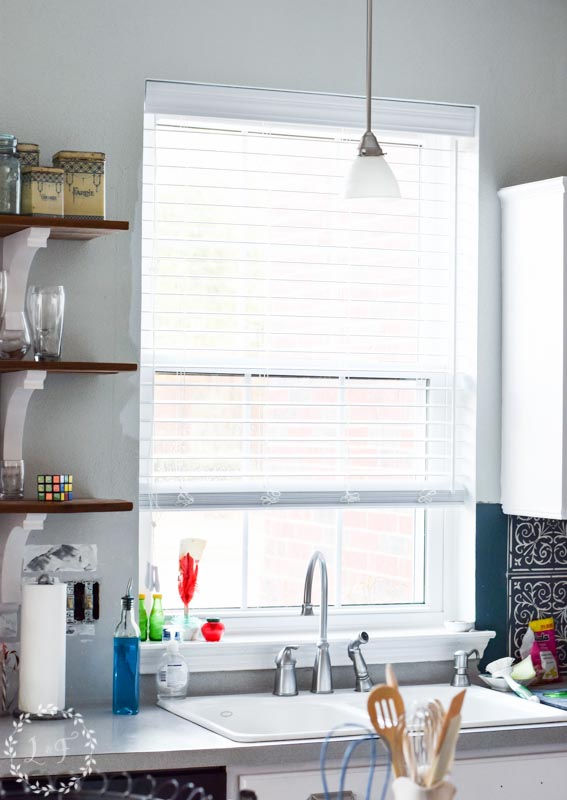
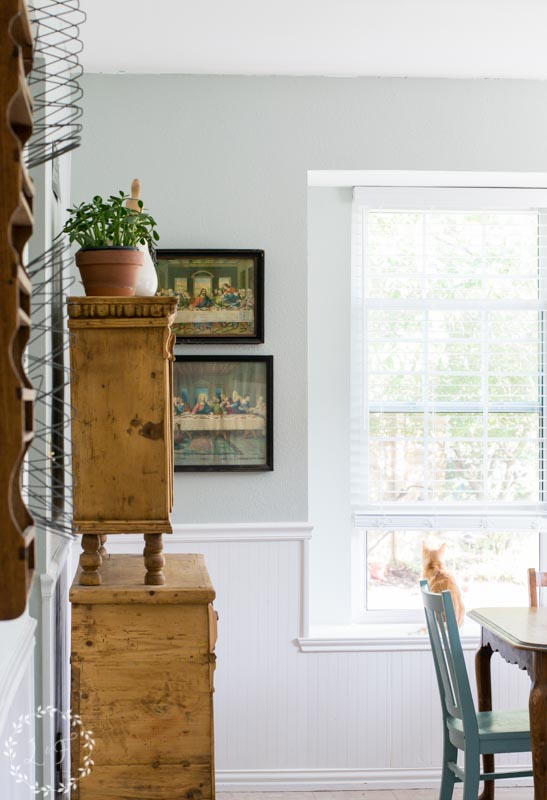
None of the windows in our house have any interior trim, outside of the basic window sill. They look pretty blah, huh? Adding a simple trim to the windows was another way we could up the wow factor in our kitchen without spending a lot of money.
If you want to tackle this project yourself, the first step is to figure out what look of trim you are going for. I knew I wanted big, chunky farmhouse-style trim–the bigger the better!
Thankfully, other bloggers have paved the way before me in this process, so I essentially followed this tutorial shared by Donna at Funky Junk Interiors. I’m not going to repeat all the steps here because I don’t want to steal Donna’s content–so check out her post for a more thorough step by step.
Materials Needed for DIY Window Trim
This post contains links to affiliate sites outside of LostandFoundDecor.com. Shopping through these links won’t cost you any extra, but will help support this blog. Thanks for the love!
- Basic pine boards: 3 1×4 boards, 2 1×6 boards, 2 1×2 boards
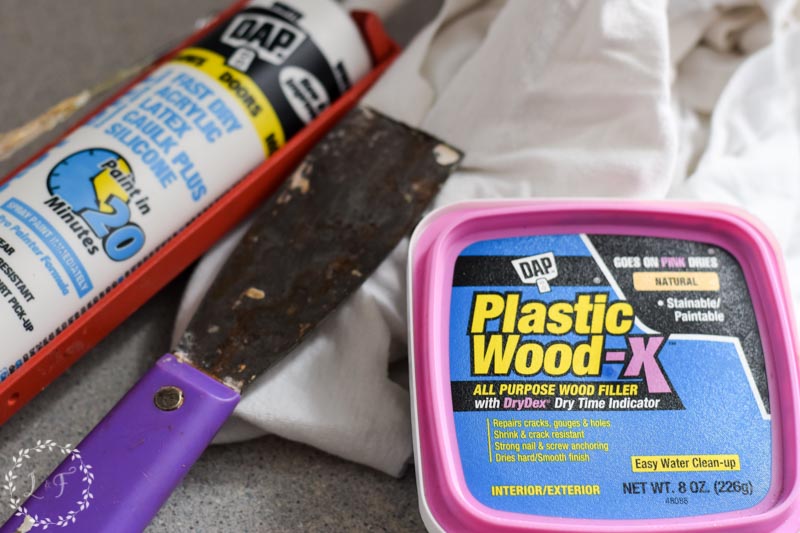
- Paintable Caulk
- Wood Filler
- Putty knife
- Pneumatic Brad Nailer (optional) or hammer with finish nails
- Circular or Mitre Saw for trimming boards
- Mouse Hand Sander with sanding pads
- Primer
- White trim paint
- Small pry bar to remove existing trim
I tweaked a little of Donna’s design and measured my own window opening to draw out my plan.

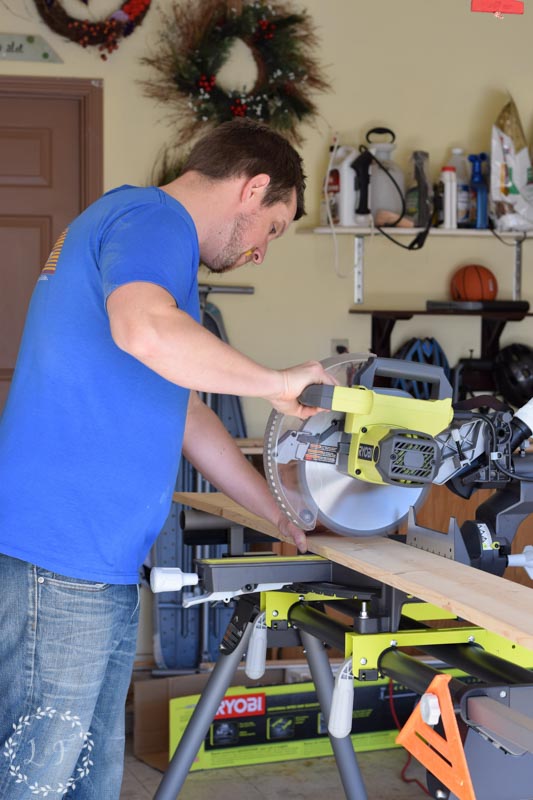
Then my husband cut all of our boards to size.
After he cut each board, I sanded them smooth and went ahead and primed them with Kilz.
Then, after the primer dried, I sanded them all again–it’s important to sand wood after you prime it because the primer draws out the grain, making the wood rough again.
So with my boards all cut and primed, we started installing each piece, using our brad nailer.
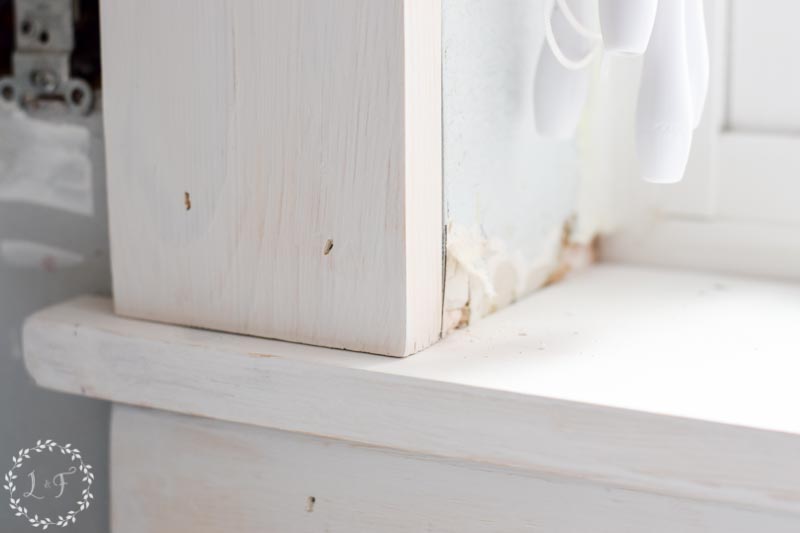
We came up against a small problem on the right side of the window–the cabinet was too close to the window opening for our trim piece to fit. So we cut out the board using a jigsaw to make it fit up against the cabinet.
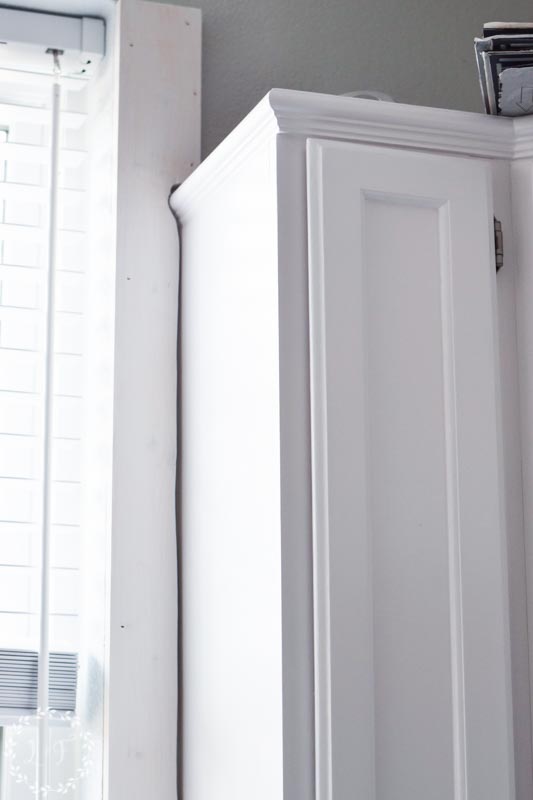
Now we weren’t able to get it to fit exactly against the cabinet frame, but no worries! That’s where the magic of wood filler and caulk come in!
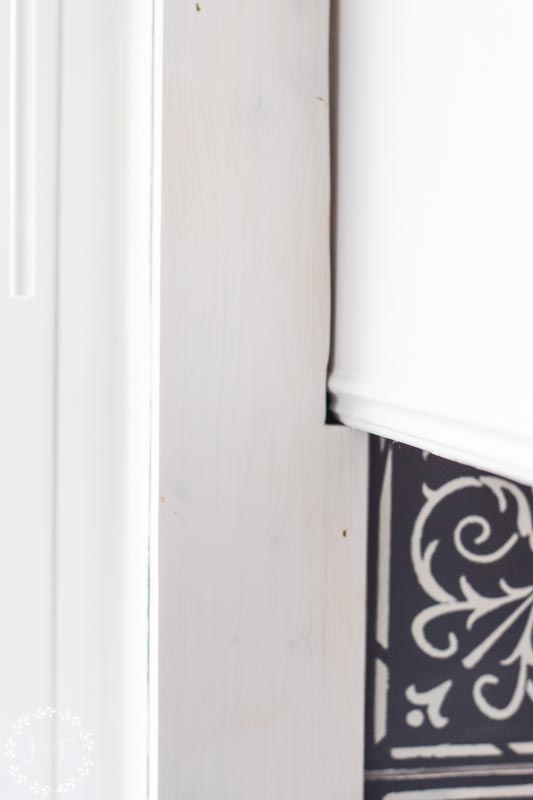
Once all the boards were installed, it was time to fill every nail hole with wood filler and caulk every seam.
Yes, this is kind of a boring step and it would be more fun to jump straight into painting . . . But you can’t skip this step if you want to have professional-looking trim!
I painted on 3 coats of my Benjamin Moore Advance white (the same paint I used for my white cabinets) and made sure to sand between each coat with some 220 grit sandpaper to smooth out the finish.
Once the new boards were cut, it only took us about 45 minutes to rip out the old trim and install the new, and then about 3 days for priming, caulking, and painting.
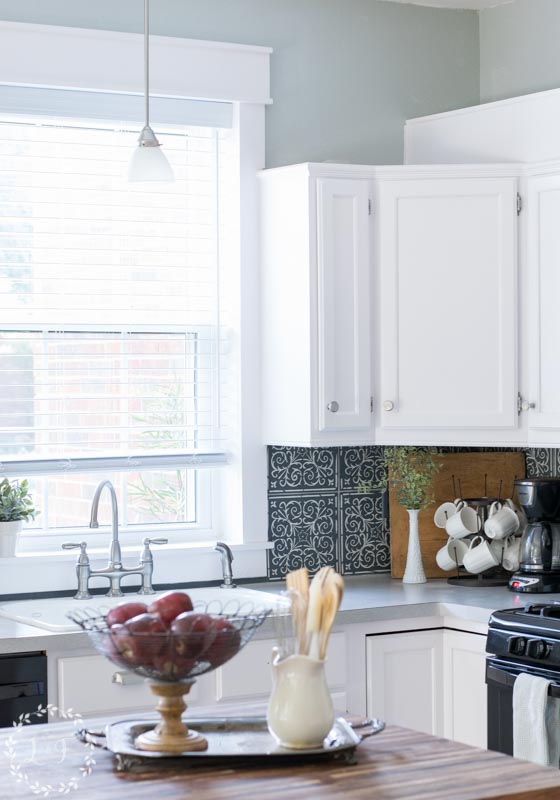
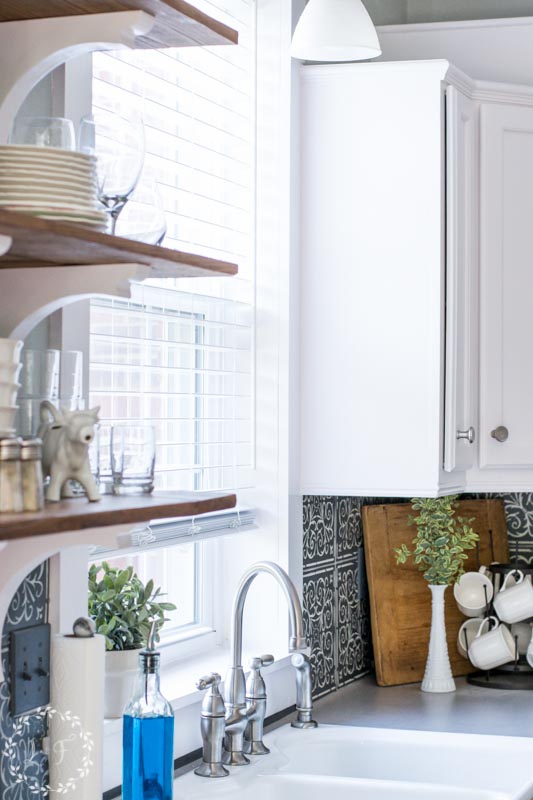
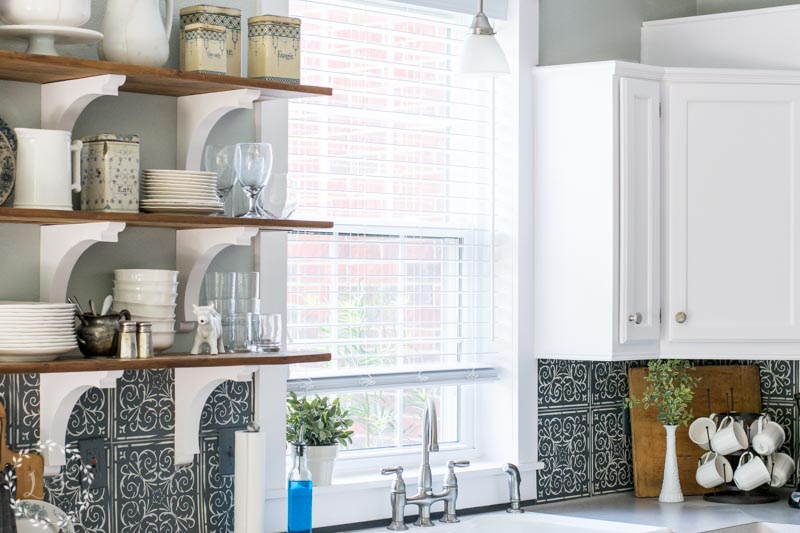
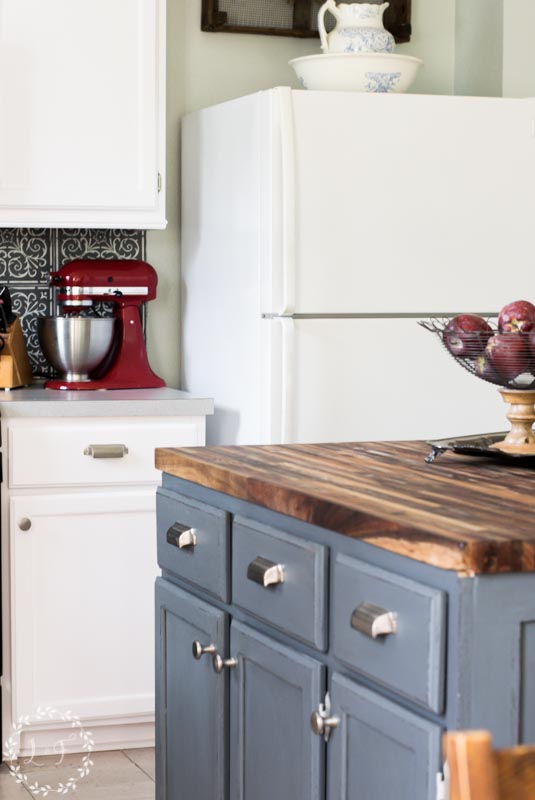
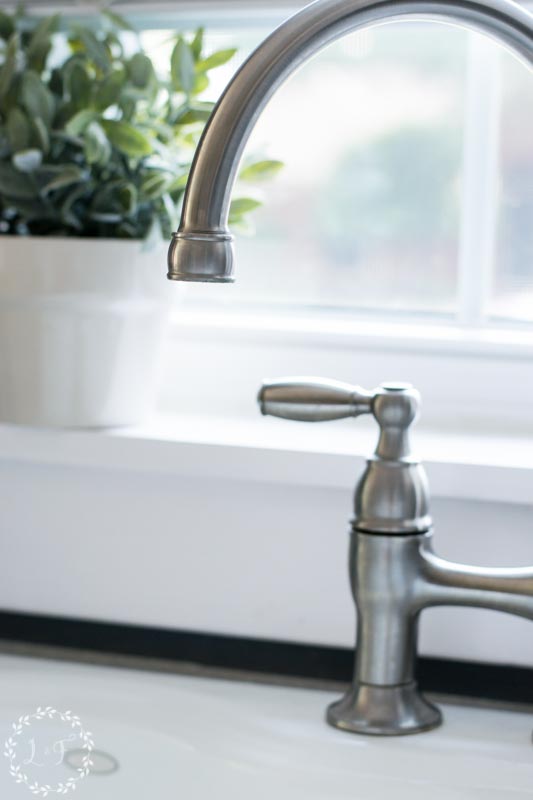
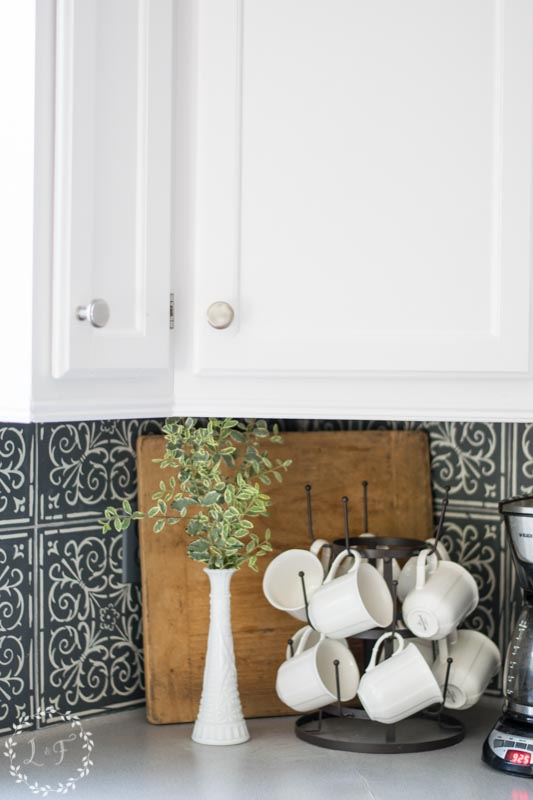
The end result is really incredible!
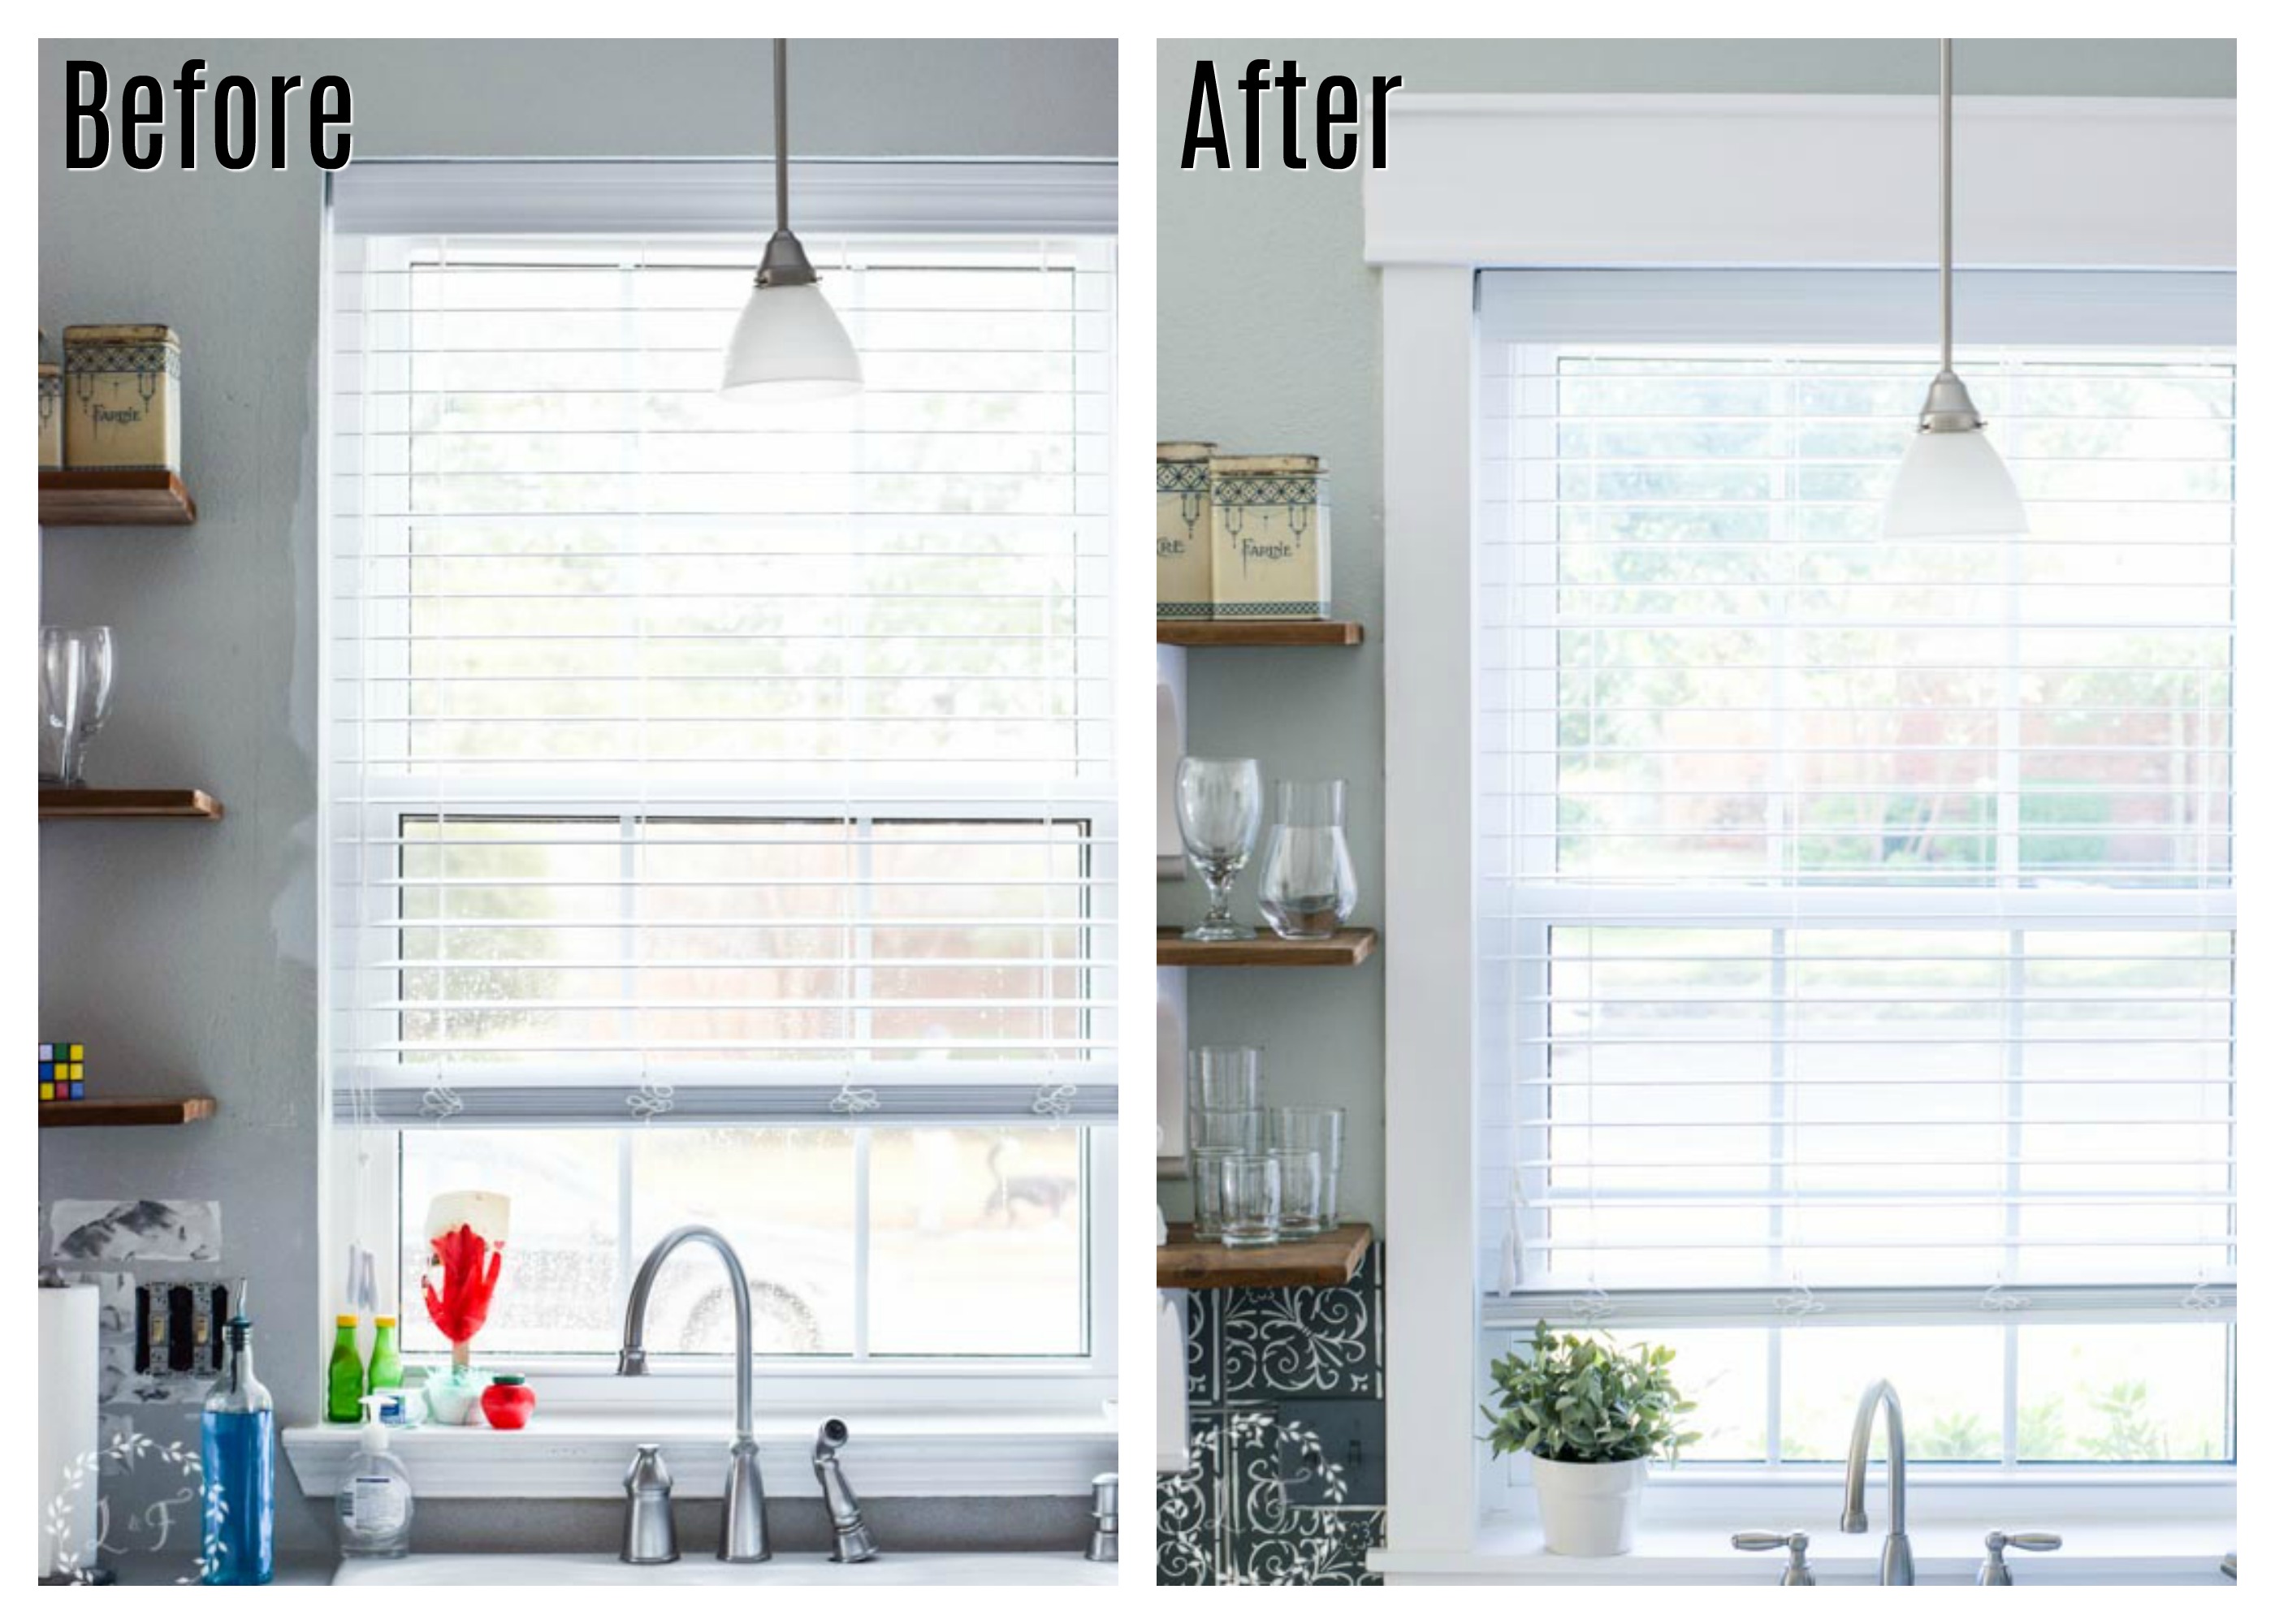
I love how the chunky trim ties the whole space together and really gives it a high-end look.
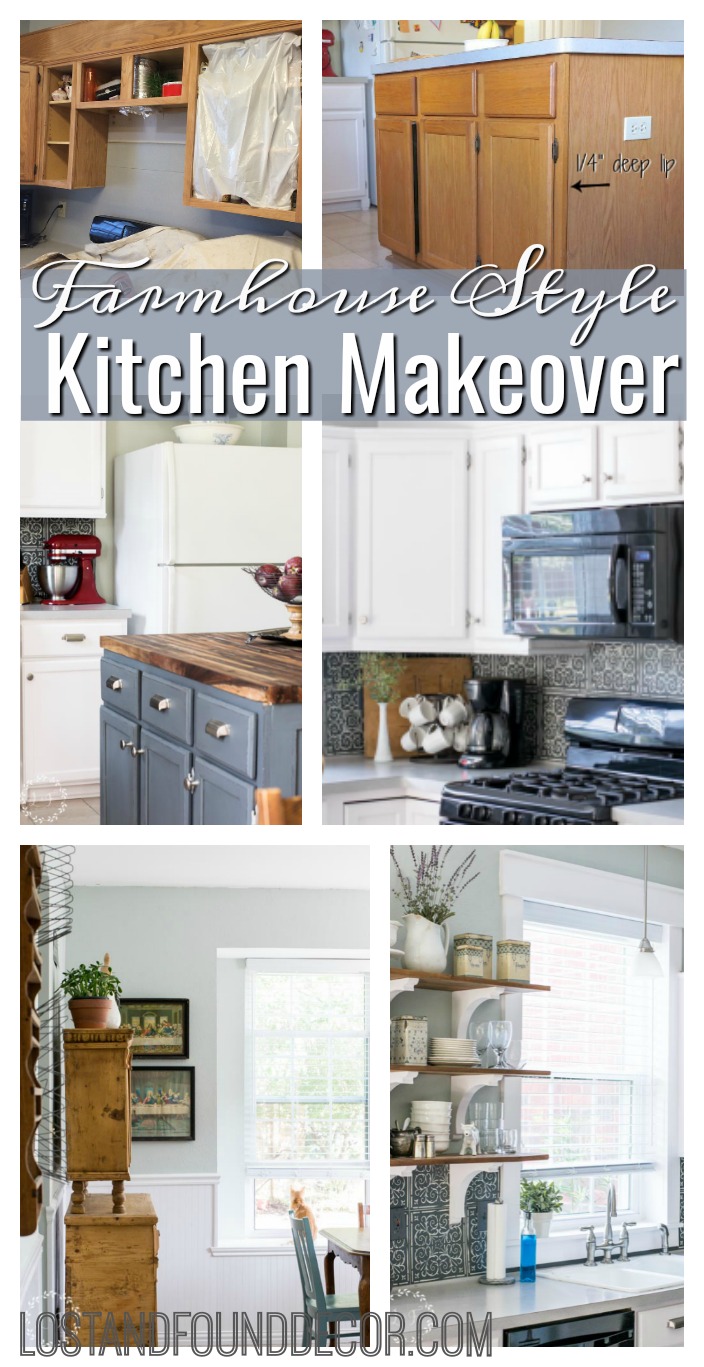
So now that we’ve finished walking through all of the projects, it’s time to take the final walk-through my DIY kitchen makeover!
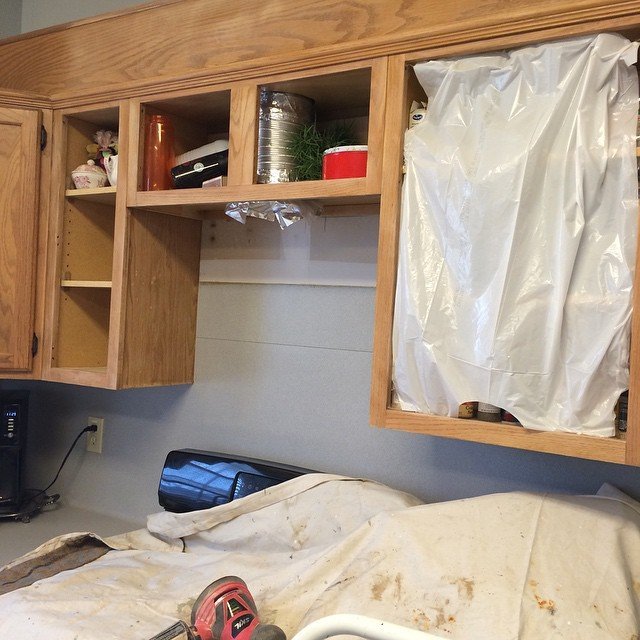
Just a reminder, here is where we started.
Builder grade honey oak cabinets, blue laminate countertop that ran all the way up the backsplash, yellow popcorn ceiling, no cabinet hardware, and no real character anywhere.
And here’s where we are now!


I hope I’ve been able to encourage you with this makeover! If you keep at a project, working at it little-by-little, whenever you are able, you can finish a major makeover!
If you missed any of the past posts from this makeover process, you can find them all here.
- Painting Kitchen Cabinets White
- How to Customize a Kitchen Island with Trim
- Painting the Kitchen Island with an Antiqued Finish
- Stenciled Kitchen Tile Backsplash
- DIY Kitchen Open Shelves
Thank you so much for following along with me!

dbmaguire
Thursday 5th of October 2017
I love the transformation- an all time favorite kitchen! Beautiful and still welcoming, warm, and comfy. Amazing what window trim can do to the overall look. ???
dbmaguire
Thursday 5th of October 2017
I love the transformation- an all time favorite kitchen! Beautiful and still welcoming, warm, and comfy. Amazing what window trim can do to the overall look. ???
Sherry Stuifbergen
Thursday 5th of October 2017
This kitchen make over has evolved over time. In between, you had back surgery. My favorite step was the stenciling of the tile! I also love the open shelving! The window trim looks great! You did it all with patience and probably "pain" before your surgery. You are an inspiration! It looks great and it has to lift your spirits to walk into your kitchen to see all your hard work..and vision, finally come together. Thank you!
Suzanne Bagheri
Wednesday 4th of October 2017
It looks great! The window casing makes a huge difference!