I’m finally finished with boys’ upstairs bathroom!
If you remember, I first shared with you my plans for our upstairs bathroom back in January.
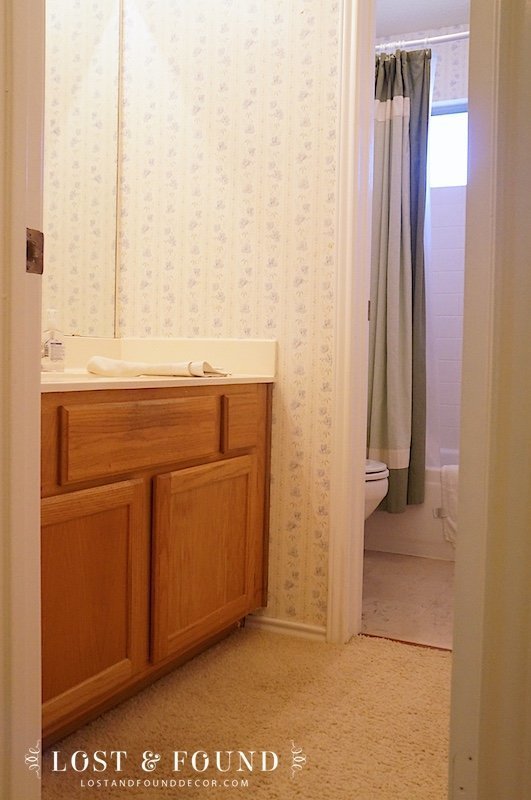

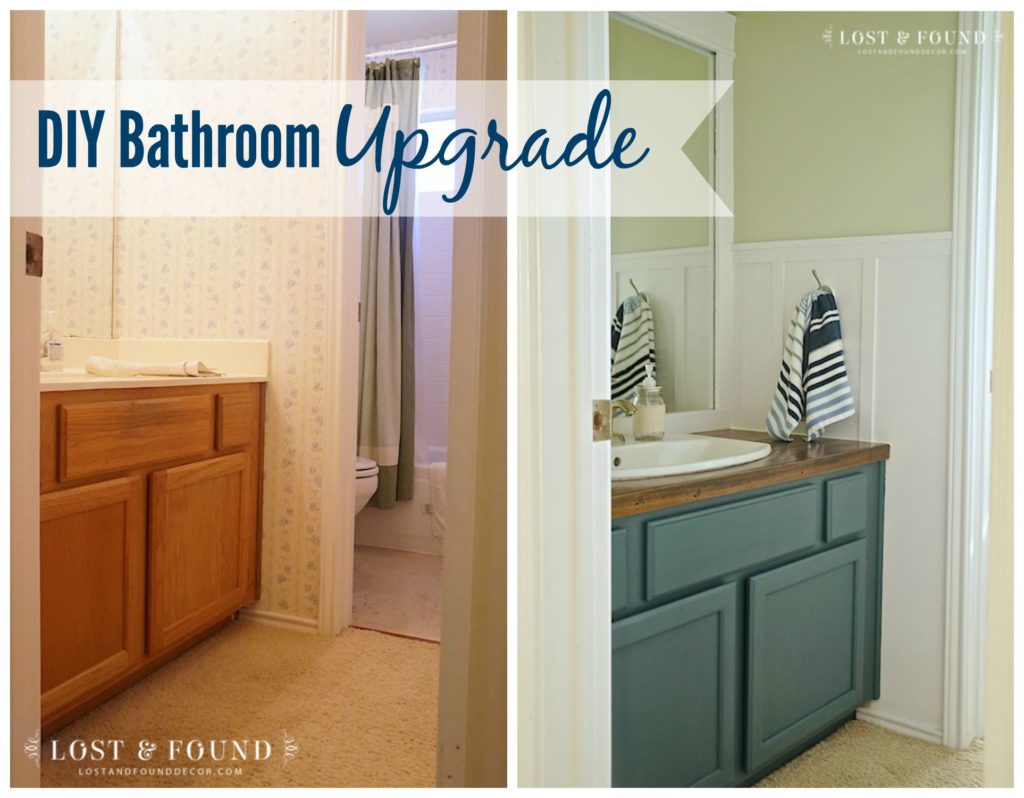
When we moved into our house, all three of the bathrooms still had their lovely, early 90’s wallpaper on the walls and those awesome, honey-oak vanity cabinets. We were able to pull off the wallpaper and repaint in 2 of the 3 bathrooms pretty quickly, but we just never got around to this one.
Besides updating the color scheme and decor and upgrading some of the builder-grade features, I also needed to simplify the function of this bathroom and make it user-friendly for my 9,7, and 3 year old.
Just for a refresher, here is the photo that I used for inspiration:
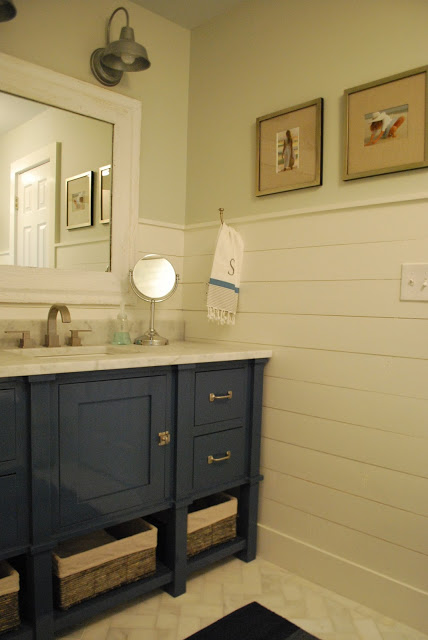

Lisa Gabrielson Design
I love this upscale, modern-nautical look, but I don’t even want to think about the cost of this bathroom renovation! My goal was to achieve a similar look for minimal cost, through using all of my DIY skills (and learning some new ones) along the way.
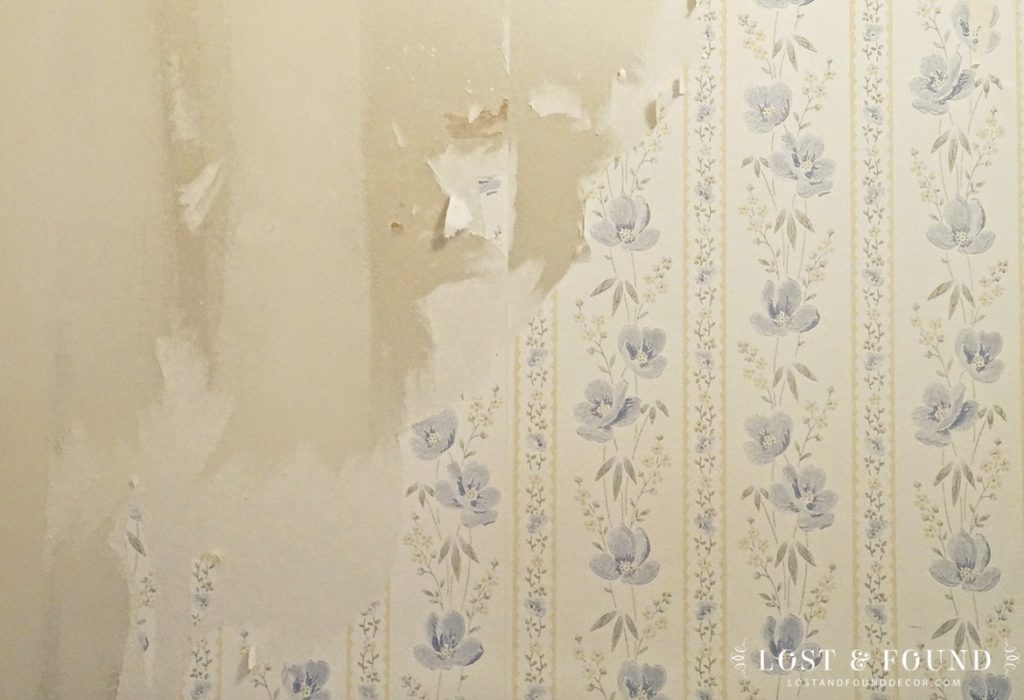
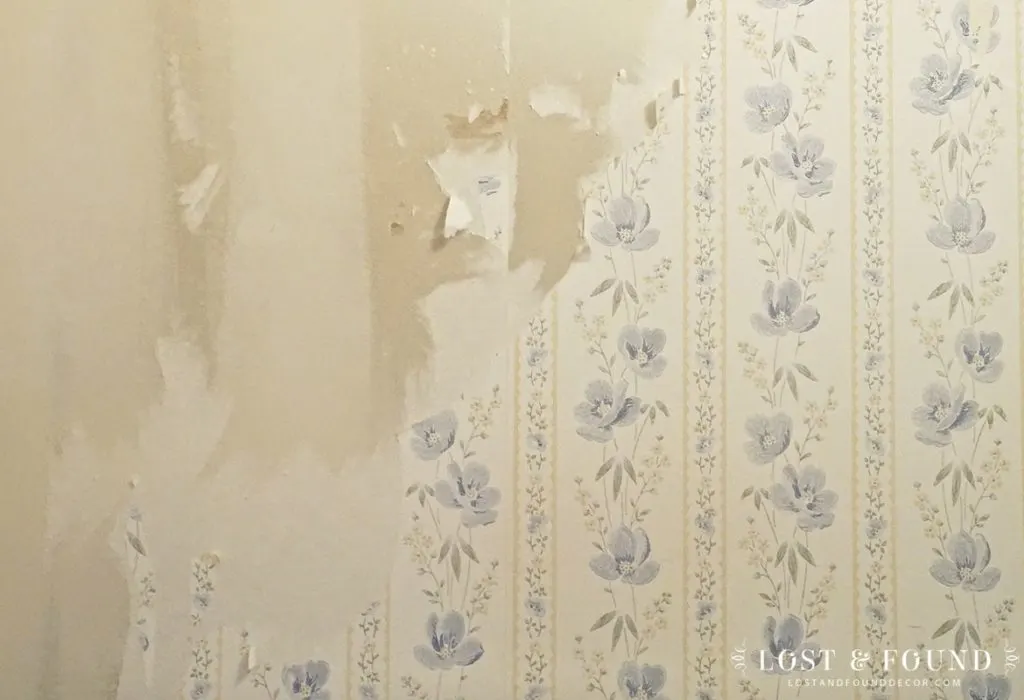
Before we get to the final reveal, here are a few progress shots to show what I went through along the way.
Issues Removing Wallpaper
You can read about this terrible process here!
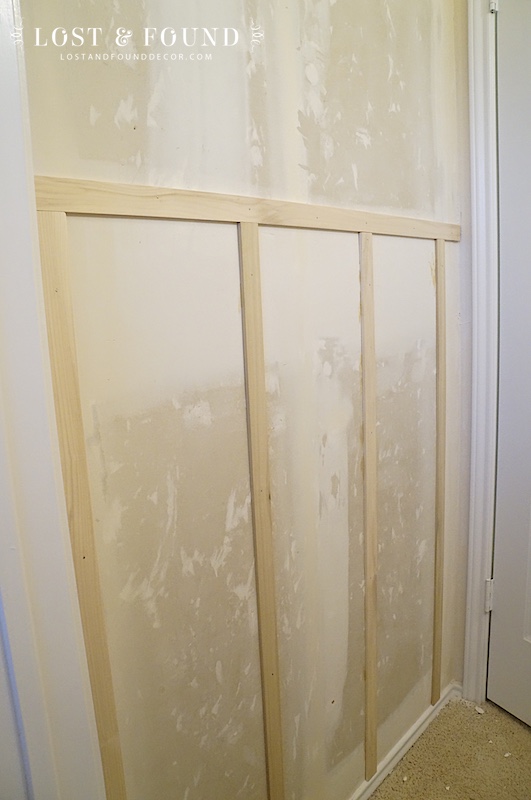
Adding DIY Board & Batten Trim
Here is my full tutorial for this project, all done with no power tools!

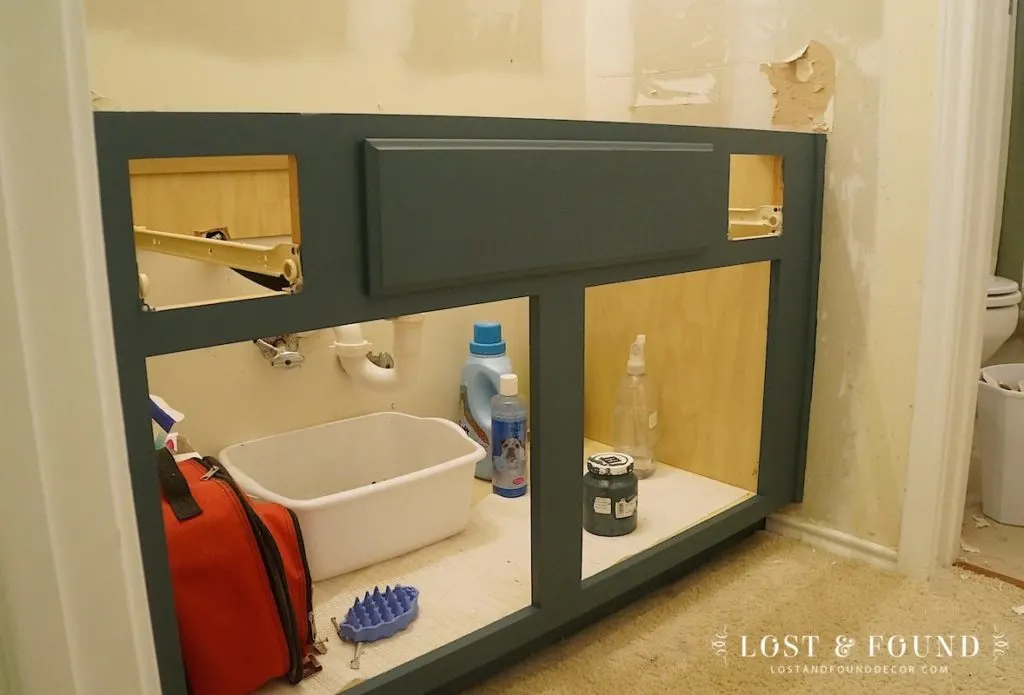
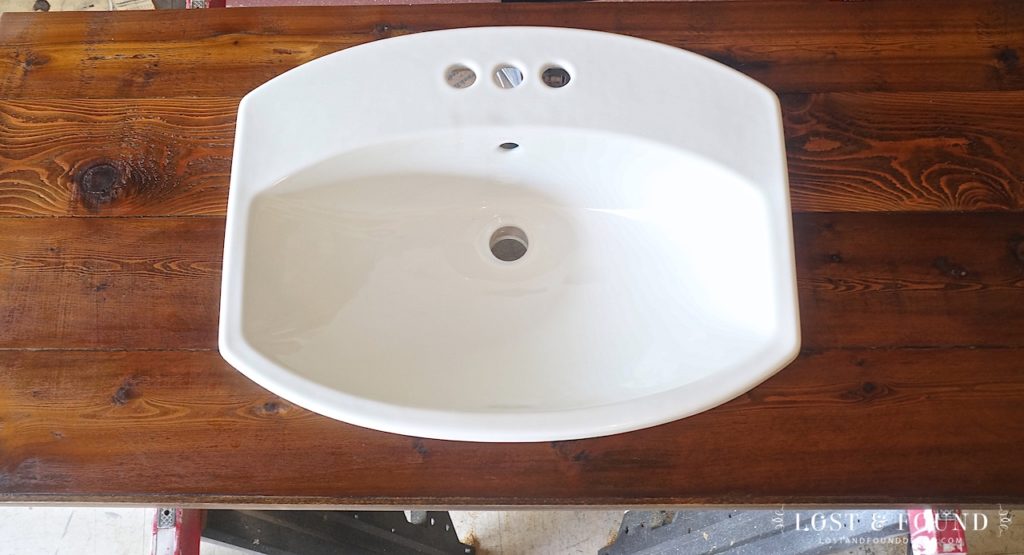
Painting the Vanity and Building the Custom Cedar Top
You can read more about the paint I used on the vanity base as well as how we built the custom cedar top in this tutorial.


Are you ready to see all of it pulled together?
Yay!!!!!
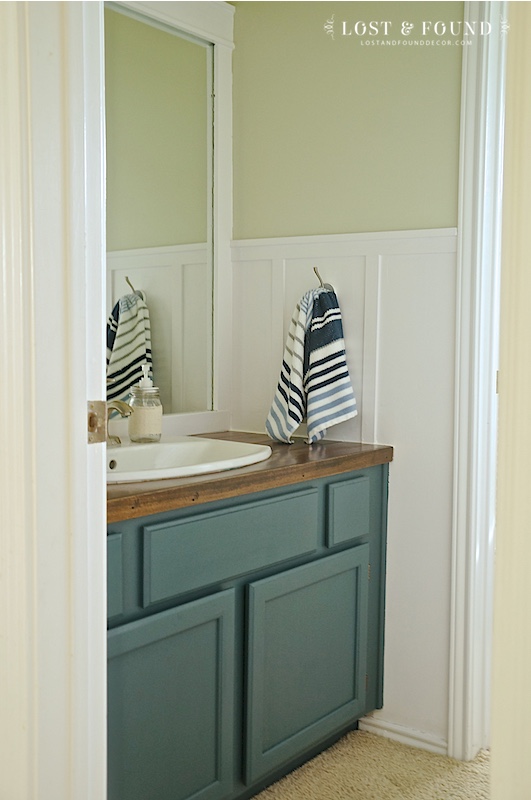
After 7 months of working on this project in 30-minute chunks of time, my boys’ bathroom has finally been updated and made child-friendly.
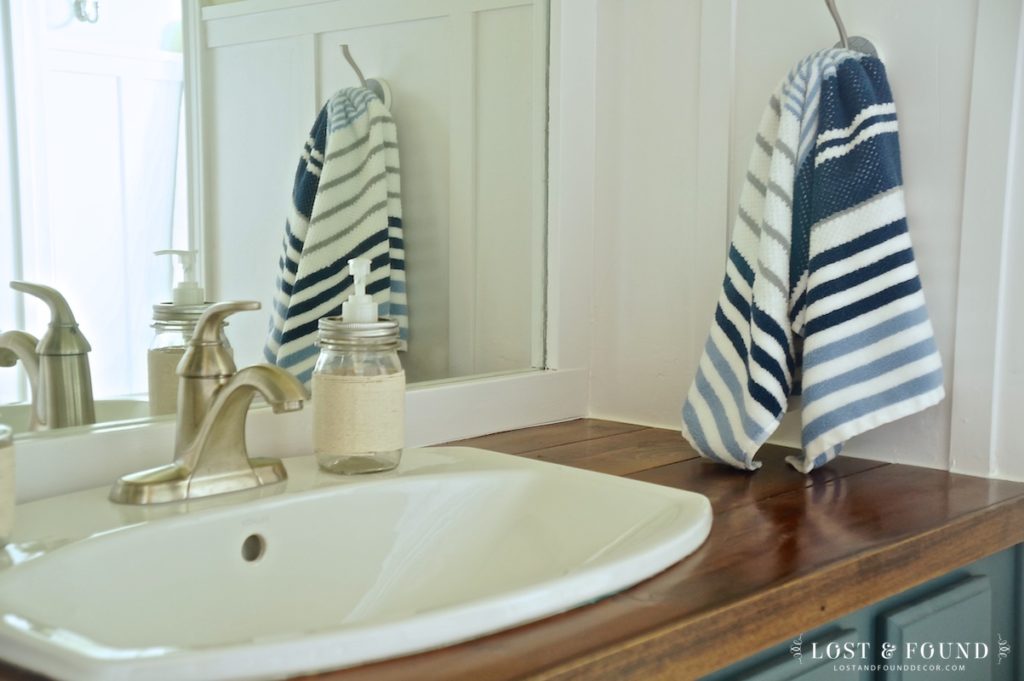

There are now hooks for all of the towels, rather than towel bars (which are like kryptonite for little boys), and a single-handle faucet sink (so no more scalded hands because they only turn on the hot water).
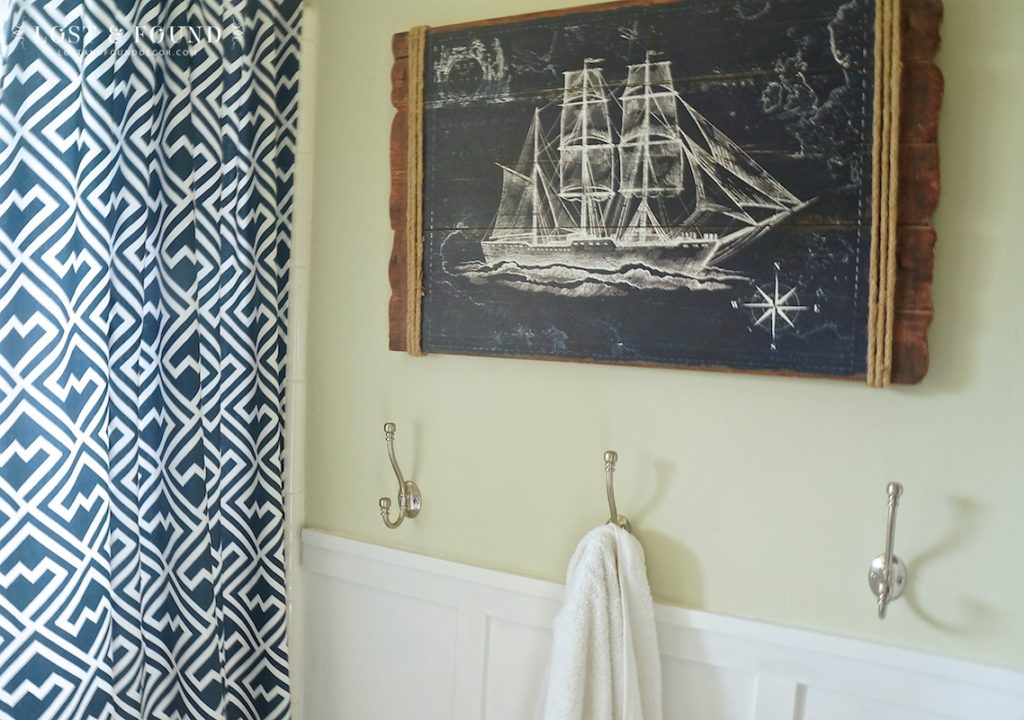
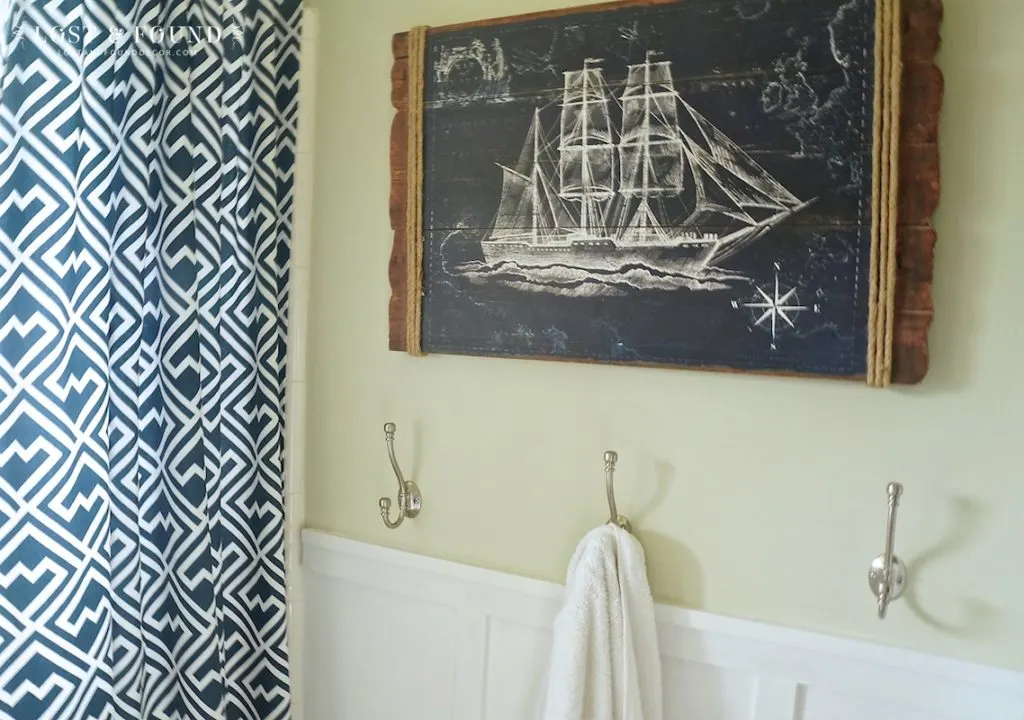
I also replaced the double shower curtain with just one shower curtain liner and two fixed decorative panels.
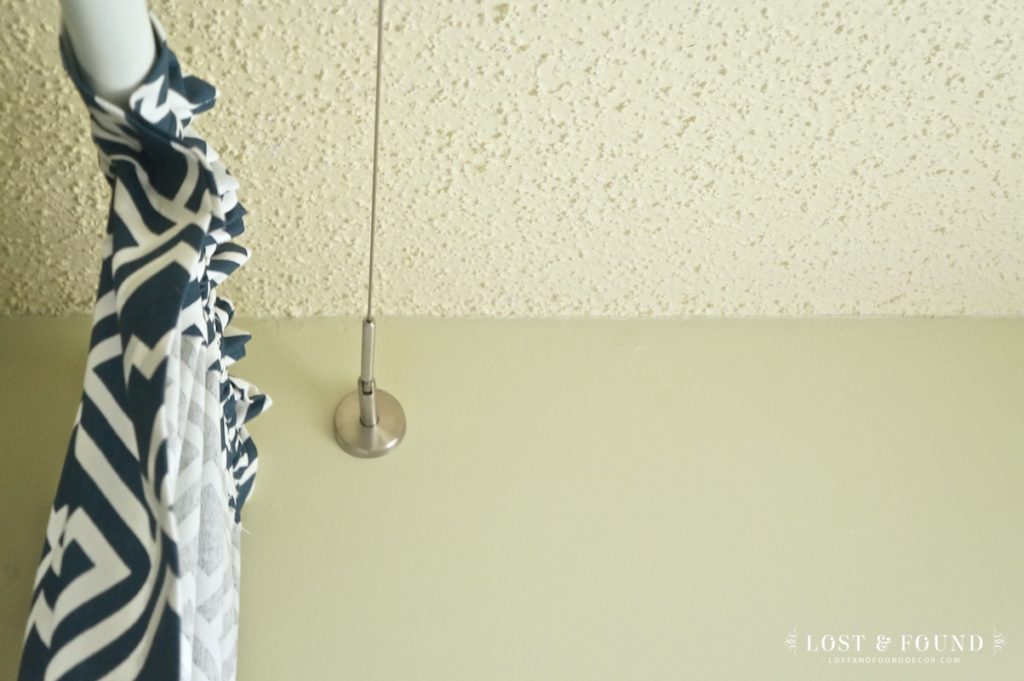
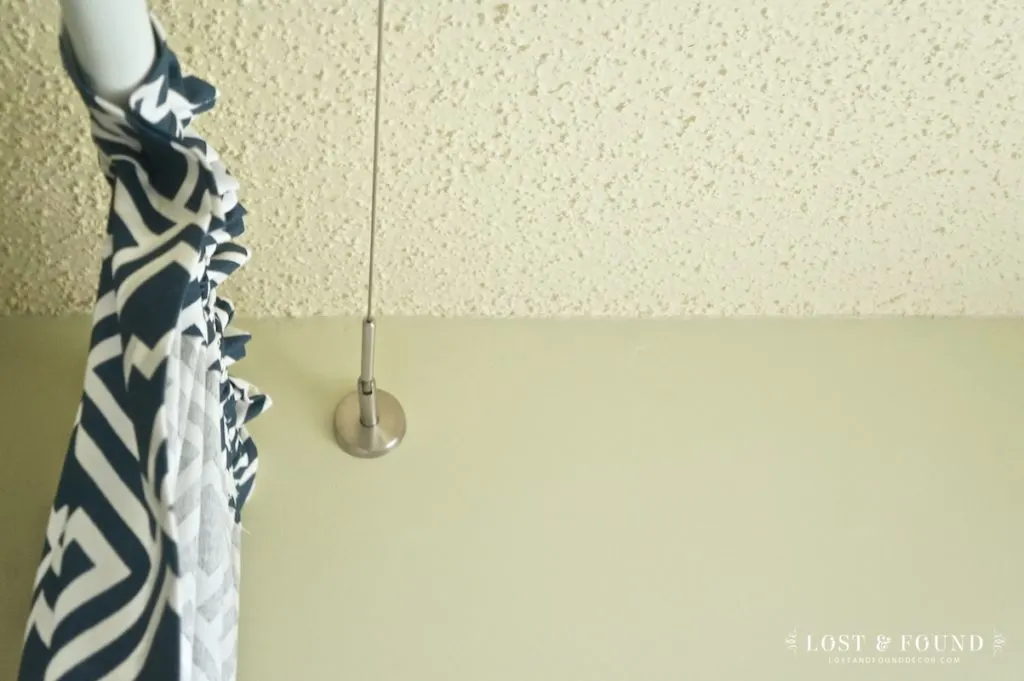
The fabric panels (which are all 100% stitch-witched, remember I can’t sew?) are installed on a fixed curtain rod, and the shower curtain liner slides on a separate, thin wire mounted behind them.
Now the boys only have to slide one curtain that always stays inside the tub, rather than figure out the whole “plastic liner inside the tub, fabric liner outside” conundrum.
And bonus that the mounted fabric panels hide the thin wire and shower curtain liner when it’s not in use.
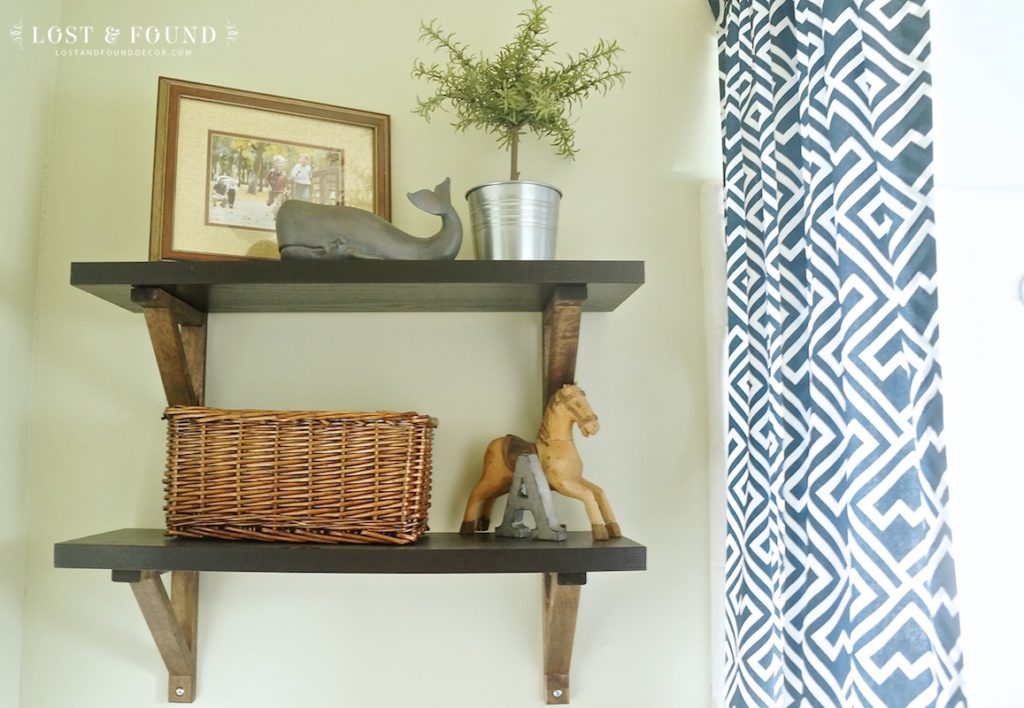
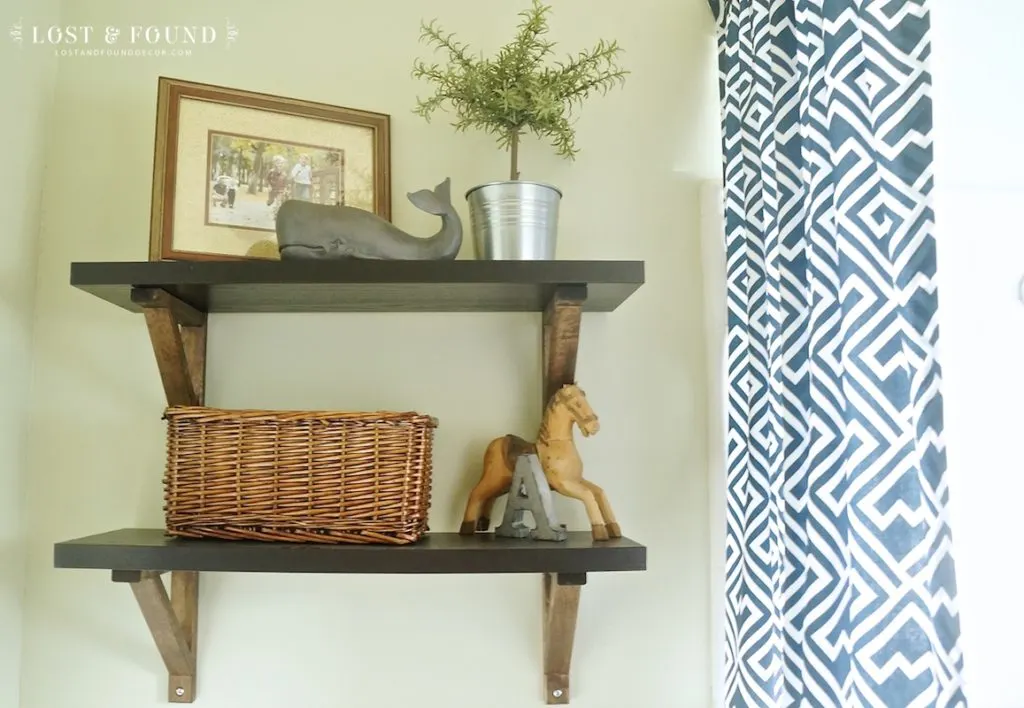
I added some decorative shelving over the toilet, with a basket to hide extra toilet paper.
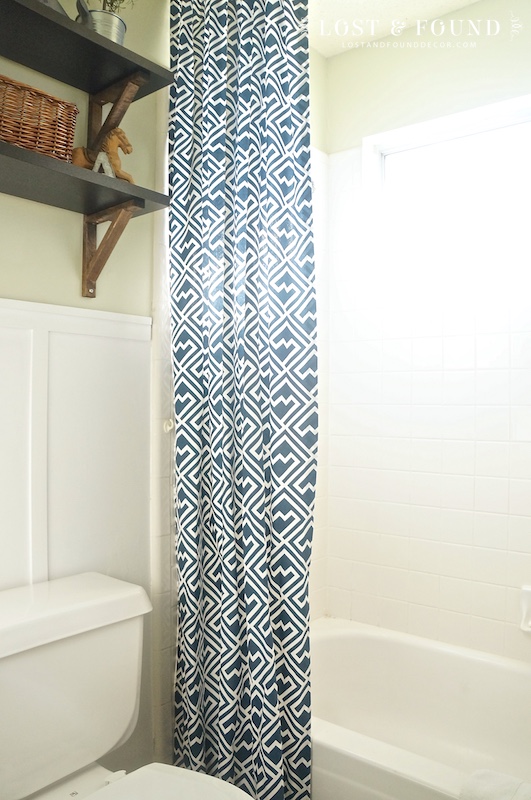
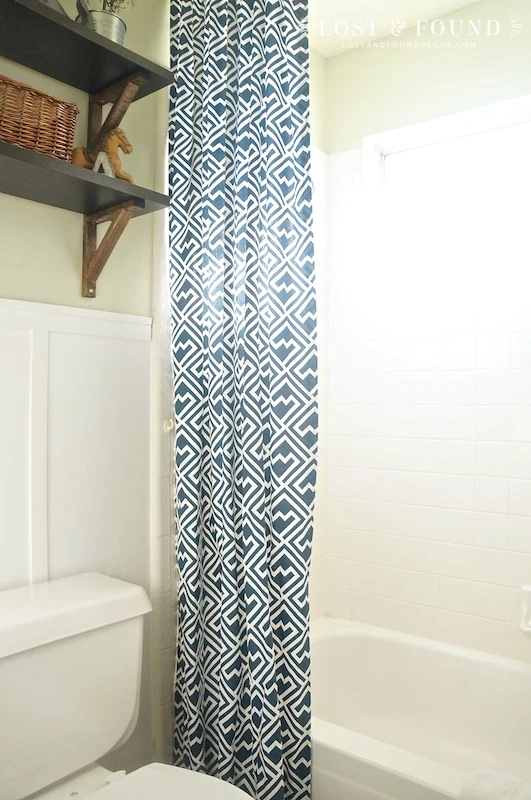
By adding the shelves and hanging the fixed curtain panels all the way up to the ceiling, the tall bathroom ceilings are highlighted and the space actually feels bigger.
I absolutely love the board and batten, and all of the architectural interest it adds.
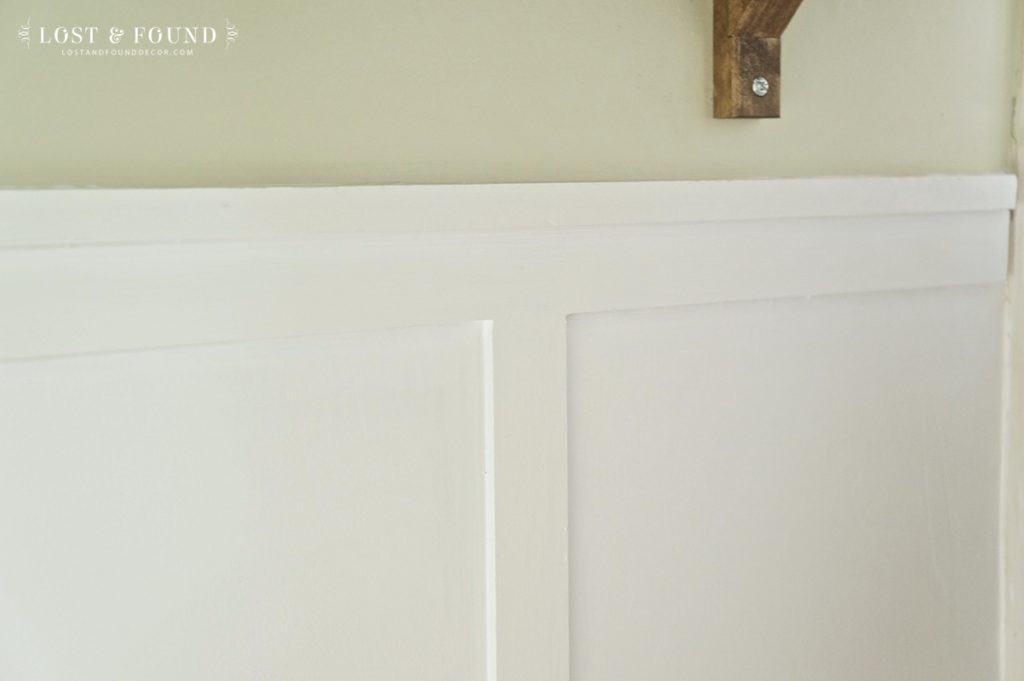

I am not going to say installing this was easy . . . but it wasn’t hard either. I have very basic woodworking skills and tools, and I was able to pull it off though.
It did take a considerable amount of time and patience, and a little problem-solving along the way though to get it right.
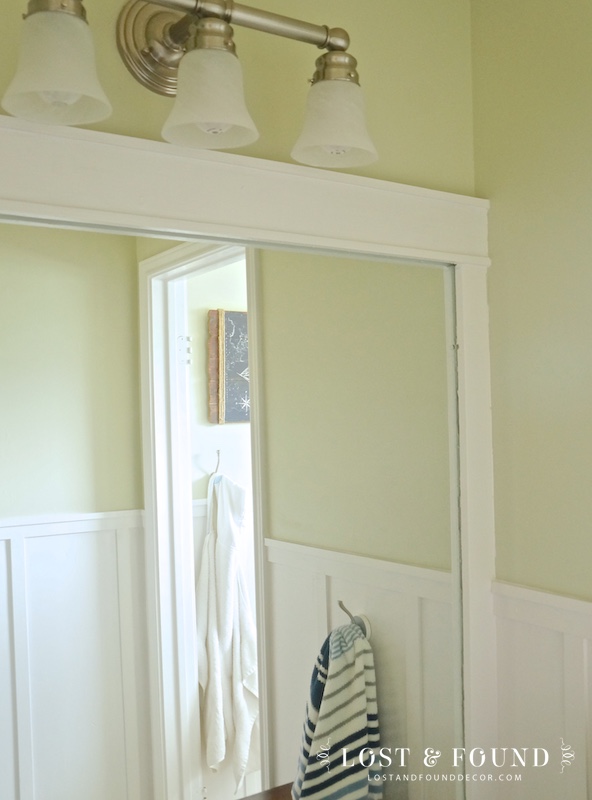
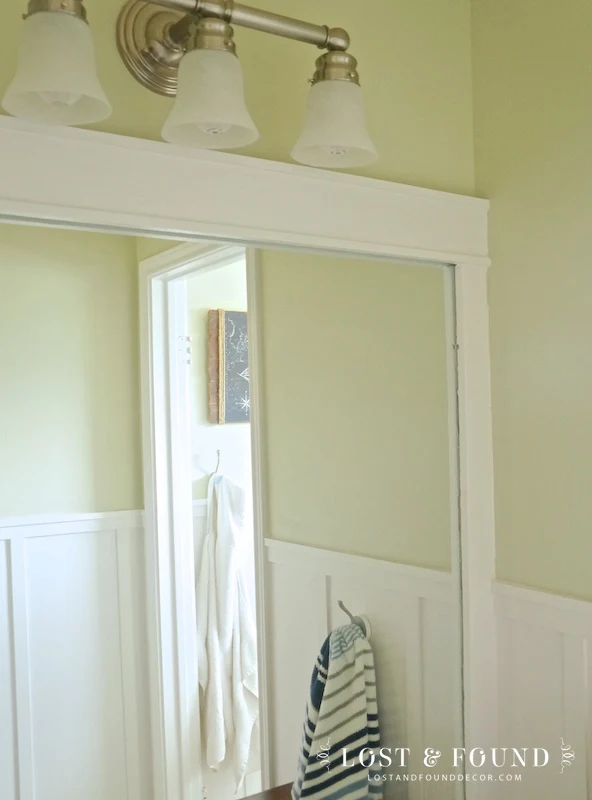
I also added the woodwork trim around the mirror. That was considerably less complicated than the board and batten, but makes a huge difference in the character of the space.
A new satin nickel light fixture also replaces the brass strip lighting that was so absolutely terrible.
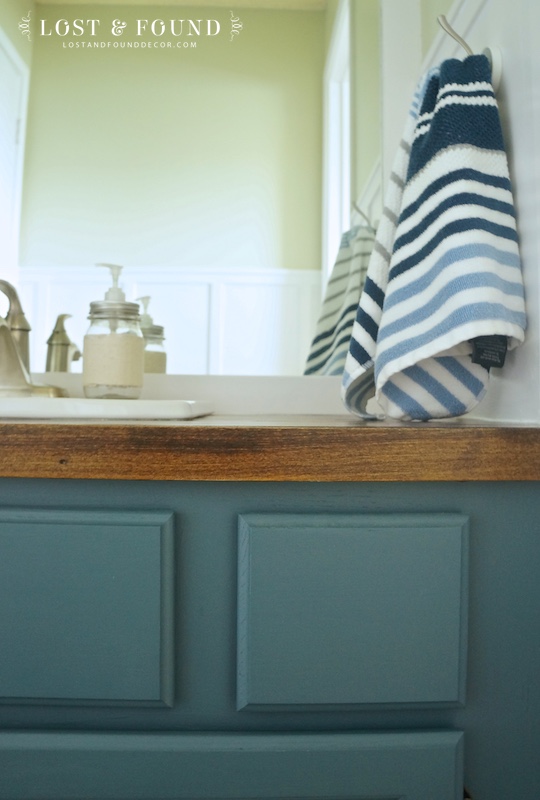
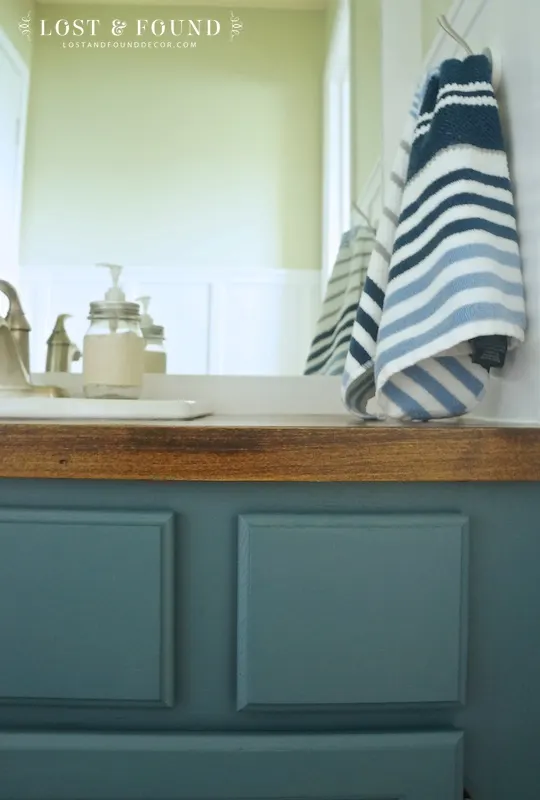
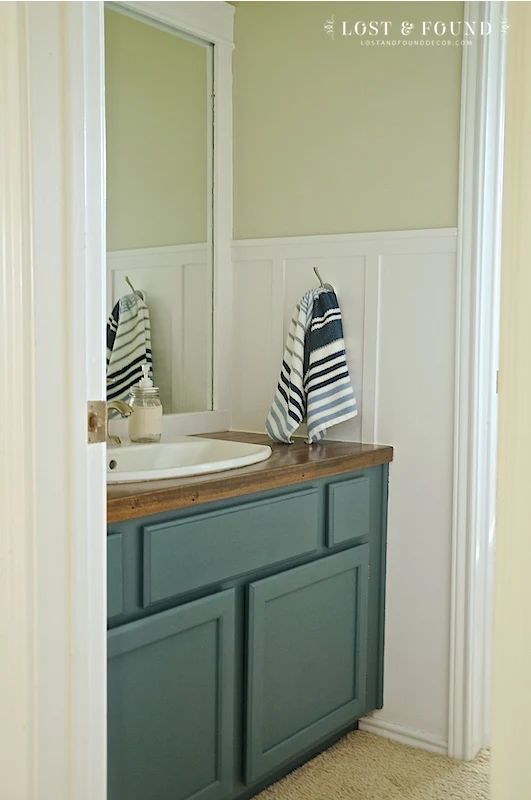
I used Fusion Mineral Paint in Homestead Blue to paint the vanity, and it worked like a dream.
The finish is so smooth and because Fusion is acrylic-based, it requires NO topcoat at all to seal it.
Fusion cures up to a 100% waterproof finish, and I can attest that it really can handle a beating. This cabinet has been painted now for 4 months and there’s not a nick or scratch anywhere (with 3 boys constantly beating on it).
Anytime there is soap or toothpaste on it, I just wet a rag and wipe it off.

I am so happy with how it turned out. Yes, it took me 7 months to complete it, and I realize some people may think that’s crazy–but that’s how things work around here, transformation comes a little at a time.
The woodworking isn’t perfect, the curtain panels aren’t perfect, the vanity top isn’t perfect, but I’m ok with that. Hiring a professional would have produced more perfect results, but would have cost at least triple of what I spent–and really DIY for me is about much more than saving money. It’s also about learning a new skill, watching a space grow and change before your eyes, and being able to step back at the end of a project and say, “I did that!”
Please note this post contains the following affiliate links. I will earn a small commission if you make a purchase from these links.
Sources for this Project
Wall Paint, Glidden Frosted Green Grape atHome Depot
Vanity Paint, Fusion Mineral Paint Homestead Blue
Cedar Vanity Top, Free for the wood (leftover from fence)
Marine Varnish to Seal the Cedar
Faucet and Light Fixture from Home Depot
Wood trim for Board and Batten and Mirror: Home Depot
Curtain Rod and Shower Curtain Wire from Ikea
Fabric for Curtain Panels from Hobby Lobby
Extra Long Shower Curtain Liner
Decorative Accessories TJ Maxx and Hobby Lobby
Plumbing Costs: $195 to professional plumber for removing fused water lines and installing new lines for new faucet
The grand total was $473 for all of our DIY materials, and a grand total of $668 when you add the one professional cost of the plumbing job we had to pay (please note costs are for 2015)
Spread out over 7 months, that’s less than $100 a month. Not too bad for a whole bathroom upgrade!
Thanks for being so patient with me to roll this out, I know the reveal has been a long time coming. I hope it’s inspiring to you though and maybe has given you some ideas for your own project.


Linking up to: Finding Silver Pennies, Your Turn to Shine Nifty Thrifty Sunday
That DIY ParDIY Show Off Metamorphosis Monday Wow Us Wednesdays
Ashley Sims
Saturday 4th of November 2023
I’m obsessed
Melanie Alexander
Wednesday 8th of November 2023
Thanks Ashley! I've updated the posts and the links to the rest of the tutorials all work now :)
37 prachtige badkamer make-overs vol slimme doe-het-zelf-ideeën – mijn favoriete banen
Saturday 12th of August 2023
[…] Het is verbazingwekkend om te zien wat simpele details zoals verf en een zelfgemaakt houten aanrechtblad kunnen doen in een Doe-het-zelf badkamer-upgrade. […]
DIY Bathroom Renovation | Board and Batten | Lost & Found
Monday 15th of August 2016
[…] Update–My DIY bathroom renovation is complete! See the finished bathroom here. […]
Which Paint Works Best for Kitchen and Bath Cabinets? | Lost & Found
Sunday 8th of May 2016
[…] for a client, and I have been very happy with the process and results. The photo above is from my boys’ bathroom makeover, and this set of vanity cabinets was painted in Fusion’s Homestead Blue. Like the BM […]
Front Door Refresh with Fusion Mineral Paint and a Giveaway! | Lost & Found
Monday 25th of April 2016
[…] remember Homestead Blue from a few other projects I’ve shared (like this china cabinet and bathroom vanity). It’s one of my favorite colors in the whole Fusion line–it’s sophisticated, […]