I love finishing a project, don’t you? It’s always so gratifying to get to the end of something and say, “I did that!”
This is the third dining set I have redone (you can see the other two here and here) and each one has provided it’s own challenges. This cute little drop leaf farm table came with some veneer issues and without any chairs.
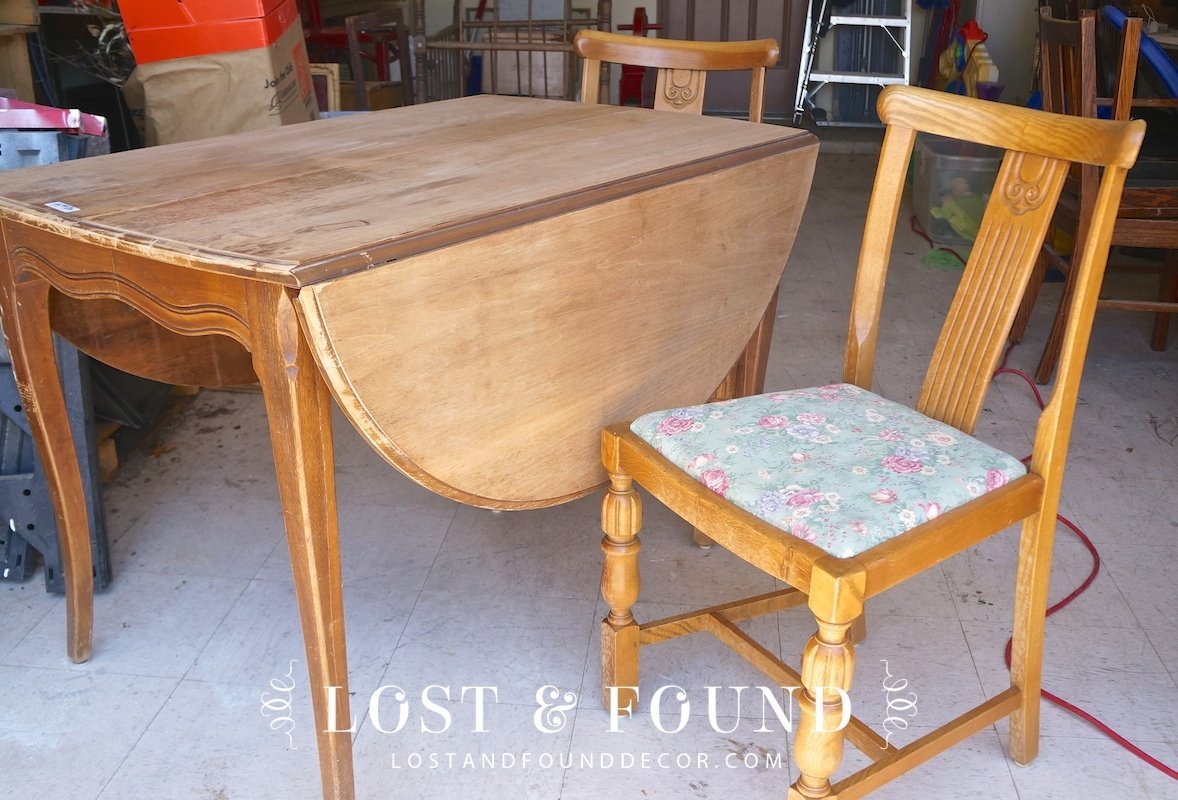
When I saw it a few weeks ago though for sale at Antique Alley, the price was right and I knew it could be lovely once again. I also happened to have 4 unclaimed chairs from my giant Craigslist find a month ago that needed a home, so purchasing it was a no-brainer.
Sanding the Top & Fixing the Veneer
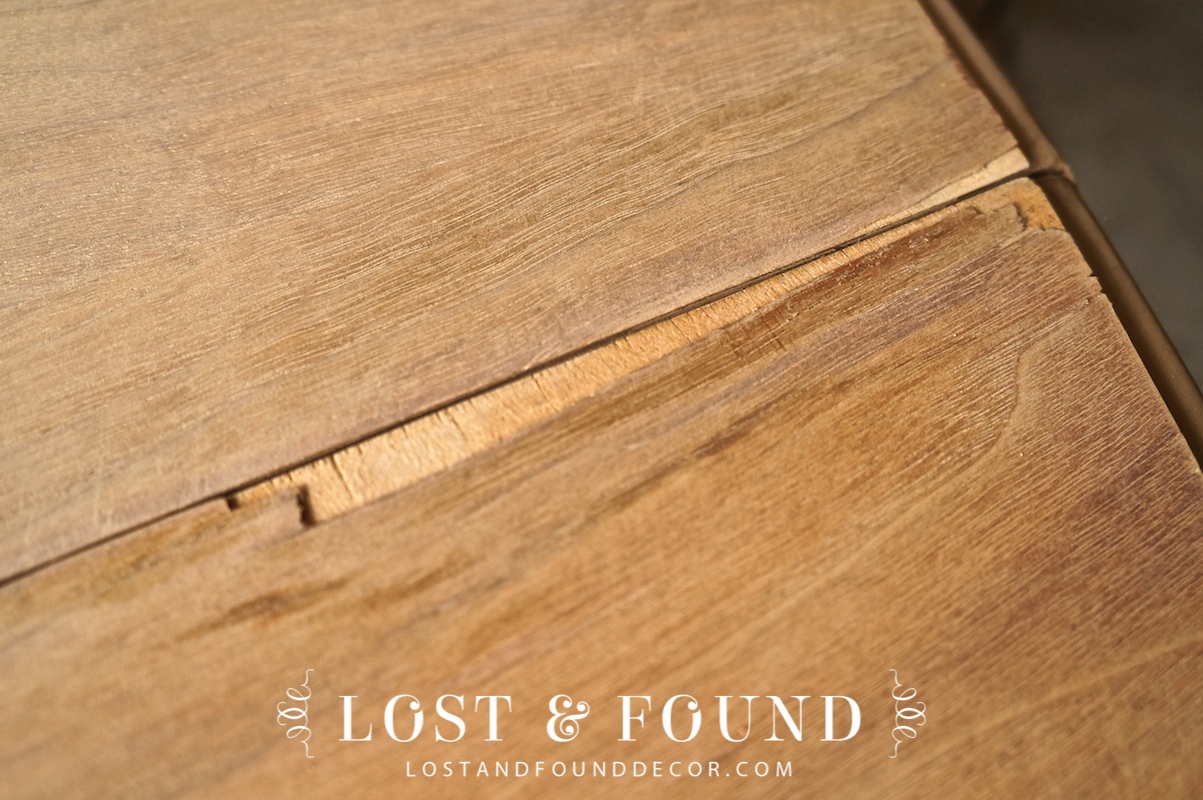
The lady who sold it to me had already done a lot of sanding on the top, so I only put about 10 minutes of sanding time into it. The bigger work was fixing that chipping veneer.
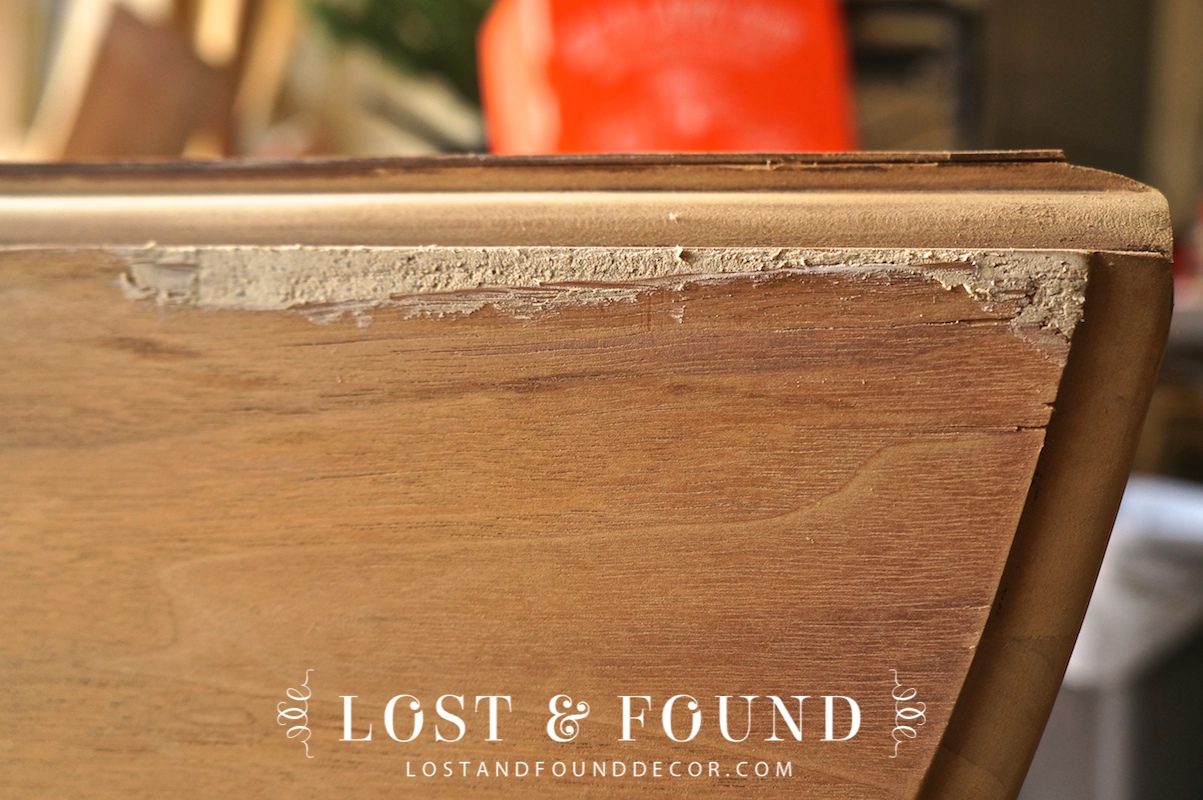
Apply Wood Filler
I am not an expert woodworker, but I’m trying to grow my skills and fix more of the problems with the pieces I makeover, rather than just cover them with paint. There were several spaces like this on the table top (this one being the biggest) where I had to fill in missing veneer with stainable wood filler.
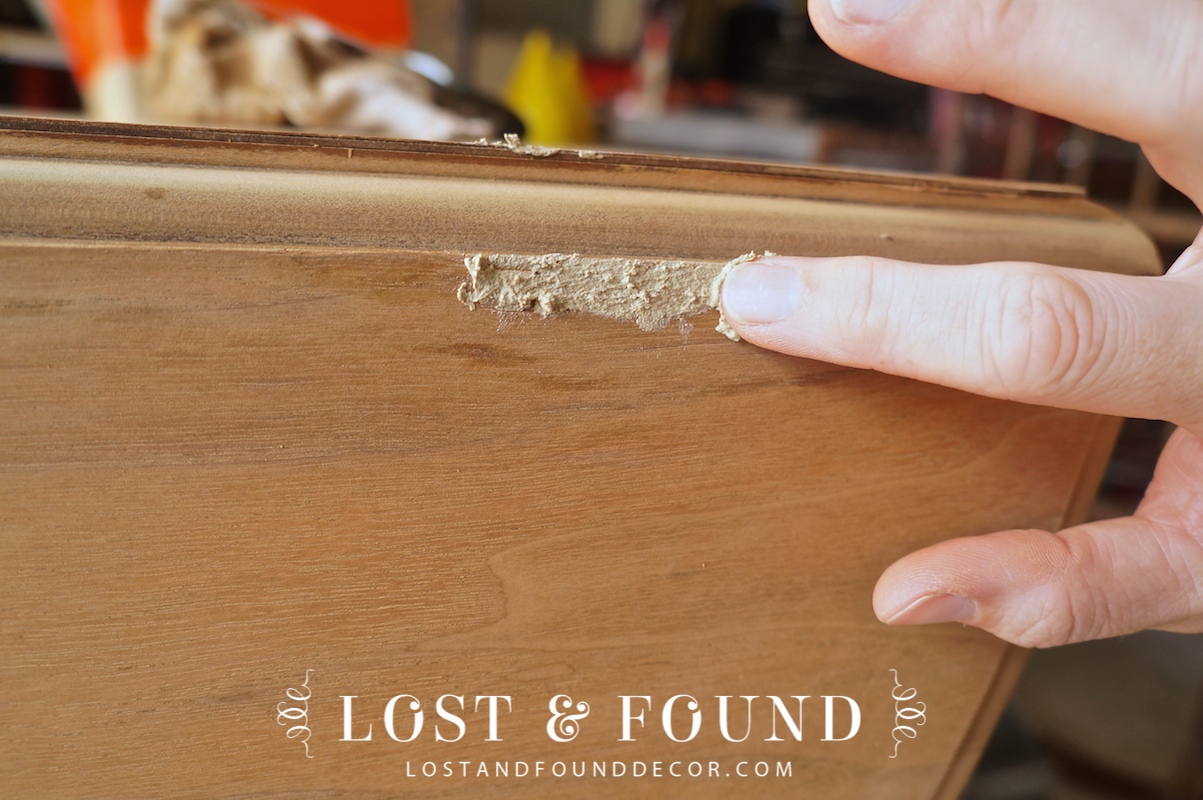
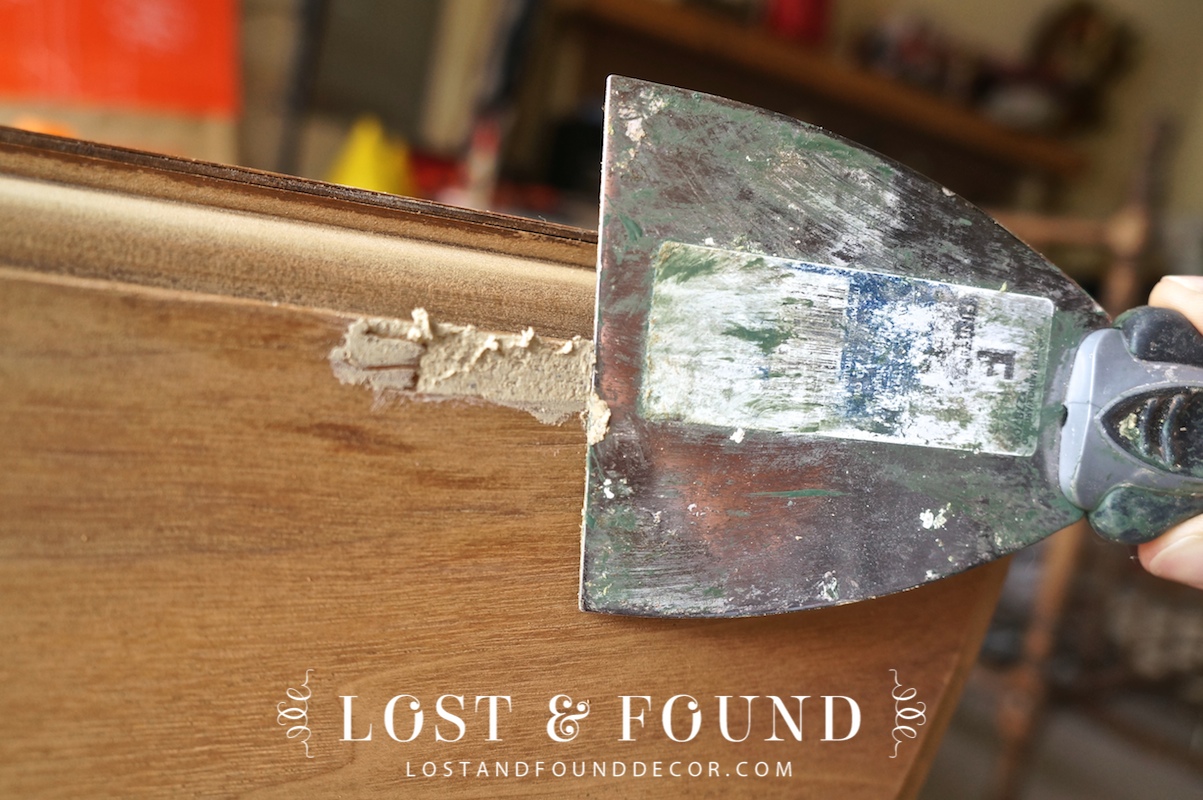
It’s not a complex process: just squeeze some out and rub it down into the space with your finger. Don’t worry about getting too much, it wipes and sands off easily. After making sure all the space is filled, run over the area with a putty knife.
Let it Dry
Drying time varies, but with shallow fills like this, the area is usually ready to be sanded in 20-30 minutes. A little sanding with some fine grit sandpaper smooths out any remaining bumps. The end result isn’t perfect, but much better than a big ol’ chip.
Plaster Paint Review
After fixing the veneer issues on the top, I painted the table base and chairs, trying out a new paint I told you about a few days ago, Cottage Green by The Plaster Paint Co.
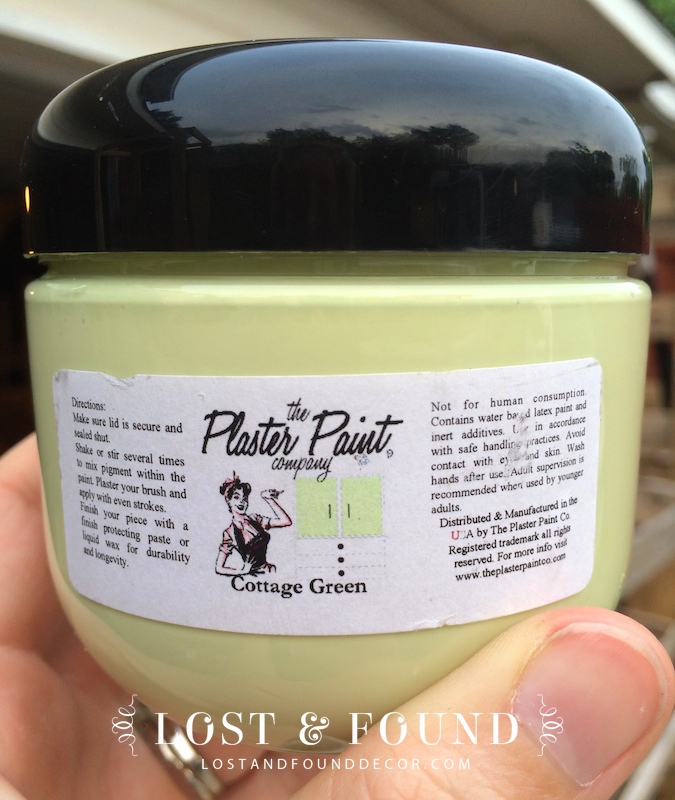
This line of paint is now being sold at the mall where my booth space is located, and I know the paint rep well, so I thought I would give it a go. I have fallen head over heels in love with The Plaster Paint Co. Wax–it is fabulous. The paint . . . well, it was okay. Let me elaborate.

I was told by my paint rep to dip my brush in a little bit of water each time before dipping it into the paint. It took some experimenting to figure out how much was to much water; at first, the paint was way too thin and runny. But after some time, I was able to figure out how much water to have on my brush to get the consistency I wanted.
Plaster Paint Pros
The pros of the paint as I see it are: A fantastic color line, great prices and size selections (multiple sizes to choose from and much less expensive than ASCP), very quick drying time, and interesting texture.
Plaster Paint Cons
The cons are: a little tricky with dipping the brush in water then paint each time, and thinner and more inconsistent coverage than ASCP. Maybe it as having too much water, but too me the plaster paint went on more like milk paint.
I really like milk paint, and so I like this plaster paint too, but if I am looking for a quick, 2-coat full coverage paint, I don’t think I will choose this. I do like how the thinner coverage created some neat texture on the wood (as you will see later in the pictures), and I am up for trying it again, but I think I will save it for projects that I want a more streaky look.
The Refinished Table
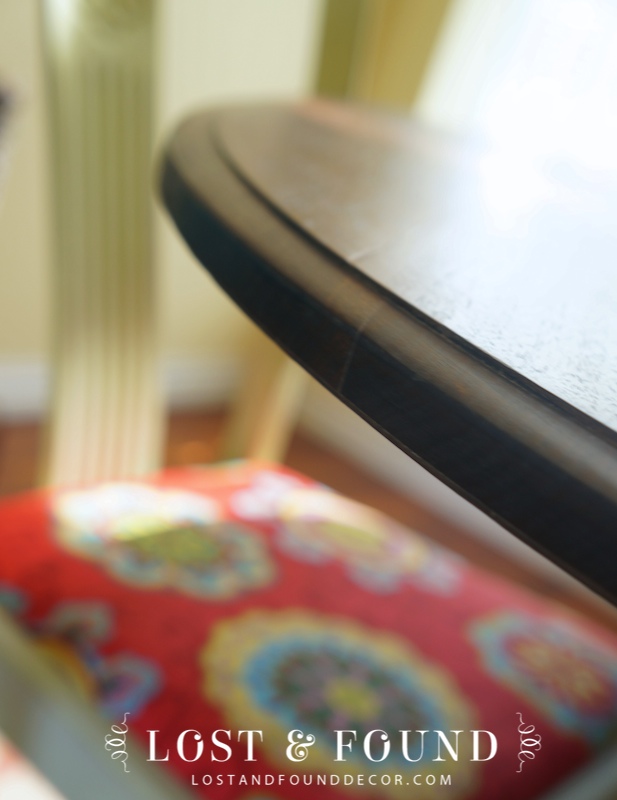
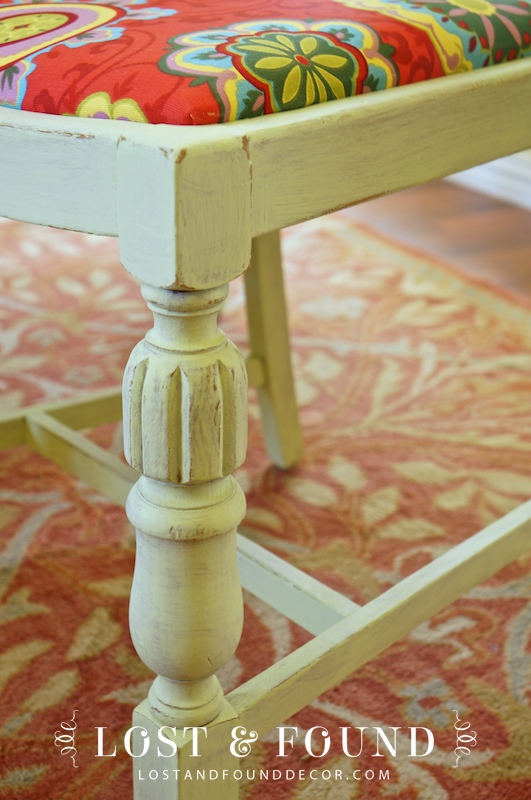
So on to the finished pictures . . . after 2 coats stain on the table top, 2 coats of Cottage Green on the base and chairs, and some fun fabric from Hobby Lobby on the seat cushions, here is the new table set:


I’m happy with the final product, although I wish I had used a lighter stain. I was going for a more fun, relaxed feel, and the darker stain lends more towards an elegant set. Oh well, live and learn! I do love though how the dark stain plays well off the bright, red seat fabric.
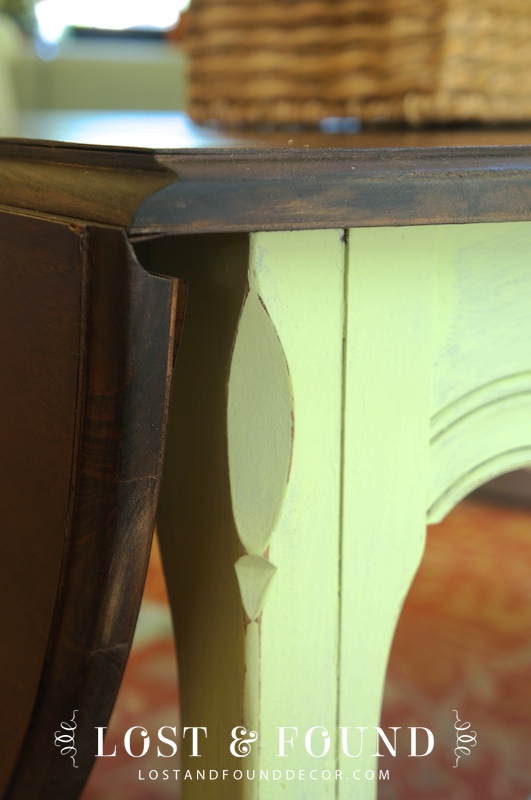
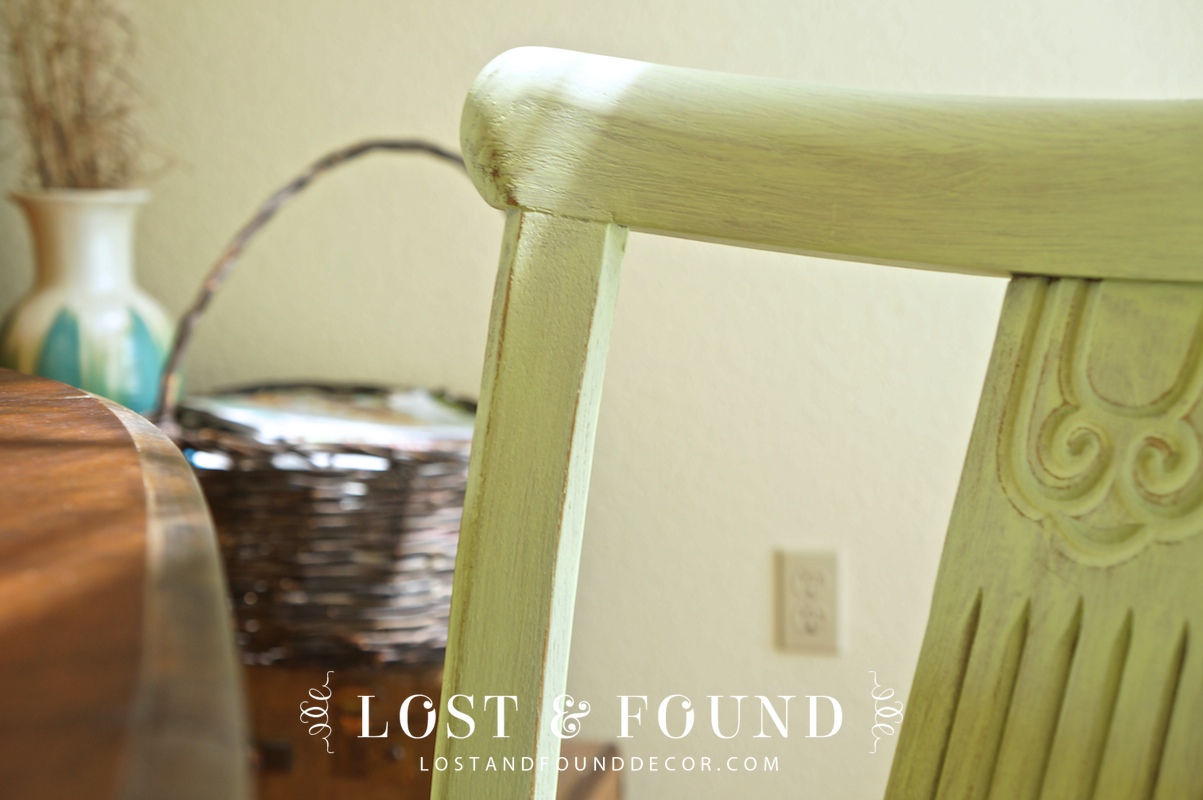
The chairs have some really cute detail on them, like their great chunky, carved front legs…
…and carved details on seat back.
See the streakiness and texture of the paint? I like it, it just wasn’t what I expected.

I love the idea of a drop-leaf table. They have inherent character and can function in many different settings. I see this one having a home in a breakfast nook or out in a sunroom.
Because of the veneer issues on the top, I have priced it a little lower than I typically price my dining sets, at $310. I don’t have room for it in my booth yet, so it’s hanging out here at my house until some other pieces sell, or it finds a new owner. Let me know if you’re interested!
I hope you all also enjoy the satisfaction of a finished project this weekend.

Fusion Midnight Blue Dining Set Makeover | Lost & Found
Tuesday 15th of November 2016
[…] Then there was the Drop-Leaf set, […]
Lisa
Sunday 14th of September 2014
Totally agree with Sheila - I have used this paint for over 2 years. Love it so much I sell it now. I don't dip into water with every project. Depends on type of wood and thickness of paint. I can usually cover In two coats. I only dip if I feel the draggy feeling while painting. And that is only dipping a very very small bit of the brush and wiping that water off. This is a water based paint so it doesn't take much. Hope you give us another try :)
Melanie
Sunday 14th of September 2014
Hi Lisa. Thank you for your comment. Since this post, I have tried the paint again and am having better results. In fact, instead of the paint being too thin I am finding it to be thicker than I care for! I am thinking the first batch of green I got may have been mixed incorrectly . . . I am liking it more, but it does seem to pull a lot. I still LOVE the wax, and I really like the less expensive prices of the paint also, so I will keep trying it.
Sheila
Sunday 11th of May 2014
Just a quick comment on being told to add water to your brush as you are painting. This technique is only needed when using a thicker chalk paint or when the paint starts to pull as it is drying. Adding a little wate to your brush helps to float the paint on better. With "Plaster Paint" because of it's consistency you shouldn't add water to your brush as you are painting as this dilutes the paint too much..... unless you feel you have it on too thick in a particular area then a little water on brush helps to smooth it out. Not adding the water to your brush as you are painting will give you better coverage. I always find the first coat is thinner but you should get good coverage with the second coat. Also depending on what you are painting over.....sometimes 3 coats may be necessary to get good coverage. Try using the "Plaster Paint" next time without adding water to your brush as you are painting....I think you will find it covers better. Ü
Melanie
Sunday 11th of May 2014
Thank you Sheila! My local supplier also told me that I may not have stirred up my pot well enough, and that is possibly why my paint felt thin.
Dawn @ We Call It Junkin
Friday 9th of May 2014
So, so pretty, Melanie. Makes me want to run right out and buy the paint and re-do my kitchen table and chairs like we've been talking about doing. That to-do list.... he he. Thank you for sharing this at the History & Home link party this week. - Dawn @ We Call It Junkin.com
JoAnne
Thursday 8th of May 2014
I think it's adorable! I've always loved drop leaf tables for some reason although I have never had one. The colors and fabric work great together!