This was the year that I finally started tackling some of the bigger DIY projects in our home. We’ve been there for 5 years now, and besides painting rooms, we haven’t made any other major updates. Blame it on lack of time, or money, or both . . . It was time this year though to start making some of the bigger changes I have wanted.
If you remember back last January I shared my visions for updating my kitchen and boys’ upstairs bathroom.

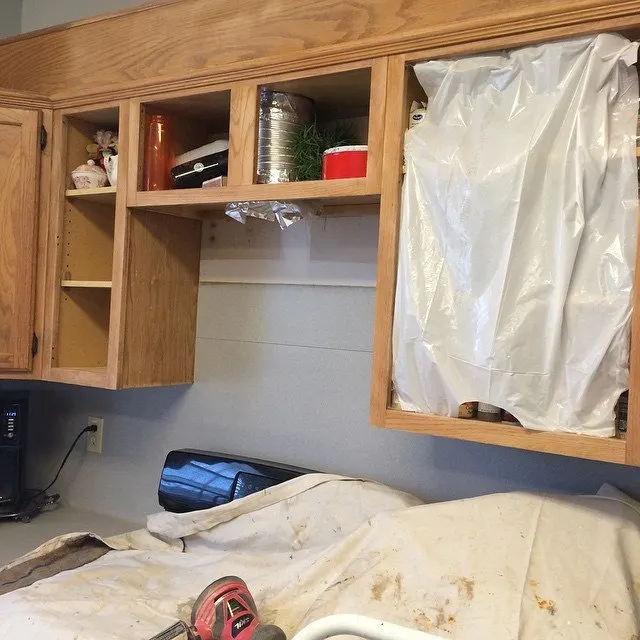
This picture was taken right after last Christmas, and it marked the beginning of my cabinet painting project. This section of cabinets I managed to paint within a week or two, but I stalled out on the rest. To be completely honest I didn’t even start working on the rest of my kitchen cabinets until October of this year. It just wasn’t in me.
Since October though I’ve made good progress, so here is my kitchen as it looks today:

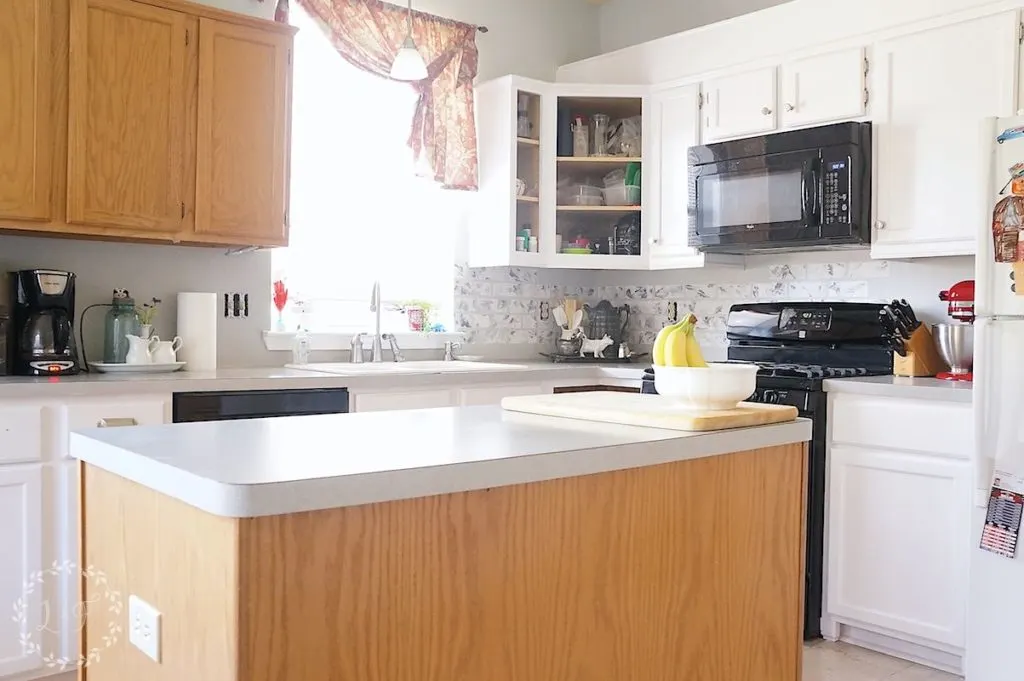
Three quarters of my cabinets are painted!! There are still some doors that aren’t finished, and that big section on the left is actually going to come down and be replaced with open shelves. But even unfinished, the kitchen feels so much brighter and cleaner.
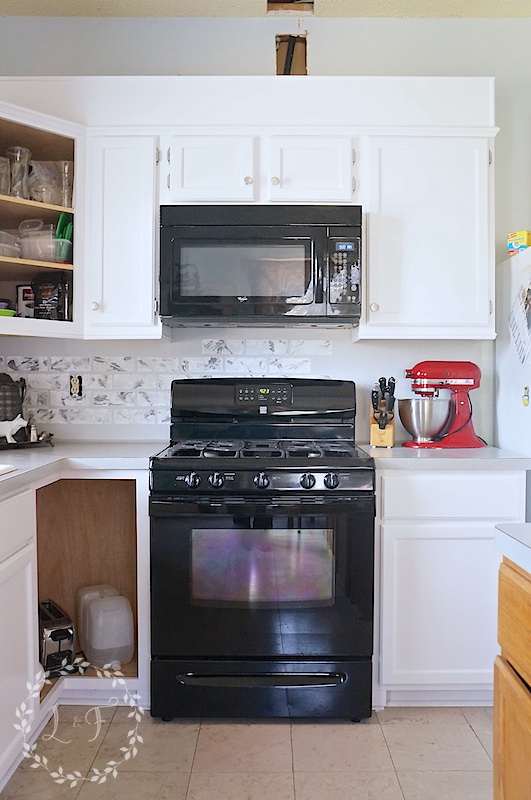
Microwave installed, check! And since I know you’re wondering about the holes in the ceiling . . . Well, in the process of installing the microwave my handyman (a.k.a. my husband I love dearly) drilled a very small pin hole into a gas line running up the wall. The electrician has to cut several holes in the wall in order to find the joint of the pipe he needed to replace. We toyed with the idea of building up our cabinets all the way to the ceiling, which would take away the need to patch those holes. We decided against that plan, but haven’t made it around to patching the drywall yet. Honestly, it’s not a very fun project. There are so many more exciting other things I would rather do . . . One of these days we’ll get to it!
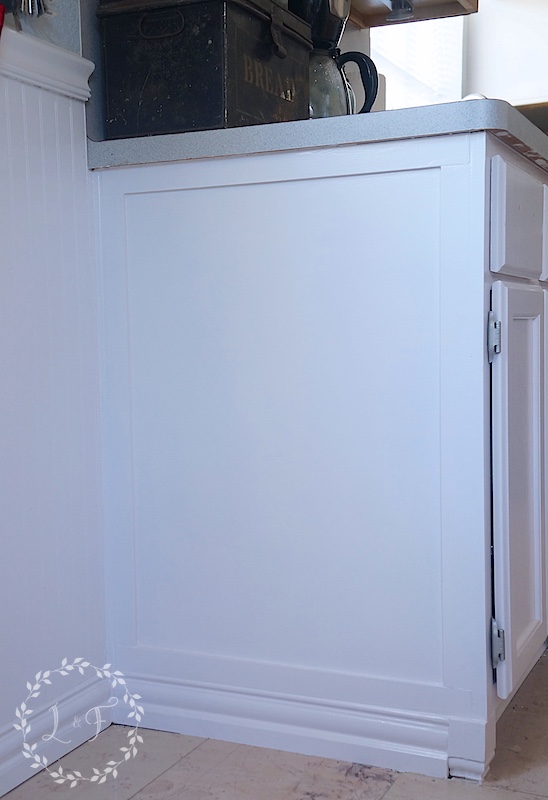

I added some custom trim work to the outside of my base cabinets–extending the baseboard along the cabinet base, making a trimmed frame out of .25 inch pine strips, and adding “feet” to the cabinets using base molding pieces (see this post here from Beautiful Branches that gave me the idea).

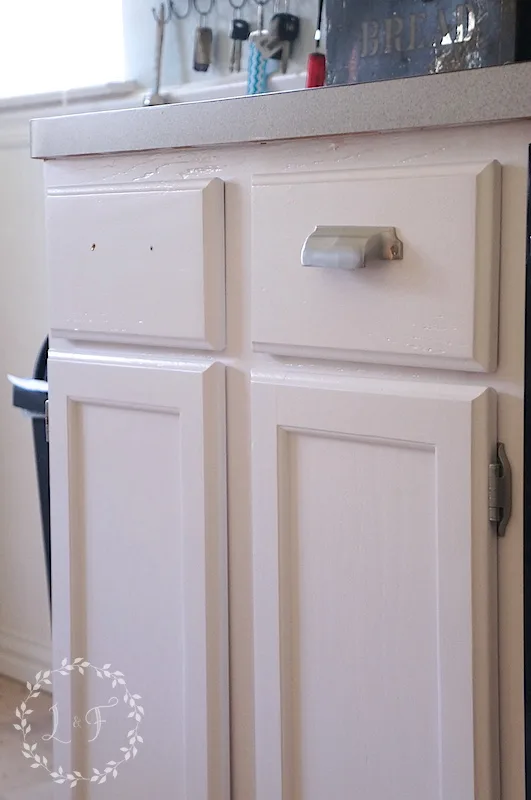
The instillation of the cabinet hardware is in process . . . I bought the satin nickel bin pulls and knobs from Pottery Barn about 8 months ago. Unfortunately, the screws PB sent to install the drawer pulls are very brittle and keep breaking off as we try to screw them in (even with drilling a pilot hole, ughh). So we set those aside for a week or so to come up with another solution.
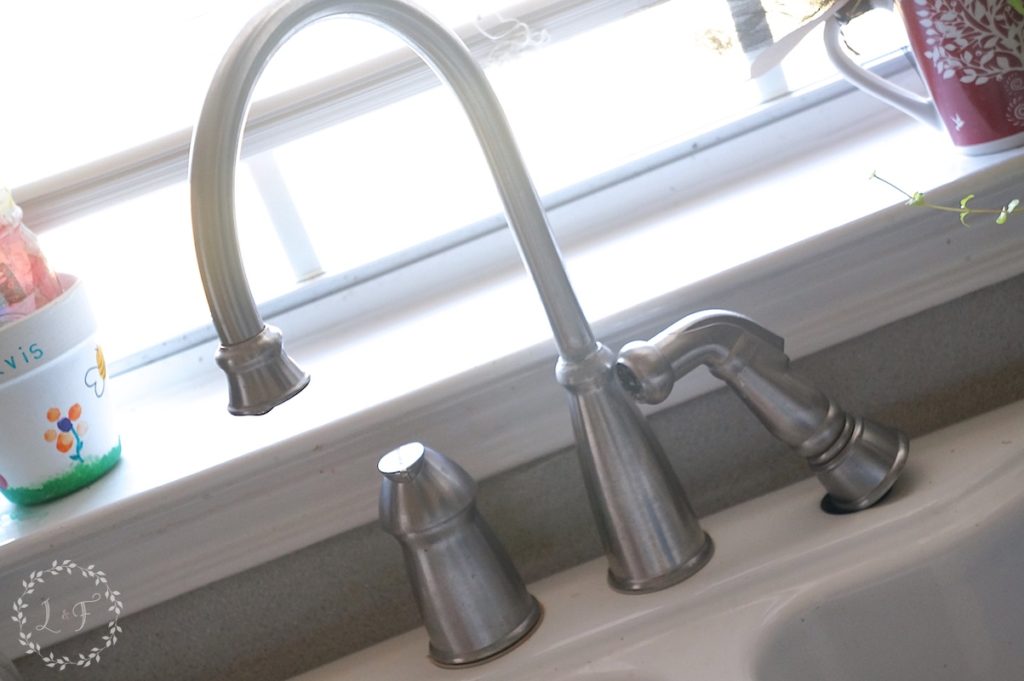
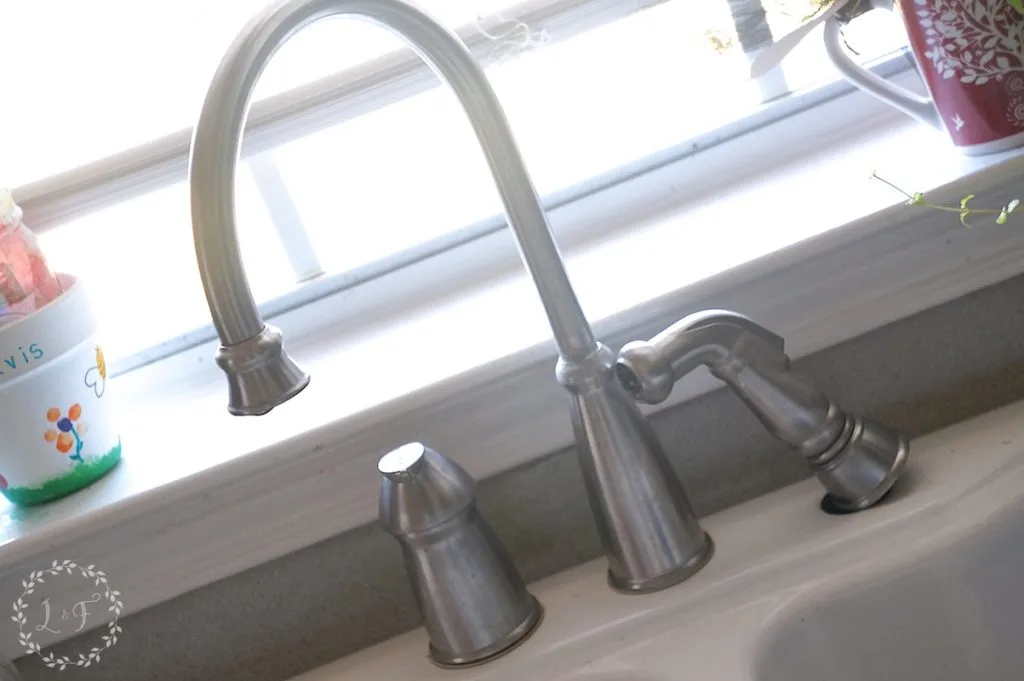
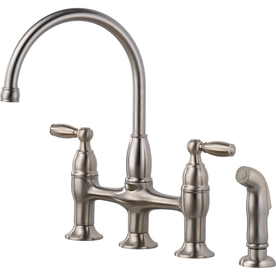
Another issue is my faucet. The sprayer has been dead for awhile now, and just recently the rest of the unit decided to go on the fritz. I have this new Delta bridge-style faucet I found for a steal on Amazon, ready to go in whenever we decide to finally kick the old faucet to the curb.

The island is also a work in progress. Just a few days ago I purchased a piece of Acacia wood butcher block to replace the laminate countertop.
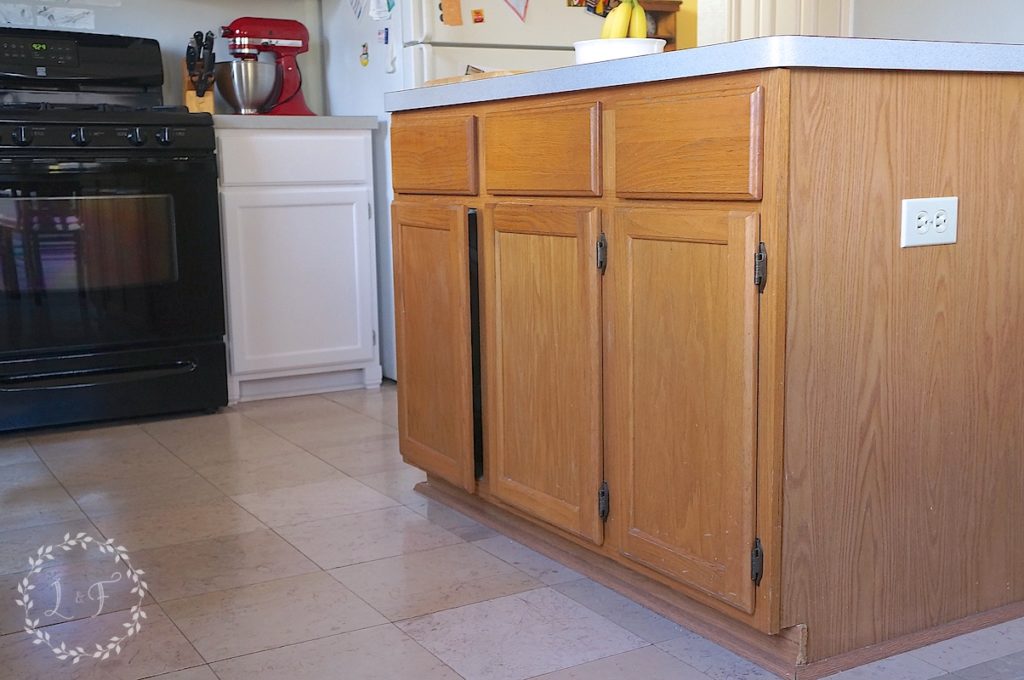

I am going to extend the back side to add some counter seating, and install some of the same decorative molding I added to the cabinet sides. Instead of white though the island is going to be a darker gray, painted in Fusion’s Soapstone. Now that I have the butcher block to replace the countertop, I plan on starting work on the island in a few weeks.
The last major part of the kitchen I’ve been working on is the backsplash.

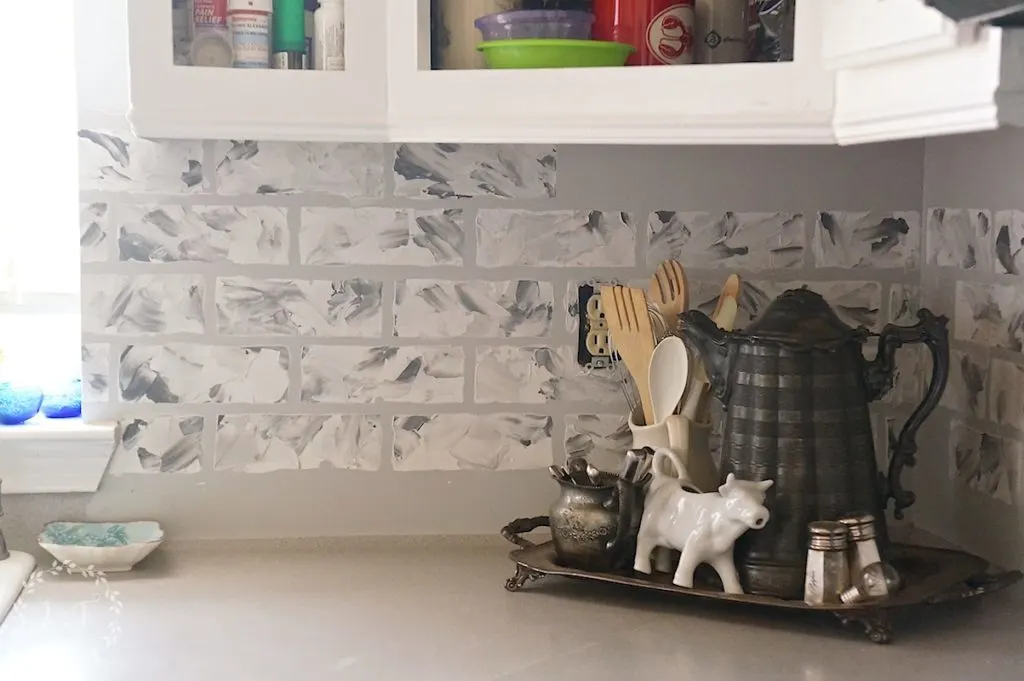
Our laminate countertops run all the way up the back wall, and I wanted to do something to the backsplash piece to add some character and style. New countertops and tile aren’t in our budget, so I am using Fusion products and the Fusion Brick Stencil to create a marble-look tile. Once that process is all done, I will post a step-by-step how to.
So are you seeing a theme here? We are slooooooow when it comes to renovations. I work on things a little at a time, when I have the motivation and extra time. I would love to take a week and just crank it all out, but for our family that’s just not realistic.
I hope that maybe is encouraging to some of you, who think you could never pull off a big room makeover. Just like on the makeover TV shows, makeovers in blog land can seem like they happen instantly, and most normal people look and think,”I would never have time do that!” Well, take heart–I am normal and makeovers in my home are definitely not instant 🙂
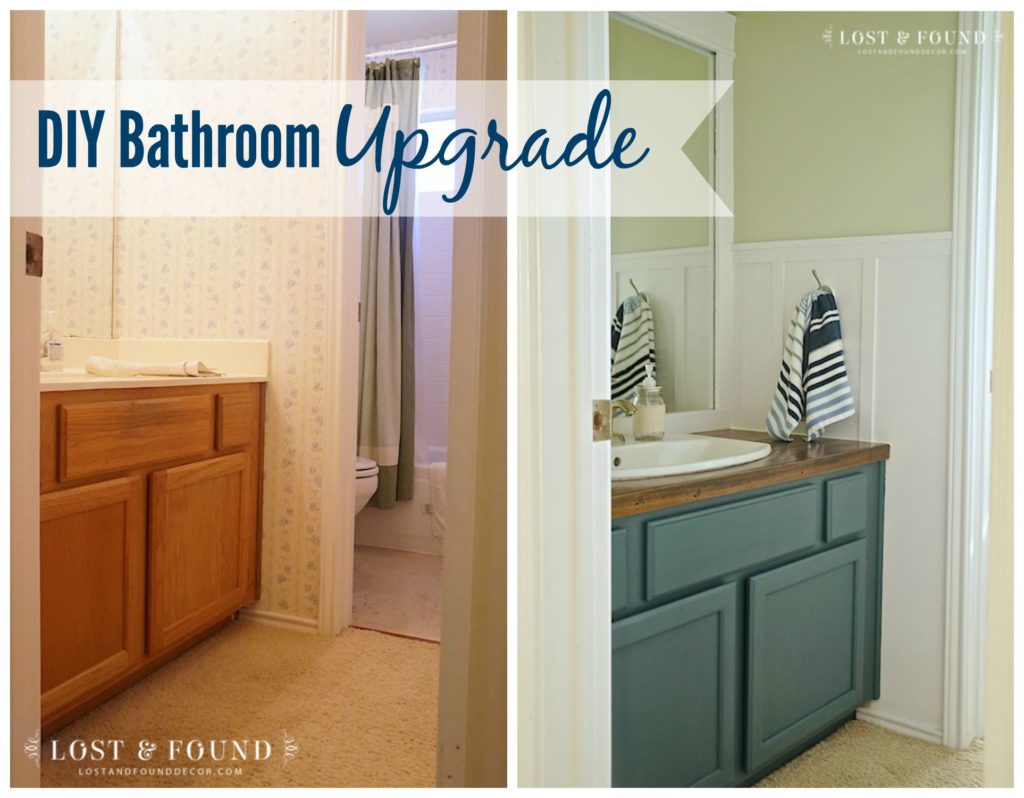
So that is where I’m at with the kitchen . . . The other big project I wanted to tackle was our upstairs boys’ bathroom. That one I did manage to completely finish this year, and you can see all the details of that makeover here.

We also managed to pull off this year an unplanned project.
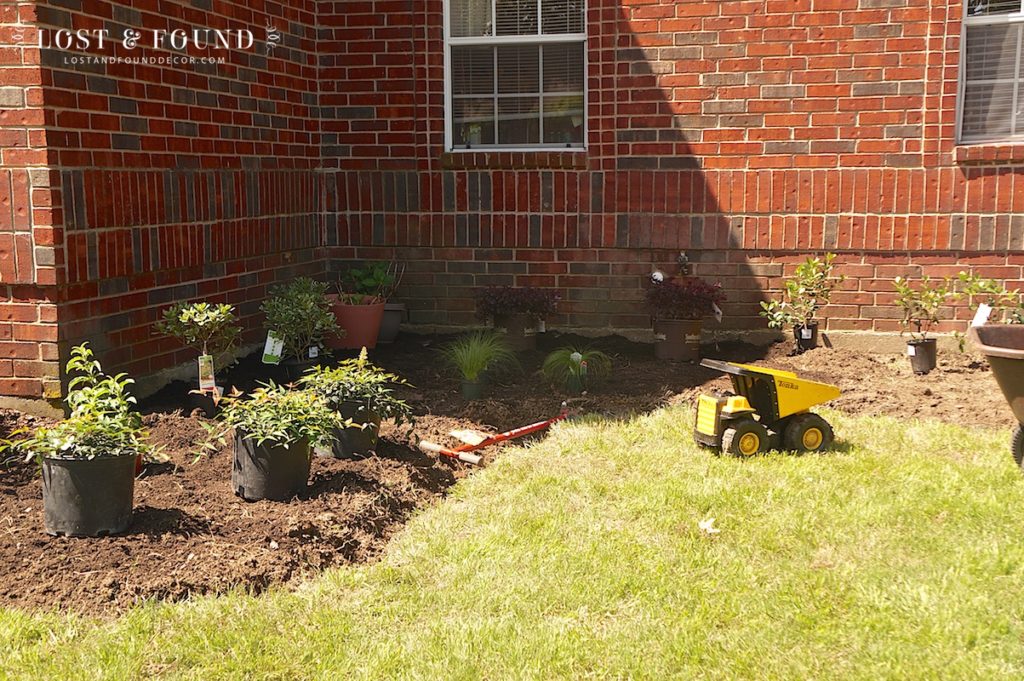
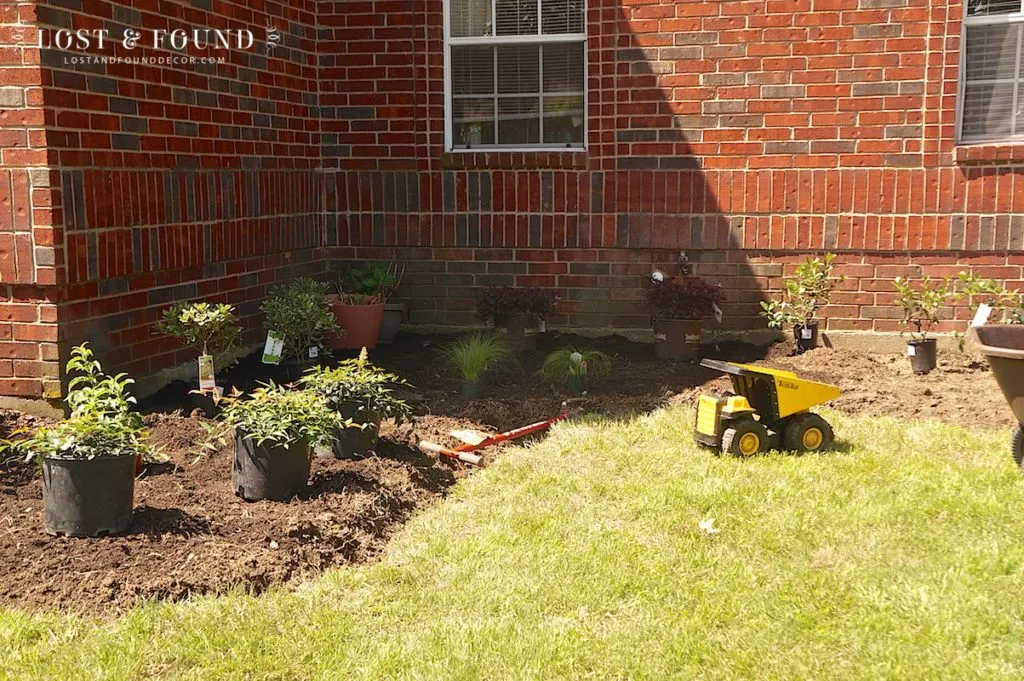
Our house needed a major curb appeal boost and we gave it that by installing fresh landscaping in the front, as well as replacing a tall privacy fence with a DIY, short, picket-fence.

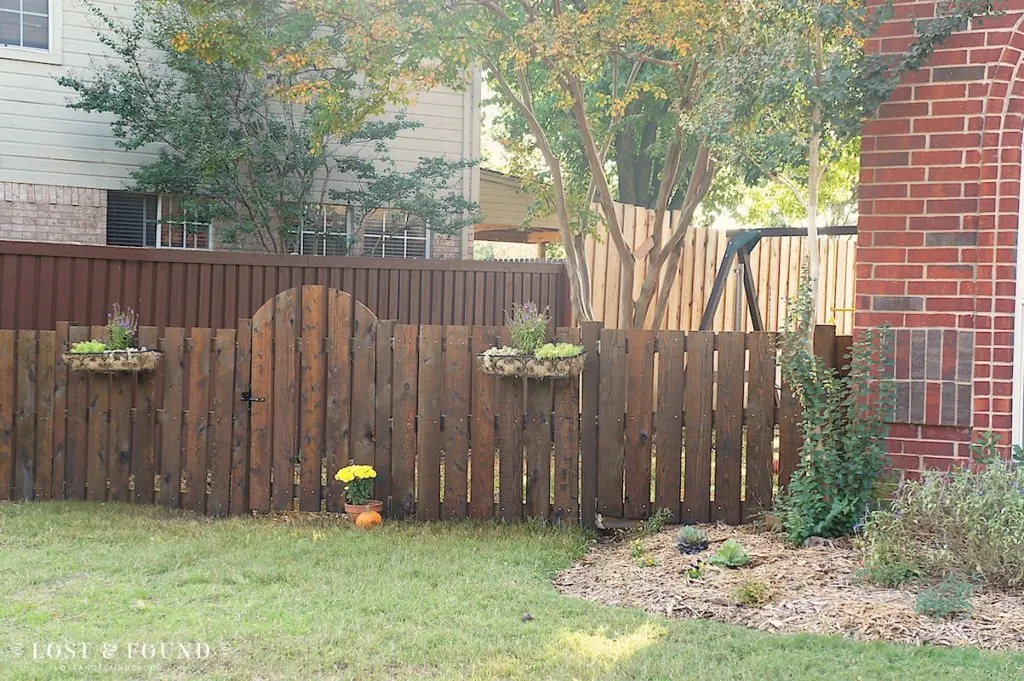
I love pulling up to the front of my house now and seeing our cute little fence and some pretty plants. There is still a little more work to do in the way of adding some architectural interest–shutters, window boxes, and possibly a new front door–but it’s already a major improvement.
So that was our home DIY year in review. What is up for 2016? Well, as you can guess, finishing my kitchen is Project #1. I have a few others in mind though, but you’ll have to check back soon to see what they are 🙂


How to Customize a Kitchen Island with Trim | Lost & Found
Saturday 2nd of April 2016
[…] this year I updated on where I am in the process of painting my cabinets, and shared a plan for how I wanted to customize my builder-grade […]
Carol
Monday 4th of January 2016
Hi Melanie: You got me hooked on Fusion Mineral Paint. It does a great job and covers easily. I have one question for you. Do I have to sand in between coats? Also-next time I will purchase the product from you. I was in a hurry to start my project around the holidays and with holiday rush I ordered it from Amazon. You might consider becoming a vendor thru them to sell this product, too!
teresa
Friday 1st of January 2016
Everything is looking beautiful. It all takes time and I'm glad to see I'm not the only one that takes a while to finish things. I put in a new/old copper Chambers stove in the Fall and still haven't finished re-staining the new wood trim. The stove works and is beautiful so now I'm happy. (I really need to do it, though!) :)
Christy
Friday 1st of January 2016
You have a lot to be proud of! Your kitchen is coming along beautifully, I especially like your painted backsplash and of course the faux feet (thanks for the credit! ;) We happen to be painting baseboards in our kitchen today, one of those things we put off after the big cabinet painting adventure but have needed to do since before then. Thank you for this post, I appreciate your grace for projects that are spread out over time...so I don't feel as guilty that I'm just now getting to the baseboards! Looking forward to browsing your blog more, I've already found some inspiration for my boys' bathroom. Happy New Year!
chris aka monkey
Friday 1st of January 2016
paint does make such a huge difference doesn't it, nothing gives more bang for the buck and this brightened up your kitchen so much------------------ as to the hole in the wall i am sure you have access to a gorgeous painting or a tall vase or basket ha ha, i do feel your pain as i just finished doing our kitchen cabinets white on top dark grey on bottom paint was from the oops section of lowes so we could take some cash and buy it, i used chip brushes to paint with and even though our kitchen is tiny it took me weeks and we hung the last door on Christmas morning, i also painted the dark brown stained nasty trim over the sink window white and my word that took my breath away lol xx