A few months ago I started showing you all a project I was working on for a friend.
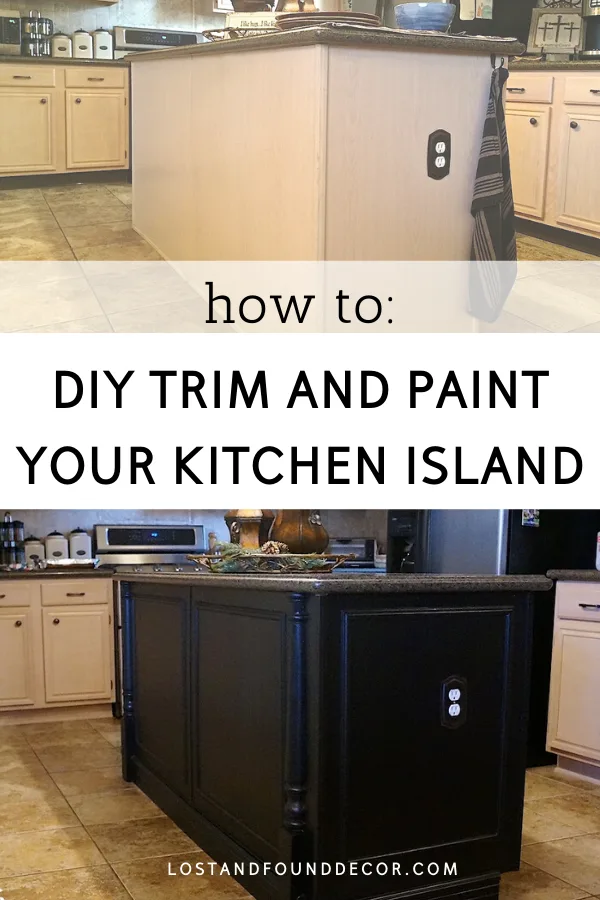
She wanted to add some “umphh” to her otherwise boring, builder-grade, kitchen island.

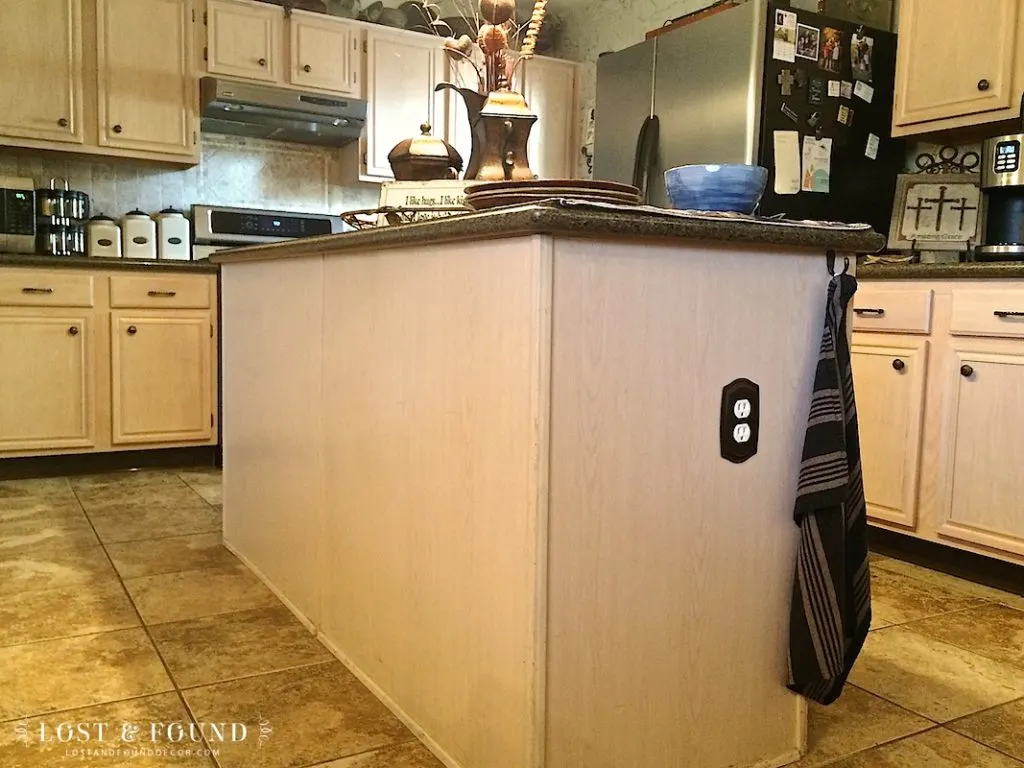
We decided together on a plan to customize the island with a tall baseboard, picture moldings, and some faux legs, then paint it all black using Fusion Mineral Paint Coal Black.
I walked through the process of prepping the cabinetry for painting with Fusion in this post here. And if you’re wondering why it has taken so long for me to post the other parts of the makeover, well . . . that’s kind of a crazy story.
6 weeks ago I was finished with the molding, trim, and painting the island base, with only the doors and drawers left to paint. That’s when my friend called to tell me that the pipe connected to her washing machine had burst and flooded the entire downstairs of her house with 3 inches of water! The base of her beautiful, 85% finished custom kitchen island was damaged along with every other baseboard and piece of flooring in her downstairs.
Fast forward 4 weeks and her island was ready to have the baseboards re-installed and and paint retouched. After another 2 weeks of work it is now finally, completely finished!
I don’t have much experience working with custom molding, so this project was a learning experience for me. It really was not that difficult though to totally transform the look of this island. It’s amazing how easy it is customize a very basic piece with nothing more than a hand saw, mitre box, liquid nails, and caulk.
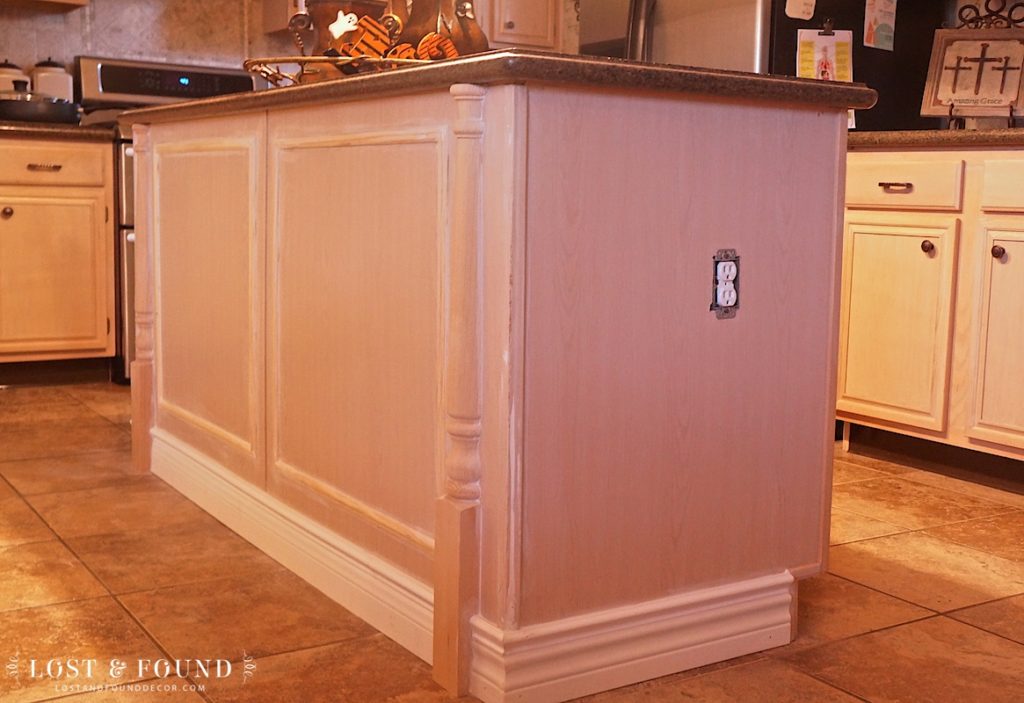

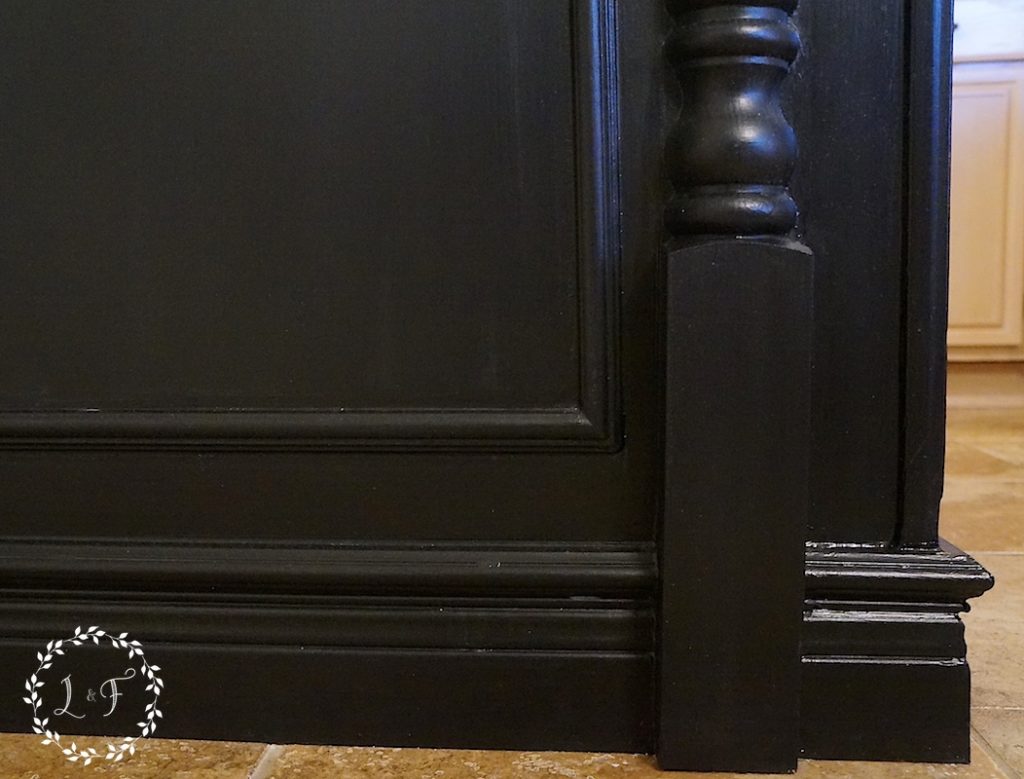
The baseboard is a combination of two MDF baseboards stacked one on top of the other. The bottom baseboard piece matches the rest of the baseboards in my friend’s home, but I needed to add more height to the island trim to make it even with the front toe kick.

Adding on a second piece of wall trim on top of the regular baseboard did the trick. I attached the baseboards with liquid nails mostly, and a few finishing nails in spots where the boards were pulling away. I don’t have a nail gun, so these nails I just tapped in with my hammer and smoothed over with putty.


The “legs” are actually newel posts I purchased at Home Depot, already cut in half. I trimmed off the top of them to fit the height of the island. They were the perfect width to fit right up underneath the lip of the existing countertop. I ran the baseboards up to the edge of the post base one each side.
I did have to remove each piece of corner molding while I was installing the baseboards. I trimmed them to the new right length, then put them back on after the baseboards were finished.
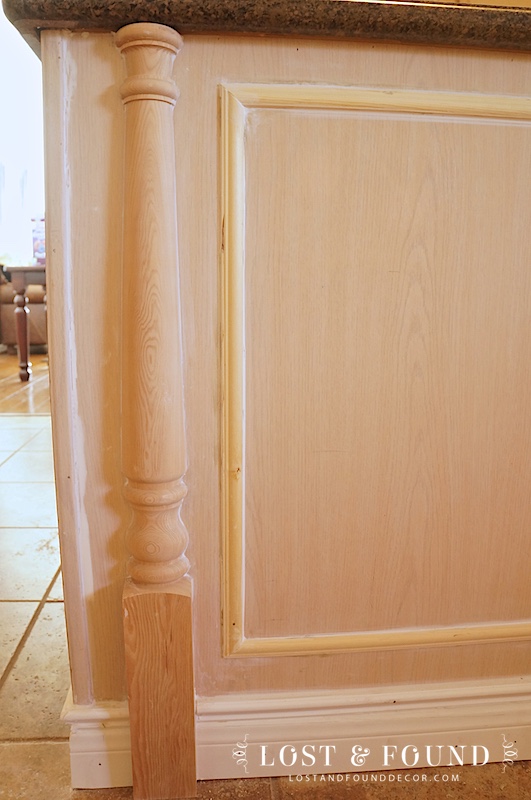
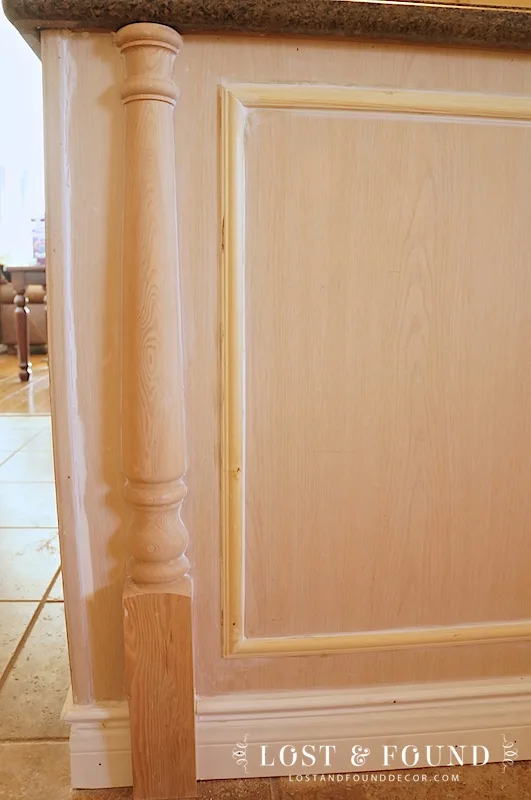
The last touch was to add the picture frame boxes on each panel of the island. These would help break up the big, blank, back wall of the island and add some more visual interest.
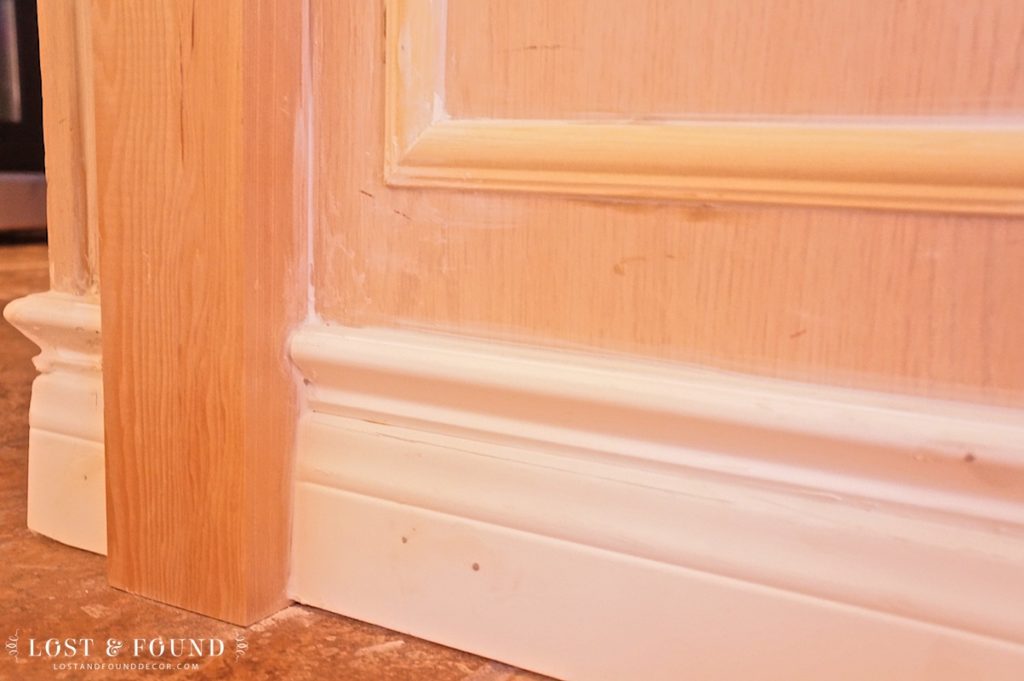
So the key to successful molding is to fill and caulk every crack and crevice once you finish installing.
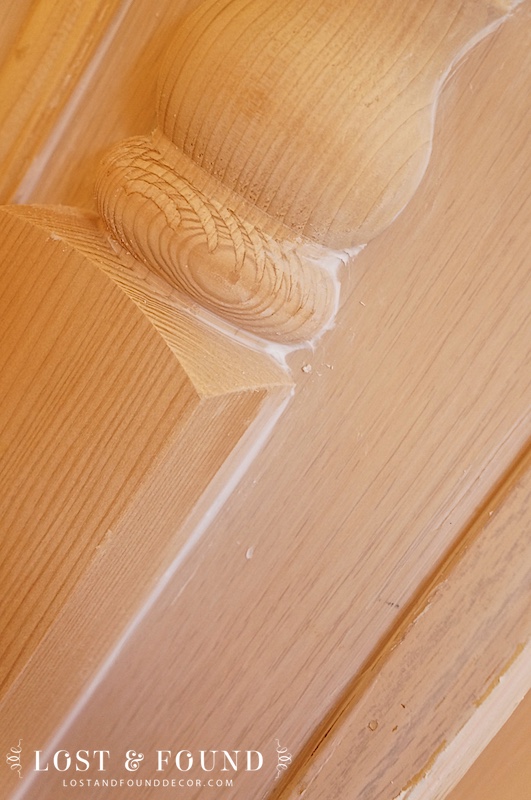
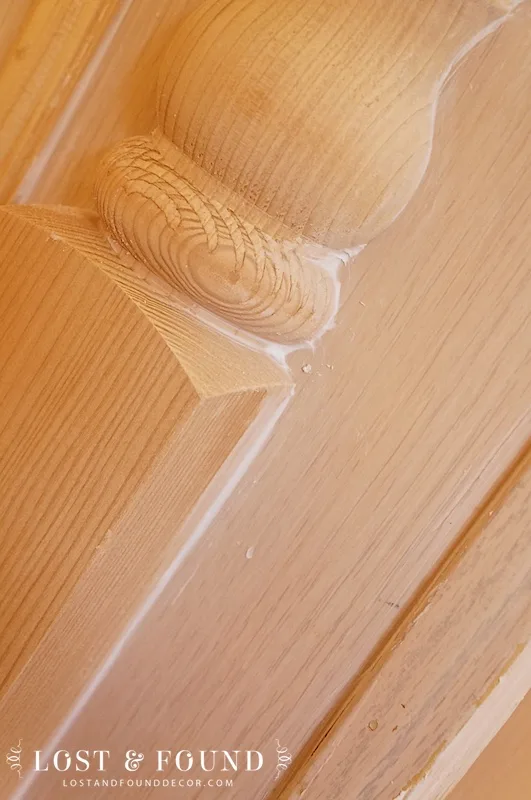
Putty and caulk will cover a multitude of molding “mistakes,” and will help produce a smooth, painted finish.
So once all the moulding was installed, holes filled, caulked, and allowed to dry, then the whole island got two coats of paint in Fusion Coal Black (actually more like 4 coats if you are counting all of the re-painting that was done after the flood!). I also added the Fusion Tough Coat as a topcoat to help the black not show so many scuffs or scrapes. Coal Black isn’t quite flat, but it doesn’t have quite enough gloss to disguise dust, fingerprints, and scuffs. Adding a little more sheen with a topcoat of your choice takes care of that issue.
Here it is all (finally) finished:
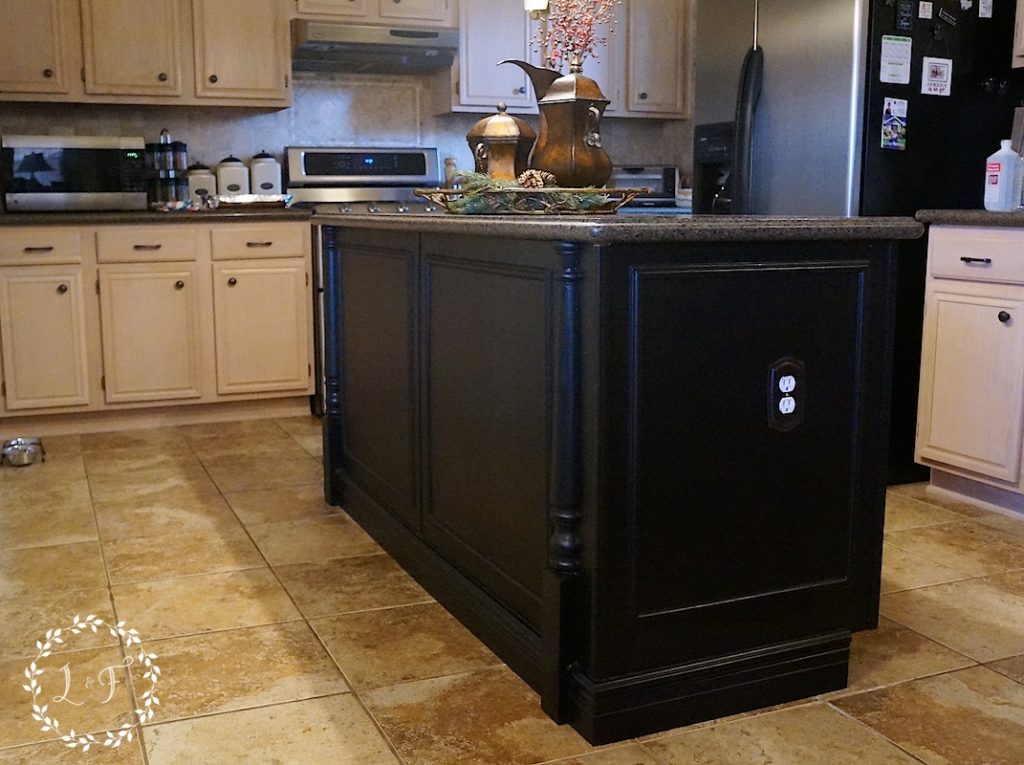

Pretty amazing, don’t you think??
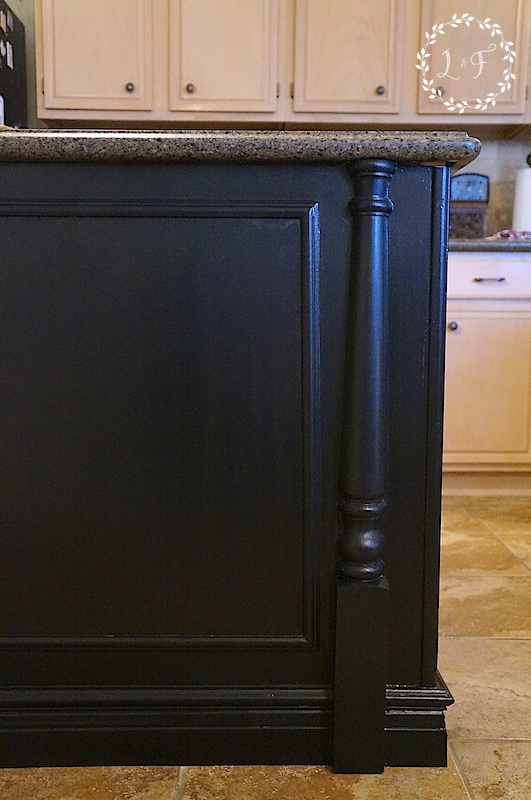
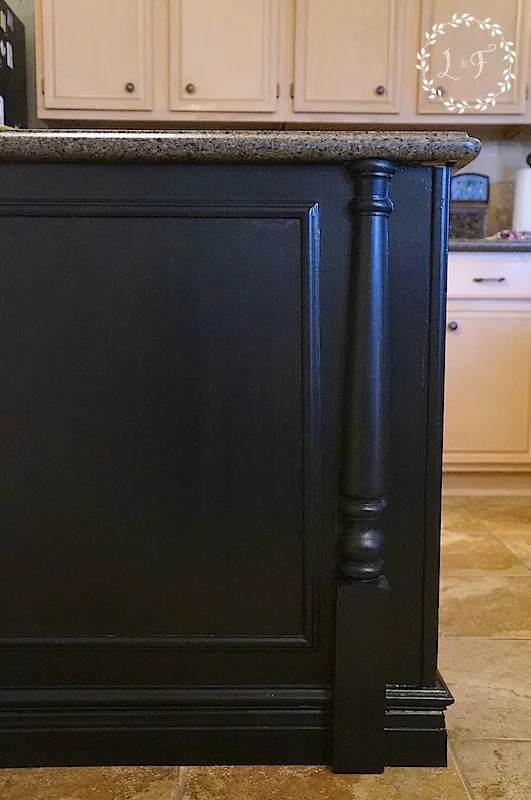
The black is a nice contrast to the rest of the light cabinetry and really makes a statement. The added faux legs and picture frame boxes break up the giant back wall of the island, while the chunky baseboards make this feel much more like a custom piece of furniture than just simple cabinets.

I have to confess that I am pretty proud of myself 🙂 For being a total amateur, I think it looks pretty amazing! And what really matters is that my friend and her husband love it. They liked it so much in fact that they offered me the job of reinstalling the baseboards in the rest of their house after the flood . . . I told them I appreciated the offer, but I’m pretty sure they were overestimating my carpentry ability!

Working on this island has helped me refine my plan for my own builder-grade island makeover--more to come on that later this week. And I feel like I learned a few new skills, so maybe one day I will be able to install baseboards in an entire house 🙂


Linking up to: Wow Us Wednesdays
Melissa Bauer
Monday 10th of October 2016
Did you use the antique tough coat or the clear? I was told the clear would make the black duller...any advice?
Melanie
Thursday 13th of October 2016
Hi Melissa. I use the clear, and I didn't have any issues with the Tough Coat dulling the finish. There was one panel that the Tough Coat came out cloudy and I had to re-coat that section, but I think it was more of a human error issue :)
Which Paint is Best Paint Use Kitchen Bath Cabinets
Sunday 8th of May 2016
[…] is the kitchen island cabinetry I painted for a client, using Fusion’s Coal Black. If your cabinets are standard […]
Painting the Island | DIY Kitchen Island Makeover Part 2
Wednesday 6th of April 2016
[…] this kitchen island a whole new look has been a major part of my DIY kitchen renovation project. I’ve already finished painting most of the rest of my cabinetry white, so the plan […]
How to Customize a Kitchen Island with Trim | Lost & Found
Tuesday 5th of April 2016
[…] (the first being installing board and batten in my guest bathroom and second is my friend’s kitchen island update), and I used NO power tools for any of the 3 projects (with one exception I will tell you about in […]
Lori Joseph
Monday 28th of March 2016
Looks great...it doesn't look like it was your first attempt at trim I'm sure it will inspire others to try new things...the only thing I might change is the white electrical outlet to black so the it blends into the island...