On a whim my husband and I decided recently it was finally time to do something about our home’s landscaping (or really, lack thereof . . . )

This is the right side of our house, and there has been absolutely no landscaping along that portion for almost five years. The other side of the house isn’t much better–there are some basic shrubs, but they are diseased and overgrown. But hey, at least it’s something!
Back to the right side though . . . when we bought our home there was a “uni-bush” that had grown all along that one side. It was huge, ugly, and worst of all infested with poison ivy. We didn’t know about the poison ivy part until one day when my husband was trimming the unibush and pulling off some vines that were growing up our house behind it. A few hours later, he looked like the walking dead–covered in poison ivy blisters.
It was terrible. I ended up getting some on my hands and my oldest son managed to get some on his legs as well. Instead of trying to just eradicate the poison ivy while keeping the bush, we decided to go ahead and ditch everything. We spent a good, solid 2 years dousing the land there with Roundup to get rid of the poison ivy, and then another almost three years letting the soil recover.
I am not much of a gardener, but I’m trying to get better. Initially, I was sure this project would be way too big for my husband and I to DIY, but after receiving a $3000 quote to build new beds for us, we decided maybe we could manage it after all 🙂
So last weekend we set to work marking out a new bed for the right side of our house and tilling up the grass and dirt. Our budget for this project is pretty much $0, so we were glad to learn we could get free compost/topsoil from our city on Saturday mornings.
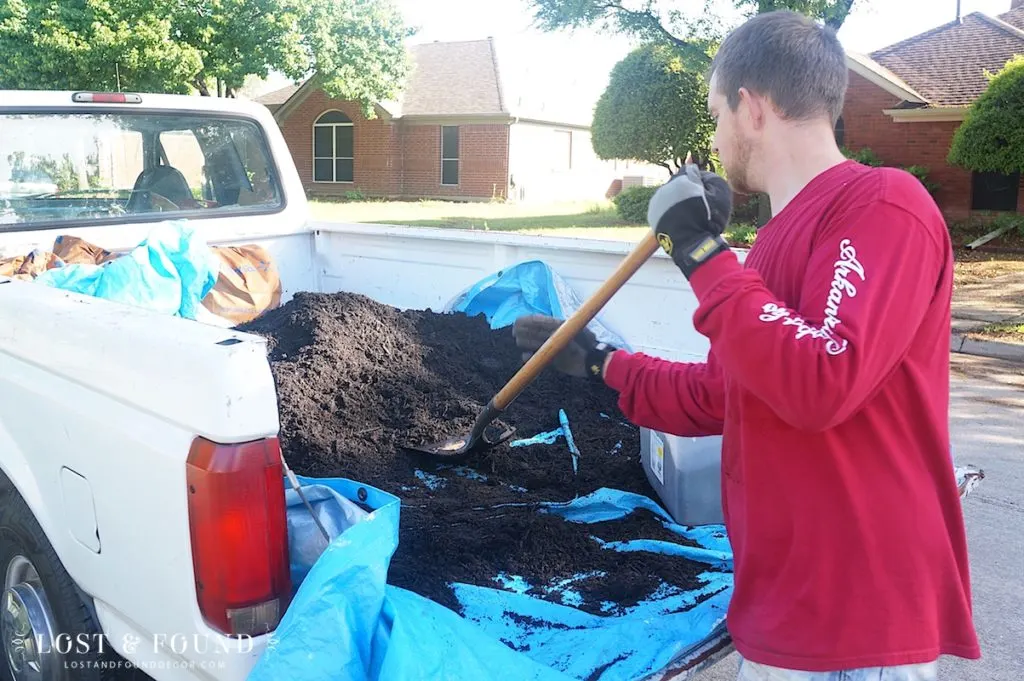
Look at the free, quality dirt! Well, it’s not completely free–I’m sure I paid some taxes for it somewhere 🙂
We mixed in the city dirt with our own dirt which gave us a nice, raised bed.
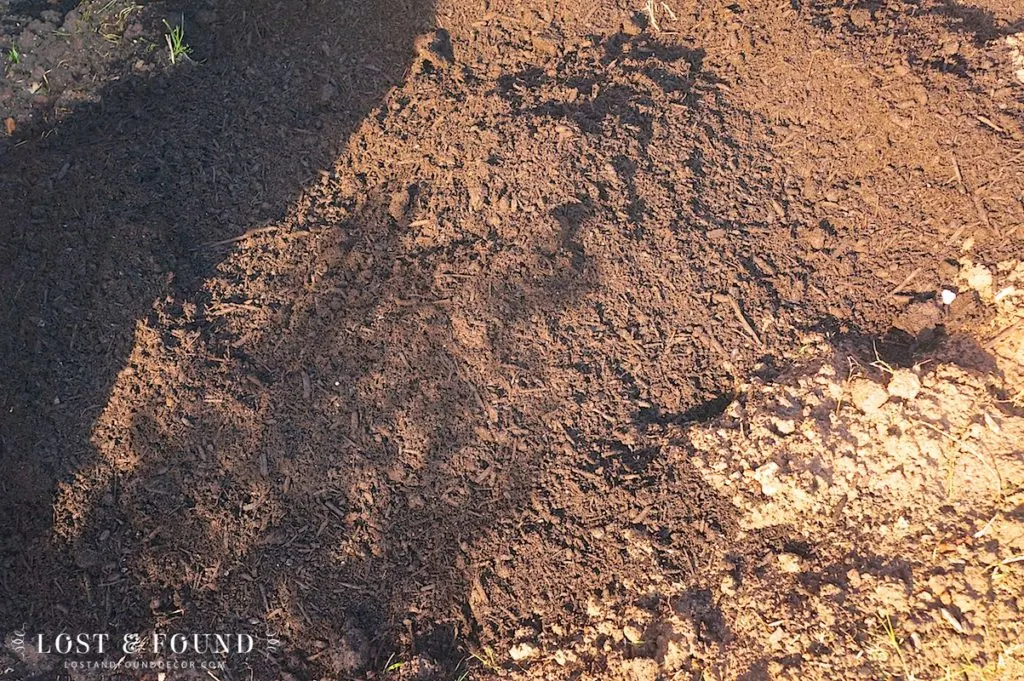
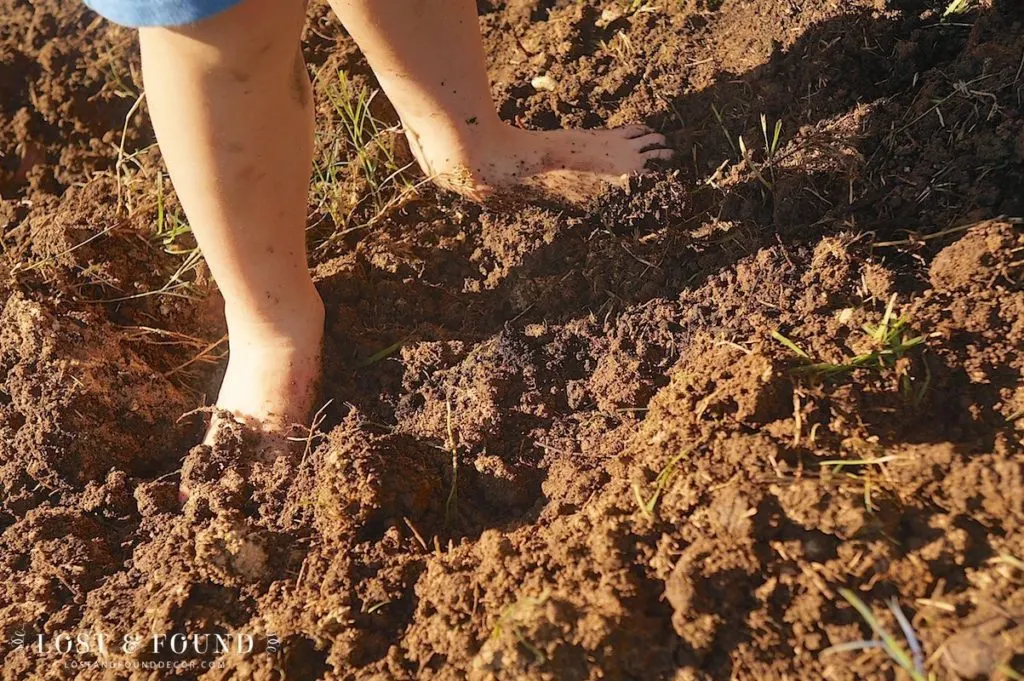
It was hard work, but ended up making for a really nice family morning together outside. Some toy dump trucks showed up to help haul our dirt around and I also had a faithful worm-hunter at my side.
Since we don’t have a lot of cash set aside for this project right now, we decided to just buy a few shrubs and fill in the bed over time. I chipped in some birthday money I had, as well as two potted hydrangeas sitting on my back porch, and this is what we have so far:
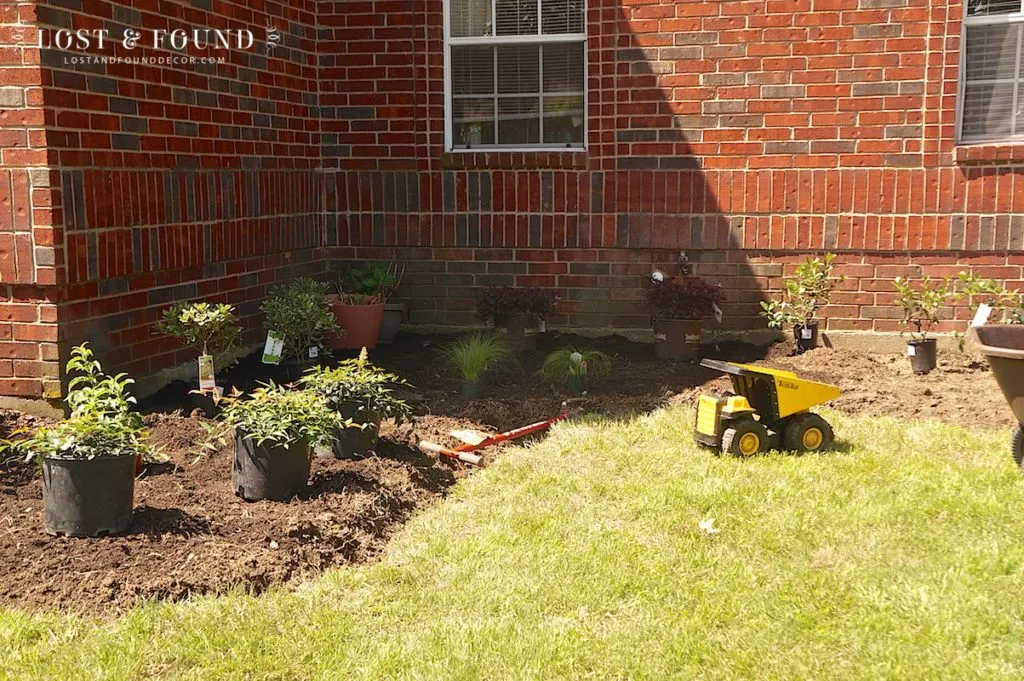
Already a major improvement! That window on the left is the window over my kitchen sink–it makes me so happy now to look out that window while I’m doing dishes and see plants instead of just weeds!
We will add more shrubs and some perennials as we can throughout the growing season, and maybe next year get around to tearing out the beds on the left of the house and replanting those to match this new bed. For now though even this little bit of work makes a HUGE difference in the curb appeal of my house.
Ultimately, I have visions of a lush but relaxed landscape with lots of color and architectural interest. I would love to add a shutters and window boxes on all 4 windows to take up some of the dead space on that large wall.
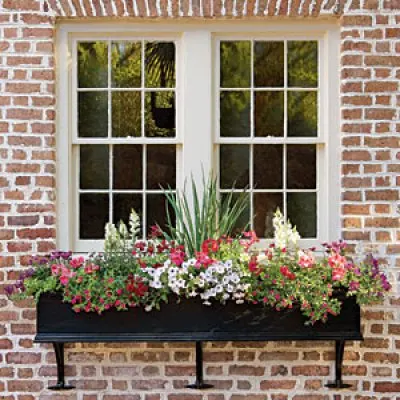
via Pinterest
If you want to see some more of my garden ideas, feel free to check out my Home Exterior and Garden board on Pinterest. I promise nothing on there is very advanced, since I have a mostly black thumb 🙂
My other big project this past week has been working through starting up my own paint workshops. For over a year now I have been brainstorming on how I could host one, whether it be in my home or up at the antique mall where my booth space is. Several friends have asked and I love the idea of sharing what I’ve learned. The timing just has never seemed right though.
But now that Fusion has come along and I am one of their Certified Merchants, the workshop ideas are starting to fall into place 🙂 The Fusion company provides lots of excellent workshop training materials and ideas, and looking through them all has really gotten my creative juices flowing.
So here is my plan: Starting out I will be hosting 2 Fusion Paint 101 workshops a month, one during the weekday and one on a Saturday morning. They will be 2 hours long and will focus on general painting basics (proper sanding and prep of a piece, the right brush, etc), as well as learning several different painting and finishing techniques to use with Fusion Mineral Paint. Workshops will be limited to 6 participants, and each person will take home a small completed project along with a Fusion Mineral Paint Apron.
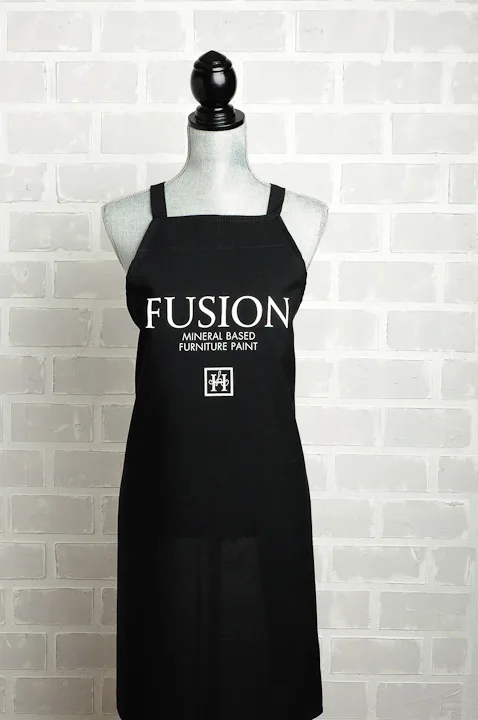
Snazzy, huh?
After thinking it through I decided to go ahead and host the workshops in my home rather that up at the antique mall. The mall really doesn’t have the extra space and I think I can create an environment in my home that will overall be more relaxed and comfortable. Light refreshments will be provided, and don’t worry–my kids won’t be home 🙂
So, with my husband’s help, Fusion Paint 101 Workshop online registration is now open! It’s really exciting to see something I have been thinking about for over a year finally come to fruition.
Registration can be accessed by clicking the image above, or by clicking the same image on my sidebar. You can also reach the workshop registration page through the main menu bar by hovering over the “Buy Fusion Mineral Paint” tab until you see the “Fusion Paint Workshops” tab pop up.
If you are in the Dallas area, please consider joining me! I promise we will have fun and that you will learn something new.
Time to go water my plants 🙂





Brenda Truels
Sunday 26th of April 2015
I don't supposed you'd consider bringing your workshop to Florida? We're 4 blocks from the gulf. We could work out an exchange!
Melanie
Sunday 26th of April 2015
Oh man Brenda, that sure is tempting!!!
angela w
Sunday 26th of April 2015
If you read through your blog entry today, your sentences are not visible on the right side. It is cut off. Just for your awareness. =)
Melanie
Sunday 26th of April 2015
I don't seem to be having that problem on my screen Angela, but I will look into it! Thank you for letting me know :)