I will easily admit to anyone who asks that I am not a particularly crafty person.
I know what you’re thinking . . . “But you paint furniture??! Of course you’re crafty”
In my mind though, furniture painting isn’t “craftiness” really, more like “artistic planning and execution”. Kinda like the difference between coloring in the pre-drawn pictures of a coloring book and doodling your own design.
I have always been a great colorer, but ask me to draw something for you out of the blue and that’s a whole different story.
I have absolutely loved being a Fusion Mineral Paint Merchant over these past few months. Homestead House has been a dream company to work with, and I have really enjoyed having an endless supply of paints in various colors to play around with.
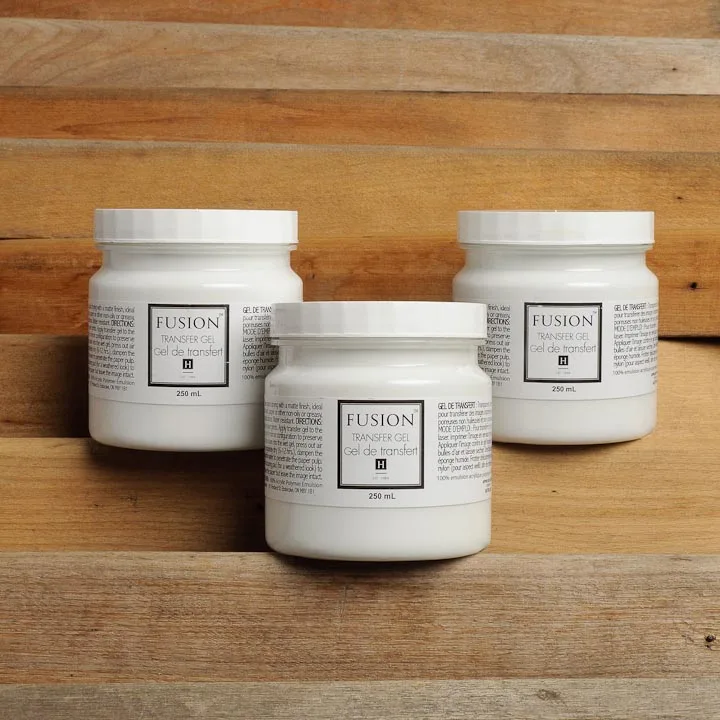
Fusion doesn’t just offer paint for sale though–there is a entire line of craft and embellishment products available also. Part of my job as a Fusion Merchant is to sell those items as well–which means I have had to force myself to get into crafty mode lately!
I only want to sell products that I have tried out myself and that I am comfortable showing others how to use, hence the hours I spent this past week at my kitchen table playing around with Fusion Transfer Gel.

I have seen many other merchants doing some really neat projects with the Transfer Gel, so I decided to try my hand at a project of my own.
Getting the Transfer Gel right can be kind of tricky, so I want to walk you through my process, step-by-step. Quite honestly, the project I am sharing with you was my third attempt at working with the gel, so a lot of practice went into this post!
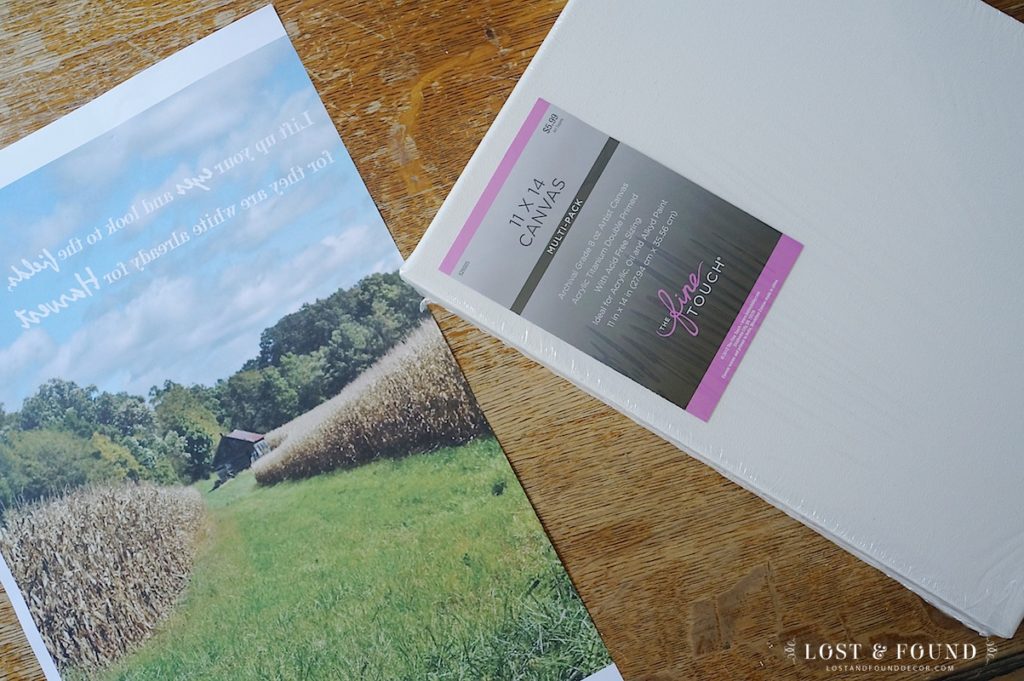
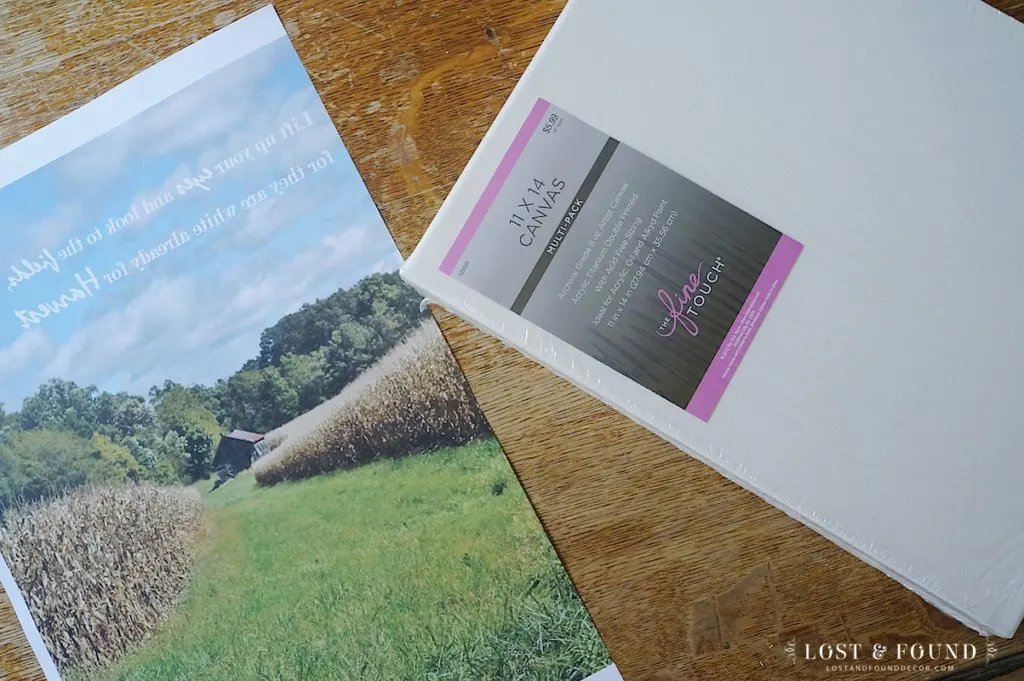
First, I found a beautiful photograph, made available by Angie at Knick of Time, and added some word art to it on my editing software. If I had just been using the photo I could have printed it out as-is, but since I added words to it, I had to make sure to flip the image backwards before printing it–the Transfer Gel transfers a mirror image of your graphic, so words always need to be printed backwards so they will read correctly once transferred.
It’s also important to have the image printed by a laser printer, which I don’t have . . . so I had the nice lady at Staples print it for me. I asked for the image to be printed large enough to fit an 11 x 14 canvas I had purchased for the project. I think it cost me a little over $1.00 for the print.
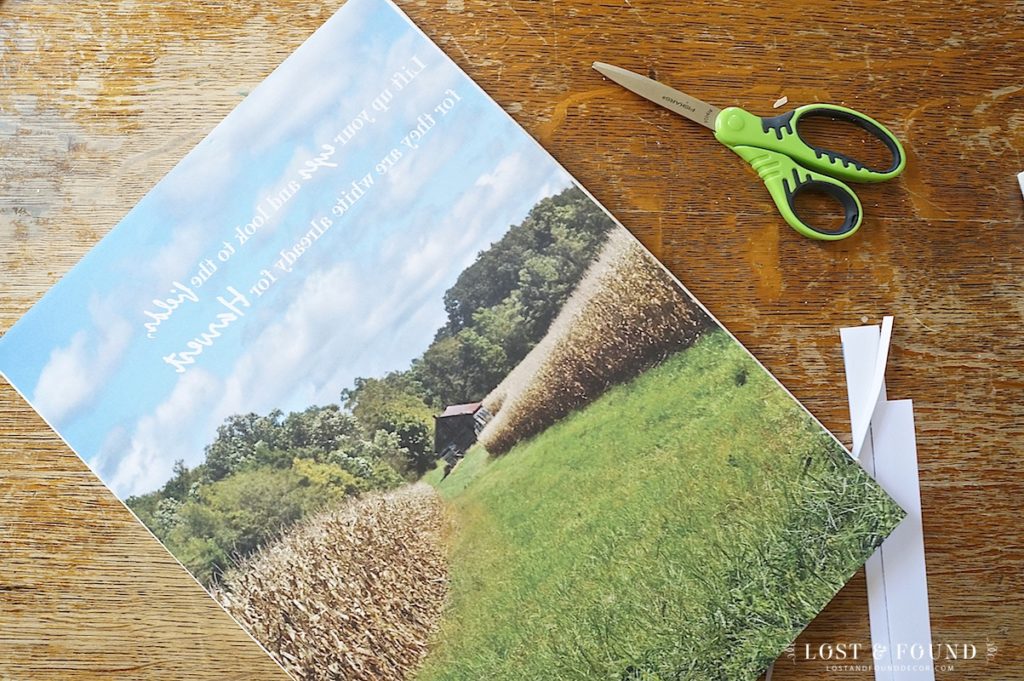
So back at home with my supplies, I trimmed the image to fit the canvas.

The next step was to brush the Fusion Transfer Gel onto the canvas, at about the thickness of a dime.
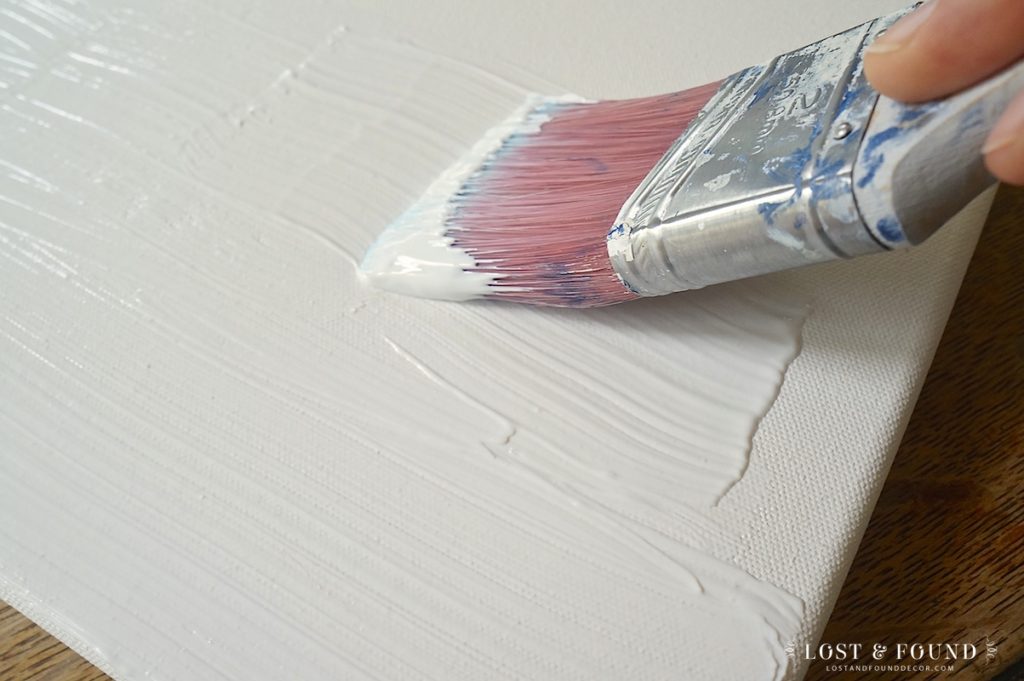

Once the canvas was covered with a nice coat of the Gel, on went the photo, image side down.

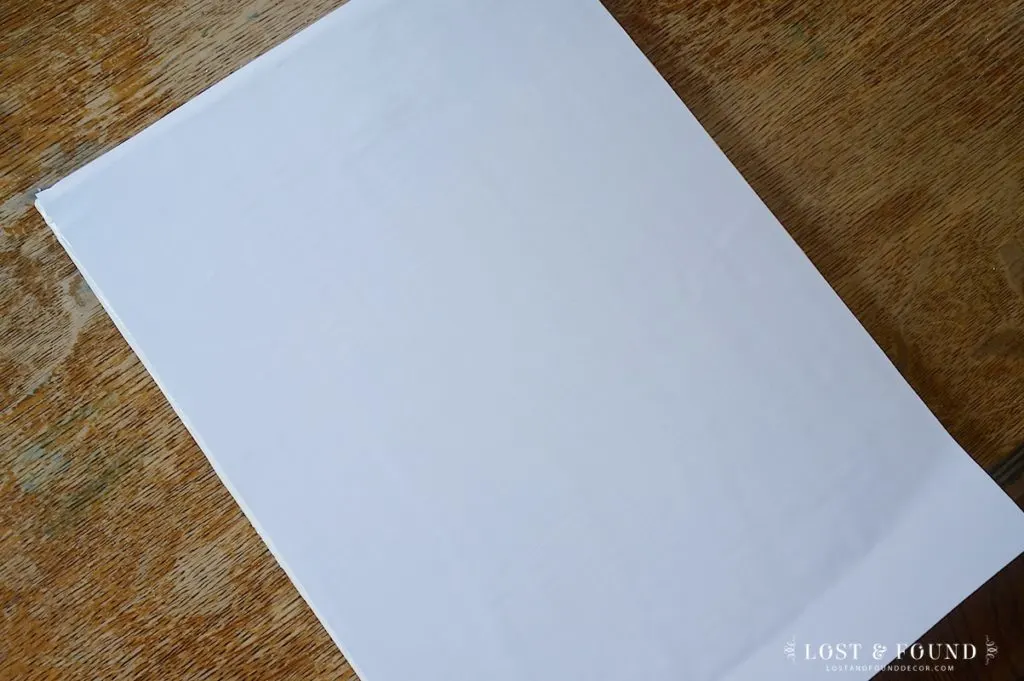
I pressed the photo onto the canvas, gently working out any bubbles that came up. I also flipped the canvas over and rubbed it on the backside with a spatula–this way the canvas didn’t have any “give” and I was able to really press it into the image.
It’s important in this step to not press too hard though . . . The paper is getting very wet with the transfer gel and so will rip easily. At one point I did make a small tear in the picture and had to try and piece it back together.
At this point in the project, it’s time to distract yourself with something else . . . because unfortunately, you need to let the image set on the canvas for at least 24 hours before starting to remove it. If you are in impatient person like me, that can be challenging, thus the need for distraction 🙂
So a day later once the image was good and fully dry, I wet it down very well–and I mean, lots of water. You can even run the whole thing under the faucet if you want.
As the water soaked into the paper, I started to gently rub with my fingers and the paper began to peel away.

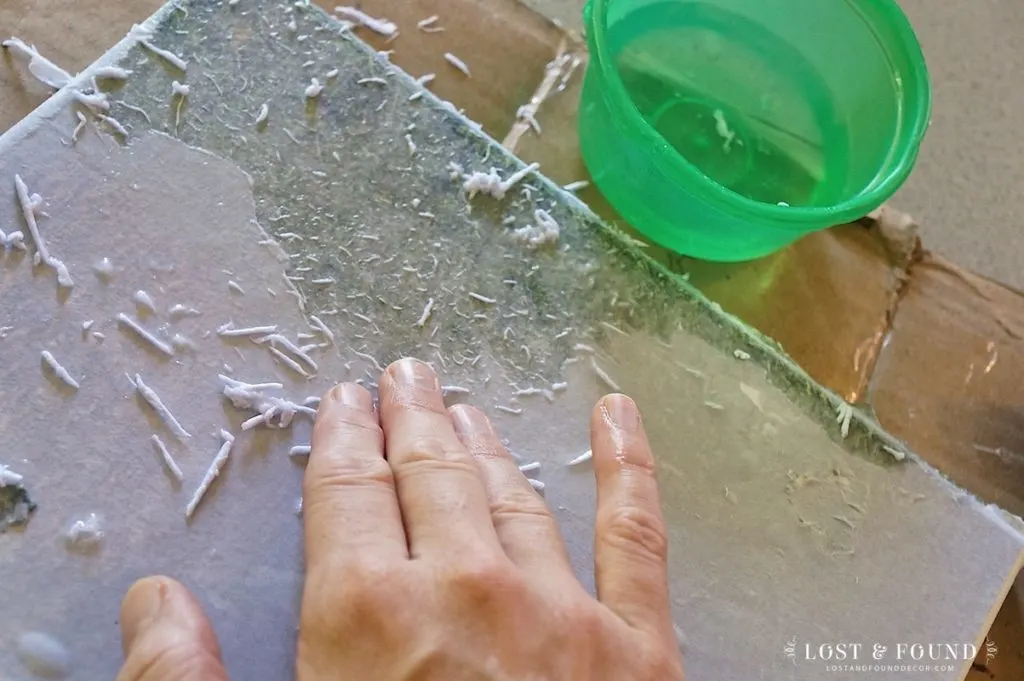
You can see I kept a little dish of water by me, and anytime the paper got too dry I would dip my hand in the water and wet it down some more. Gentleness is key again here at this step–rub too hard and you will take off some of the image as well.
This is what the canvas looked like after removing the first layer of paper.

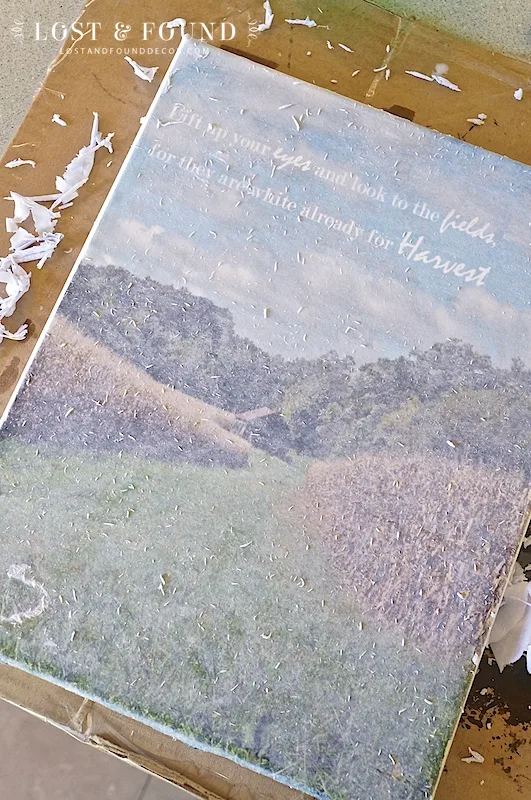
You can see there is still a good bit of paper left, and so it’s time to start rubbing a little harder.
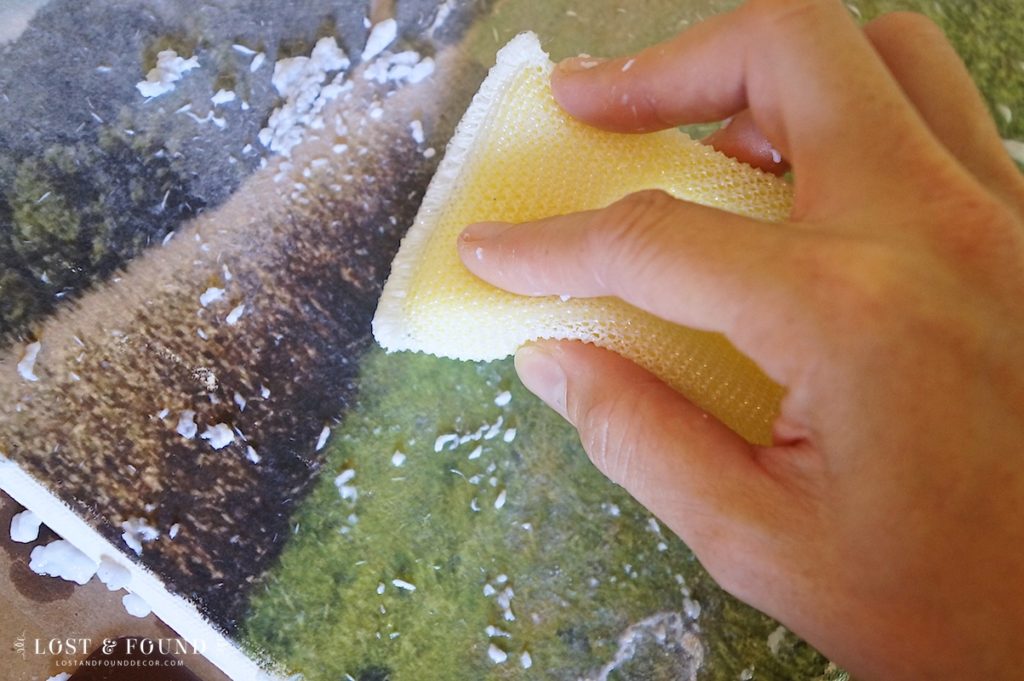
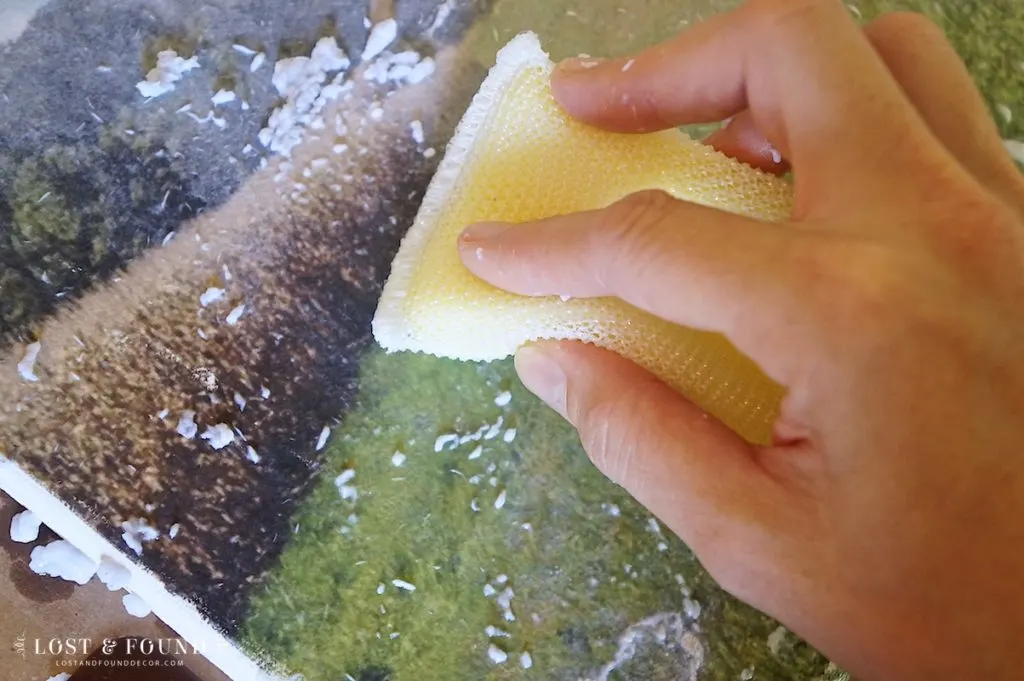
I went back over the whole canvas with my trusted Dobi sponges (everybody go buy a pack of these at Wal-Mart right now, they are awesome!). I really put no pressure on the canvas at all, just wiped the sponge back and forth and it started to take off the next layer of paper.
So you may have to repeat this step a time or two, letting the canvas dry for bits so you can really see where the paper is left. And sometimes you are bound to have a little bit of the image rub off too, so don’t fret too much about it–that’s part of the charm.
Once you have rubbed off all the paper you can though (or you’re just ready to give up), you can take care of any remaining “haze” by rubbing on a light coat of Fusion Wax Finish. This step really does make a huge difference in the final appearance of your transfer.
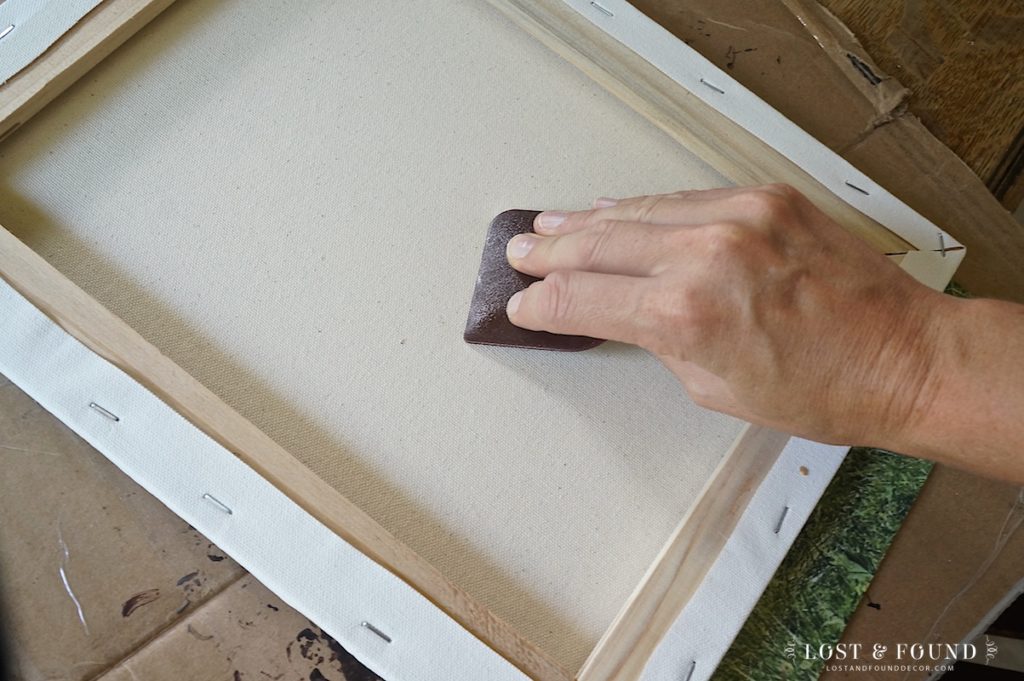
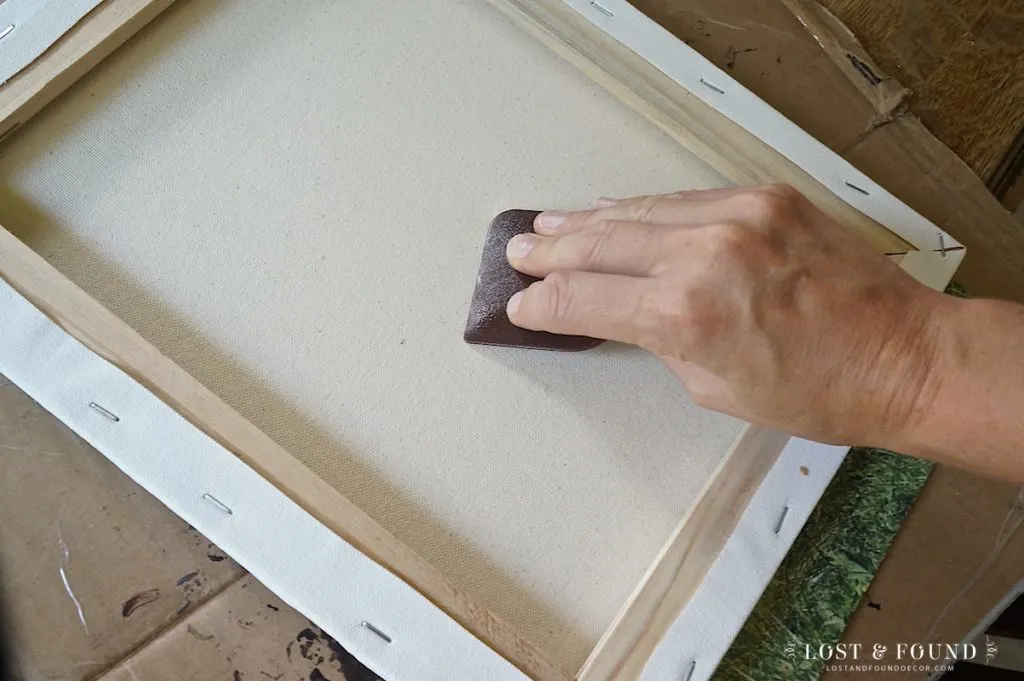
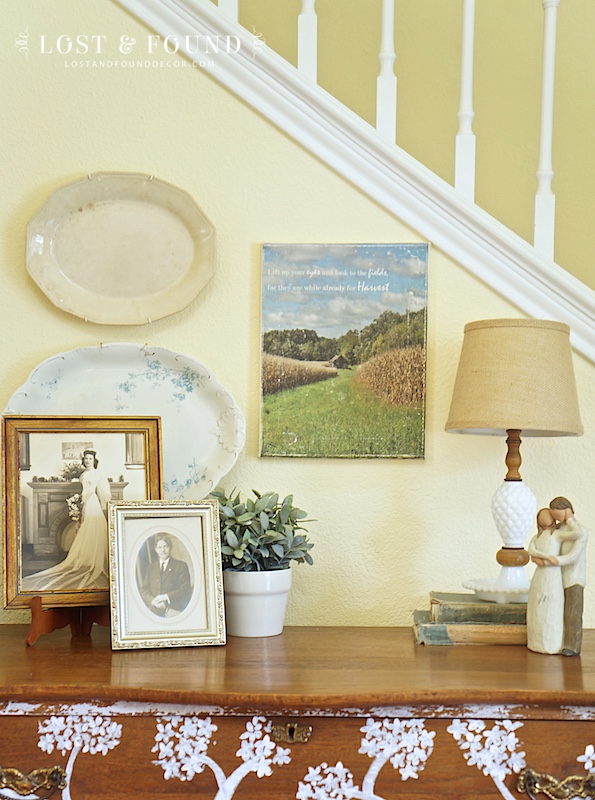
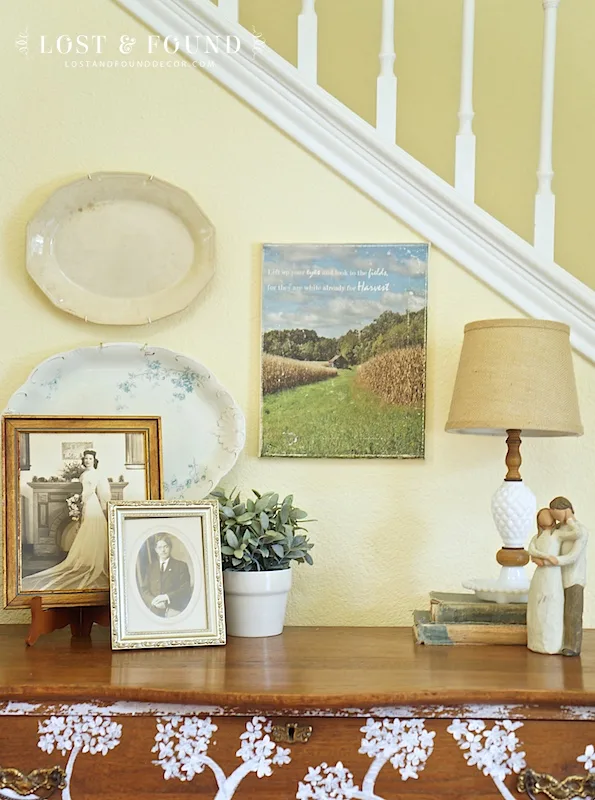
After all the rubbing was done, I painted on a very light coat of Fusion Antique Glaze around the edges of the canvas to take away the bright white. I also lightly distressed all along the edges and over the whole canvas with a 320 grit sandpaper.
Here is the final look:
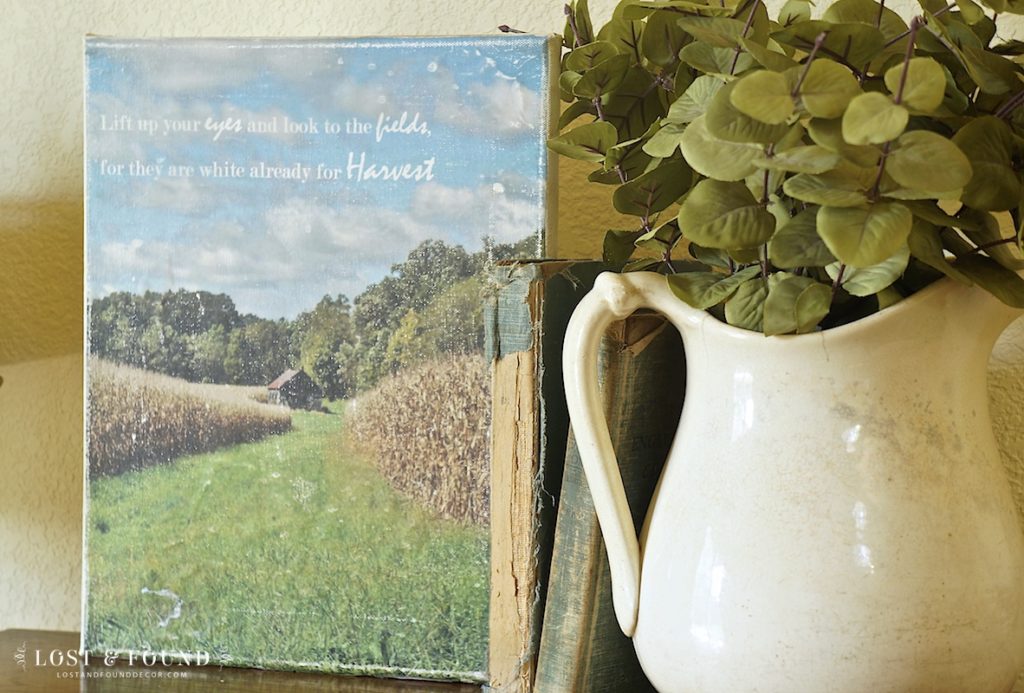

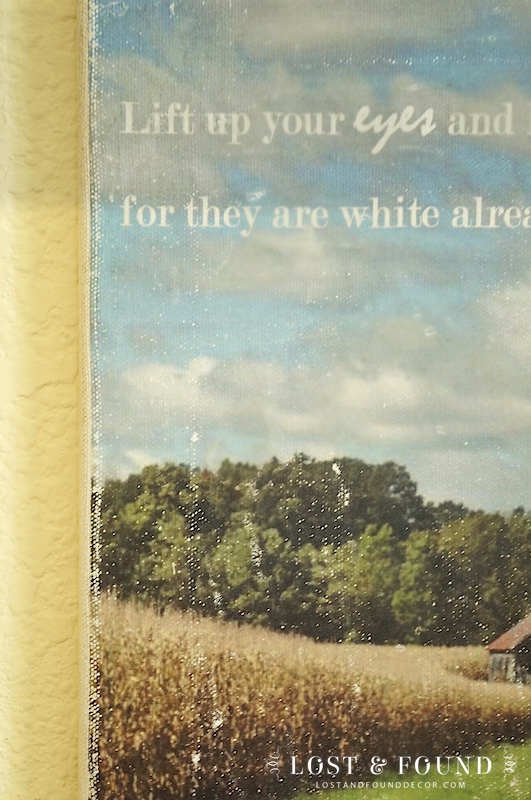
The transfer process creates a whole different texture than if you just printing the image onto the canvas directly.
There is really a cool depth to the graphic, as it takes on the texture of the canvas behind it.

Not bad for someone with no craft skills, huh?
There are literally a million transfer ideas out there, and I have assembled a few for you here that I personally think are fantastic:
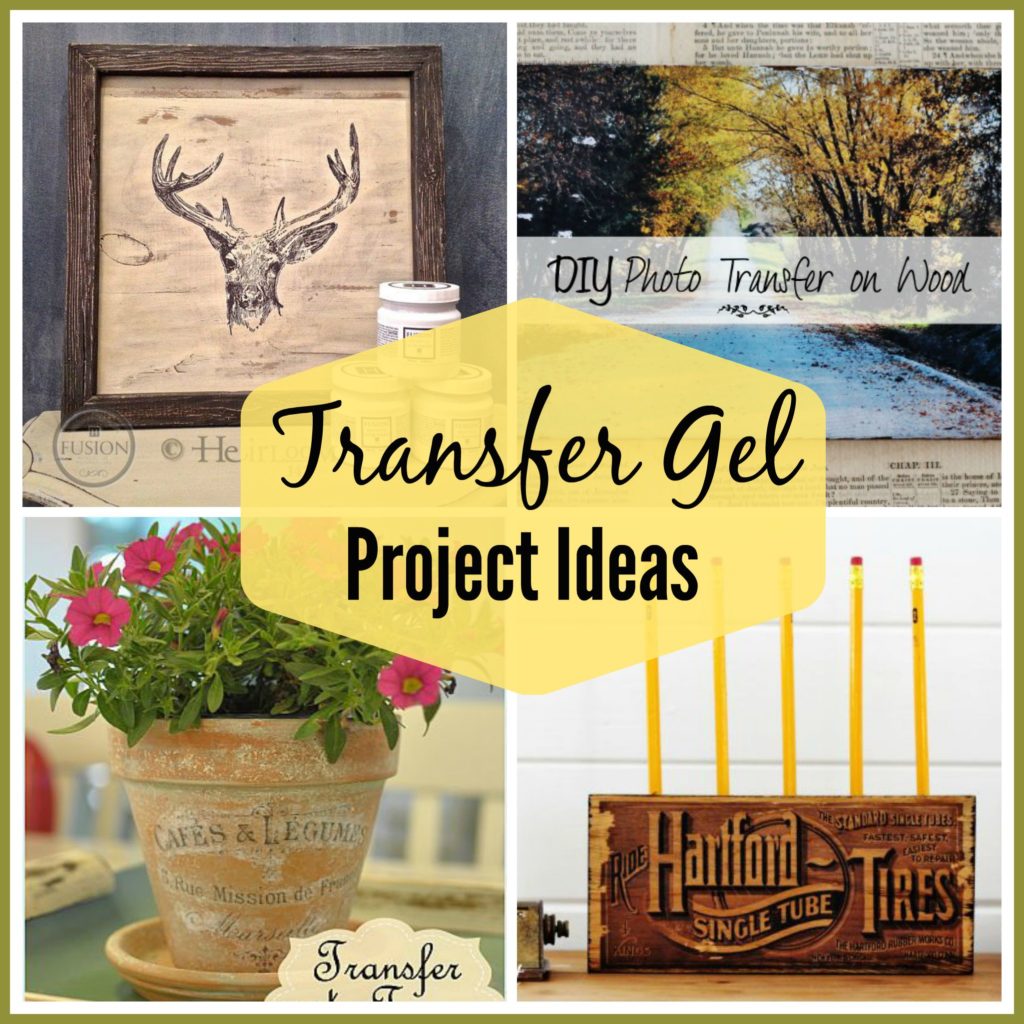

The source links for these 4 projects are available on my Fusion Transfer Gel Pinterest Board. Be sure to follow along to see more Transfer Gel ideas collected.
AND, to spread the crafty-fun, I am giving away one pint-size jar of Fusion Transfer Gel from my personal stash today 🙂
GIVEAWAY NOW CLOSED
Let’s do this giveaway the old fashioned way, no Rafflecopter, just through comments.
If you would like to enter to win the pint of Transfer Gel, here are 4 ways to enter:
- Leave a comment on THIS blog post
- Follow Lost & Found on Facebook, and leave a comment on THIS post telling me you followed.
- Follow Lost & Found on Pinterest, and leave a comment on THIS blog post telling me you followed.
- Follow Lost & Found on Instagram, and leave a comment on THIS blog post telling me you followed.
Simple enough! This giveaway is open to US residents, age 18 and older, and will close Friday, September 25th and 11:59 pm. Thanks!


Linking up to: Silver Pennies Sundays Your Turn to Shine Party
Tracy
Saturday 17th of October 2015
I'm not sure why I missed this post, I'm a loyal follower! Thanks for linking back to posting, think I may try it, and think you are "crafty:)" I've seen these on dresser drawers and thought it was more complicated. One question - how did you bring image to staples? Maybe a dumb question!
Melanie
Saturday 17th of October 2015
Not a dumb question Tracy :) I saved the image as a jpeg file on my computer (sized it to the size I wanted using Microsoft Publisher) then loaded it onto a USB stick. They printed it off my stick. Took 2 minutes and cost like 50 cents!
Diana C
Wednesday 23rd of September 2015
I just found your site and am getting so excited to paint furniture, bathroom cabinets and transfer some favorite photos. Thank you for sharing so much great information!
Melanie
Thursday 24th of September 2015
Great Diana! Thanks so much for stopping by!
Merle Thompson
Monday 21st of September 2015
I'm following you on Pinterest now as well! I don't want to miss anything. :)
Katy
Monday 21st of September 2015
I had no idea you could transfer that much color. I totally need to do this for J for a bus pic! I was wondering the other day with staples huge draft prints if i could do something fun with our horrible hollow core doors too... we'll see :) That gel works awesomely tho!
Megan S.
Monday 21st of September 2015
Girl, I follow you everywhere! ? I would love to give this a try. Even if I don't win, I know my next purchase from you will include this!