It’s been awhile since I’ve shared a makeover here! I actually have several though that I worked on over the spring, and I’ll be posting them over the next few weeks. So if you’ve been missing them . . . lots are coming!
Let’s start off with this one.
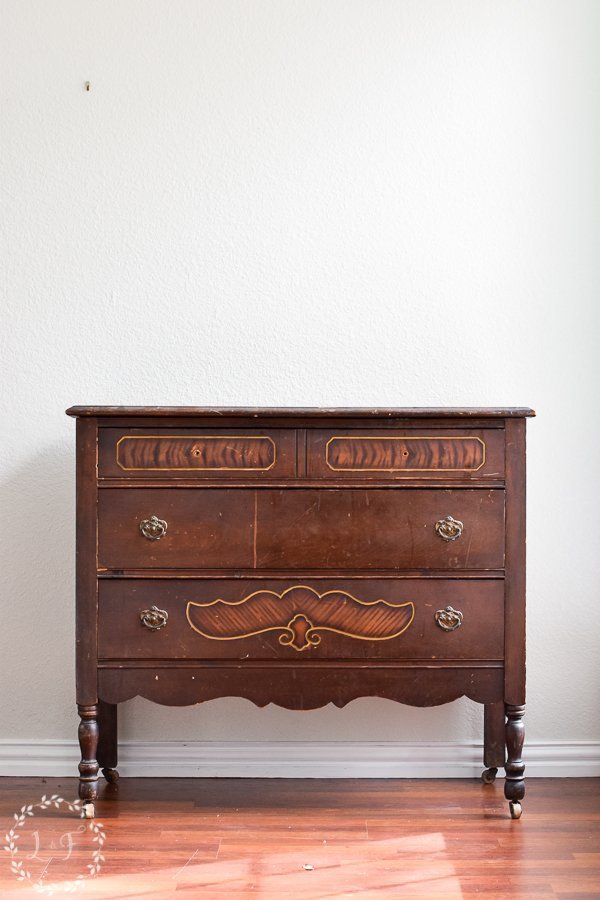
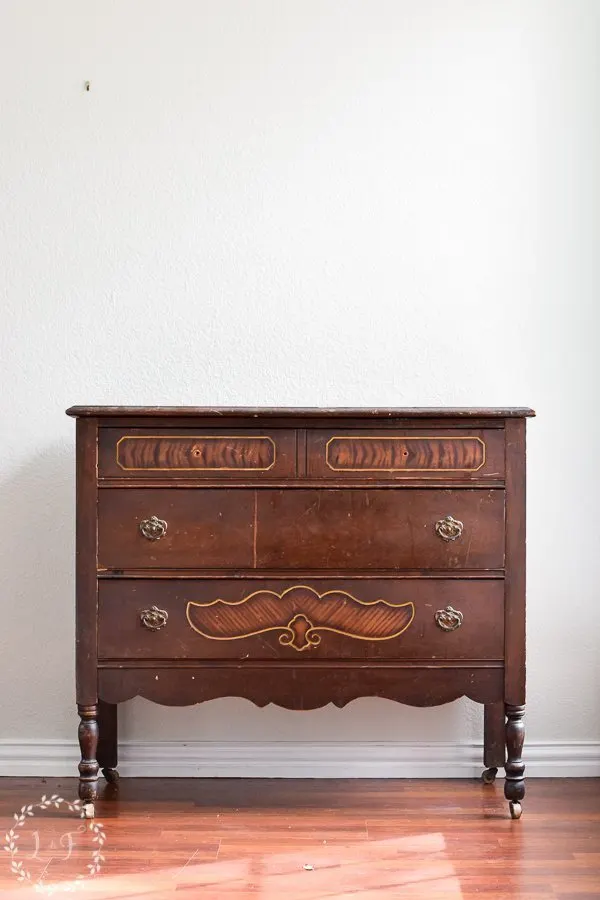
I bought this dresser off Facebook Marketplace back last winter. It was one of those pieces that looked amazing in the pictures, but once I saw it in person . . . well, let’s say it needed a lot more work than the photos let on!
Side note–this happens a lot when buying furniture off these online sale sites! I’ve learned to ask lots of questions before driving out to look at something, and I always ask to “come see it in person” before committing to pay or sending any money online. It’s super easy to wind up with a piece that needs way more work than you anticipated or are capable of doing, don’t get roped into one of those!
Back to this piece though . . . several of the drawer bottoms needed to be replaced, and the bottom drawer did not slide well at all (in fact at one point the wood swelled and I couldn’t get it back in!) The top was badly dented and dinged also, but sanding it down would fix that easily.
So after lots of TLC, it was ready for its makeover!
The Makeover Plan
I had this gorgeous Redesign with Prima transfer in my hands for a few months that I had been wanting to try–
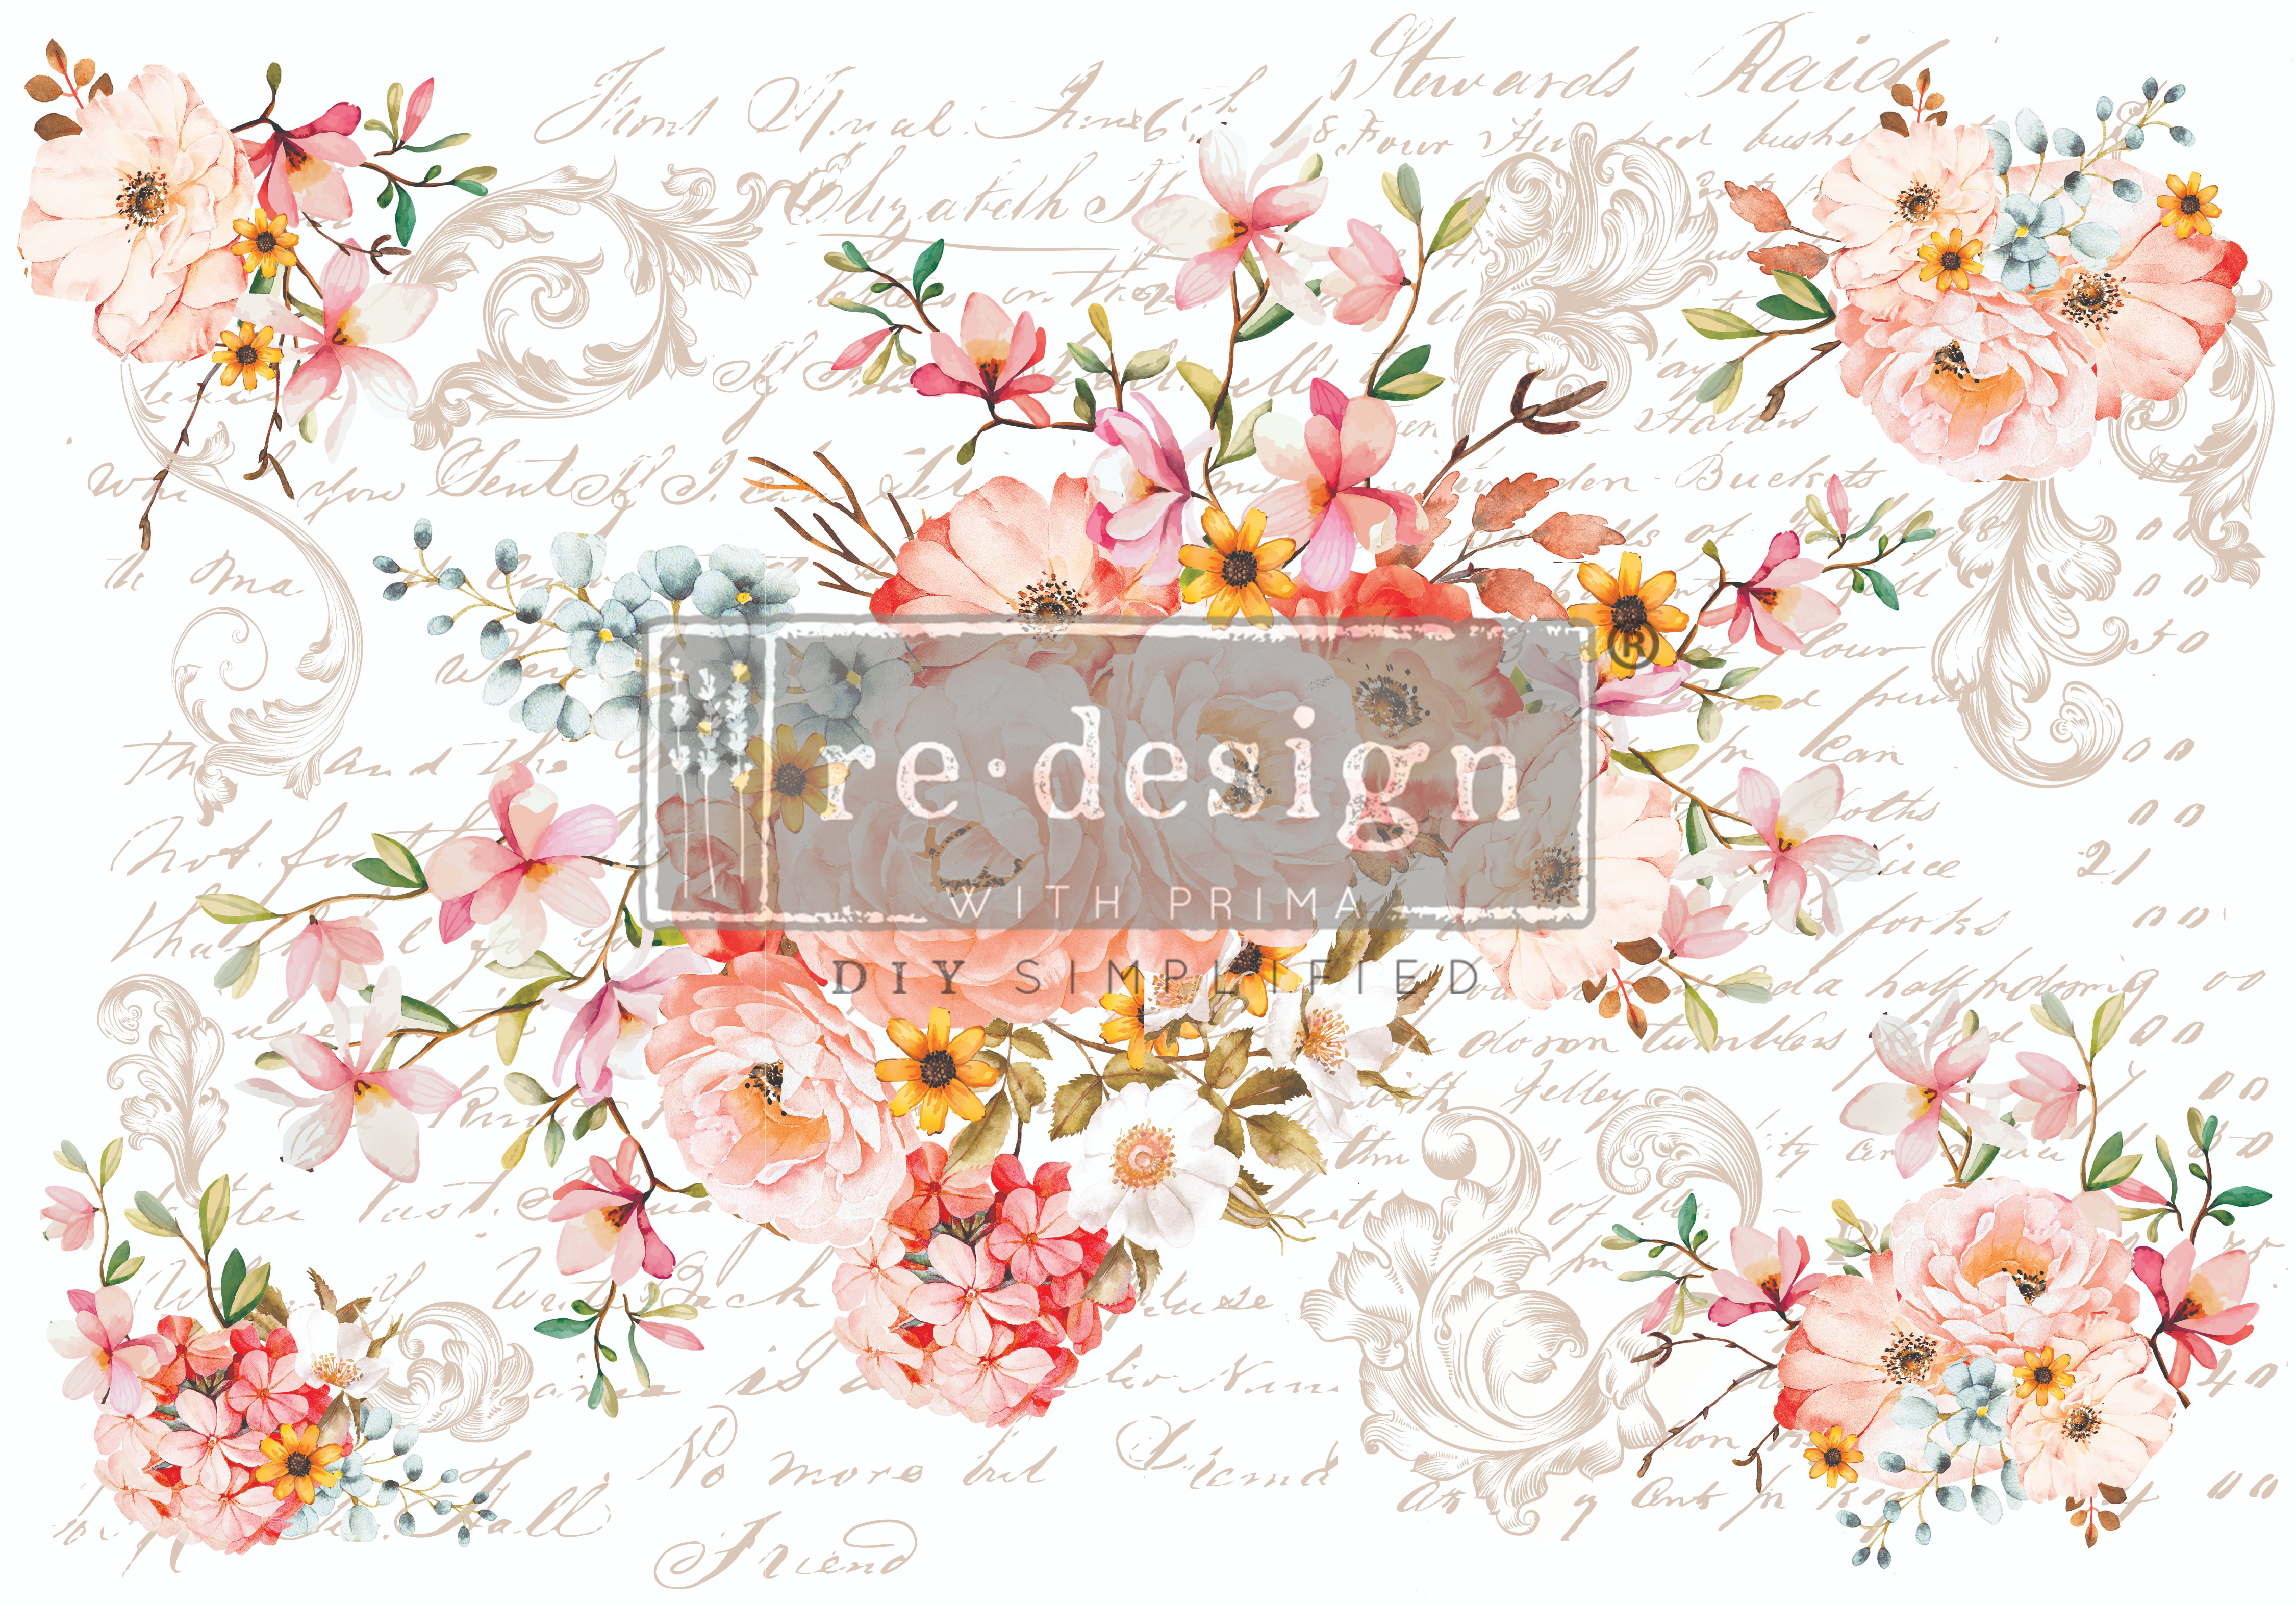
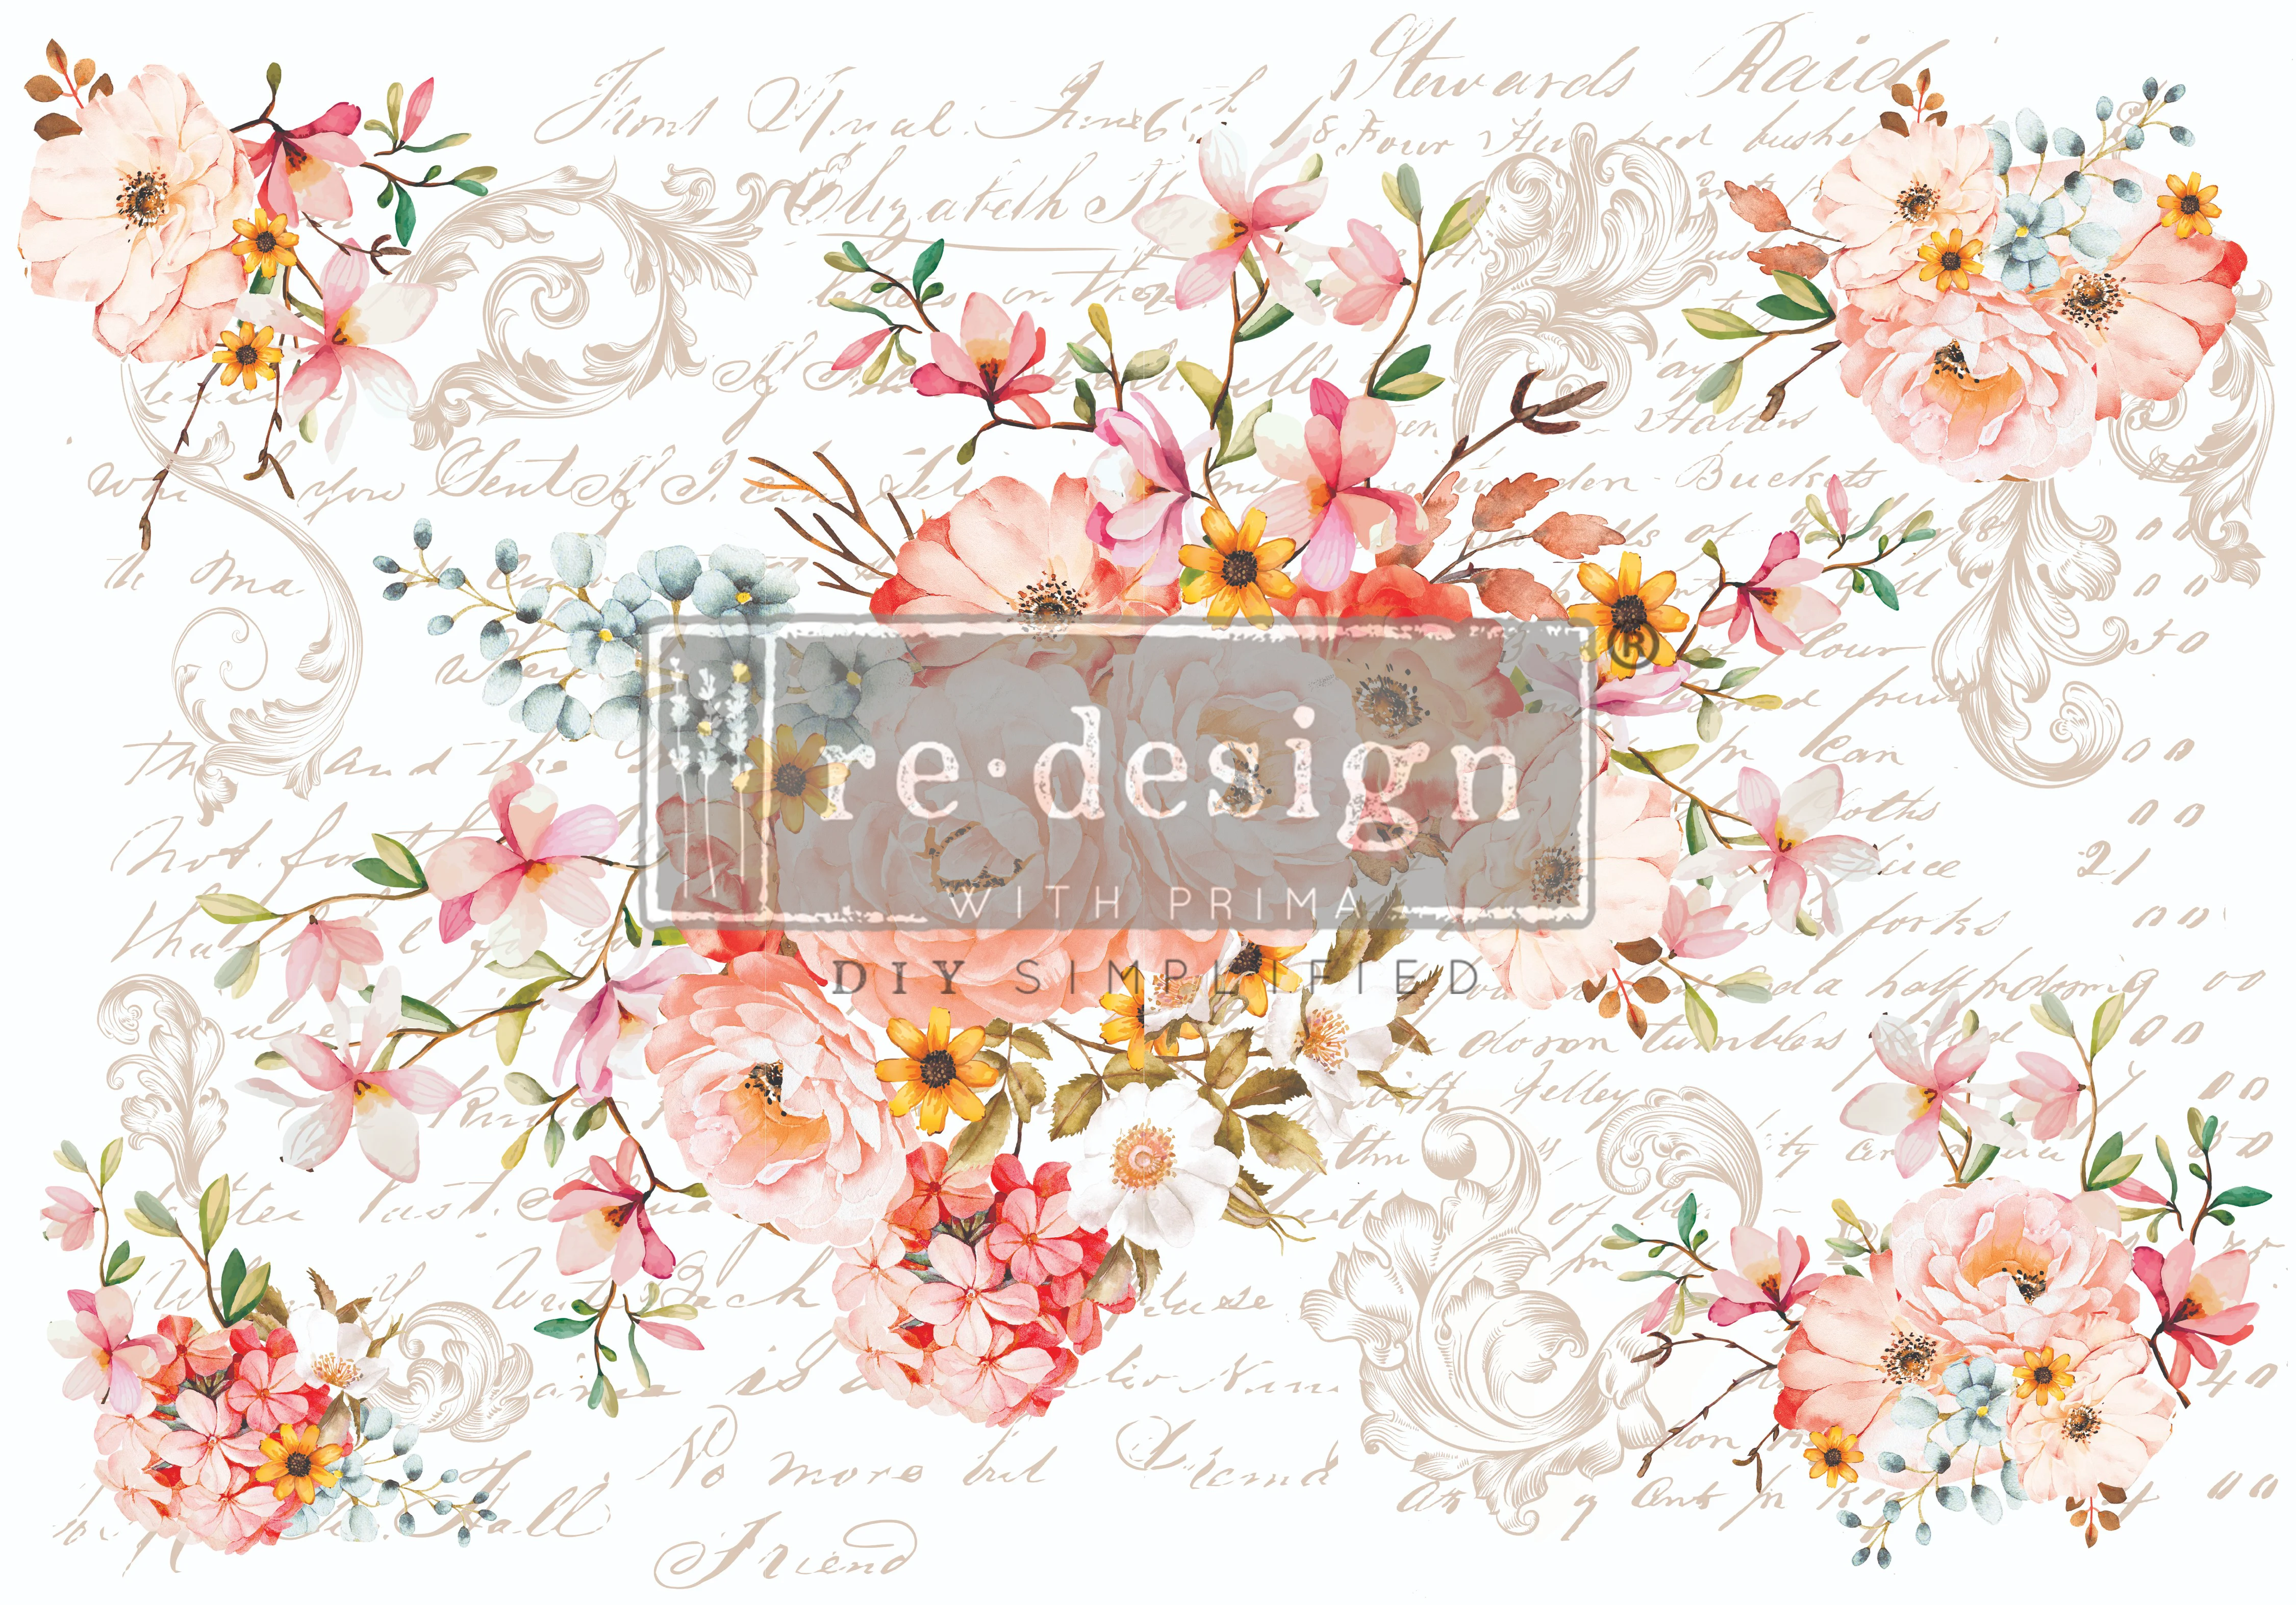
Isn’t it stunning? It’s called the Rose Celebration Transfer and it’s one of the larger ones available in the Prima line. It’s so large in fact, that I didn’t wind up using all of it on this piece!
That’s a tip for working with these transfers–you can cut off any parts you don’t want to use and save them for another project, which saves you $$! So you’ll see the excess pieces of this transfer on another piece soon 🙂
I had seen the transfer paired a lot with blue colors (which I knew I would love–see those hints of light blue flowers?), but I wanted to try a different color. I decided on Fusion’s Little Piggy, which is their very light pink (this color has been discontinued, but you can find another Fusion pink here).
To prep the piece I cleaned with Fusion’s TSP Cleaner (did I mention this piece was also super dirty?) and then lightly sanded the frame and drawers. I used my power sander to sand the top down to raw wood (wondering how to do that? Here’s a sanding tutorial!), then gave it a new coat of stain with Fusion’s Stain & Finishing Oil in Cappuccino.
Two coats of Little Piggy did the trick, and once the last coat of paint had been dry for about 12 hours, I applied the Rose Celebration Transfer.
Each transfer comes with a small applicator stick, which you use to rub the transfer onto your furniture (or wall, canvas, mirror, etc.). They may look intimidating, but I promise they are really very easy to apply! If you would like to see some video tutorials, check out the Redesign with Prima Facebook Group, there’s lots on there!
The last step is to seal your transfer, and my preference is a light coat of clear wax. I did lightly distress it with some 220 grit sandpaper as well, just to help hide any areas of imperfections.
After Photos!

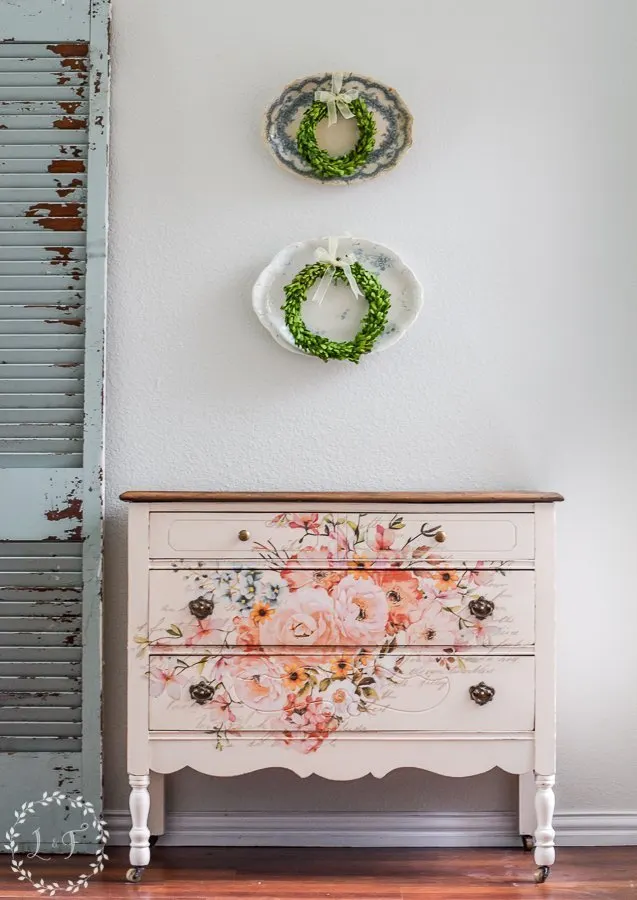
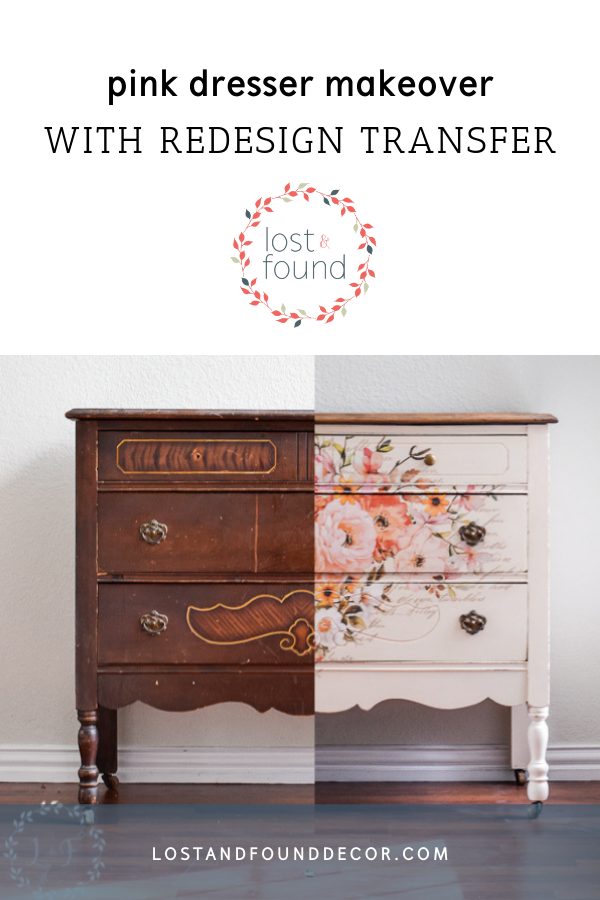
Can you believe the difference?!
![]()
![]()
When I took this piece down to my shop, the shop clerk asked if I had painted on the flowers–that’s how detailed these designs are! And the colors are so vivid, they are really stunning.


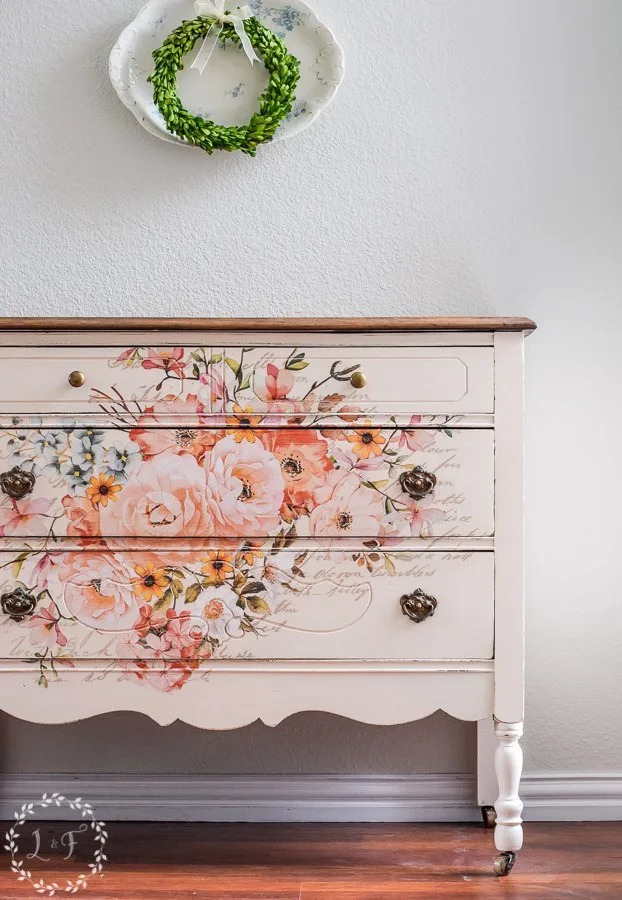
I like how the Rose Celebration transfer paired with the light pink. I still think it looks gorgeous over blues and greens (I saw a piece where it was paired with Fusion’s Brook and it was incredible!), and I may try that the next time I use it.
I have this transfer in stock now in my online shop, as well as many others (including some new Summer Release 2019 ones arriving soon). You can see all the transfer designs available here!. I hope you decide to give one a try! Watch out though, you may get hooked 😉
Pin this Resource!

Thanks for being with me today, and Happy Painting!


Furniture Makeovers Using Transfers - My Creative Days
Thursday 25th of April 2024
[…] Pink Floral […]
Jackie B
Friday 14th of June 2019
It is absolutely stunning!
Melanie
Monday 17th of June 2019
Thank you Jackie!
Jackie B
Friday 14th of June 2019
It is absolutely stunning!
Melanie
Monday 17th of June 2019
Thank you Jackie!
Jane
Friday 14th of June 2019
When you mentioned lightly distressing the imperfections with 220 grit...do you mean that you sanded areas of the transfer itself? Maybe areas where it bubbled up or didn't lie flat or something?
Melanie
Monday 17th of June 2019
Yes, all of it! I sanded the edges of the piece to distress the paint some, and did run sandpaper lightly over the whole transfer as well. It helps it look not quite so "new" and camouflages any of the small areas where it may have tore or not laid flat.