I spent so much time dreaming with you all about my dream kitchen in my last post that I ran out of room to tell you about my other big 2015 home renovation project–the upstairs boys’ bathroom.
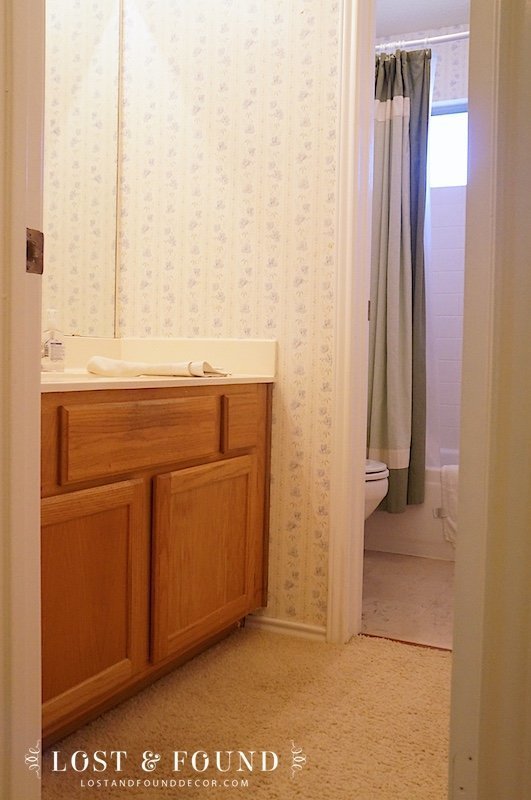

Isn’t is just lovely?
More honey-oak cabinets, as well as some fantastic early 90’s floral wallpaper . . . goodness!
There is also this random doorway that separates the shower from the vanity area.


It seems like a really wasted wall to me, and the door opening takes up just about all of the existing wall space in the shower area.
There is one, sad little towel rack above the toilet–too far away for any of my kids to reach on their own–and a hand-me-down shower curtain that never seems to close far enough.
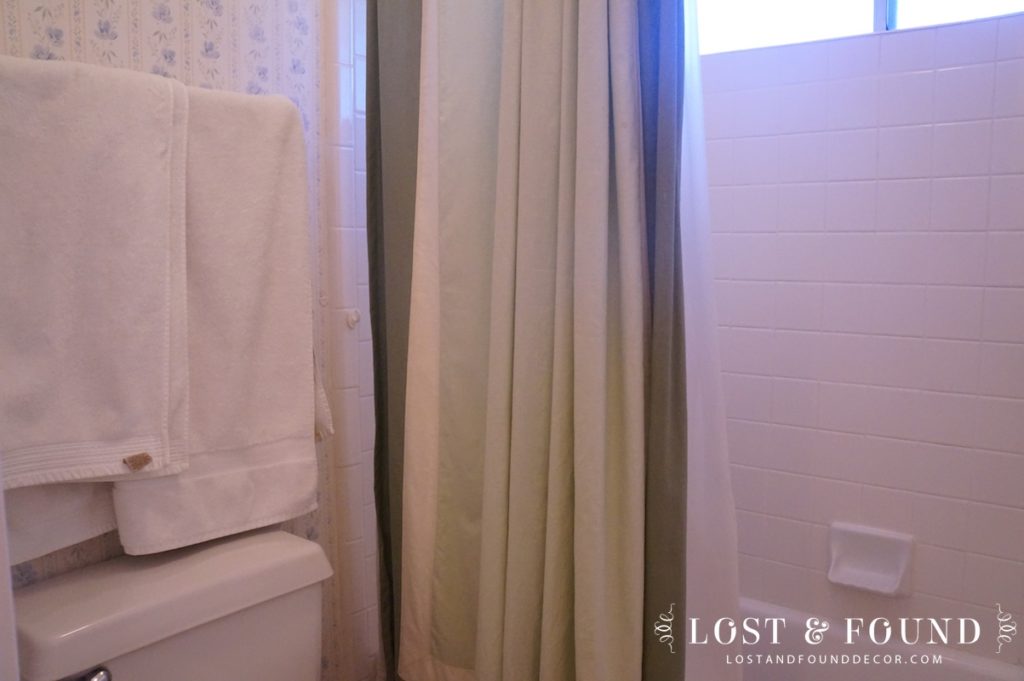
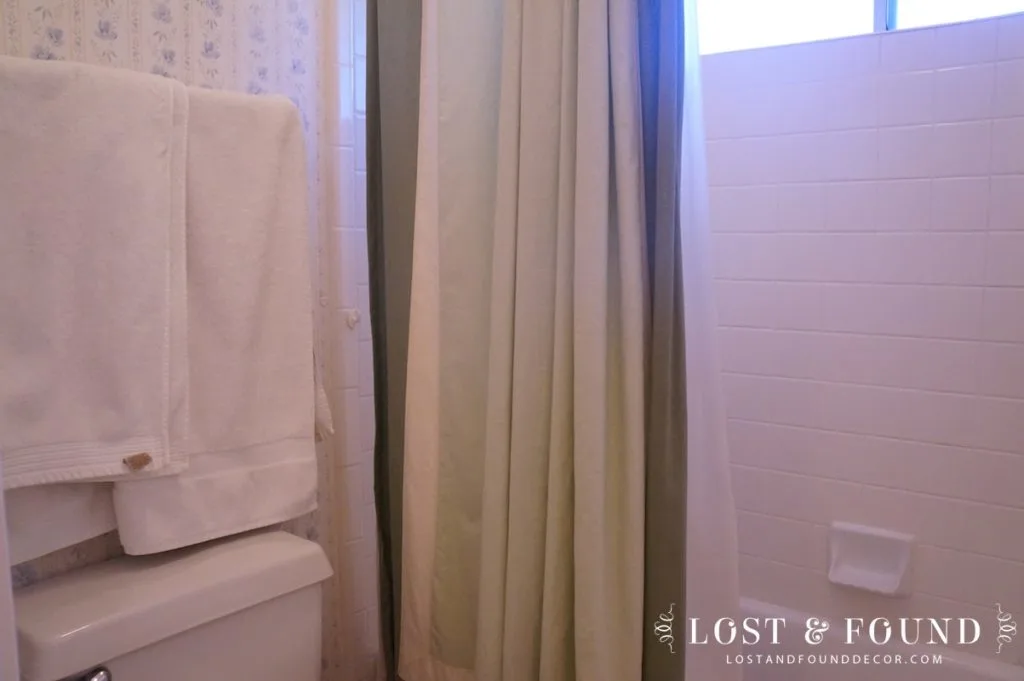
Not only is it ugly, but totally non-functional for three little boys.
My plan is to do some simple, low-cost projects to add a more mature style and ease-of-use for my kids. I want it to be sophisticated enough that it will grow along with them, and functional enough that they can take care of their basic bathroom and showering needs on their own.
Here is basic my inspiration photo:
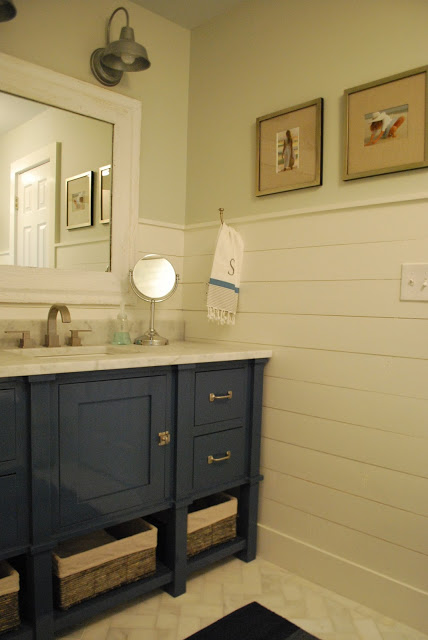

Lisa Gabrielson Design
The vanity goes a dark blue, the upper walls painted a light green, and some type of wainscoting is added to the wall base. It’s a color scheme that is mature, but still boy-friendly.
I would love to go whole-hog and take out the random doorway and wall, but that’s a little more DIY than what I’m capable of. So instead, my plan is to take the interior door off its hinges and store it up in our attic. Once the door is gone, I can towel hooks for each of my little guys, much like this inspiration photo from 36th Avenue:


36th Avenue
No more scaling the toilet to hang up towels (or more realistically just leaving them on the floor because they don’t want to scale the toilet)!
Two shower curtains (a functional one that goes inside the tub and a pretty one that stays outside) is too much detail for little boys to handle. I like the idea of hanging a stationary outer curtain at the ceiling, and leaving just the plastic curtain to slide back and forth on the rod.
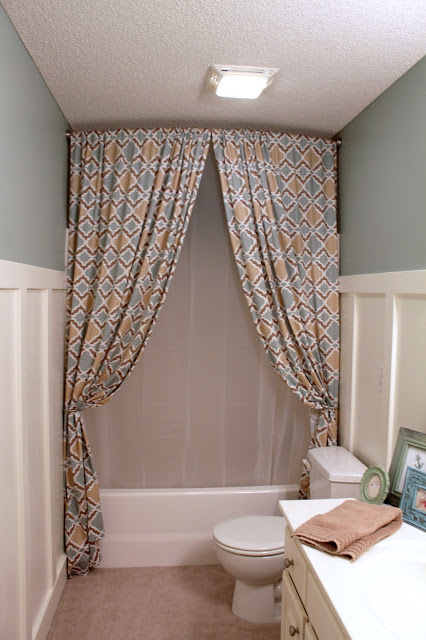
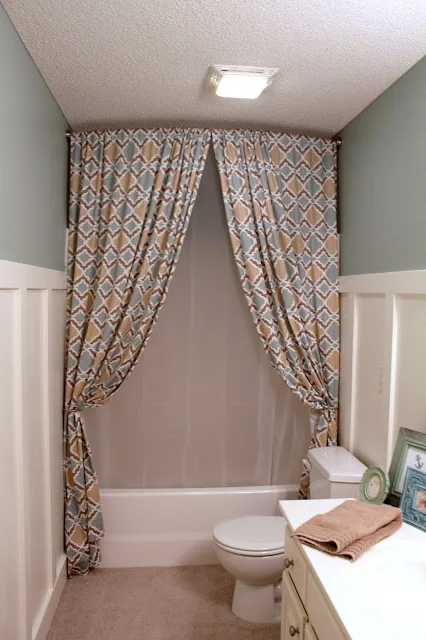
Suburban Spunk
Maybe with just one shower curtain to deal with my kiddos can finally remember to pull it all the way shut so as to avoid flooding the bathroom every time they take a shower.
I really can’t sew worth a lick, but I think with help from a few friends I can manage sewing one or two long curtain panels.
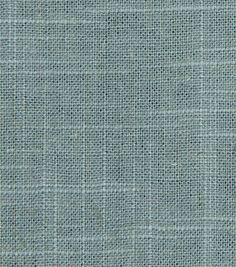
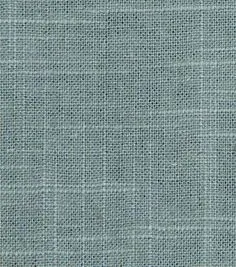
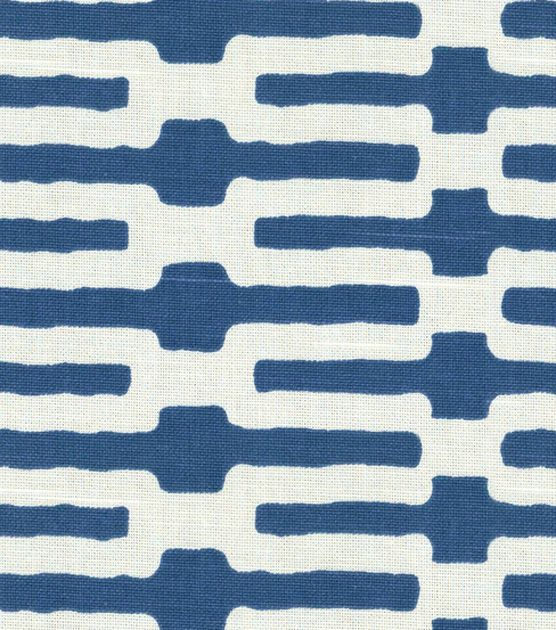
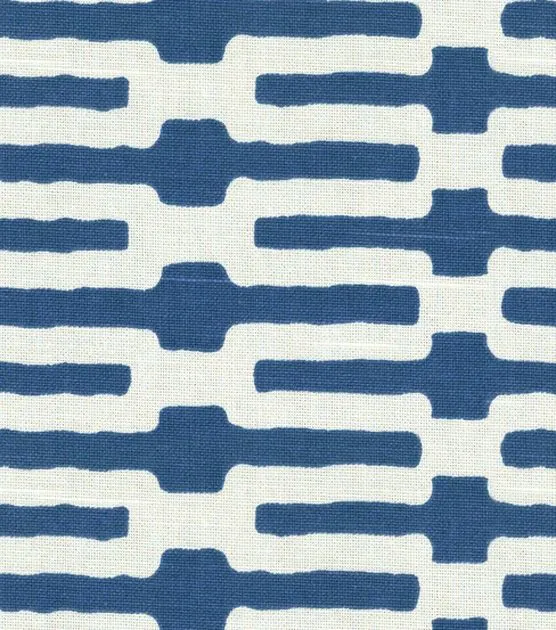
Maybe just a simple textured linen,
or maybe something with a little more flair.
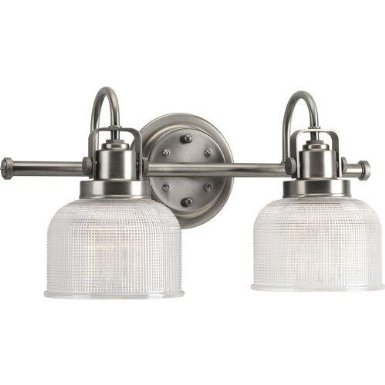
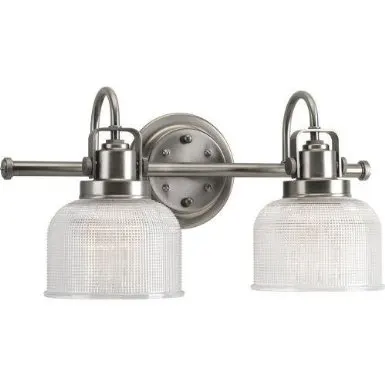
I can make do with the current vanity top, sink, and faucet hardware. The only other main expenditure will be replacing the strip lighting with a more upscale fixture.
What do you think?
Step one of course is getting that old floral wallpaper off, and unfortunately I’ve tried to start working on a piece of it and it’s giving me plenty of trouble. Maybe I will enlist the boys’ help and we can make a weekend project of it 🙂
Well, there you have it. I’m sure other little DIY jobs will pop up here and there over the course of the year, but renovating the kitchen and this bathroom are my main two goals for 2015.
Now I just need to find the time to work on them and money to buy what I need . . . Hmm, it may be awhile 🙂


Linking up to: Project Inspired
Diane | An Extraordinary Day
Tuesday 13th of January 2015
Do you follow Melissa from the Inspired Room? She re-did her son's bath a year or so ago and it's still memorable to me. I think it goes along the lines of what you shared. It's very nice. I know right now it might seem silly to have that separating wall in the bath... but private toilet time is pretty nice when there are others that need to brush their teeth and as they get older fuss with their hair. BTW... I bought a product at Lowe's that was called something like "shark" and it was for removing wallpaper... it was super helpful and not costly. I "professionally" had a wall paper removal project a few years back that was so awful I ordered special solvent from CA and it really wasn't much better than the "shark" from Lowe's. Patience is the biggest key to removing wall paper. I'm guessing yours is coated as it's in the bath, so you should be able to rip of the top surface and then using warm water (and the "shark" - wish I could remember the real name... maybe it had blue in the name) and slowly scrape it off with your putty knife and or a scrubber. Be careful to not get your wall nicked and especially not pull of the dry wall paper. And yes... I've done it all. Patching is no fun when you want to get the job done. ;)
All the best Melanie for a quick and easy makeover!!
Thanks for sharing with us a Project Inspire{d}!
Melanie
Tuesday 20th of January 2015
Thanks Diane for the tips. I don't follow Melissa, but I will go check out her makeover. In our first home my husband and I took off a TON of wallpaper, and it was a beast! In this house though, it has just peeled off it full sheets so far, except for in this bathroom! I will look at Lowes for the "shark" tool you mentioned . . . Or maybe I'll let my boys work on it and offer to pay them $5. They're still pretty cheap labor these days :)
Betsy
Sunday 11th of January 2015
Don't worry about your sewing skills - I sew and I hem with a fusible web tape (I think it is called stitch witchery, you'll have to go to a sewing store to check) - just fold over and hem - easy peasy - your inspiration pictures are beautiful! Best wishes!
Melanie
Tuesday 20th of January 2015
Yes! I have used stich witch before, but I had forgotten about it. Thanks for the reminder :)
Susie
Sunday 11th of January 2015
Melanie, Your ideas are wonderful! Love them. Love your blog! I'm a faithful follower. I have one son and have just completed his bath redo. I would so love to share some pics with you....mainly because I did not strip one inch of wallpaper....and it turned out great. I'm a brand, brand new blogger....since Jan 1...so I'm still developing my site, but I posted the faux midnight ceiling in his bedroom yesterday. There will be more on the bed and bath redo coming nearly every day. There's a Melanie inspired chair, headboard, and desk redo in the reveal. Yes! There surely is. I don't know what I would have done wihtout your inspiration. I'd be so honored for you to take a look. Facebook: The Chelsea Project Thanks so much, Suz
Melanie
Sunday 11th of January 2015
Wow Suz, I think you left the best comment I have ever read :) Thank you so much for your kind words! I would love to check out your site and see your wonderful projects. Please let me know when it is live!