I have a quick and easy craft to share with you today.
It’s one that you can use to add a little Fall flair to your space . . .

I have confessed to you before that I don’t consider myself particularly crafty; it’s just not my strength!
But from time to time I do like to make small things for my home, and I’ve found that paper banners are one of the easiest crafts around.
With a little computer work, card stock, glitter, and ribbon you can create a personalized, super-cute banner to hang in your home. I think paper banners add a little whimsy to your space–they kind of make me feel like I’m a kid again 🙂
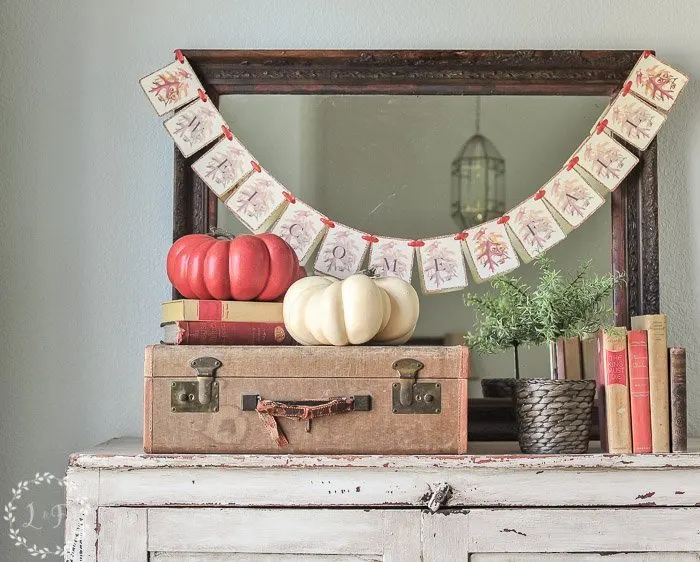
So today I’ve put together for you, using a free-use fall leaf graphic I found online, a “Welcome Fall” banner.
I’ve already done the hard work (but really, it’s not that hard) of creating the cards for you, so all you have to do is print them off and assemble!
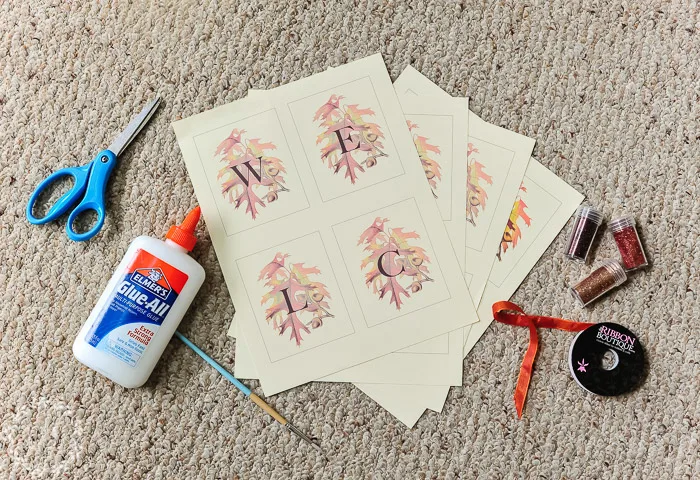
Step 1: Gather Your Supplies.

This post contains links to affiliate sites outside of LostandFoundDecor.com. Links are provided for your benefit and comply with all affiliate program rules and regulations.
- Medium-weight card stock to print off the cards (I like to use cream because I feel like white is a little too bold, but use whichever color is your preference)
- Glue
- Glitter (I’m not a glitter snob, but I have learned that cheap glitter looks, well . . . cheap! Splurge and get yourself some nicer, fine glitter)
- A small artist paint brush
- Scissors
- Thin ribbon, in any coordinating color of your choice
Step 2: Print & Cut
Once you’ve downloaded the 4 sheets, print each off on your card stock using a high-quality setting on your printer.
You can see in the picture that I’ve outlined each letter card for you, so cut along those lines. I like to curve my corners, but that’s up to you.
Step 3: Apply a Strip of Glue for the Glitter
Once all your letter cards and leaf cards are cut out, take your small brush and apply a thin strip of glue around the edge of each card.
QUICK TIP: I have found it helps to add a few drops of water to your glue to make it easier to apply with the brush.
Don’t be stingy with the glue–too little and your glitter won’t stick, and it’s difficult to go back and add more glue on places you have already glittered.
Step 3: Add Some Glitter
Once your glue is painted on the edges of the card, dust on the glitter and shake off the excess.
This will create an outline of glitter on each of your cards.

Step 4: Dry Them & String Them
Set the cards aside to dry for a bit.
Then punch a hole with a hole puncher into the top left and right corner of each one.
String your ribbon through each card–always going onto the card from the front–starting with one of the full-color, blank leaf cards.
I included 3 of these cards in the printable, so you can place one at the start of the banner, one in between the words “Welcome” and “Fall,” and one a the end.
That’s it! Super easy 🙂
I’m sorry I don’t have any detailed pictures of the cutting and glittering process, but it’s pretty hard to do both of those things and hold a camera at the same time!
Plus, y’all are smart and I knew you would do fine without step-by-step photos.
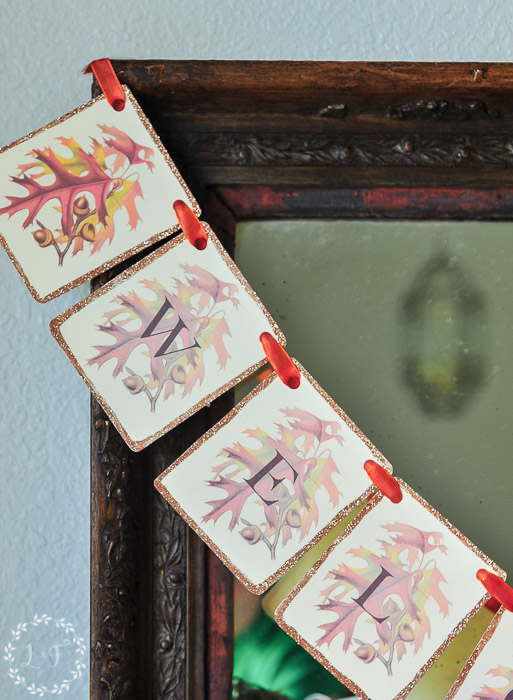
Step 5: Hang & Enjoy!
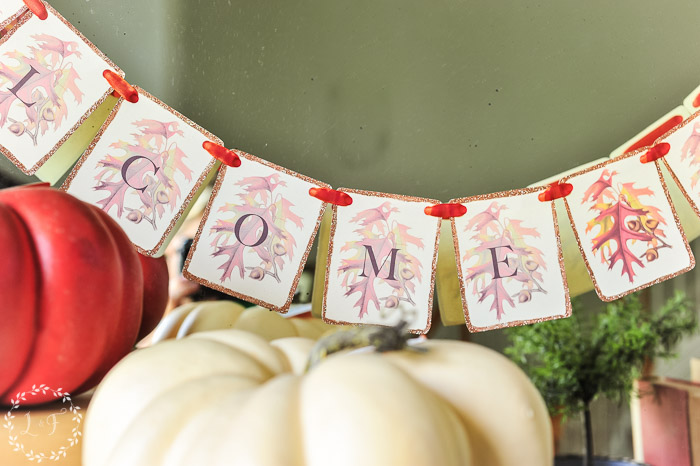
Personally, I think the glitter is the magic touch 🙂
I like the extra little sparkle it adds.


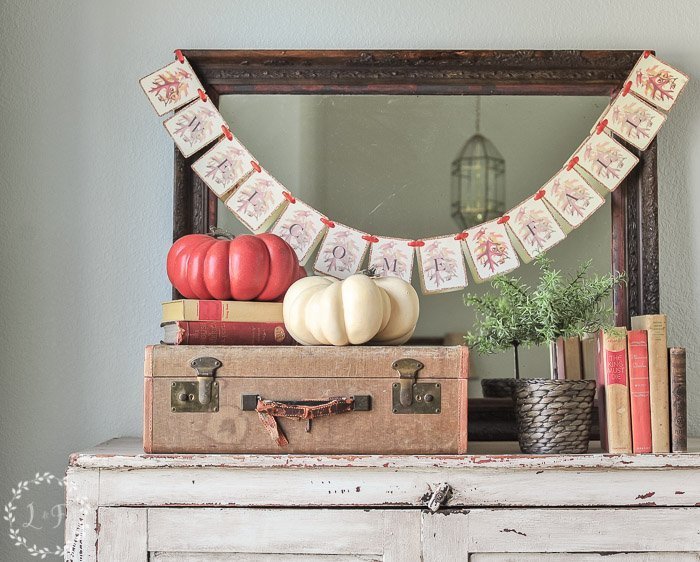
I had fun putting this together for you and staging a quick fall scene on my antique cabinet. I am a cool-color gal, but this time of year I do love all the warm-tones of Fall.
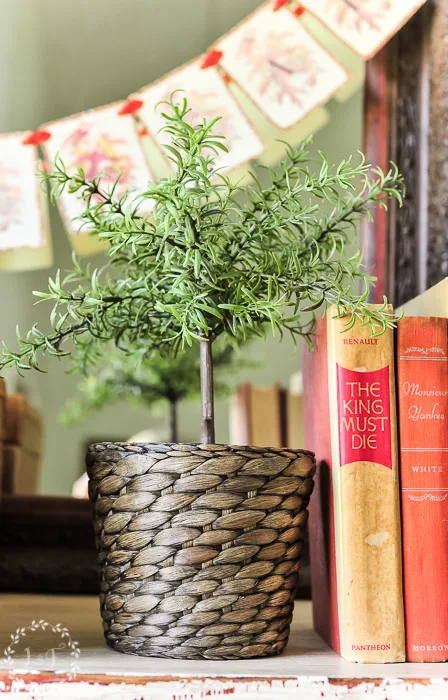
Although now that I’m looking at it, the title of that one book (why must the king die?!) kinda takes away from the sereneness of the setting . . . Oh well!
If you would like to make your own “Welcome Fall” banner, you can download the 4 pages here:
And if you make one, send me a picture of it hanging up!
I would love to see how you personalize it and use it in your own space.


Home Imagined Link Party #30 - The Antiqued Journey
Tuesday 31st of October 2023
[…] 5 Step Fall Banner The Best Way to Hang Christmas […]
Anna
Monday 30th of October 2023
Oh my goodness - I love anything with a bit of sparkle and glitter. This banner is perfect and looks so easy to make! Of course, I am ALSO looking at the antique cabinet you staged them with.
Melanie Alexander
Tuesday 31st of October 2023
Haha, thanks Anna. That cabinet was my FIRST every antique purchase! I had a huge garage sale at my house and took every penny I made to go buy it.
MaryJo Materazo
Sunday 29th of October 2023
I'm a crafter & I totally love this Melanie. And yes the glitter totally steps it up a notch. I also love the ribbon. Pinning! XO- MaryJo
Rachel
Tuesday 13th of September 2016
So pretty! pinning. I need some fall styling ideas.
Melanie
Tuesday 13th of September 2016
Awesome, thanks!
Rachel
Tuesday 13th of September 2016
So pretty! pinning. I need some fall styling ideas.
Melanie
Tuesday 13th of September 2016
Awesome, thanks!