I have written before about how I love to decorate with old books. Sometimes I love the distressed hues of the covers, but other times the books are in really bad shape, or the covers are not very attractive. In those cases, I rip off the covers and binding and make these great book bundles.  I first saw these unbound book stacks in a Ballard Designs catalog, and then I saw some stacked in a basket in a Pottery Barn catalog. Ballard Designs actually used to sell them, but for an astronomical price. I have learned to make them though for pennies, and I think mine actually look better than the catalog ones anyway 🙂 So here is a quick how-to guide making your own pottery barn style unbound book bundle.
1. Gather Your Book Bundle Materials
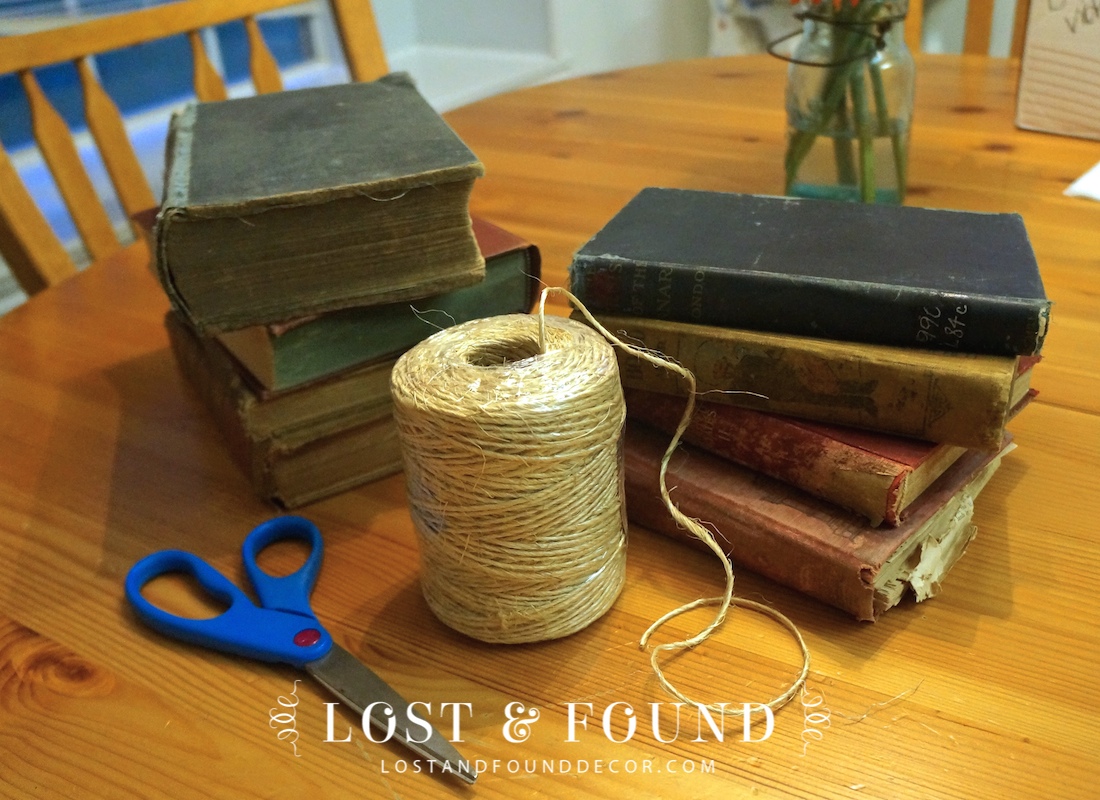 You need at least two old books to make a bundle, plus some sort of twine and scissors.
2. Remove the Book Covers
Next, begin removing the covers and binding from your books. Some come off easily, and others not so easy. But really the more ripped and shabby the spines get, the better. 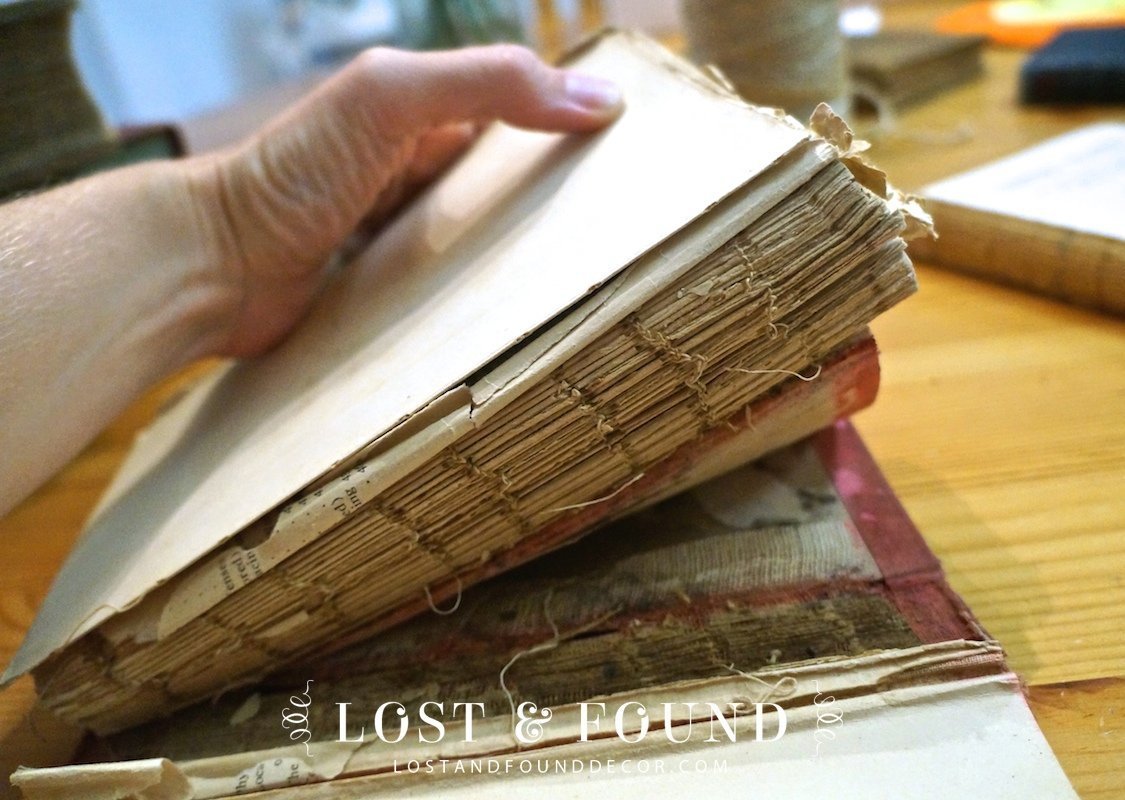 Sometimes the glue on the spine is still pretty strong, and you wind up with this:
 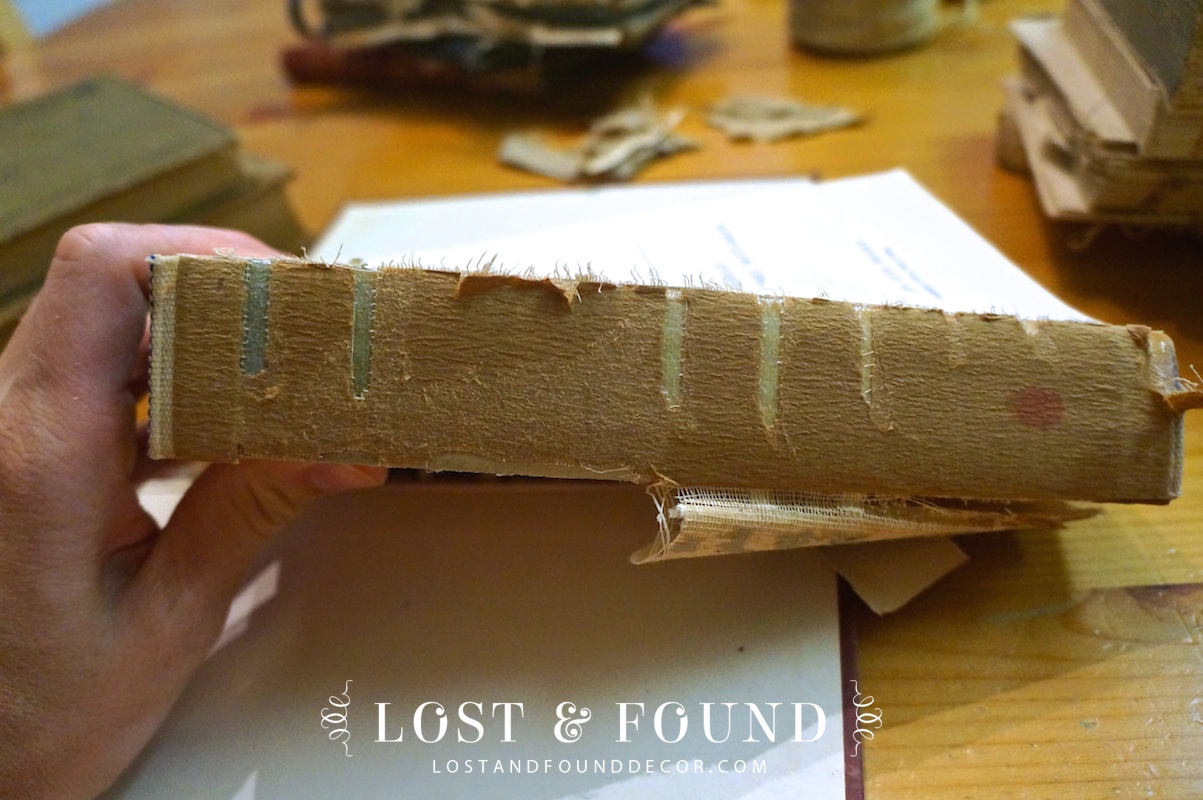 That does not make for a pretty bundle, so keep working on pulling off as much of that glue as you can. Now, a quick note for those book lovers out there who are cringing at the idea of me ripping apart books . . . Always give your old books a good once over and make sure you don’t have any valuables in there. I usually look for old textbooks, because those typically are of no value and I can rip them up with a clear conscience. Keep an eye out for authors though that sound familiar to you. In this stack of books I got for $5 at a garage sale, there was one book caught my eye:
 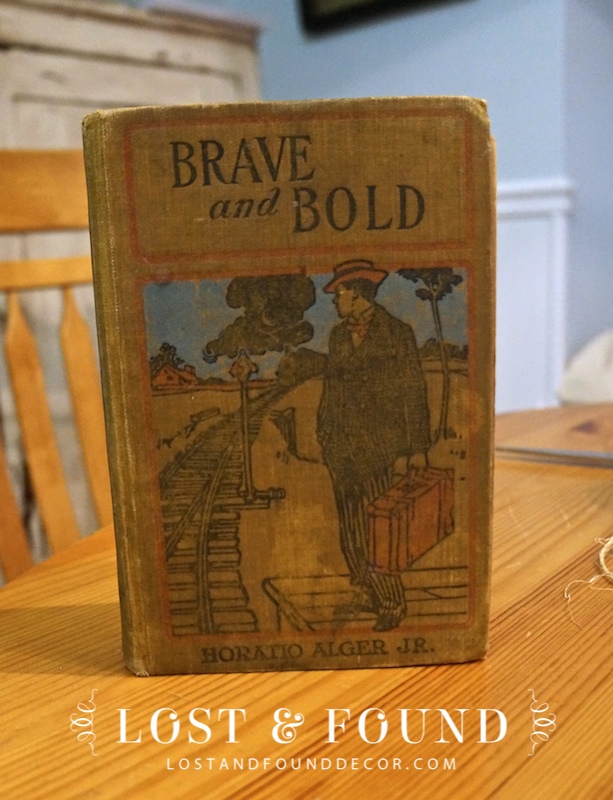 I looked it up online and turns out it’s a great vintage copy of a popular author and could be collectible. So, that one stays intact.
3. Separate You Books Into 1-inch Sections
After you have ripped the covers off all of your books, start separating each book into about 1-inch sections. 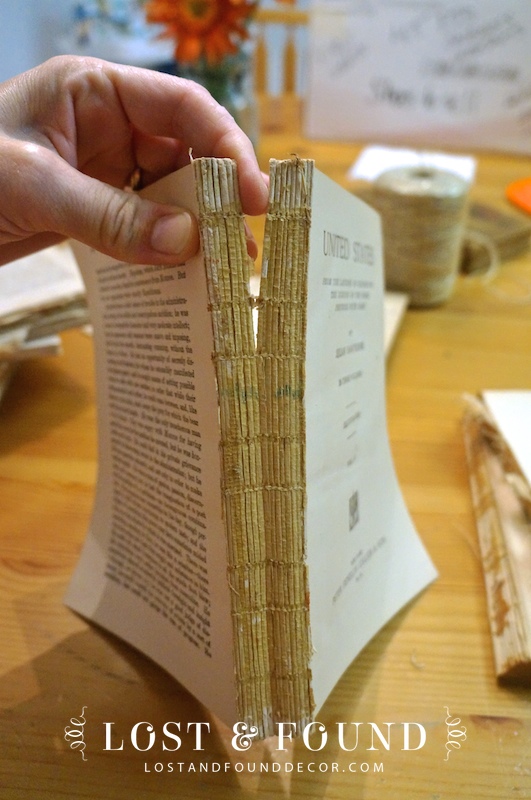
4. Stack Your Sections
Once you have a bunch of these sections, start stacking. I look for sections that are similar in width and stack them alternating with spine and page edge facing out. 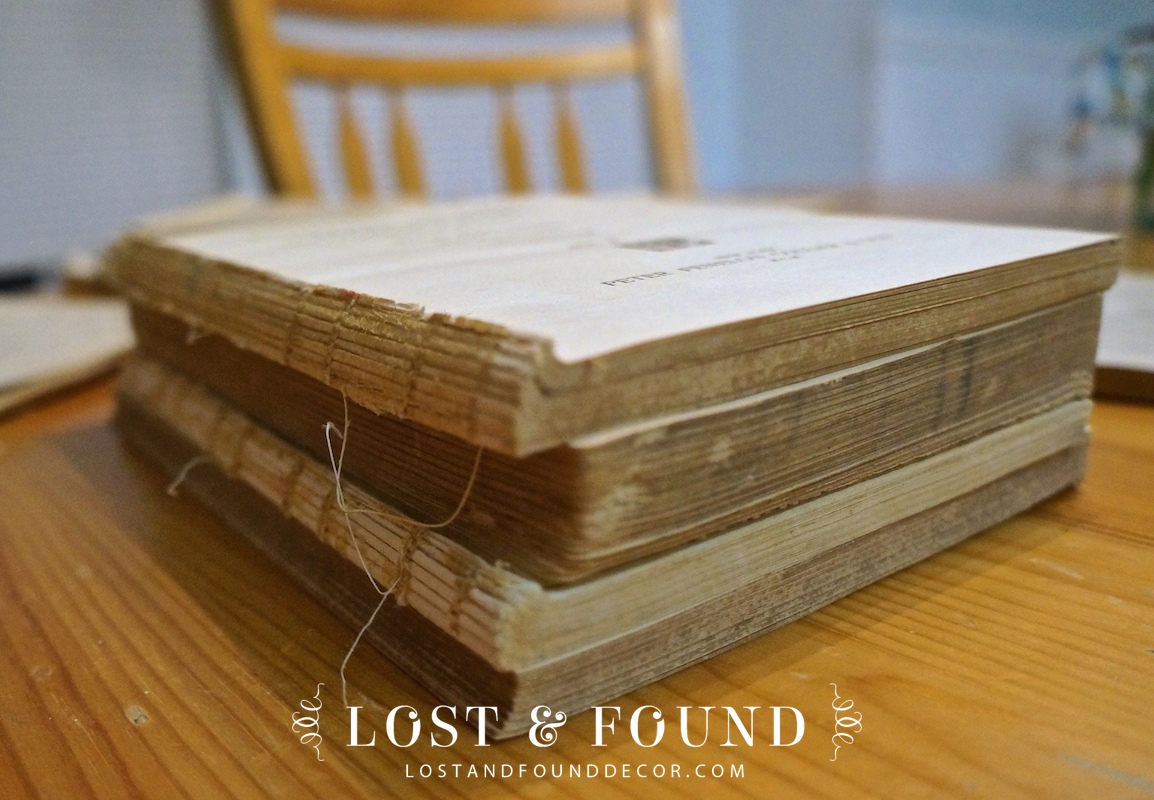 I also try to reserve for the top of the bundle one section that is a title page, or has something particularly interesting on it, like this inside cover that a young lady doodled on back in her day. It adds more visual interest to your bundle.
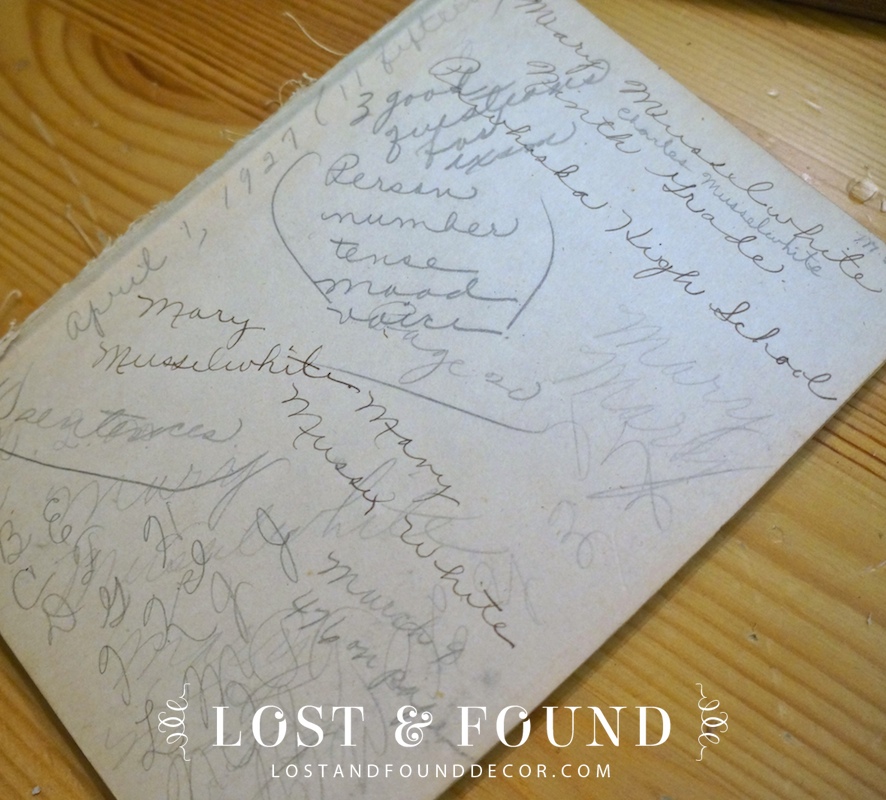
5. Tie Your Book Stack with Twine
Once your books are stacked 4-5 sections high, tie them up with the twine of your choosing. I double wrap the twine around mine, again, just to add more visual interest. 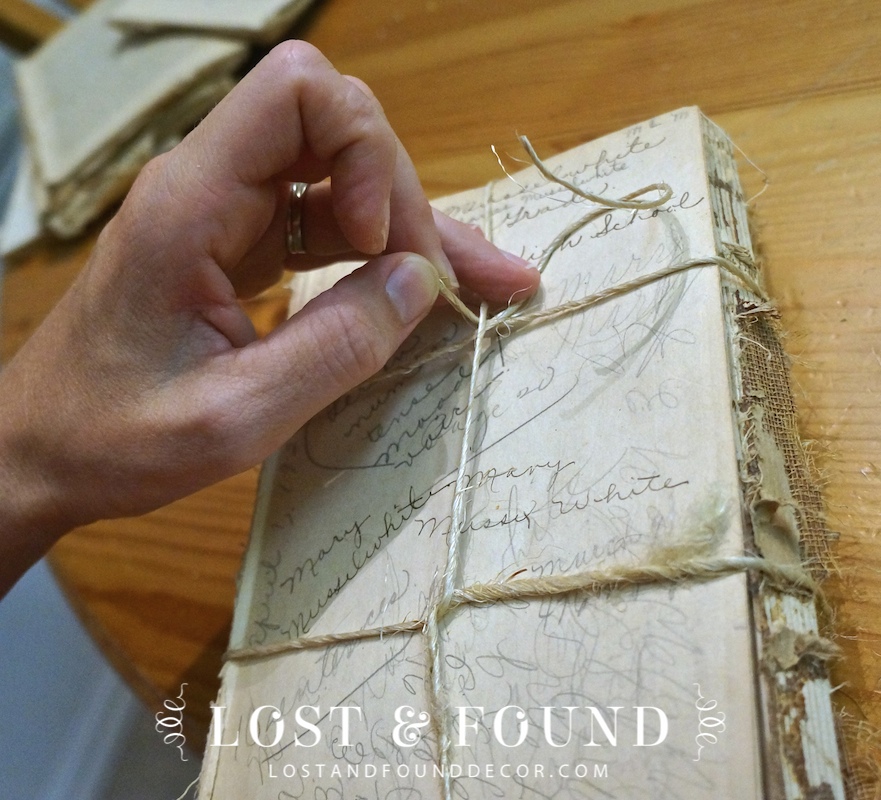 And you’re done! Here is my finished stack–4 book bundles from the stack of 8 books I started with (minus the collectible one!)
 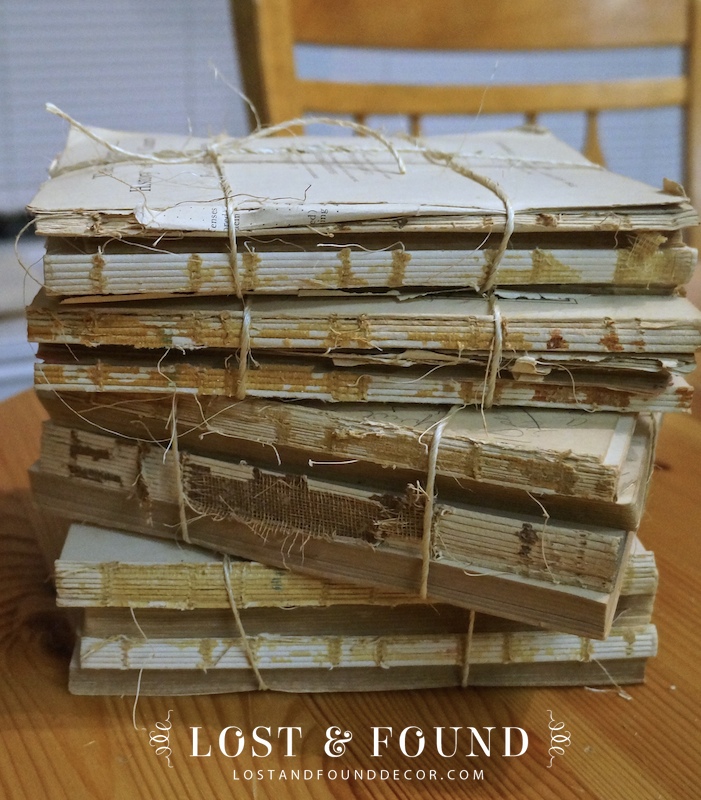 I love the spots of glue and strings all sticking out–they add great texture to each bundle. Use them to decorate on bookshelves, table tops, or group a whole bunch in a basket by your fireplace.
 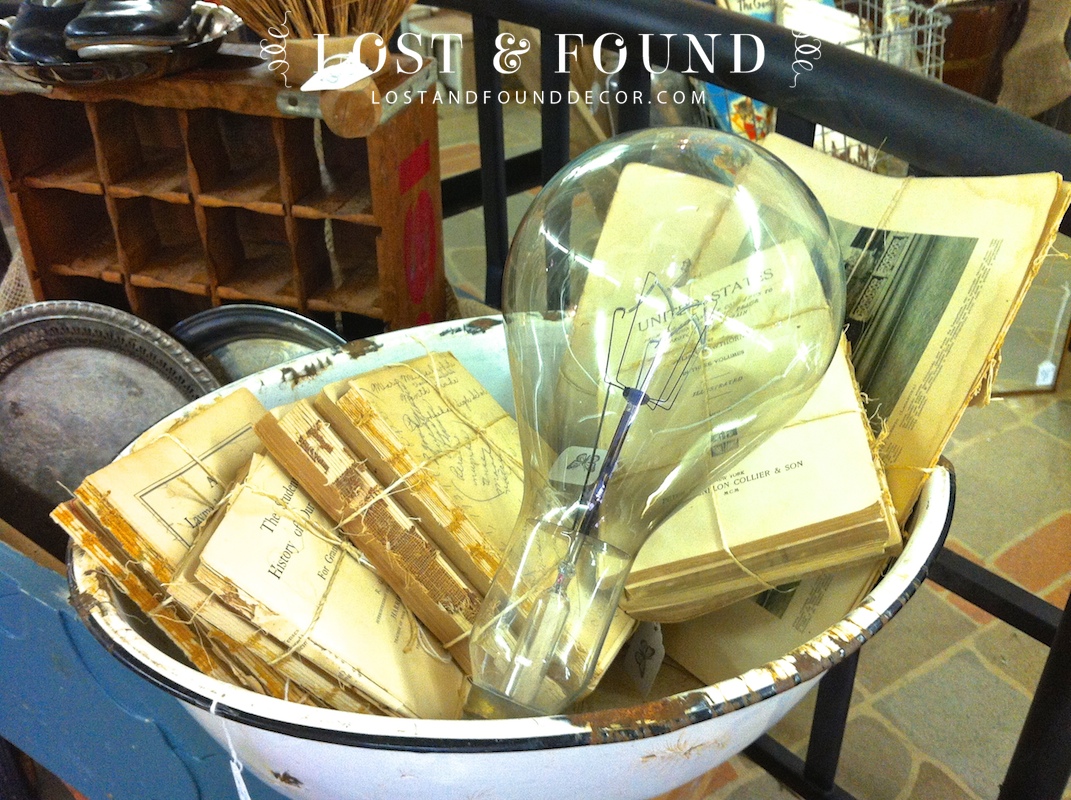 Here they are piled in an enamel basin in my shop (along with a GIANT lightbulb!). They all sold within a week! Time to find more old books. Try making some for yourself!
Estate Sale Shopping 101 | lose the ordinary. find the unique.
Sunday 26th of January 2014
[…] sales are great places to buy old books (read about how I use old books in my decor here and here), vintage ephemera, family photos, sheet music, picture frames, and old garden supplies […]