Last week I introduced to you the new line of colors from Fusion Mineral Paint, called the Tones for Tots Collection. Today, I have my first makeover using a TFT color to share.
I found this old dresser stuck in a back corner at a local antique mall. It was literally on its way to the dumpster.

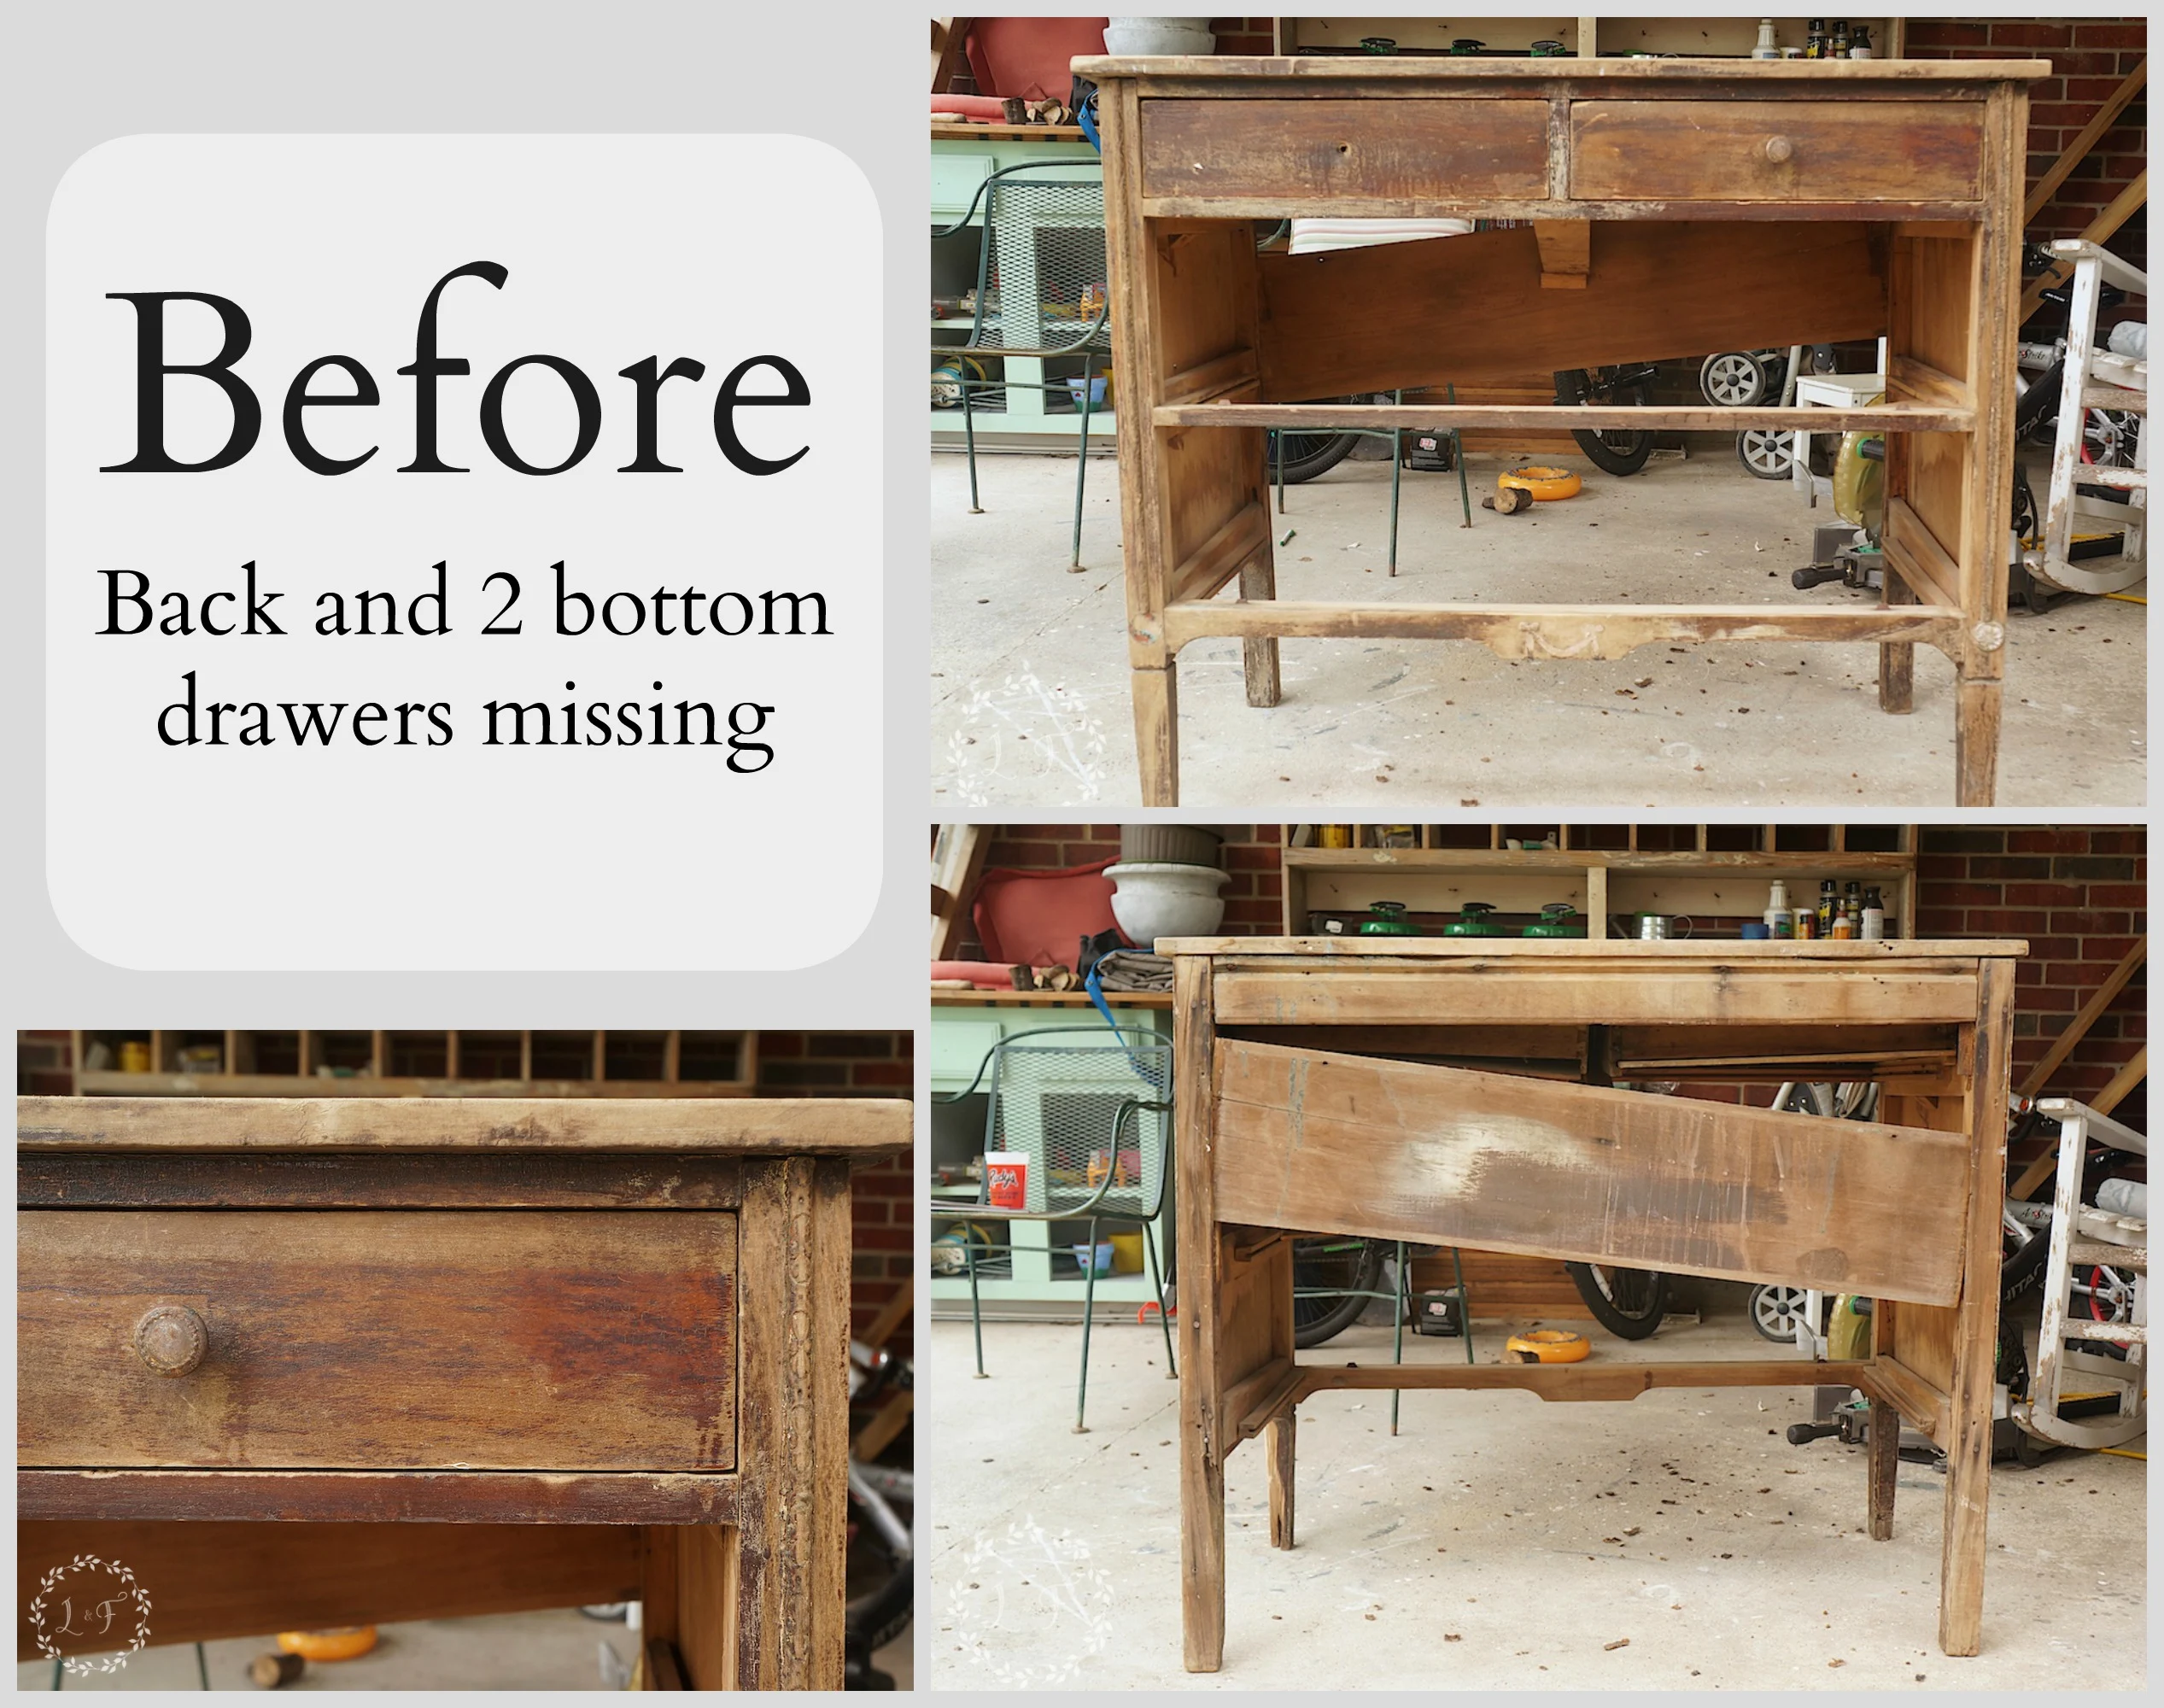
At some point, it had been a great little piece. Even though it had obviously seen better days, it wasn’t time to give up hope yet!
That’s what is so great about working with these old, solid-wood pieces–even when they look as beaten up as this one does, they are still structurally sound enough to salvage and bring back to life.
The first step was to add a new back panel to provide extra stability, which we did with some plywood we had laying around.
I don’t have the skill yet to build brand new drawers, so my solution for the 2 open drawer spaces was to turn them into shelves.
The drawer runners were still on each side of the interior dresser wall, and they ended up being the perfect supports for new shelves.
Heading back to our leftover cedar fence picket pile (I swear, this is like the 6th project where I have used some of these leftover pickets!), I sanded down 6 4ft cedar boards and slid them into place to make 2 new shelves–3 boards on top, 3 boards on bottom.
Some wood glue and tack nails secured each board to the old drawer slides and–Voila!! We had shelves!
The rest of the dresser got a good sanding as well, mainly because the old finish was chipping off in so many places. Once the piece was all fixed up, it was time to give it the paint treatment!
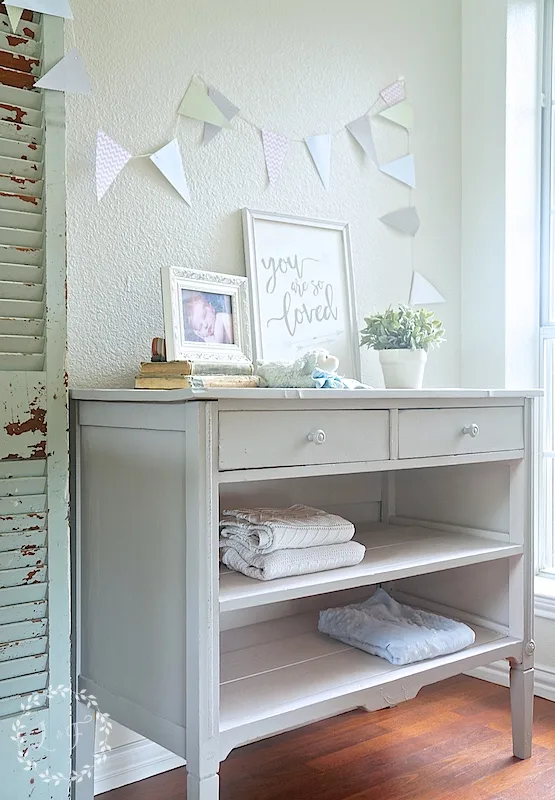
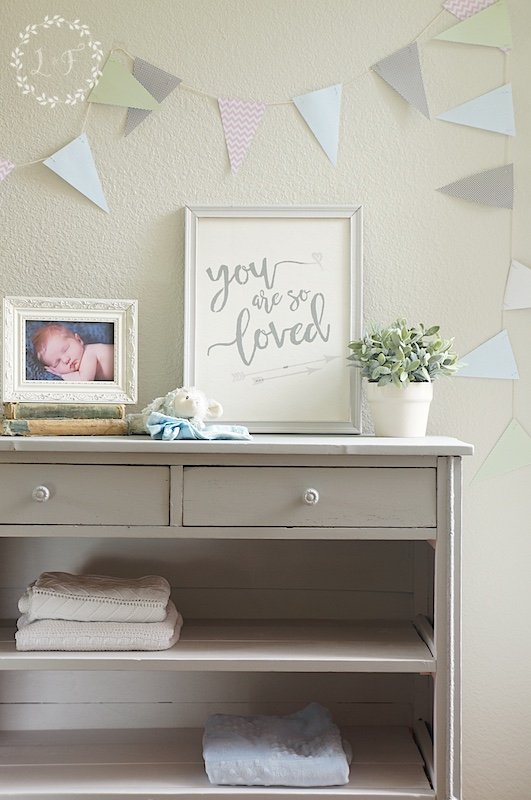
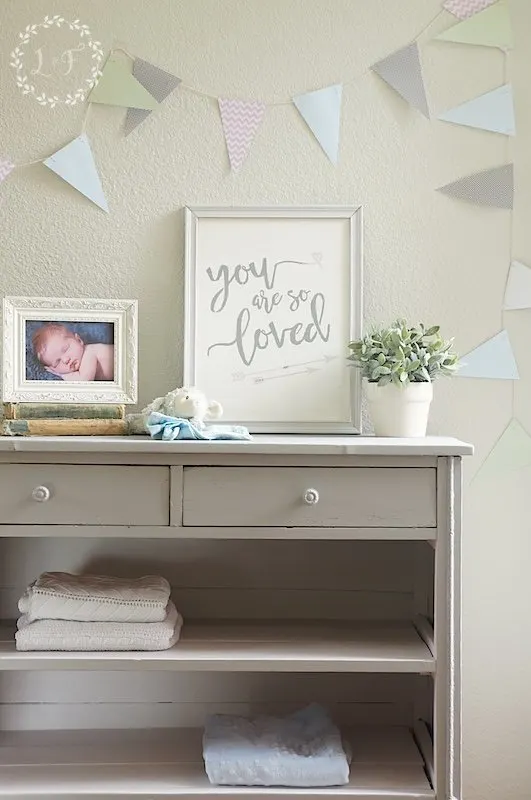
For the outside body of the dresser I chose the color Little Lamb from the Tones for Tots Collection. It’s a soft gray and coordinates well with every other color in the collection.
I wanted to lighten up the interior shelves, so for that space I went with Little Stork–a very pale lavender.
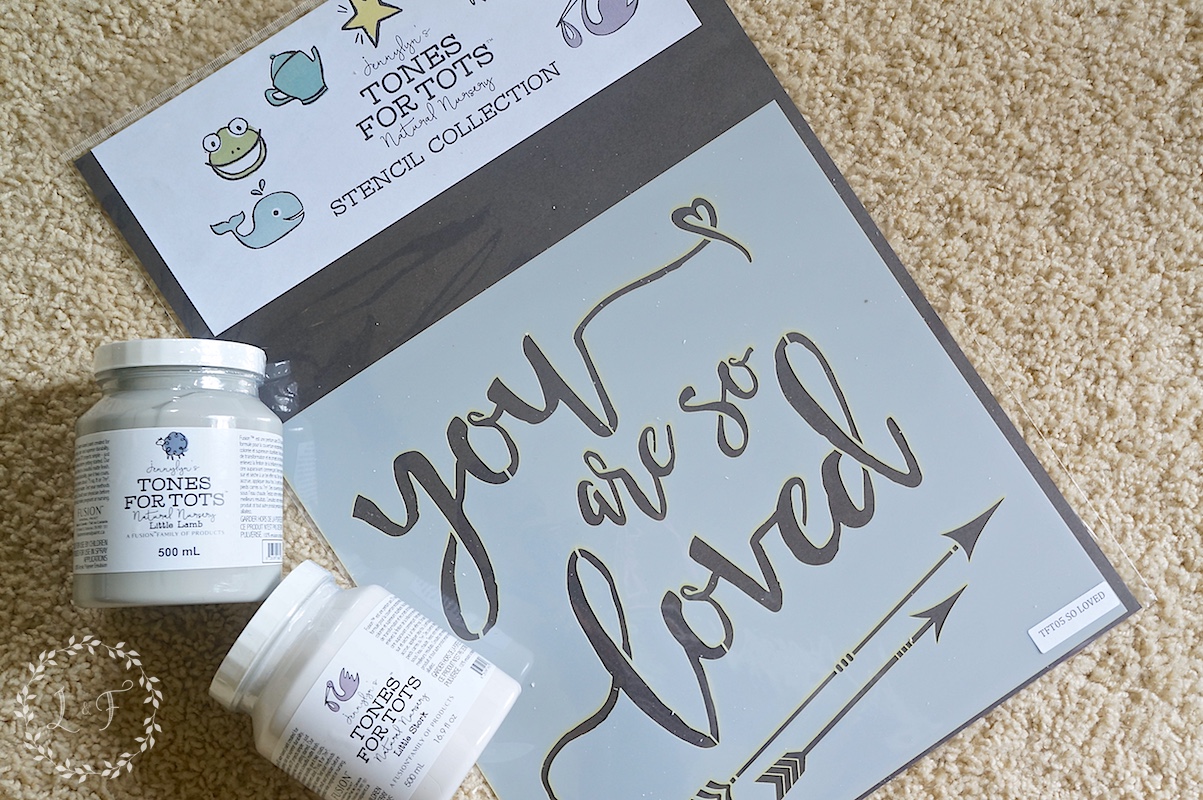
The Tones for Tots Collection also features some adorable stencils, so with the leftover paint and some thrift store artwork I had in my garage I decided to make a matching framed stencil.
2 coats Little Lamb and 2 coats Little Stork, then a light sanding with 220 grit sandpaper to smooth every thing out and slightly distress the gray, and it was ready!

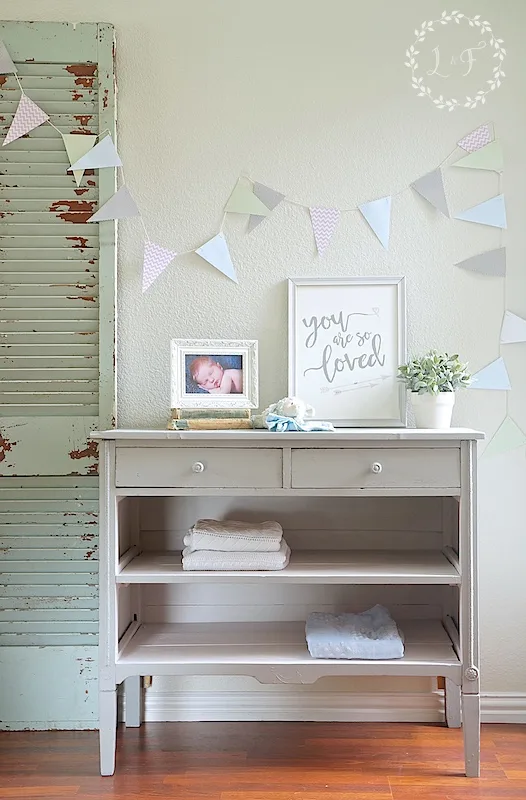
Wouldn’t this piece now make a perfect changing table?
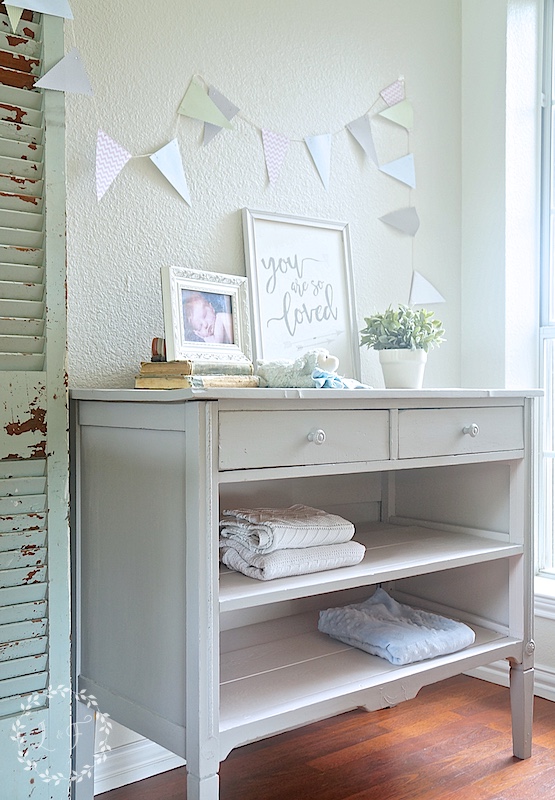
I really like the combination of the Little Lamb and Little Stork. They play off each other well and the purple of Little Stork is so subtle.
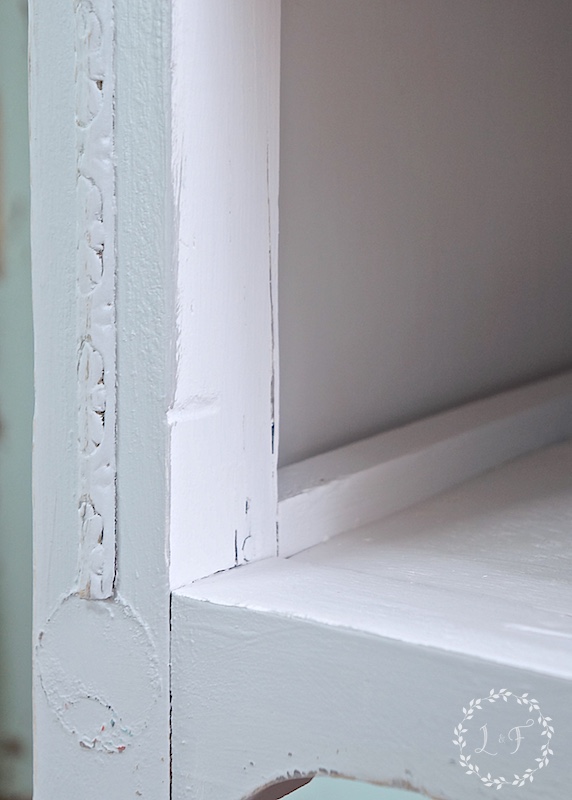
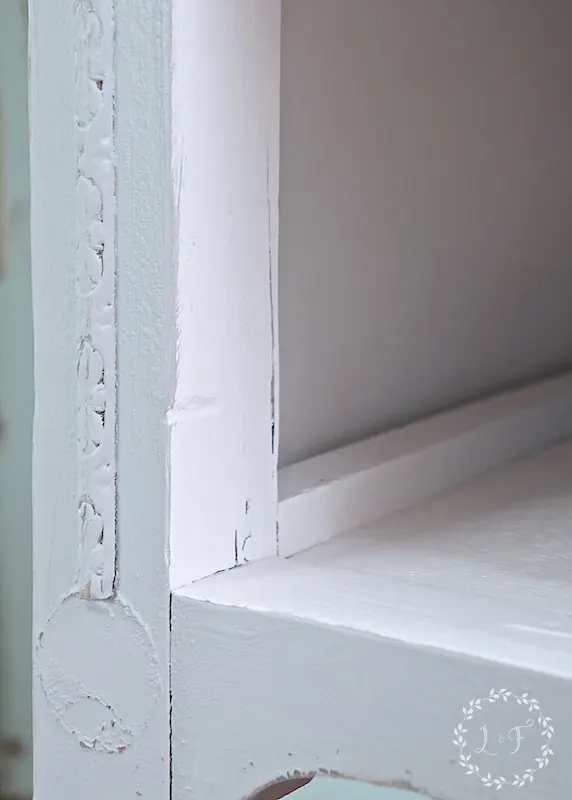
I left the places where the trim had fallen off rough–I liked how it added some age and character.
The stencil is the cutest accent too! I painted the frame in Little Stork and then flipped over the original art, which was mounted to cardboard and rolled on 2 coats of white ceiling paint I had on hand.
Then I stenciled the words in Little Lamb with the decorative accents in Little Stork. I love it!


Since this was a baby-themed photo shoot, I couldn’t resist tossing in my favorite baby photo 🙂 This is my youngest, who is now a big 4-year old.


Everybody say “Awwwww!!”
So what do you think of these new colors? I am a fan 🙂
I have another piece in progress that I’m painting in Little Whale, so stay tuned for another TFT makeover soon!
And if you are interested in these colors, I do have them in stock and now for sale in my online store. You can click here to check them out.
Thanks!!


Leanna Rene'e
Thursday 20th of October 2016
Hi! I just discovered your wonderful blog after googling, "how to paint furniture with chalk paint" :p I just purchased a set of very scratched-up (and very cheap) end tables. I intend to try my hand at refinishing furniture and I am officially sold on the Fusion Mineral paint! Sounds easier to use than chalk paint. But anyways, I will definitely have to sand my end tables down to buff out the deep scratches. They also have a dark cherry varnish on them and I would like to use the Fusion Mineral color Algonquin over it. Is this too drastic of a color change? Will I have to remove the cherry stain with mineral spirits before applying the new color? Also, once thoroughly sanded, will I need to apply a primer type product prior to painting? Will the paint seep right through the wood? Thank you in advance for any feedback! I love your blog and it is so very informative and easy to understand! I am quite inspired :)
Melanie
Thursday 20th of October 2016
Hi Leanna! Thank you so much for your kind comment. I am so glad you have found some of the information on my blog helpful. Algonquin has wonderful coverage, so you won't need to paint any sort of primer on to get good coverage of the color. However, since you are sanding the table a good bit and it is cherry, there is a chance you will experience some "bleed through". Cherry and Mahogany woods (think woods that that reddish undertone) are notorious for seeping that red/orangeness through paint. My suggestion would be to paint on the Algonquin as normal, and then if you see any bleed through spots, go back and seal those spots only before painting on a second coat. You can use a clear shellac or a clear acrylic to seal out those bleed spots, the Fusion Tough Coat works well too. If you do have a bleeding spots, sealing them before your 2nd coat should take care of the problem. Happy Painting!
Fusion Little Whale Tones for Tots Chest Makeover
Sunday 21st of August 2016
[…] week I shared a makeover using Little Lamb and Little Stork, which are a soft gray and pale lavender. This time […]
Chelsey
Thursday 9th of June 2016
Love it! I'm currently redoing the exact same dresser (but with a back and drawers) in Fusions Casement!
Chelsey
Thursday 9th of June 2016
Love it! I'm currently redoing the exact same dresser (but with a back and drawers) in Fusions Casement!
Melanie
Saturday 11th of June 2016
That's great! I would love to see pictures of it.