Let me start out this post by saying very clearly that I am not a great artist.
You may think that only someone with great artistic skills could ever hand-paint. But trust me, that’s not true!
If you ask me to draw any animal just from my memory, I will put something down on paper that resembles a blob with a tail.
But if you show me a picture of an animal someone else has drawn, and ask me to copy that picture, I can reproduce a pretty good lion, or elephant, or whatever.
In essence, hand-painting is just another form of copying. Creating a design out of nowhere, with no plan except the vision you have in your head . . . Well that does take a true artist. But sketching out some doodles on paper or reproducing a stencil design you like is a whole different ballgame.
Trust me–if I can hand-paint designs on furniture, so can you.
PIN THIS RESOURCE!
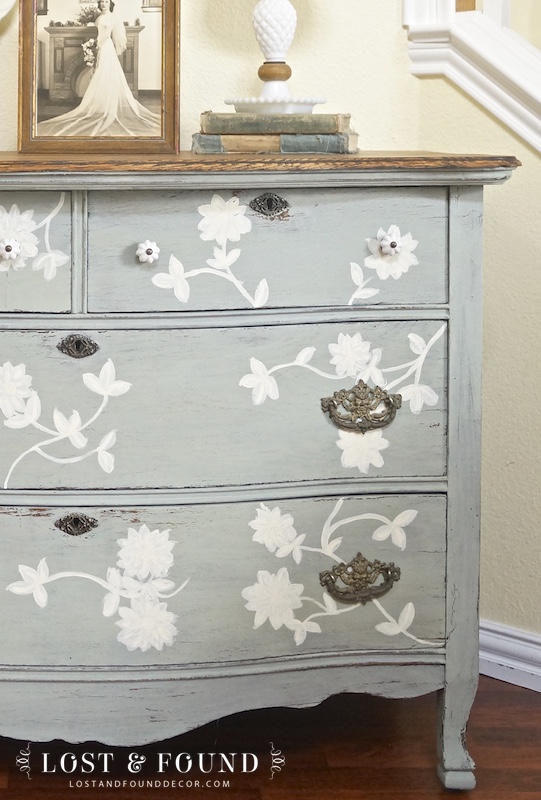
I like to add hand-painted details every now and then when a piece needs a little extra “wow.” Stenciling on a design using a pre-fab stencil can also give you a similar effect, but to me, hand-painting produces a finish with more character and charm.
There is something about the imperfection of hand-painting that makes a piece feel warm and inviting to me–maybe it’s because you can imagine someone actually sitting there, paint-brush in hand, painting on the accents. Whatever the reason though, hand-painting is my choice over stenciling any day.
But if you’re still skeptical though that you can actually pull hand-painting a design off, I’ve put together a few tips that may help give you that confidence boost you need to give it a go.
1. Keep you design simple
Everything I paint onto a piece is some combination of a straight line, simple dots, or a small, comma stroke. What’s a comma stroke? Well, it’s just what it sounds like–a stroke in the shape of a comma. Anybody can paint a line, a dot, or a comma. Putting those 3 simple strokes together is what creates your design.

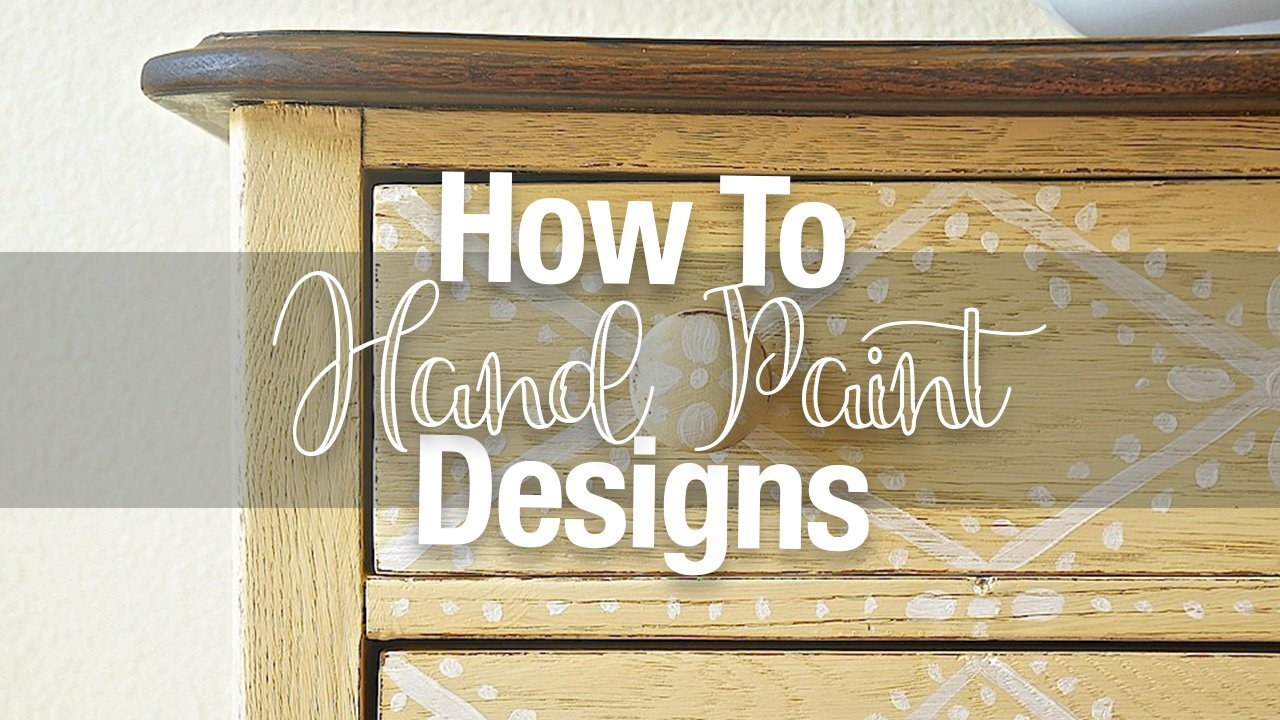
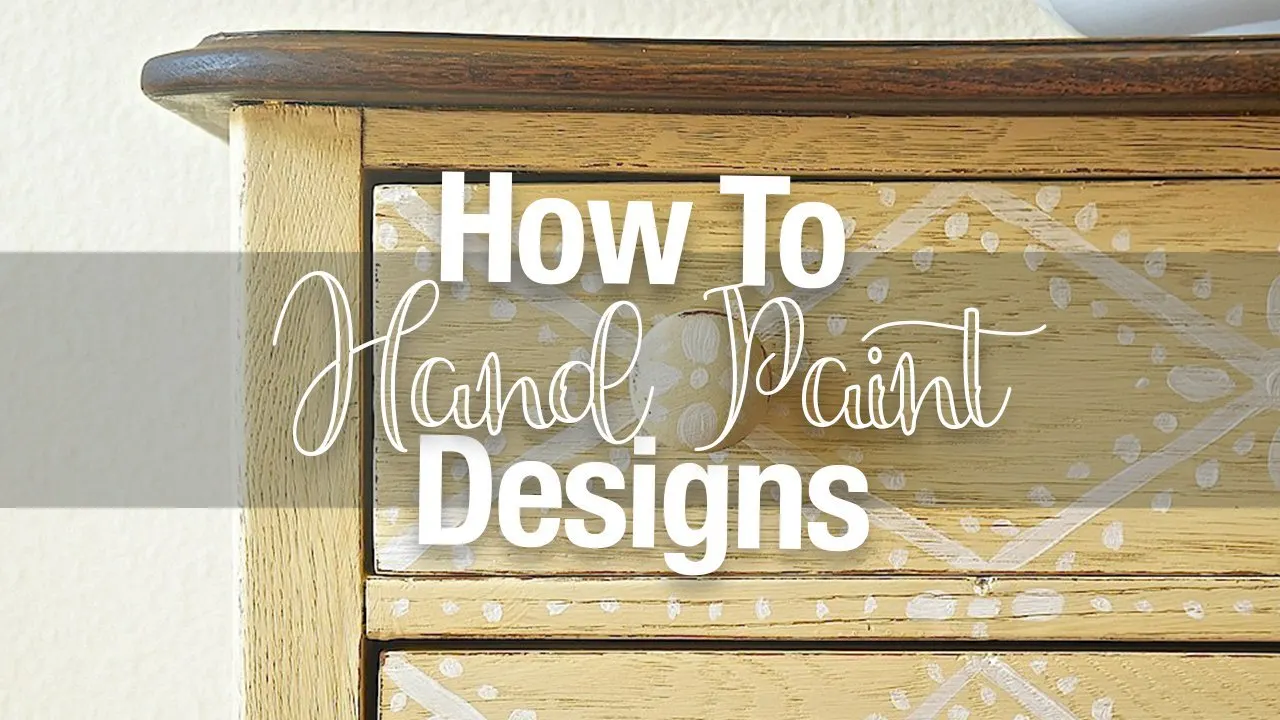
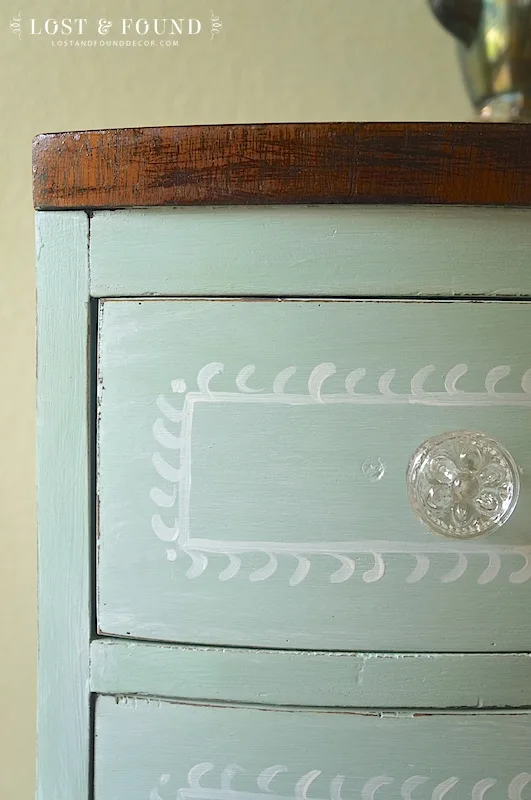
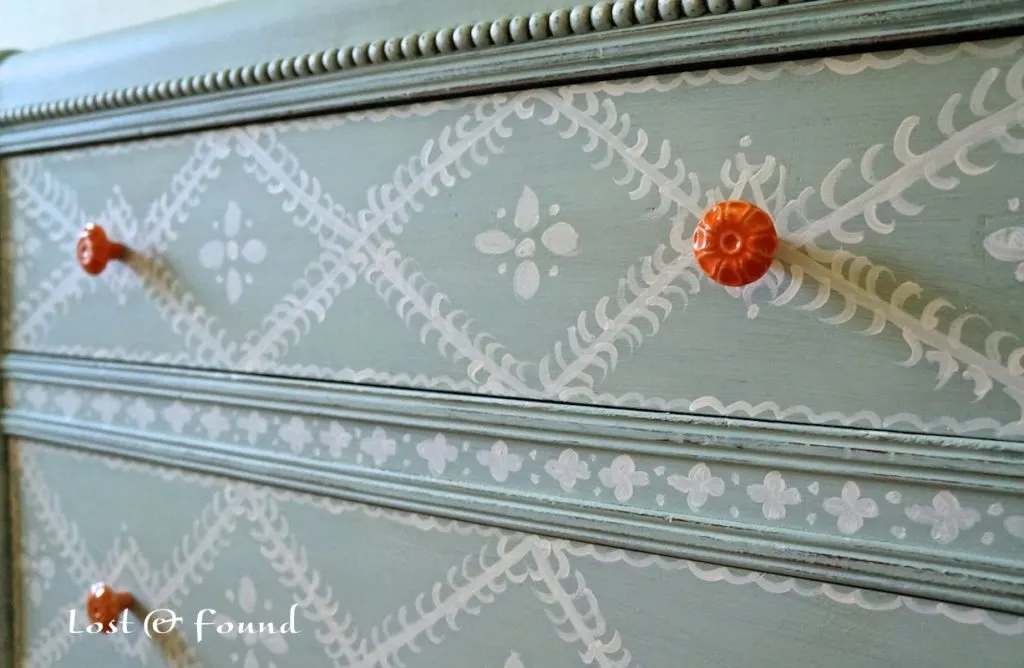
On this piece, you can see the lines, the dots, and the “petal” shaped designs are just two comma strokes next to each other. It’s like you paint on a comma, then another backwards comma right next to it, and Voila!–You have a petal.
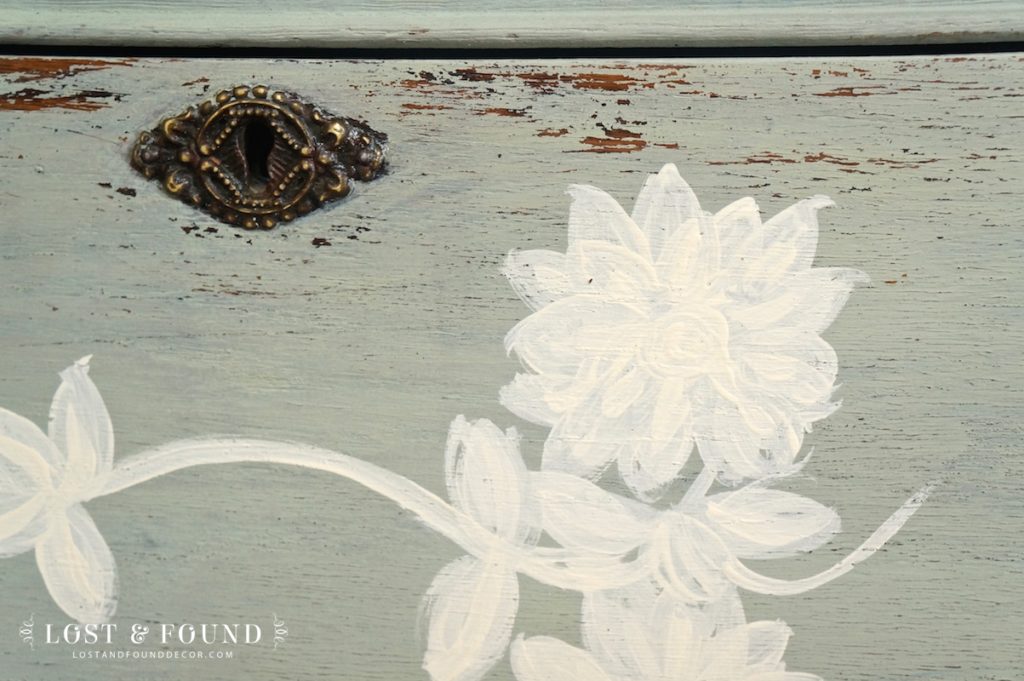
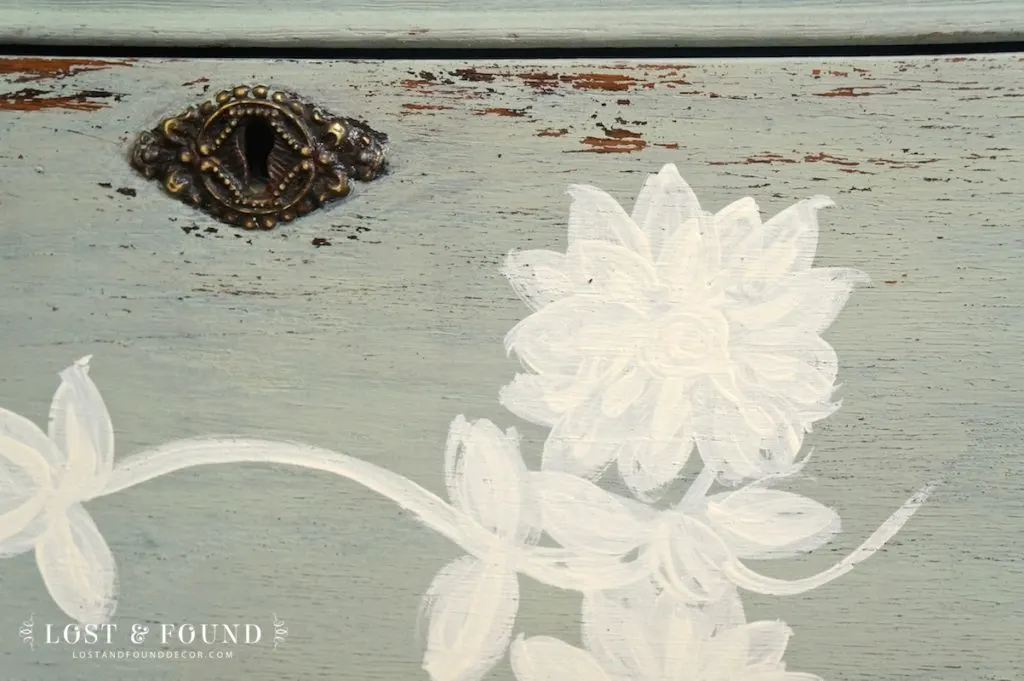
Here is another example of a simple line and comma stroke, with a few dots along the way:
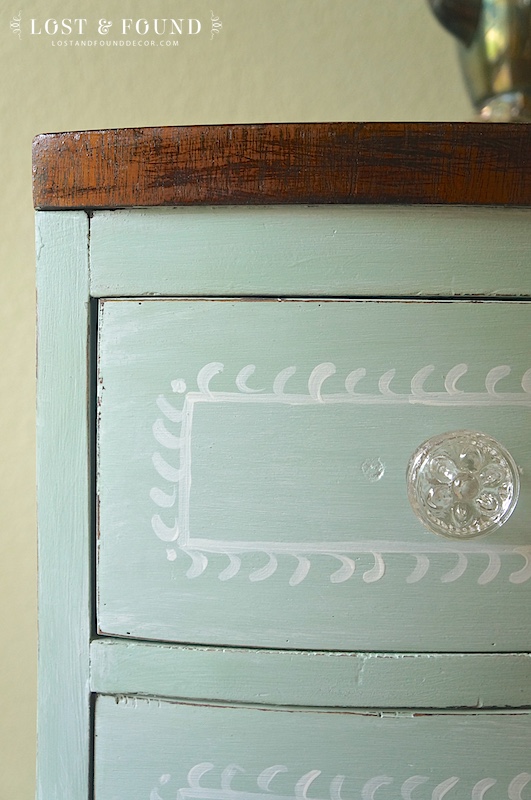
See? Easy. No advanced techniques here.
2. Sketch out your design beforehand and copy from inspiration
About half of my hand-painted designs are really just copies of something I have seen online, the other half are very, very simple geometric designs that take little brainpower to create.
Whether I am copying or creating my own design though, I always start by sketching it out on paper. For this design, I found a stencil online I liked and translated the design onto my paper (simplifying it into lines, dots, and commas, remember?)

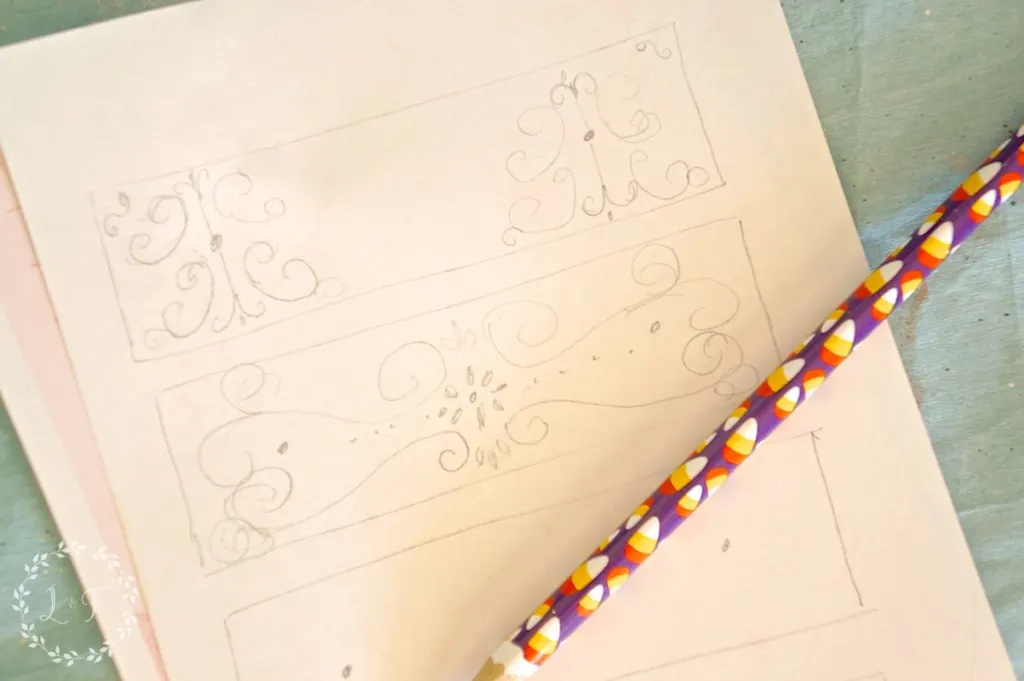
Sketching out your design first gives you something to reference once you begin to paint, and it lets your hand practice the strokes before you even pick up a brush. Your hands have this amazing quality called muscle memory . . . and if you practice a stroke enough, you will be able to reproduce it over and over again with no problem.
So where to find inspiration?
Pinterest, stencils, patterns you see on fabrics or wallpaper, etc. Find a design you like, then try sketching it out onto a rough drawing of you piece. You can take the design over multiple drawers or surfaces, or just keep it in one area.
If you’re still unsure about actually being able to replicate what you draw with your paint brush, you can also try sketching your design with chalk onto your actual piece of furniture. You can paint right over the chalk and then wipe off with a wet rag any chalk that remains. Honestly, I think you are better off not using this method though (and I will explain why next), but if you are really nervous, having a design to try and copy may help you feel more confident.
Buttermilk Cream Oak Dresser Makeover
3. Move your hand quickly as you paint
It seems a little counterintuitive, but you actually paint smoother, straighter lines and shapes when you do it quickly, rather than if you try and keep your hand super-steady and move it slow.
If you don’t believe me, get a pencil and try to draw a straight line on a piece of paper right now. First, draw the line very quickly. Second, move your hand very slowly, paying very careful attention to keeping the line absolutely straight . . . Which line looks smoother? Your “fast” line may be a little bent, but I guarantee you it looks clean and smooth, while your “slow” line probably looks a little jolted.
Our hands shake, no matter how steady-handed you may think you are. The best way to combat a shaky hand is to move it quickly. Don’t give that paint brush time to stay in one spot and wiggle around.
This is why I don’t suggest the chalk and trace method I mentioned above (unless you really need it as a last resort). If you are trying to trace over your chalk-drawn lines, your hand is going to be moving much slower and your lines will likely be messier.
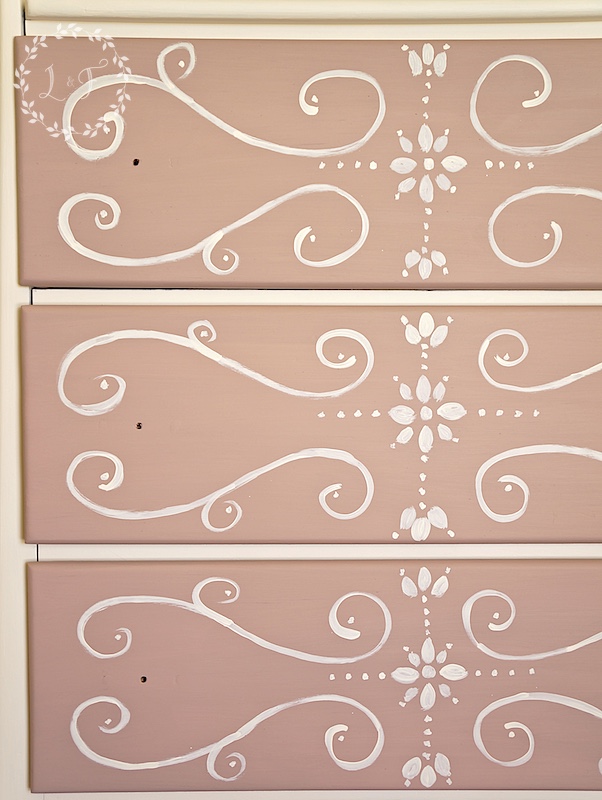

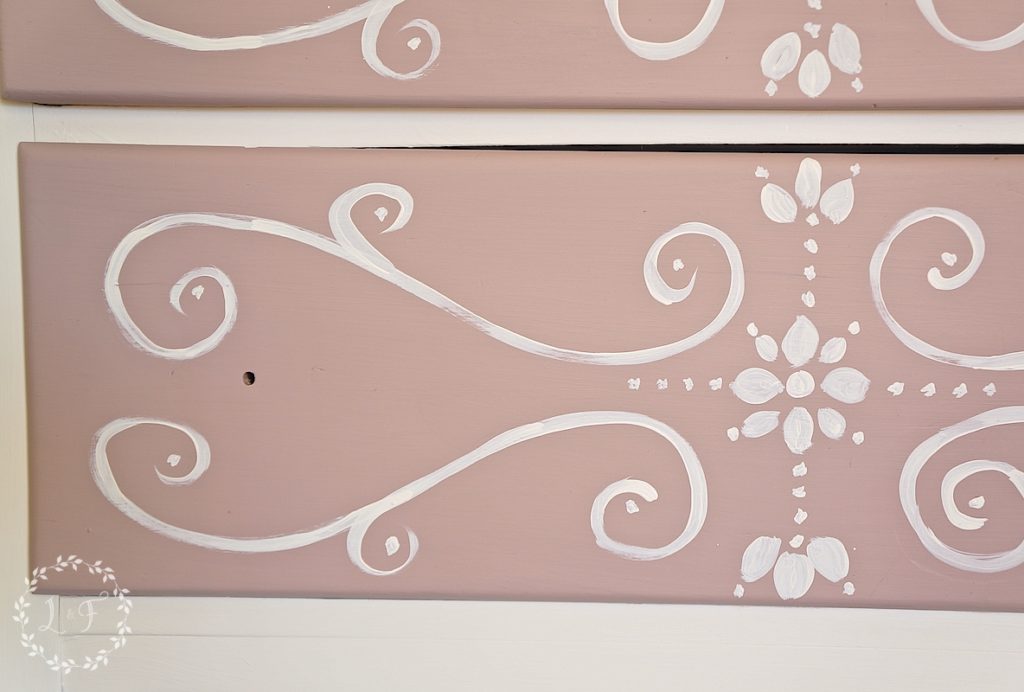
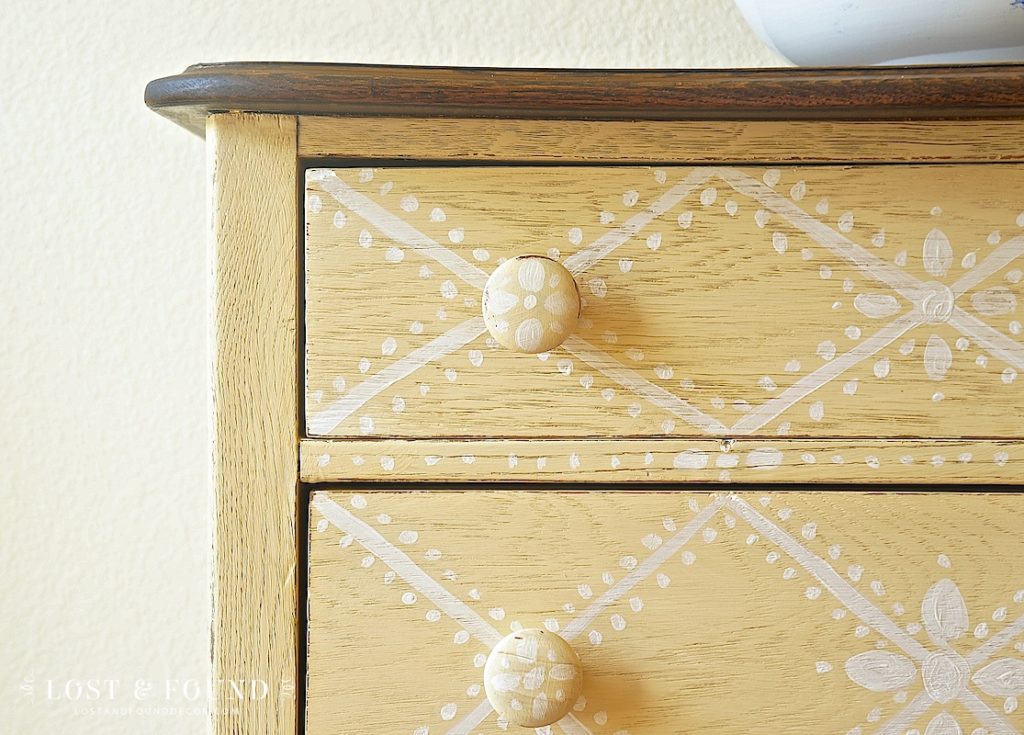
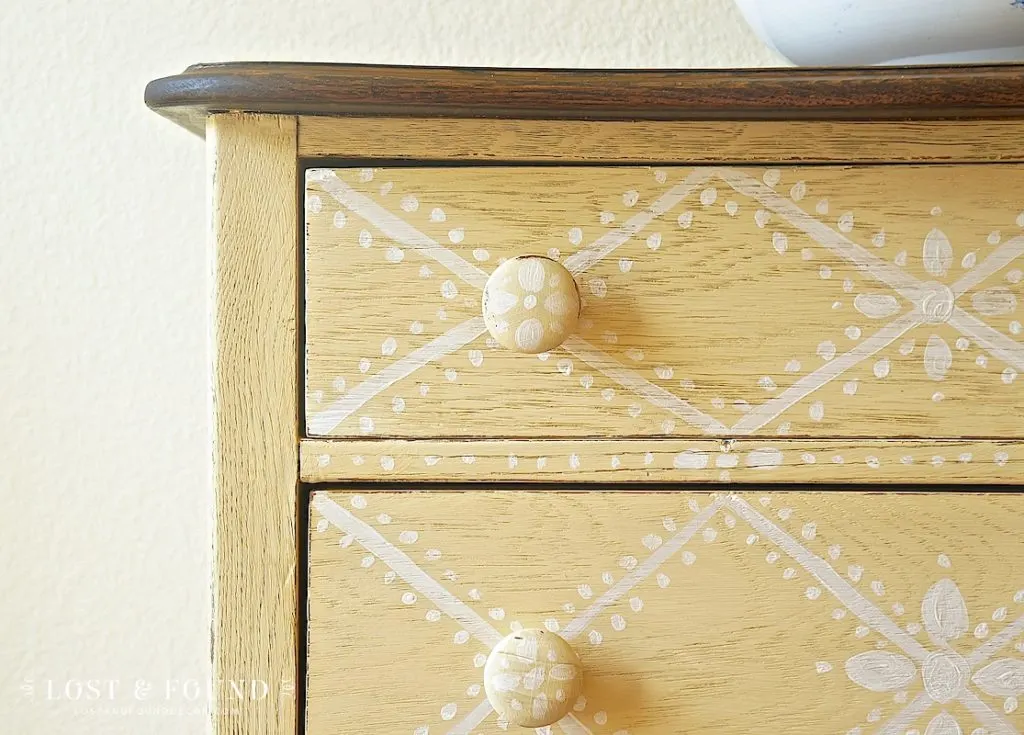
In the photo above, the very top drawer was the first drawer I painted. I was trying very hard to maintain the design I had drawn out, so I painted the lines slower. You can see they are a little off. As I moved down the piece though, I painted those little curvies quicker and quicker, and they actually started to look better and better!
Practice your strokes first on some paper or a drop cloth, then paint them quickly and with confidence onto your actual furniture piece–and I promise you they will look better than if you try and “trace” over a design.
4. Use a very small artist’s brush and acrylic paint
In my opinion, hand-painting looks better with lighter, delicate strokes. The only way to really achieve very delicate brush strokes is to use a tiny brush–even smaller than the “small” ones that came in your child’s watercolor kit.
A set of artist’s brushes is a good investment to make. You can find them online or in any local craft store, even sometimes at your local Target or Wal Mart.
Acrylic paint is also the best paint to use. If you are painting the body of your furniture piece with chalk paint or milk paint, opt for a small bottle of acrylic paint for your hand-painted details. You can buy the little bottles at the craft store, or I also use Fusion Mineral Paint sometimes if I don’t have a small bottle of acrylic on hand, since Fusion is acrylic-based.
Acrylic paint is smooth and paints very easily. It also dries quickly, so you can layer strokes over one another for added depth and dimension. Best of all though, if you make a mistake you can wipe it off with a wet rag and it won’t leave a trace.
5. Don’t go for perfection
Like I said above, I think the real appeal of a hand-painted design lies in the little irregularities that show up. A stencil will give you the perfect design, but hand-painting will give you character.

While you’re painting, take a step back from the piece every now and then to look at it from far away. Most of the “errors” you see while you’re up close painting are basically invisible once you step back.
Obviously the big design “oops” you need to wipe off and paint again, but let those little mess-ups here and there stay. Those are what make the piece authentically, hand-painted.

So are you up for giving it a try? I hope my tips have given you a little bit to work with and maybe the confidence boost to try it out for yourself.
And since we’re talking so much about painted furniture today, let me share with you all that this coming Friday I will be joining Lucy from Patina Paradise along with 2 other bloggers, as a co-host for a furniture-only link party!
Friday’s Furniture Fix will be here every Friday from now on, and it’s your chance to link-up your furniture projects and find inspiration from other furniture artists as well. I hope you come back to join me!
This post contains links to affiliate shopping outside of Lost & Found. Links are provided for your convenience and in accordance with advertising rules and affiliate programs.


Linking up to : Wow Us Wednesdays
Does Acrylic Paint Work On Fabric: Getting Perfect Results » MissJ.eu
Tuesday 24th of March 2026
[…] medium. This medium creates a flexible bond between the paint and the fabric, ensuring that the painted design remains soft and pliable after drying. Generally, the recommended ratio is one part fabric medium to one part […]
27 Charming Ideas to Transform Your Teen Room with Rustic Girls’ Style - efistu.com
Saturday 10th of January 2026
[…] Designs: Add stencils or hand-painted designs to furniture edges or doors for a whimsical […]
27 Charming Rustic Girls' Style Ideas to Transform Your Teen Room
Tuesday 3rd of June 2025
[…] Designs: Add stencils or hand-painted designs to furniture edges or doors for a whimsical […]
Hand Painted Furniture Ideas - My Creative Days
Monday 22nd of April 2024
[…] Pale Blue Dresser […]
Constanza Rut Vigilante
Friday 19th of August 2016
Hi Melanie, these tips are great and they give me the encouragment I needed to try out hand-painting designs! You are a true inspiration for me.
Love from Rome,
Constanza