Sometimes I come across a piece that feels just kinda blah.
Usually it’s a newer pieces of furniture–older pieces often come with a lot of added detail and interest–and so I have to come up with a little something extra to make it piece unique and not just looking like a painted box.
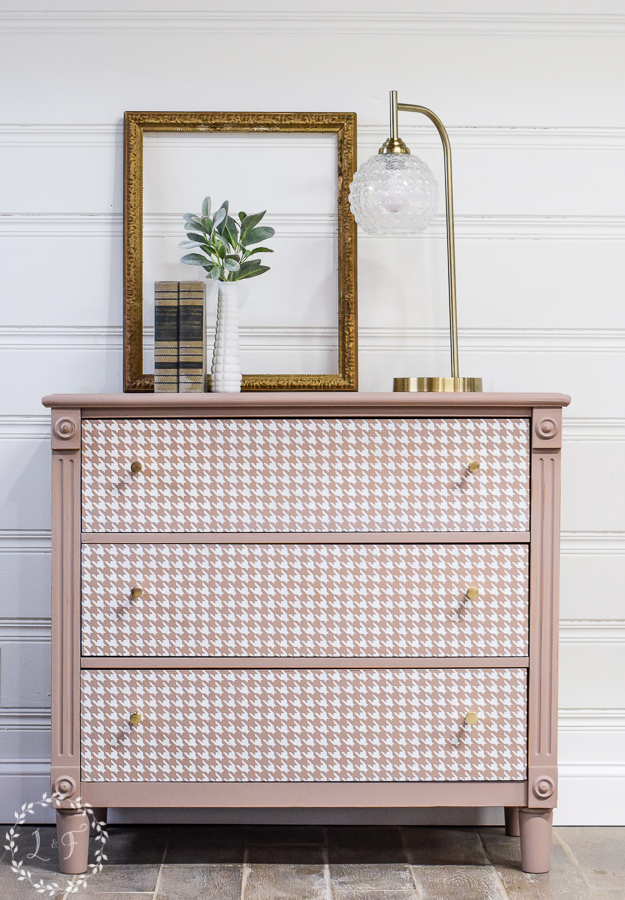
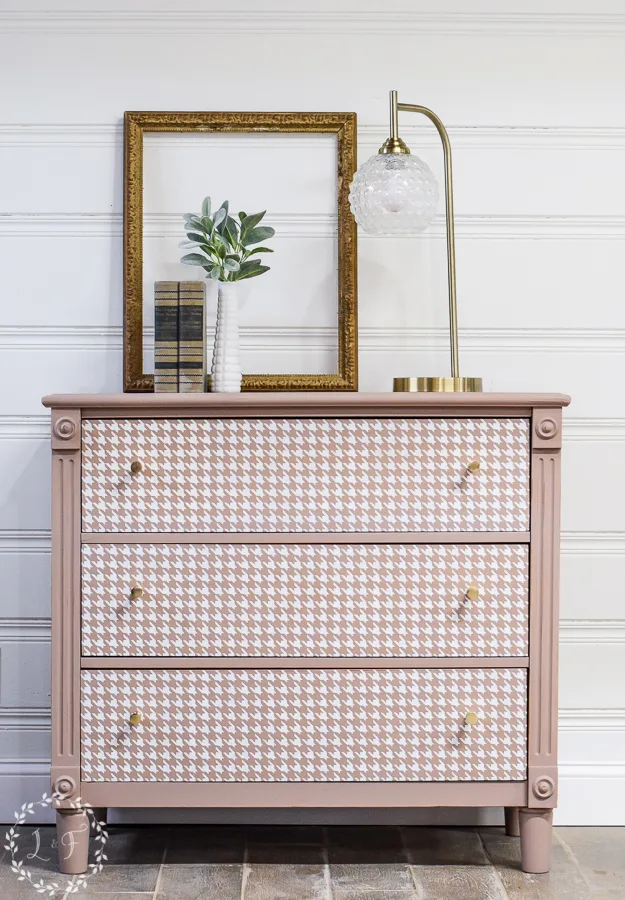
Well, that was the case with this Basset dresser!
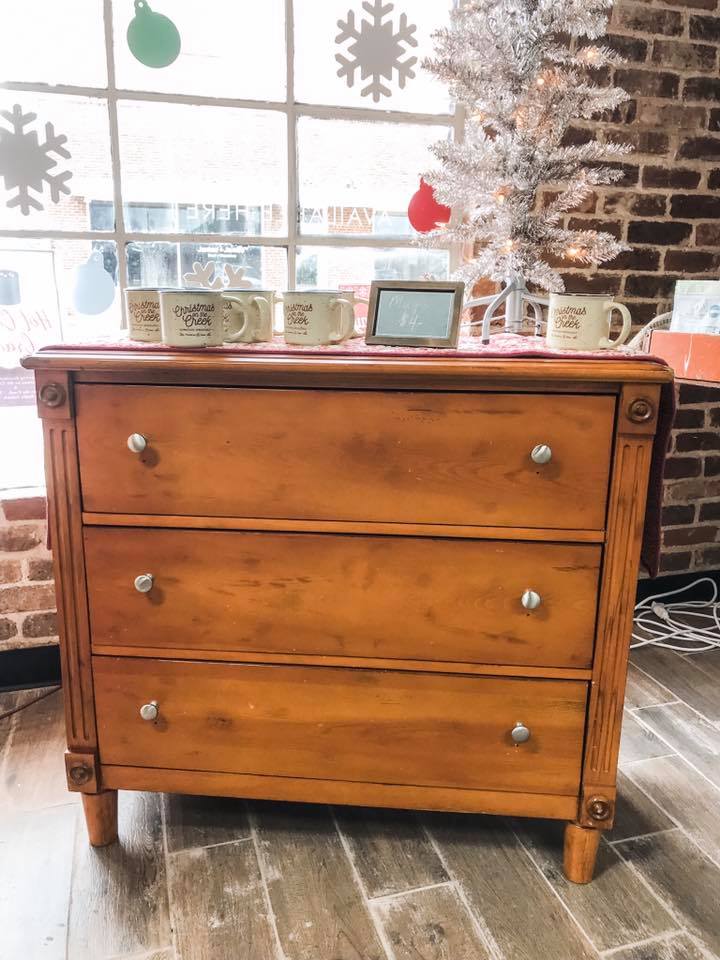

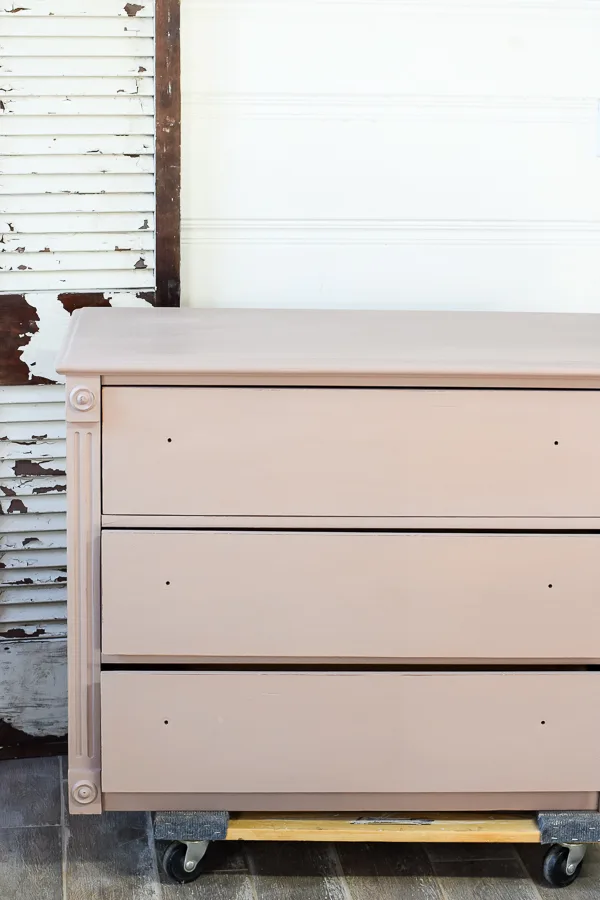
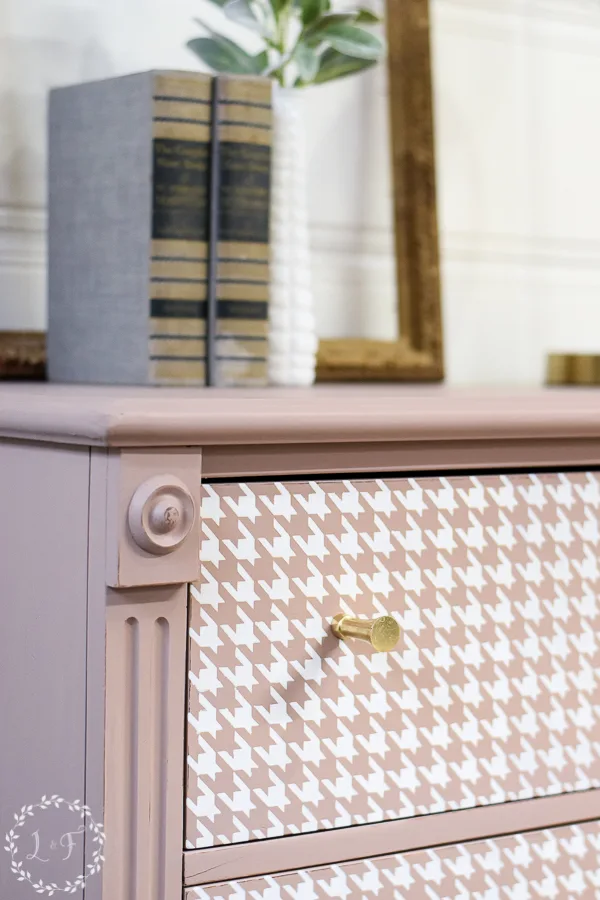
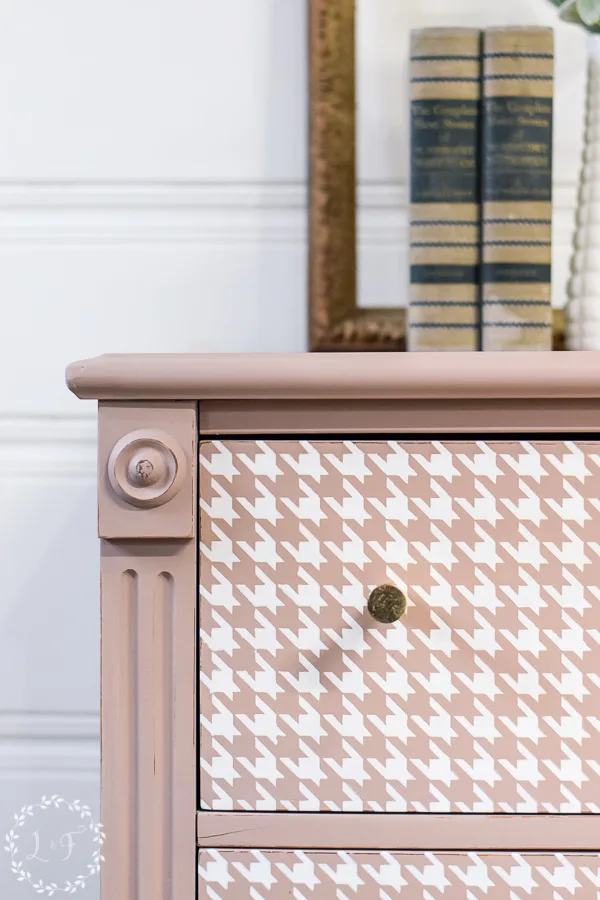
See those big, blank, flat drawers? They just didn’t have much exciting going on.
Sometimes when you need to add some extra visual interest, just a bit of distressing will work. But I didn’t want any of that orange wood to show, so that option was out.
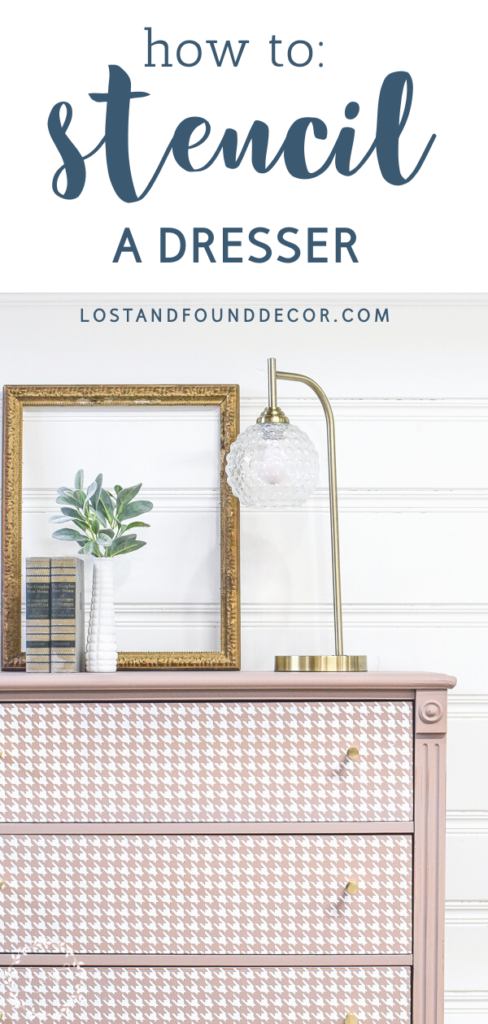
That’s when I had my a-ha moment! Adding a cool, geometric pattern with a stencil would be perfect!
I was confident the combo of a modern color with a cool stenciled pattern would elevate this dresser and make it fantastic!
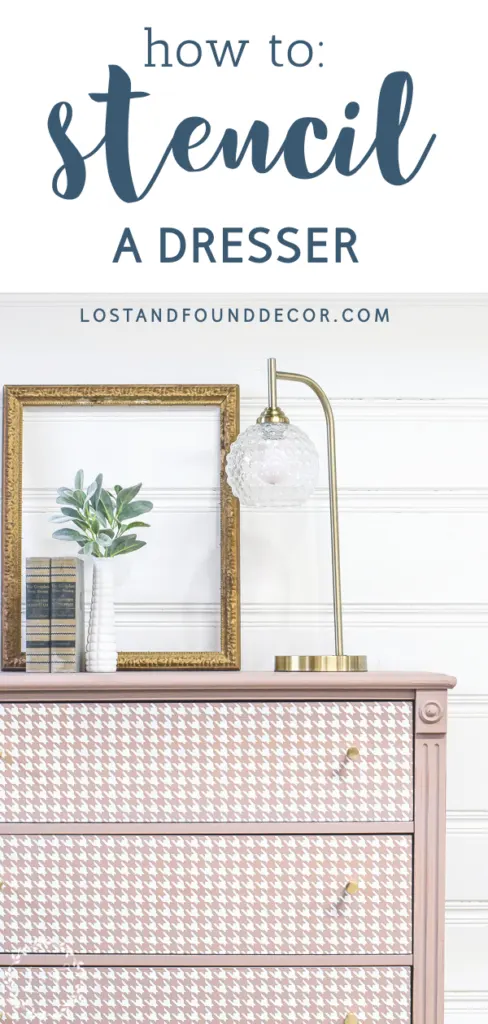
Pin this Resource! How to Stencil a Dresser 🙂
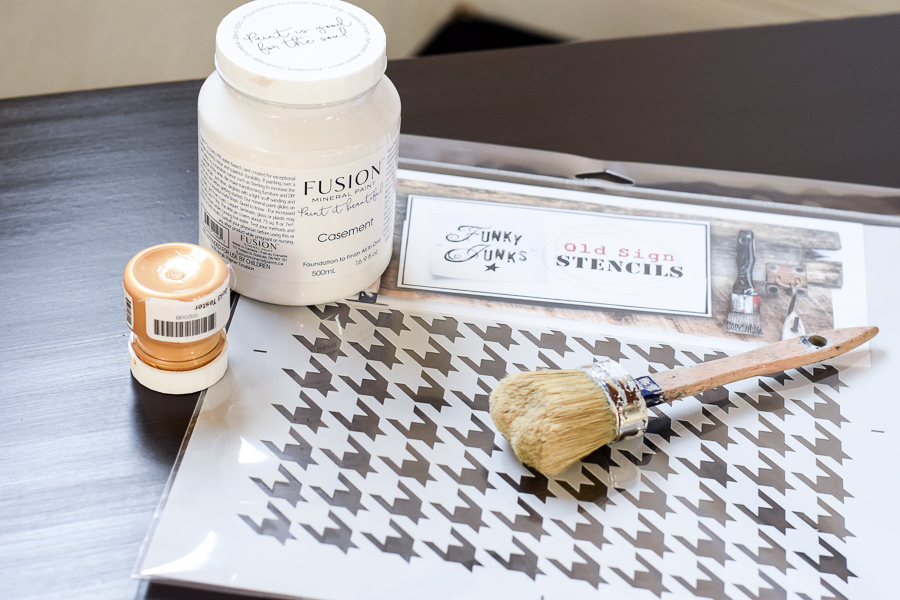
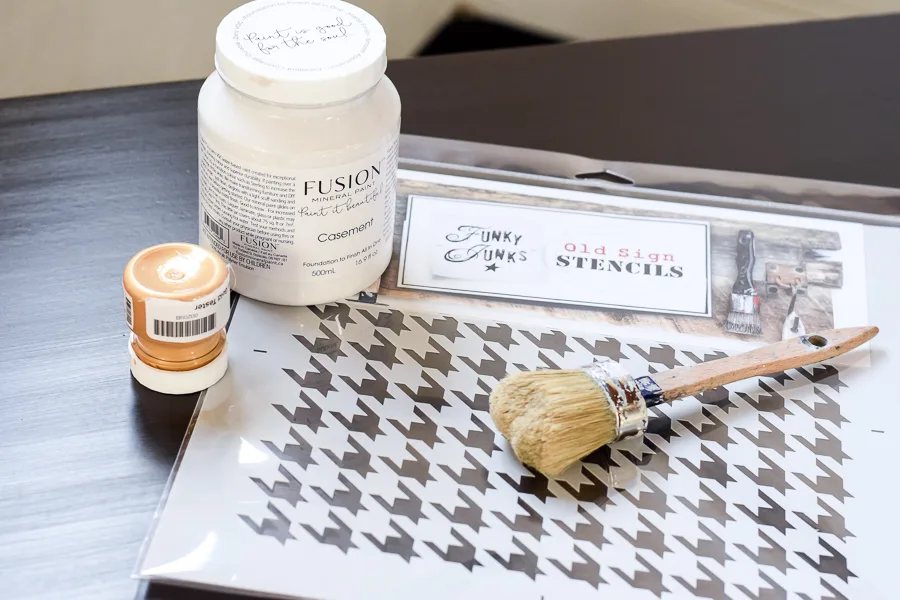
Here’s a list of materials below, if you would like to create your own stenciled dresser!
Materials Add Form
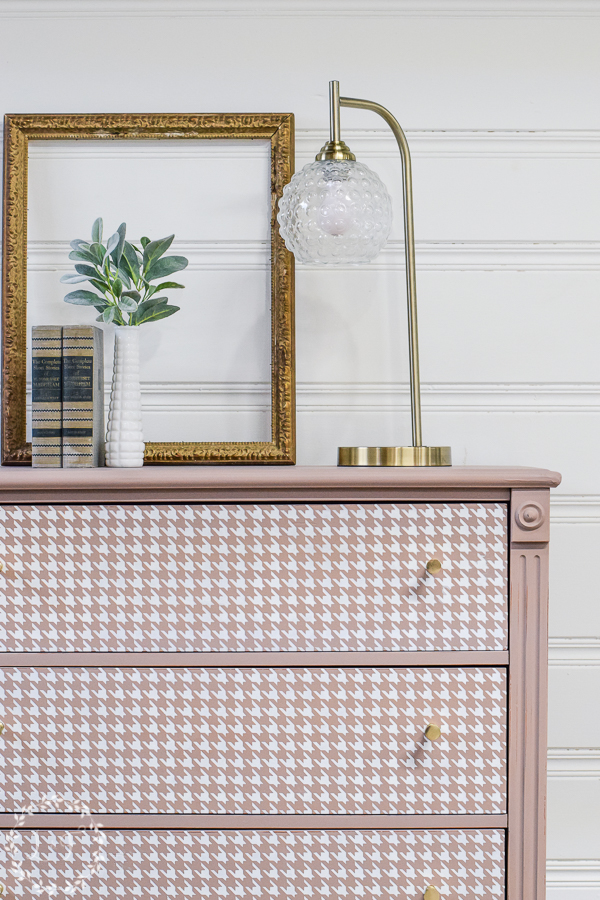
- Base paint color of your choice (I used Fusion Mineral Paint Damask)
- Contrasting color for stencil (I used Fusion Mineral Paint Casement)
- Thick round brush or stencil brush
- Frog Tape (optional)
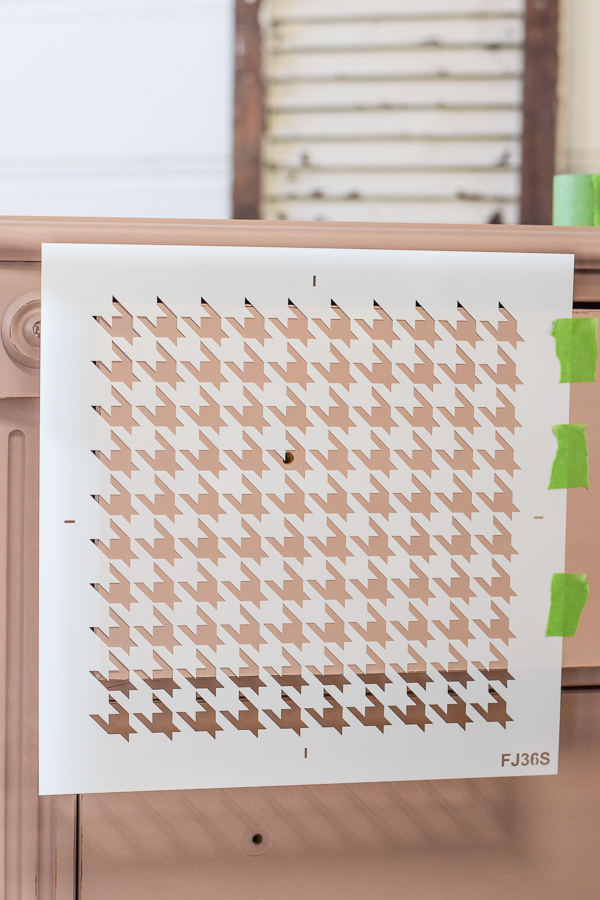
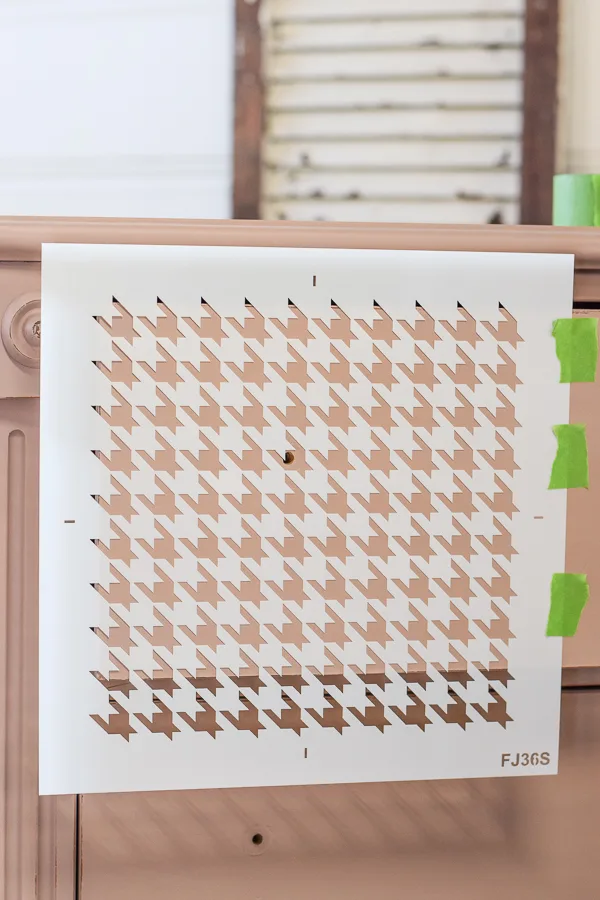
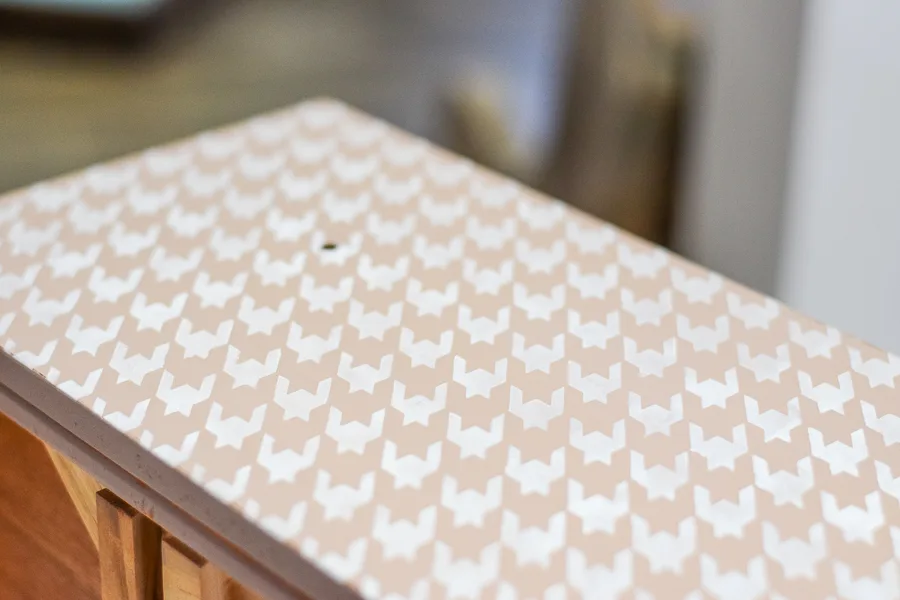
- Geometric patterned stencil (I used the small Houndstooth stencil from Funky Junk)
Step 1
First you will want to do your basic prep for your furniture piece. I always clean my pieces first using Fusion’s TSP Organic Degreaser, then give them a quick scuff with 180 grit sandpaper. Be sure to wipe off all residue and sanding dust before painting on your base color!
This dresser took 2 coats of Damask to get full coverage. After the second coat was dry, I finish sanded the whole piece with 320 grit sandpaper to help give it a buttery smooth finish.

Step 2
Now comes the fun part! Once your base paint color is good and dry, you can begin your stenciling.
A few helpful tips— removing the drawers and setting them up on a table may make it easier for you to apply the stencil. Also, securing the stencil with Frog Tape can help keep it from sliding around. If you use the Frog Tape though, only stick it lightly to your base paint so it won’t pull any off.
Apply your paint through the entire stencil area, then remove the stencil and allow your paint to dry for about 10 minutes. Then you can move the stencil further down the drawer. To keep the pattern lined up, arrange the next stenciled area so the first line of pattern overlaps with the last line of pattern on the previously stenciled area.
The key to having a nice, clean design when you stencil is to use very little paint on your brush. You want to dab your brush into a small bit of paint, then blot off all of the excess onto a paper towel.
You can apply the paint through the stencil by pouncing your brush or brushing it in a swirl pattern–either works! But the key is to use light pressure and only a touch of paint on your brush.
Expect to apply multiple coats to get full coverage, I believe I applied 3 coats of the Casement to get the look I wanted.

Step 3
Allow your stenciled pattern to fully dry, then attach the hardware of your choice onto the drawers! I chose some fun gold knobs from Hobby Lobby, or you can find something similar here online.
To keep your stenciled pattern nice and crisp, I would not go back over it with sandpaper to finish sand.
All Finished!
No more boring, flat drawers!
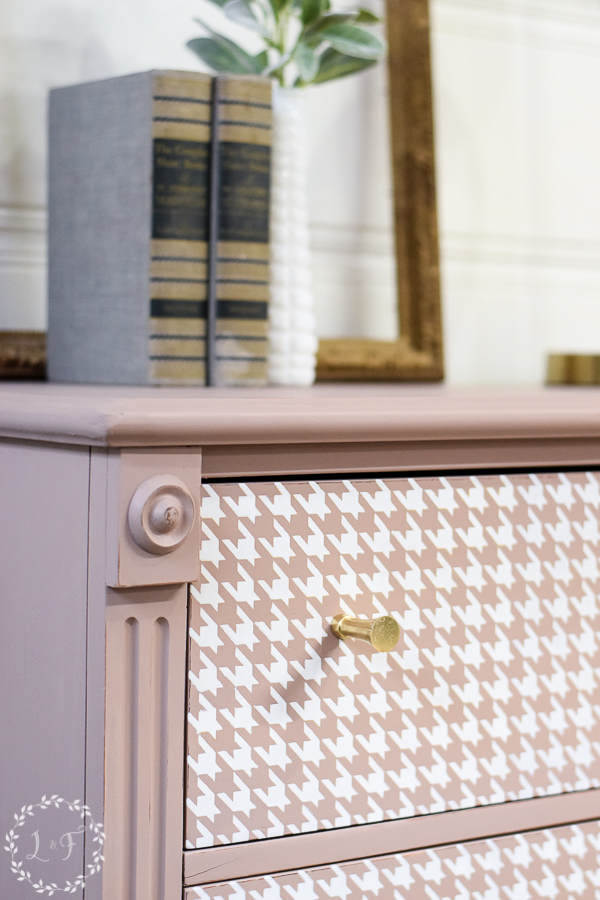

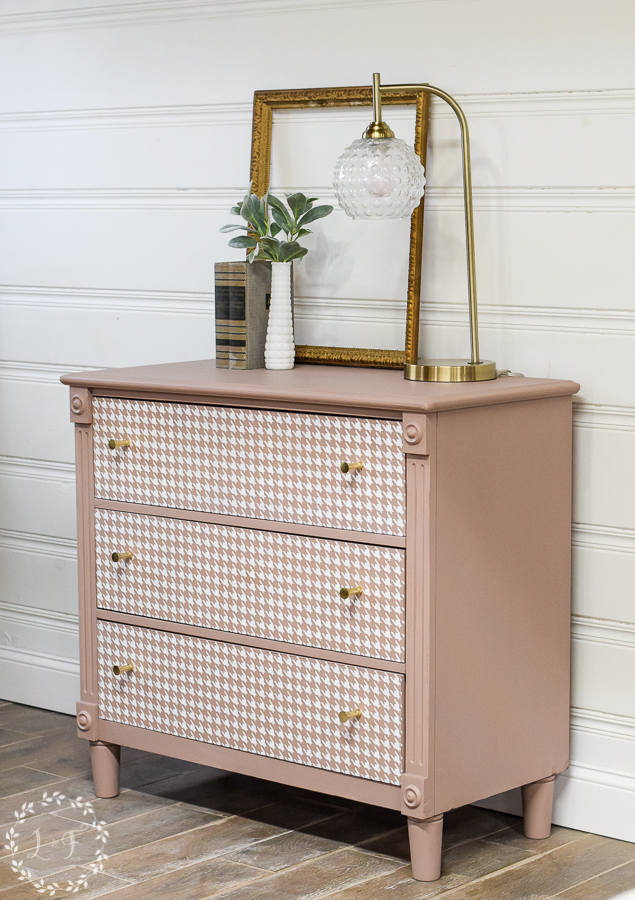
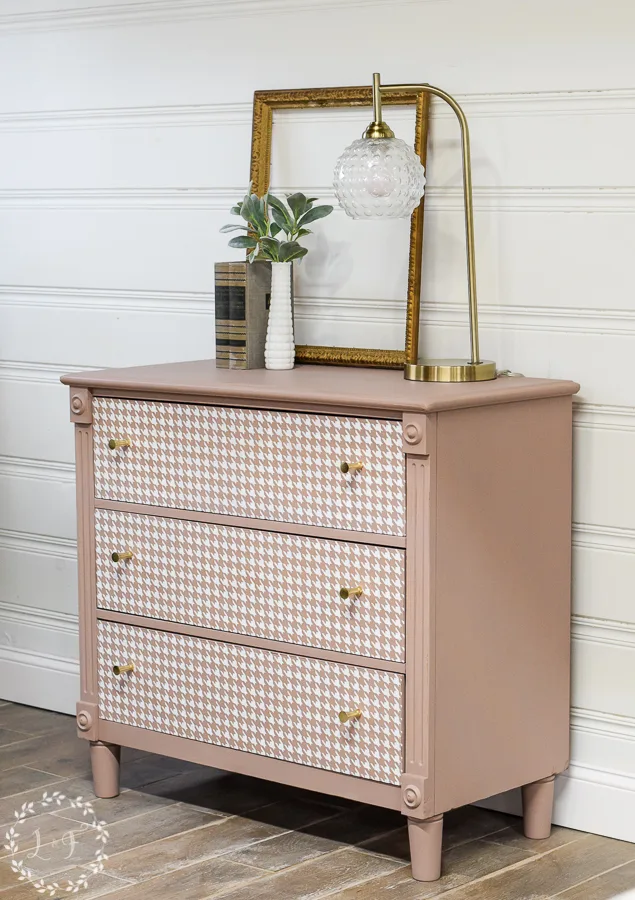
This piece was a hit–it sold within a week! I think the stenciled pattern made all the difference in the world! It took a plain dresser and made it something really unique, a true statement piece 🙂

So the next time you spot a kind of blah piece, maybe think about adding a stenciled pattern to it!
All the products I used here are available in my online shop!
Thanks so much for joining me today for this makeover! I hope you’ve been inspired, and Happy Painting!
Looking for more Painting Tips & Inspiration? We’ve Got It!
7 Bold Color Combinations for your Painted Furniture


When & How to Use Antique Glaze and Dark Wax on your Painted Furniture

Chalk Paint vs Fusion Mineral Paint


HVAC contractors
Wednesday 5th of February 2020
Wow, the result looks completely different, it looks much better and more beautiful. Great article, I have an old chest of drawers in the garage, but it’s not broken, it just looks bad and shabby. I would like to do the same for my daughter, she likes these things, she will be delighted. Thanks for the great article, good luck!