In case you missed the news, I am now a Certifed Retailer for Miss Mustard Seed’s Milk Paint!

If you’ve been following along with me for any amount of time, you know I’m a big fan of Marian Parsons, AKA Miss Mustard Seed. I find her decorating and work making over furniture so inspiring! So when the opportunity came to add her paint line into my inventory, I jumped at the chance.
I’ve been using MMS Milk Paint for several years now. The color line is absolutely gorgeous and the aged texture and finish you can get with milk paint is amazing. I love using milk paint on old, primitive piece because it draws out the age and character of a piece in ways no other paint can.
I have a stash of pieces in my garage right now waiting to be painted, one of them being this antique low dresser.

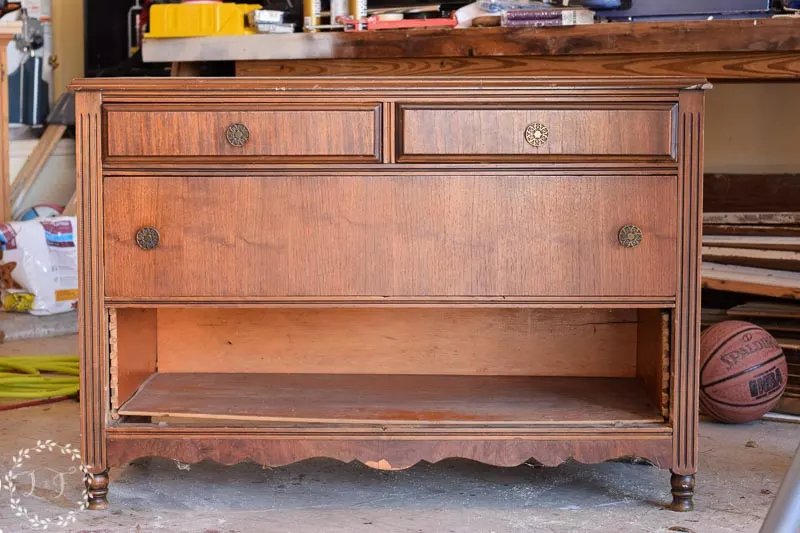
The lady I bought this dresser from said she purchased it about 20 years ago from an elderly couple who had received the dresser as their wedding gift! This piece had some major age to it, so I thought it would be the perfect piece to showcase the benefits of MMS Milk Paint.
To prep the piece I first had to reattach the bottom drawer front (which thankfully was still intact) and then sand the dresser top all the way back down to raw wood. For the base, I wiped it down and gave it quick hand-sanding with some mid-grit sanpaper to help the milk paint adhere and not flake too much.
TIP–One of the best features of MMS Milk Paint is that it will self-chip off glossy finished pieces, creating the perfect, authentic, aged-chippy finish. If you want to have some control how much the paint self-chips, give the piece a light sanding before painting–the milk paint will adhere better and you can choose the areas you want to distress.
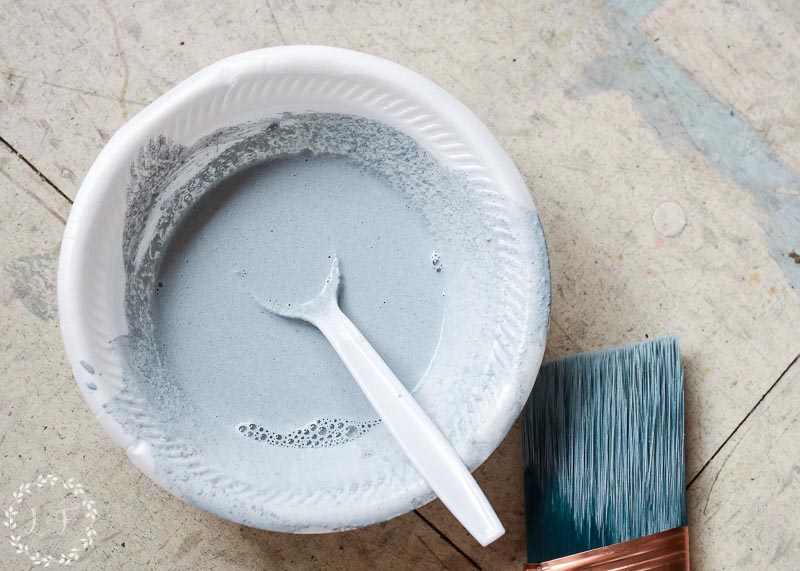
Milk Paint comes in a powder form and you mix it with equal parts water to activate the pigments. For this piece I chose Shutter Gray from the Miss Mustard Seed’s line, a beautiful blue/gray that is light and fresh.
Don’t be afraid of this mixing part! Once you mix up a few batches you will get the hang of it and learn what the right consistency is. I promise it’s not as complicated as it may look!
Milk paint is a thin paint, thinner than Fusion and much, much thinner than a chalk-type paint. So be prepared that your first coat is going to look very thin and streaky . . . Don’t worry though! A second coat smooths that all out.
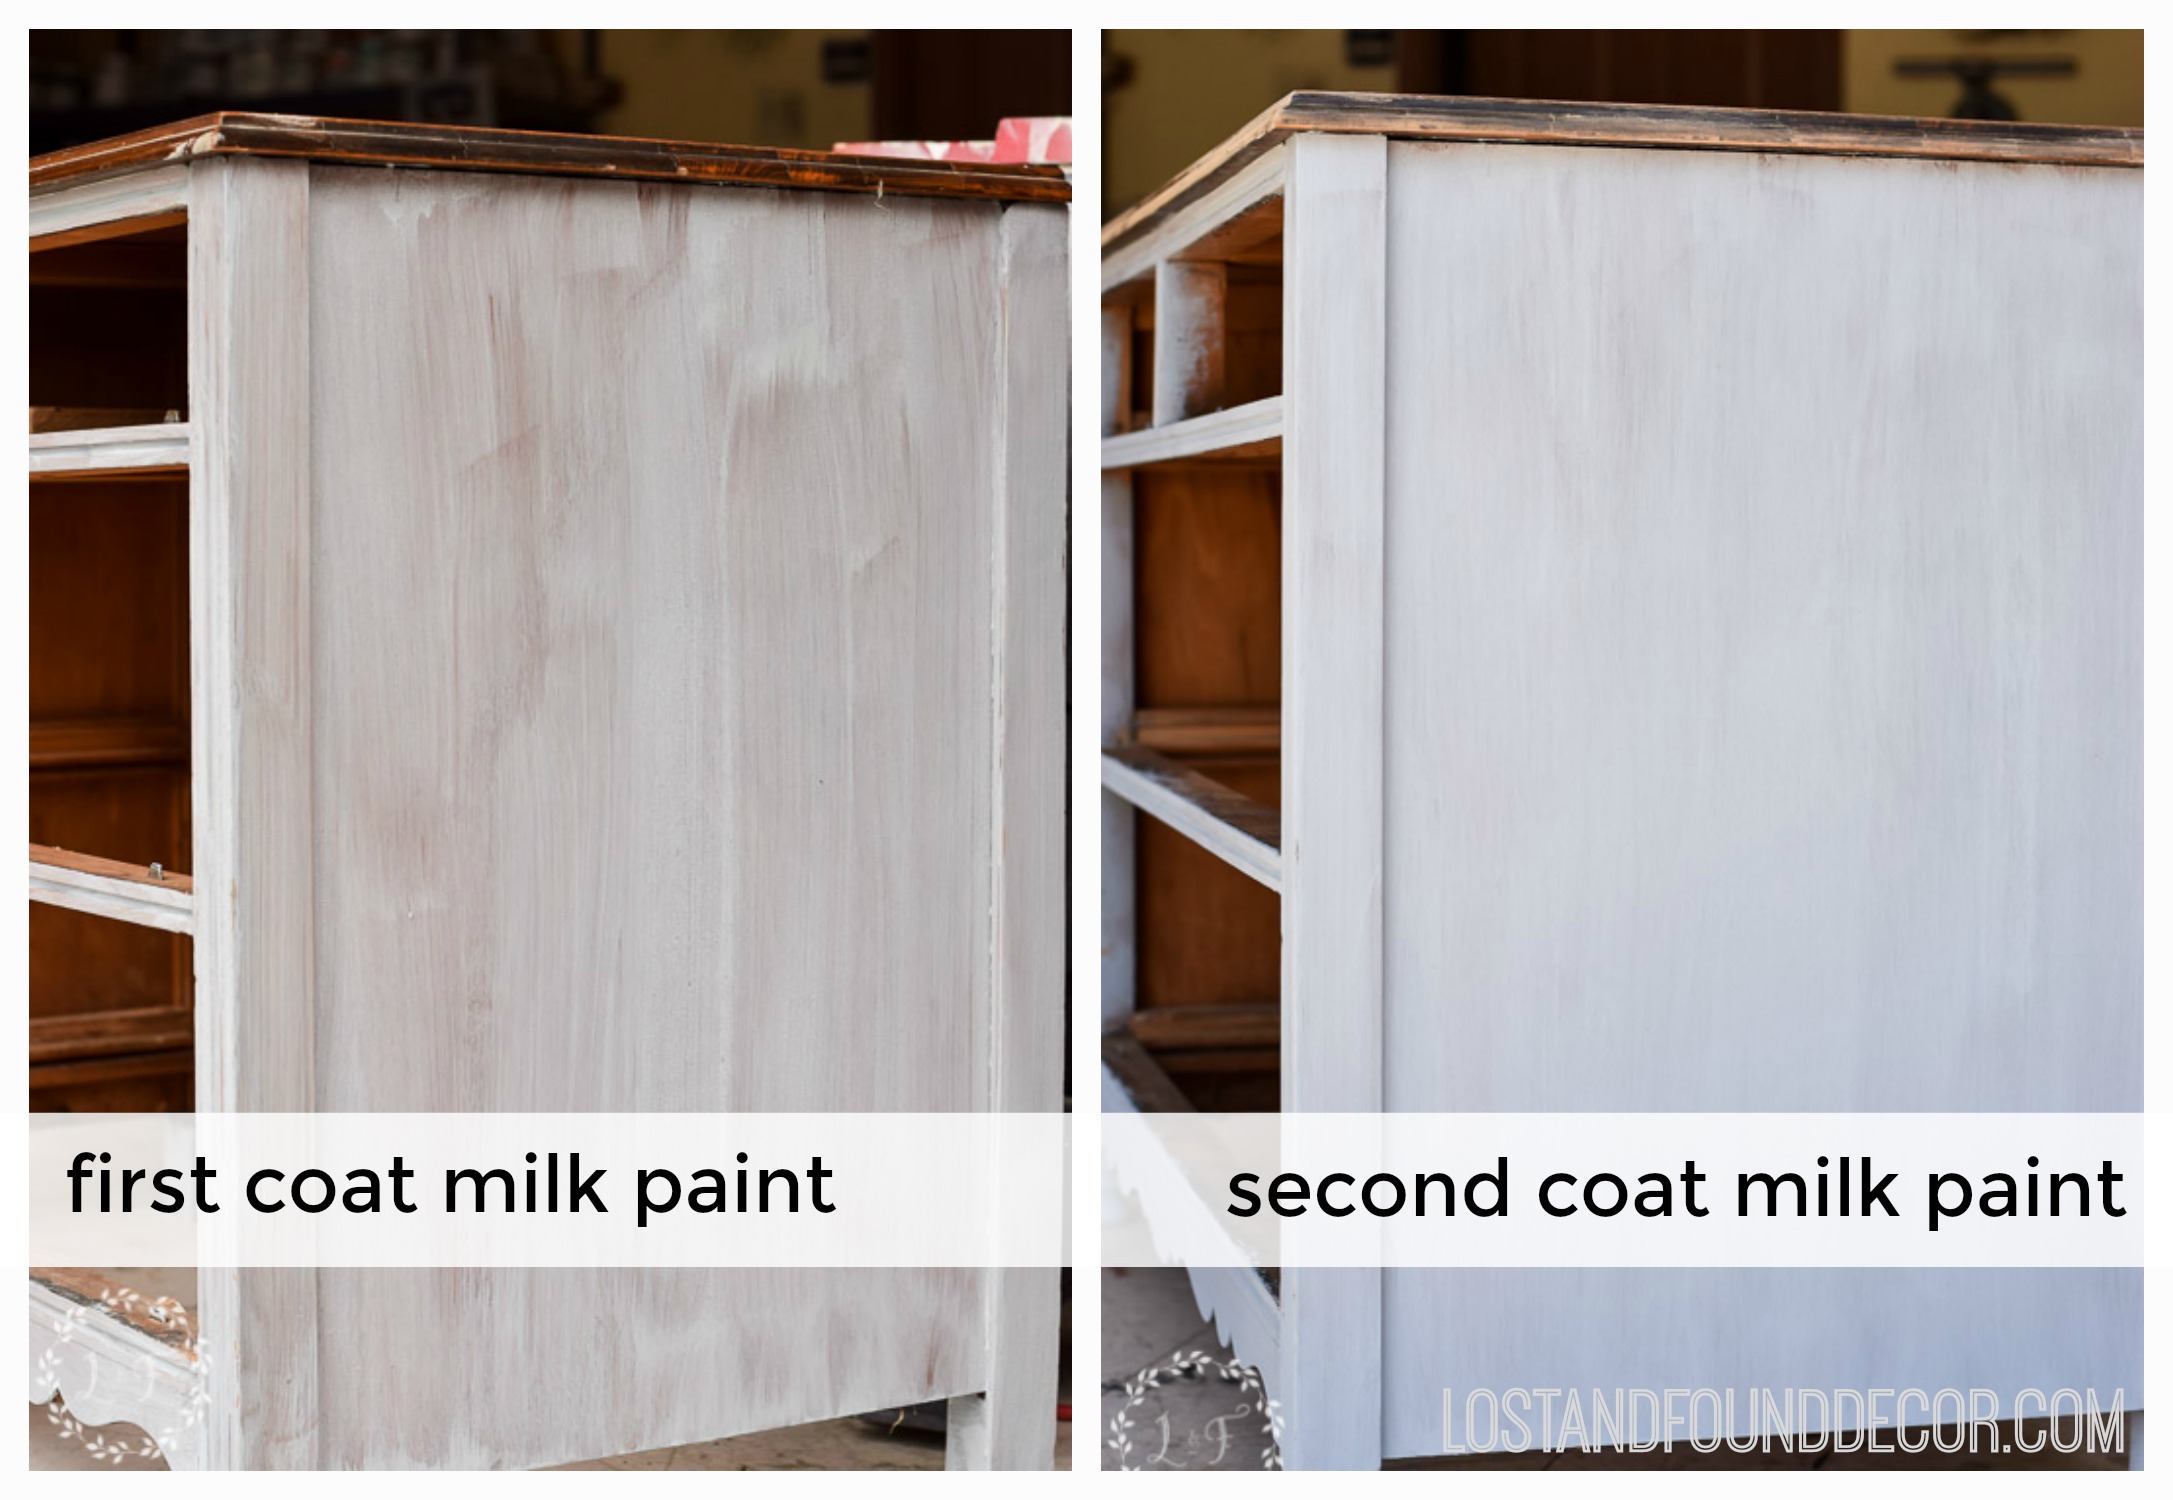
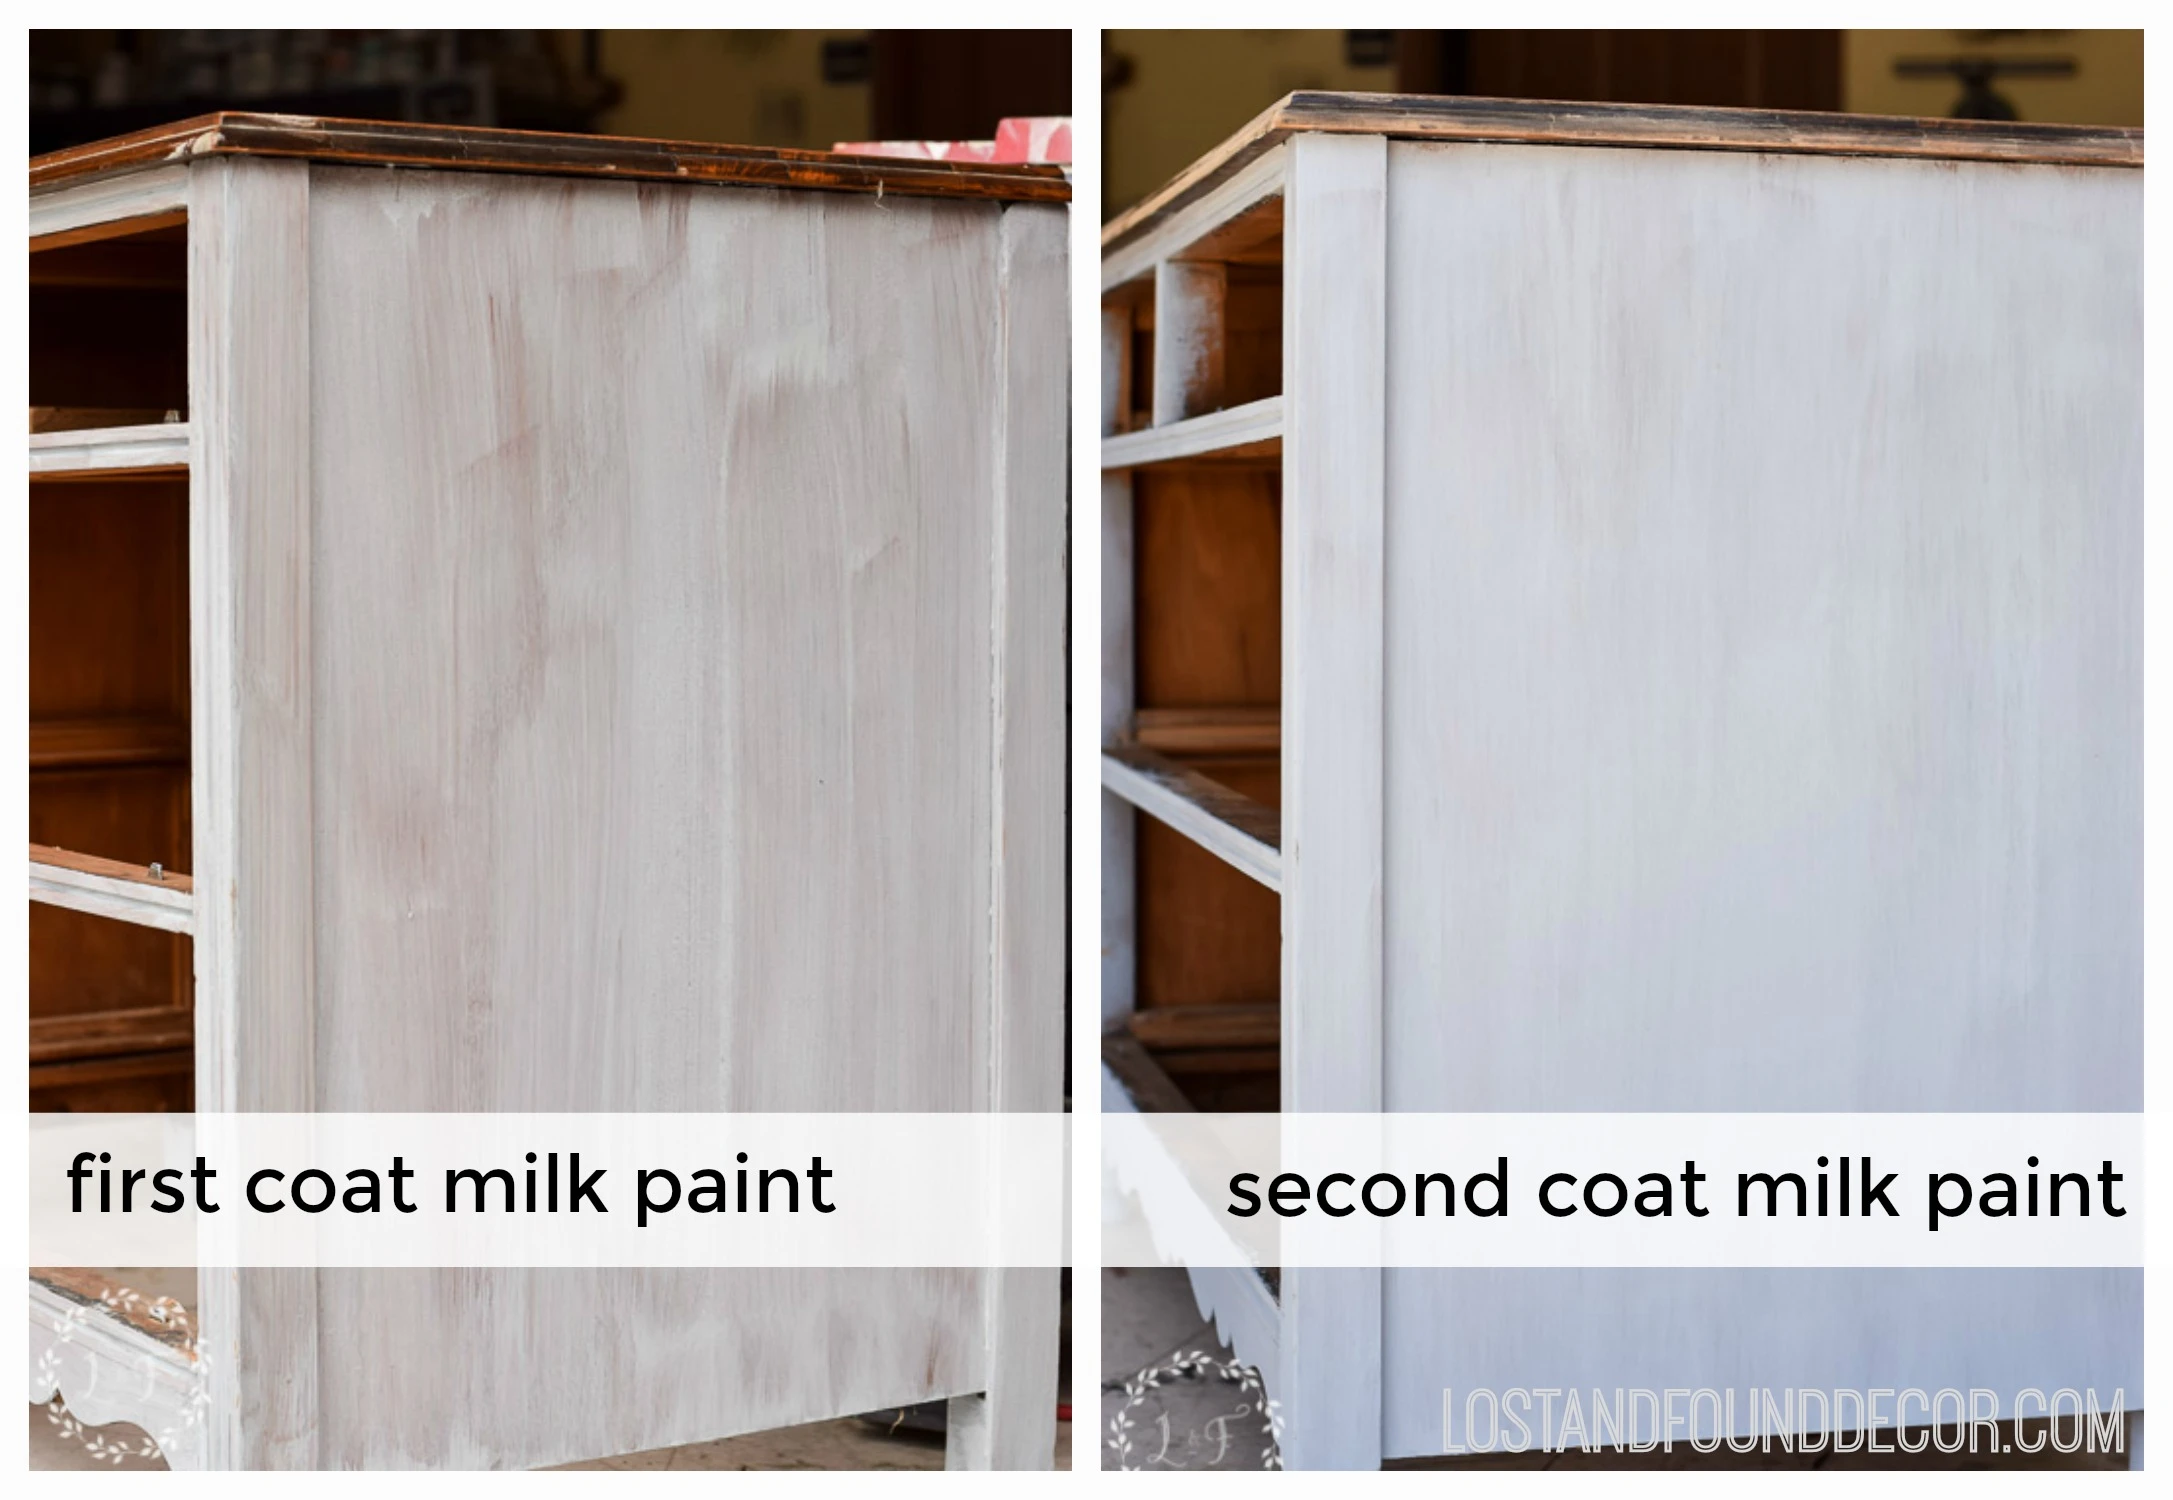
Because the pigments in the paint are powder that you mix with water, the color isn’t 100% consistent as you paint it on–which is really another thing I love about milk paint! It makes the paint look like it has been sitting out in the sun for a few years, with a faded and aged look. Any pre-mixed paint can’t create that effect.
MMS Milk Paint dries very quickly, and after about 30 minutes it’s ready for a re-coat. So in about an hour I had this piece prepped and painted, not too bad!
With the base painted and top sanded down, I rubbed on some of my Fusion Beeswax Finish just to seal the raw wood top.
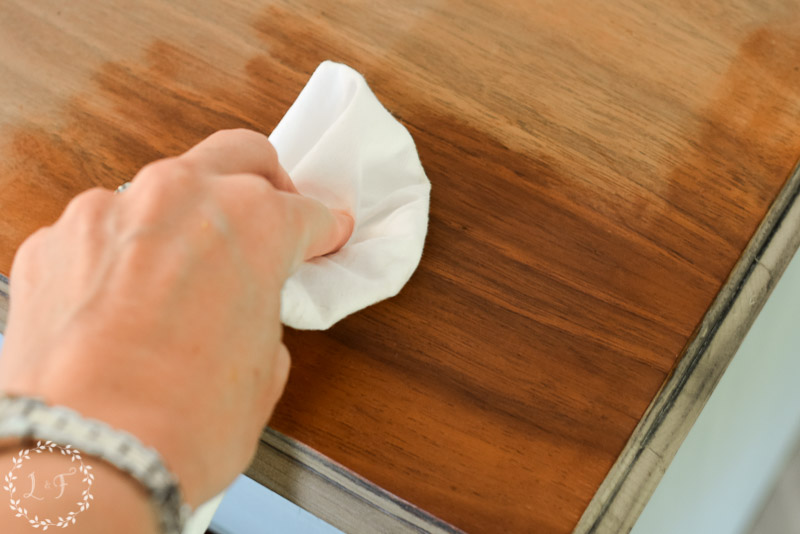
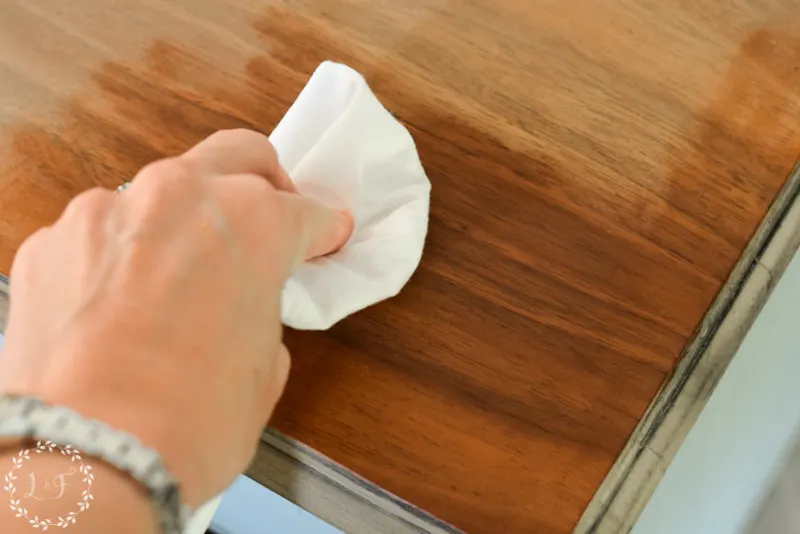
This is such an easy way to refinish a top, and creates a very natural look that fits with the popular farmhouse style well.
After the second coat of paint was dry on the base, I rubbed some 220 grit sandpaper over the entire piece and the finish distressed perfectly! A few places had some natural chippiness and I made sure to rub off a bit more of the paint along the edges, which are the places where there woudl be the most natural wear.
Milk paint does have to be sealed with something for the finish to be durable, so I added a quick top coat of the Homestead House Clear Wax. I’m telling you . . . this wax is amazing! Y’all know I don’t do much waxing anymore since the majority of my pieces are painted in Fusion (which doesn’t need a topcoat), but when I do need to use a wax, THIS one is my go-to. It’s literally a smooth as soft butter and glides on so easily.