Create your own DIY Easter porch decor with this tutorial for a door sign made out of a vintage Easter postcard image. Read on below for my easy tutorial and several more great ideas for other outdoor Easter decorations you can make yourself.
This post may contain affiliate links · This blog generates income via ads
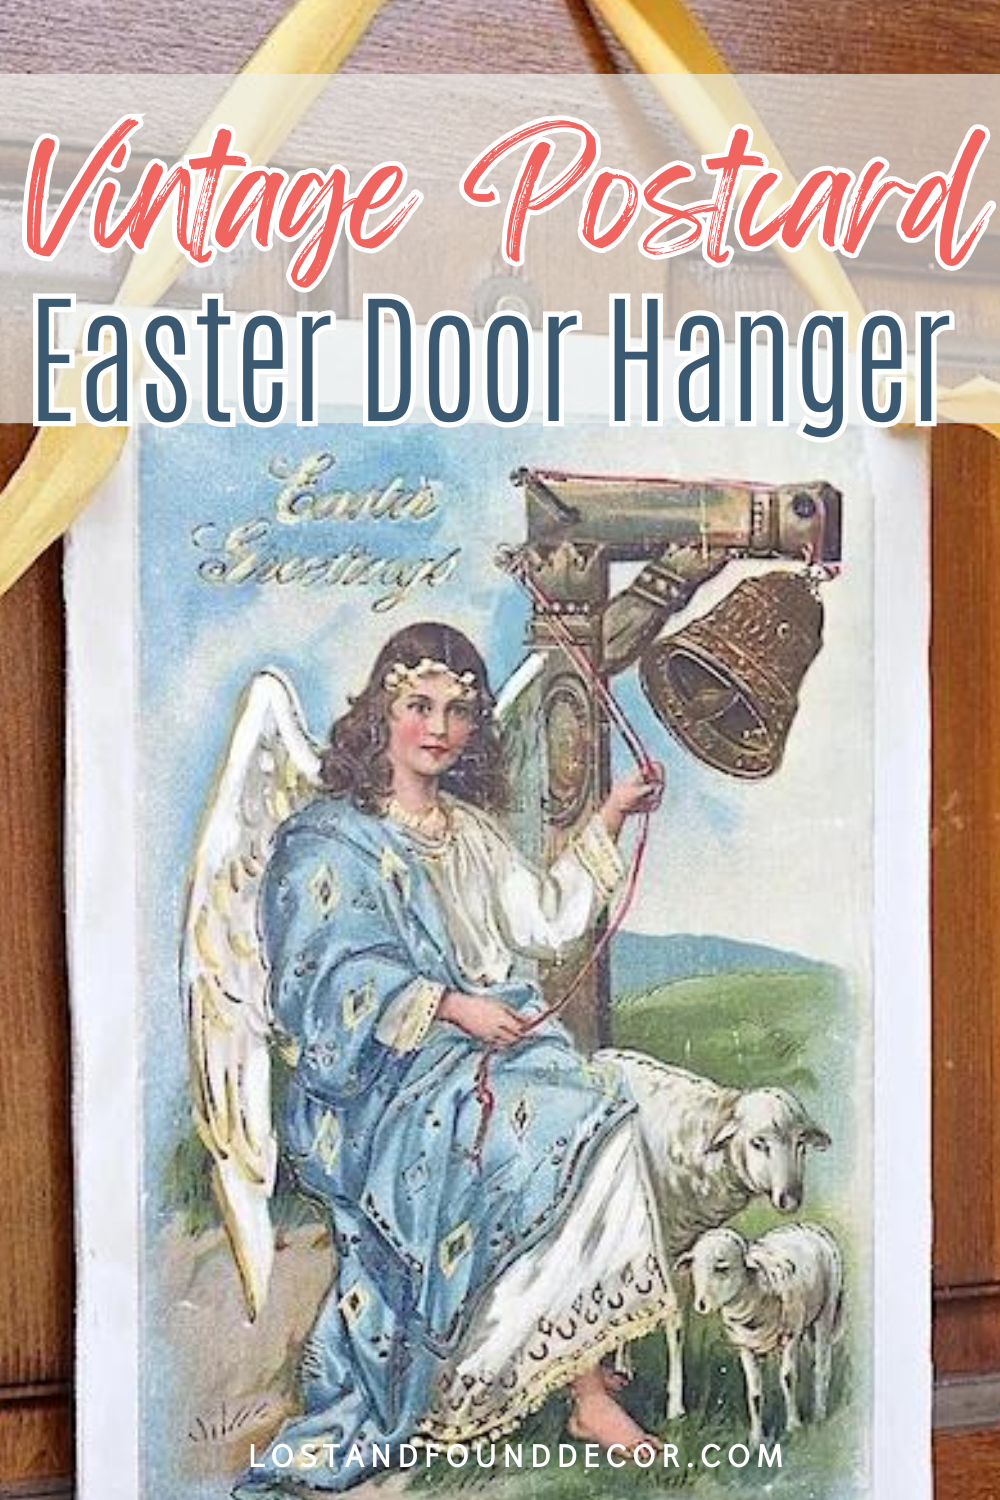
Vintage Easter Postcard Sign for Your Front Door
I love the Easter season! Signs of new life are popping up everywhere outdoors, and the warmer weather allows us to get outside and enjoy our outdoor space again.
And to celebrate the Easter holiday, our family usually puts up a few festive decorations inside. But why stop there? You can also add some outdoor decorations to celebrate the spring season.
A great way to decorate your front door is to make your own hanging Easter sign.

I personally love the look of vintage postcards and like decorating with them for the seasons. But the problem is they are very small!
I’ve found a way, though, to take those same great images and make them bigger, turning them into hanging wooden signs.
During Christmas time, I made some fantastic wooden signs using vintage postcard graphics and a product called Transfer Gel from Fusion Mineral Paint. I really liked how they turned out, so I thought I could try out the method again with a vintage Easter graphic.
Have you ever used a Transfer Gel?
Transferring images onto a surface using transfer gel creates a whole different look than if you were to decoupage them. With the transfer method, the texture of the surface underneath, whether canvas or wood, shows through your image and adds really unique character to the finished project.
It can take a little bit of practice to learn the method of transferring an image with Transfer Gel, though.
Follow along with my step-by-step process below, and you will be ready to try your own project!
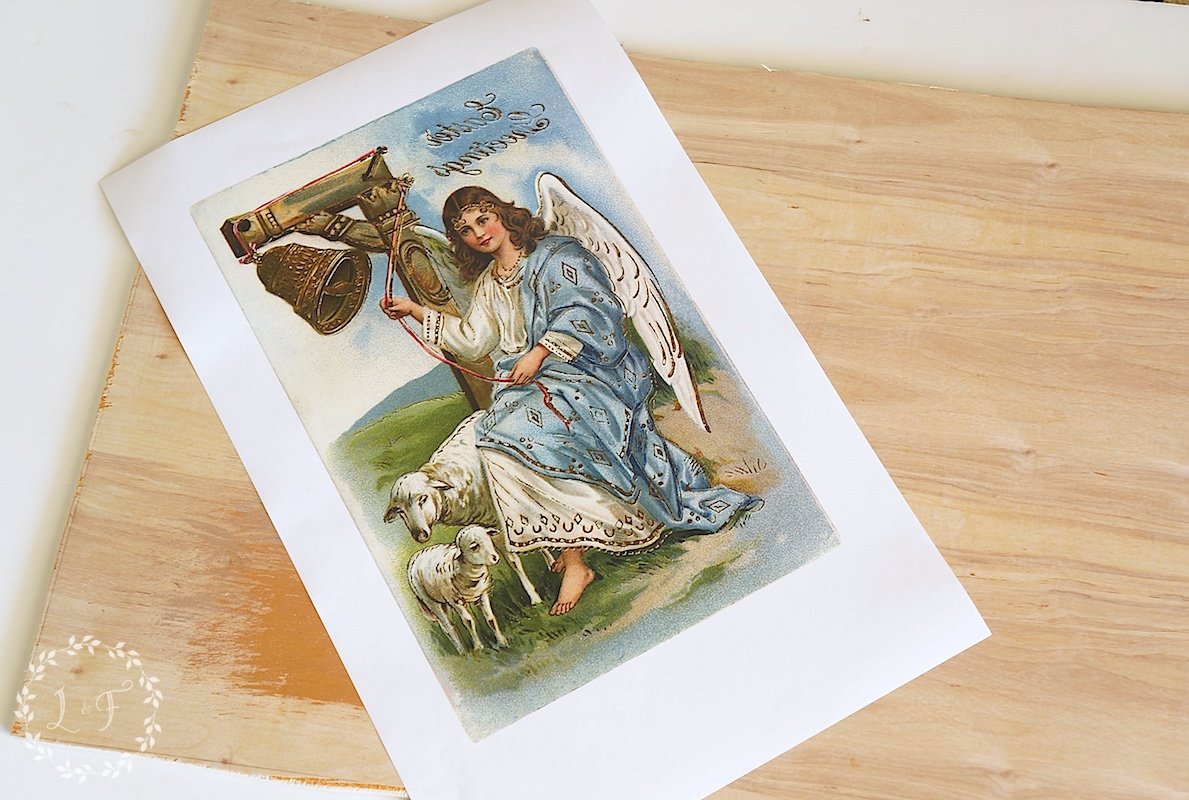
Step 1: Select your Image and Surface
Any image can be used for a transfer, but a laser printer must print the image.
Since I don’t have a laser printer at home, I download my image to a thumb drive and take it to a local print shop. They can also enlarge the image so it will fit my wood sign, and the cost is usually $4-$5.
Where can you find a vintage postcard image for your sign?
The graphic I chose for this project came from TheGraphicsFairy.com, a fantastic online source of copyright-free graphics. There, you can download plenty of vintage Easter postcards to your computer for free. Pick any one you like for your Easter sign!
Additional Tips for Selecting Your Image:
- Images with lots of saturated colors tend to transfer better than muted color images.
- Any white space on your image won’t transfer. The Transfer Gel transfers the ink from the image, and where there is white, there is no ink.
- If you have any words on your graphic, make sure to reverse it before you print it. I used a program called Swift Publisher on my computer to reverse my Easter image, but there are several other computer programs that can do it for you also.
- You can use a variety of surfaces as well as your base: wood, canvas, porcelain or terra cotta. My personal favorite is wood because I love the texture it creates on the transferred image.

Step 2: Prepare your Surface and Image
Remember that whatever color is on your surface will show through your transferred image in all the spots that are white or have no graphic.
To maintain the bright colors of my angel picture, I painted the board with a quick coat of Fusion Mineral Paint in Champlain (a creamy white), so the white color would show through rather than the brown wood.

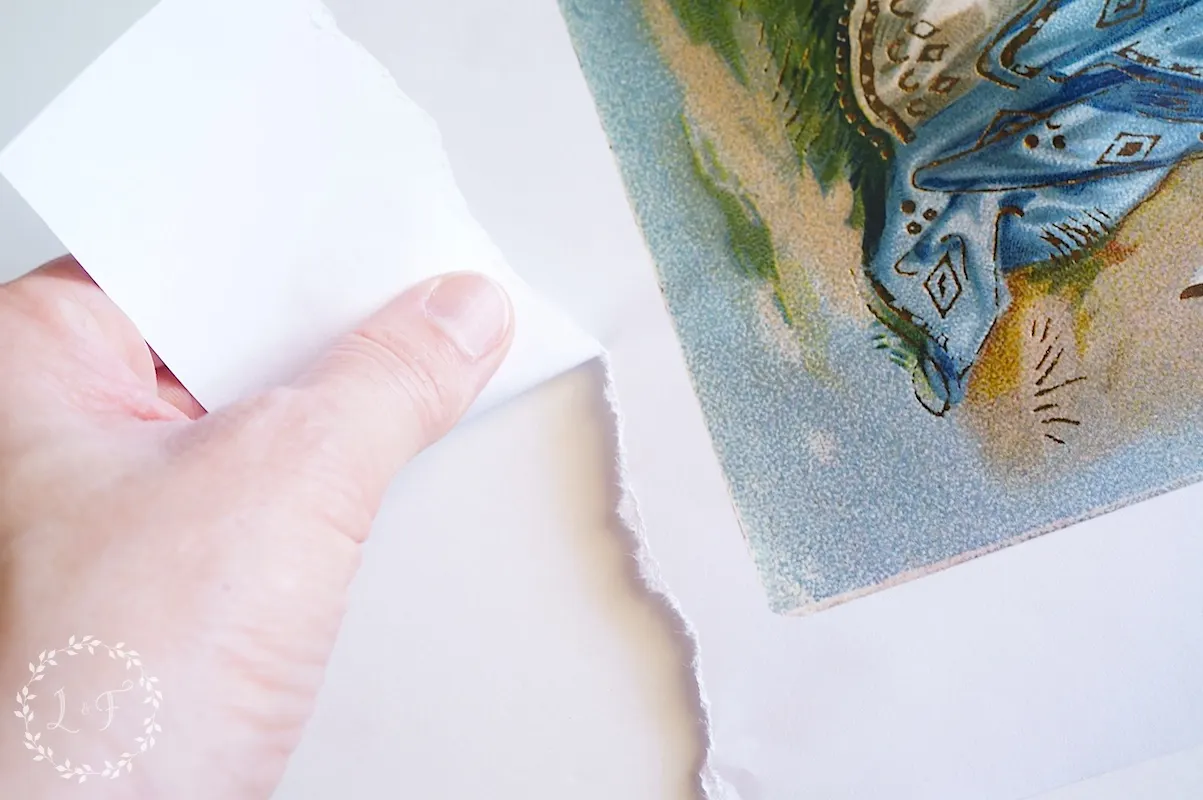
You also want to carefully tear along the edge of your image. Tearing, rather than cutting, helps the transferred image blend more into your surface once finished.
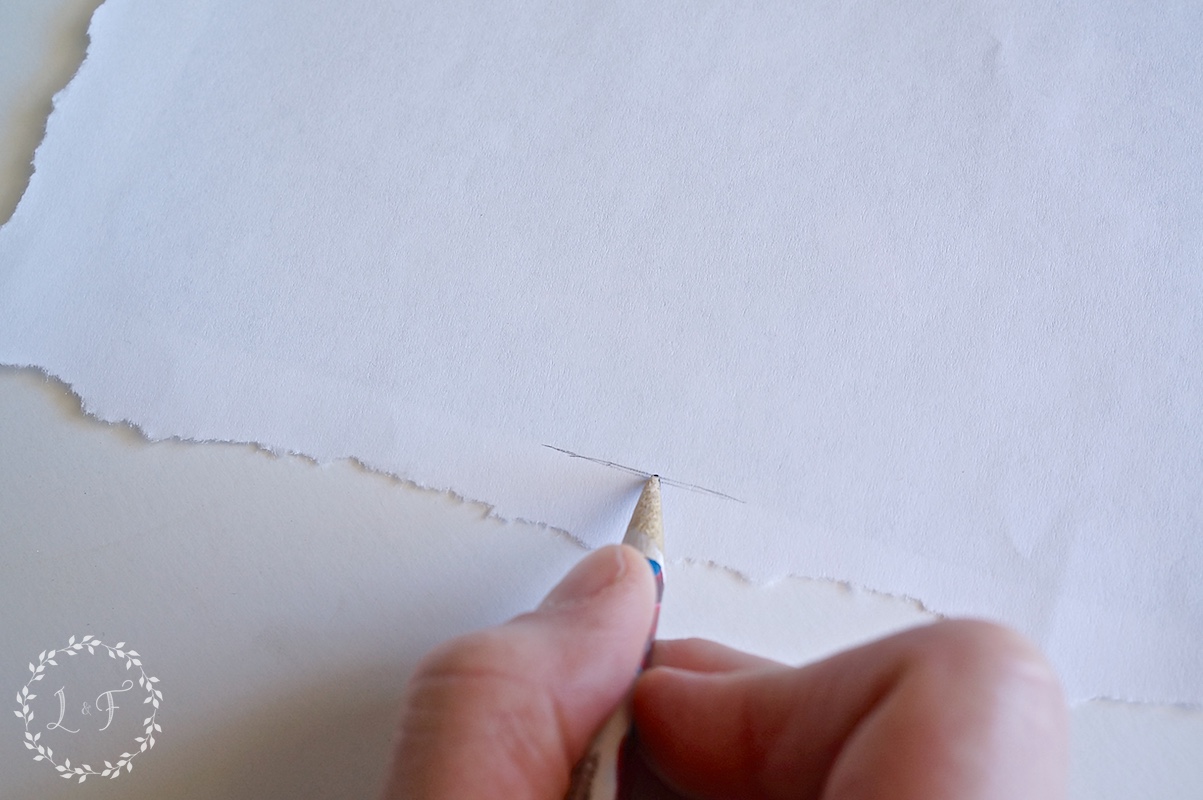

I like to make a pencil mark on the bottom and top line of my image, so when I am placing it onto the surface, I can make sure it’s not crooked.
Step 3: Apply Fusion Transfer Gel
Fusion’s Transfer Gel is slightly thicker than regular paint. I brushed it onto the surface using a foam brush, trying to get it fairly evenly distributed.
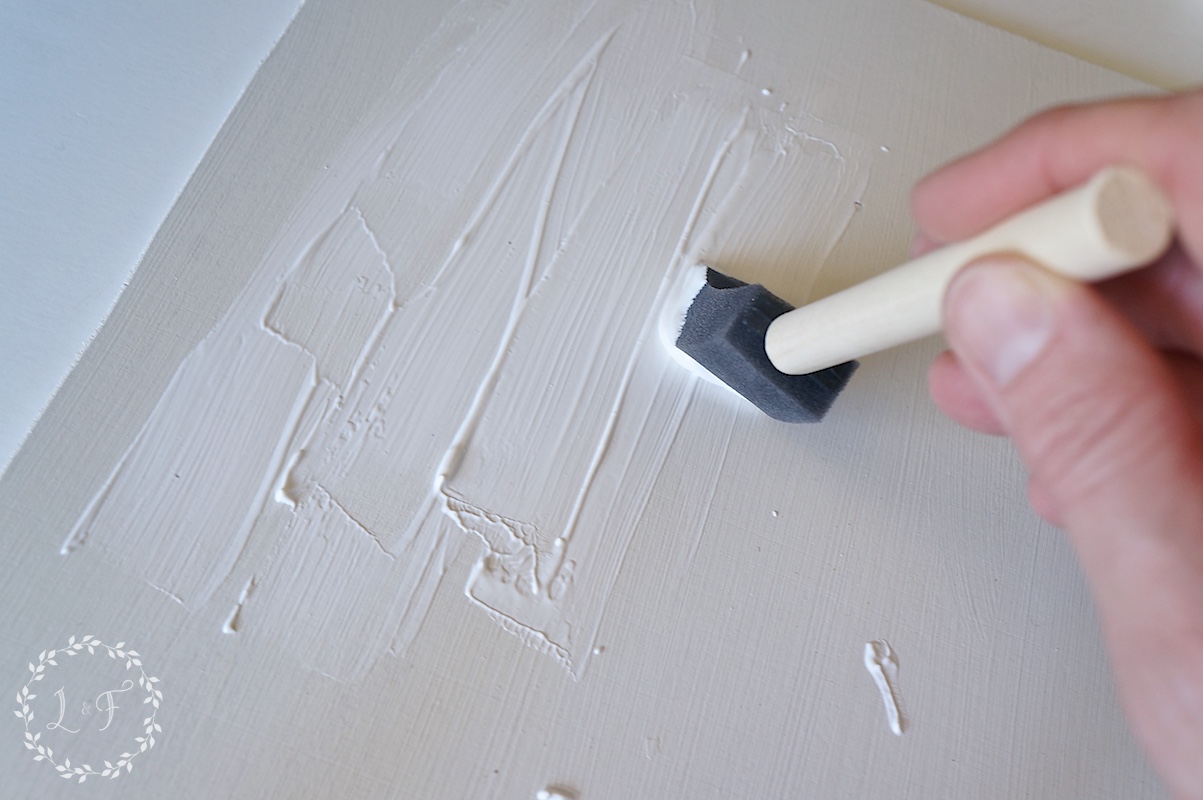

You’re looking to get about a dime’s thickness of Transfer Gel onto the surface.

Step 4: Place Your Image on the Surface
Making sure it’s straight (which you can tell from your pencil marks), place your image face-down onto the surface painted with the Transfer Gel.

Gently press the image with your fingertips, working out any bubbles. You may need to wipe off a little excess gel that seeps out of the sides.
Be careful not to press too hard or work the image too much though because it can easily rip.
Step 5: Allow to Dry Overnight
Set your project somewhere out of reach of pets and small children and let it dry for at least 24 hours.
If you can afford to let it sit for longer, then do so. Typically the more time it has to dry, the better.
Step 6: Wet down the Image
Once dry, take a rag and thoroughly wet down the backside of the image.
You don’t want water pooling and running off the surface, but you want to get the paper good and soaked through.

Once the image is soaked, start gently rubbing with your fingertips to remove the wet paper. Rubbing very gently is key!
Once you have rubbed the entire surface and gotten the first layer of paper off the image, set it aside for a few minutes to dry out.

Step 7: Repeat Step 6 Once, Twice, or Three More Times
This is when patience becomes helpful! You will need to keep working on wetting and rubbing the paper several more times to get the bulk of the excess paper off.
If you let the surface dry after each time you work on it, you can get a clearer picture of where the paper still is and what areas need more attention.

This is my dried graphic after my first time wetting and rubbing the image.
You can see there is still a good bit of paper left, so I started wetting and rubbing it again, working in small areas.

Go SLOWLY at this point and be EXTRA GENTLE.
You may have a few places where you rub through the image all together down to the surface. Try not to freak out. 🙂
I embrace the imperfection of the process. But when that happens, you know you need to leave that area alone for a bit so that you don’t tear the image more.
The next photo is after round two, and you can see it looks better.
So be patient, and keep working on your image until most of the extra paper is gone.

Step 8: Gently Apply Wax to Brighten Image
It took me four times of wetting, rubbing, and drying to get the majority of the paper off my image.
Even then though, there was still some paper haze.
Applying a light coat of furniture wax is the best way to remove that leftover paper haze. It doesn’t take much!

Very gently rub on a light coat of wax and the image comes to life!
After you wax your image, you are officially finished with the transfer process–Congratulations!
You can continue to play around with your project until you get the look you want, distressing it with sandpaper, adding a glaze, or whatever you like.

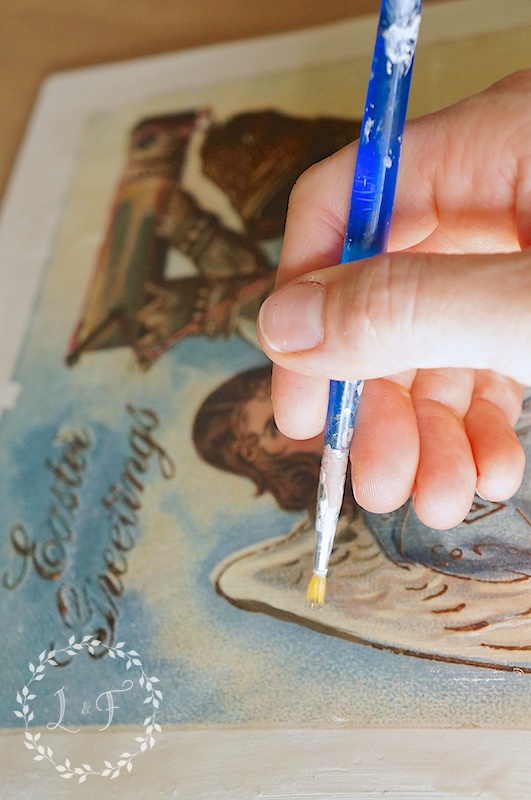
I decided to embellish my angel graphic with a few hand-painted accents using some metallic acrylic paint.

I love playing with the Fusion Mineral Paint Metallics!
I used Bronze, Pearl, and Gold for this project, and painted on a little of each using a very small artist brush.
I wanted to accent the angel’s robe and wings more, so I added some Pearl to her wings as well as Bronze and Gold to certain parts of her wings and robe.
After the paint dried, I gave the whole surface a very light sanding and drilled a hole into each top corner so I could run a thick yellow ribbon through as a hanger.
The finished sign is the perfect addition to my front door!


Using the extra detail of the metallic paint was a fun way to add a little bit of shine.

She is a very lovely angel 🙂

I hope you all have enjoyed this project! If you would like to try using Fusion Transfer Gel to make your own postcard sign, you can shop with my unique affiliate link and get 10% off your order when you use this link: Get 10% off Fusion Products Here.
More Ideas for DIY Easter Porch Decorations
There are a lot of fun ideas for how you can spruce up your front porch for the Easter holiday or just to celebrate the start of spring. Let’s take a look at some projects shared by my fellow bloggers for more inspiration.
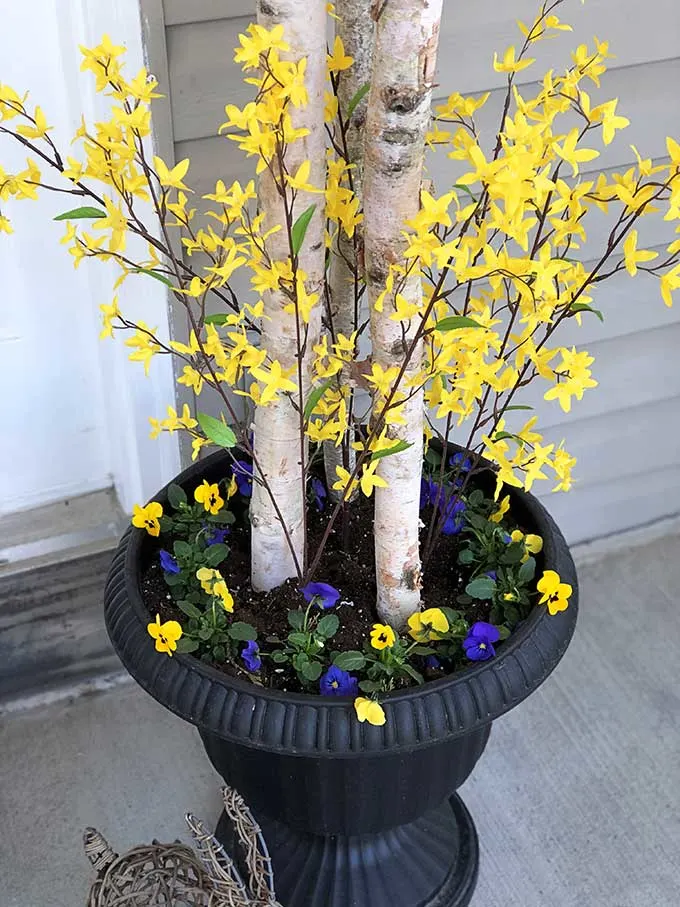
A New Look for an Existing Planter
Pam from House of Hawthornes refreshed the potted arrangement on her porch she had leftover from Christmas.
Instead of starting over from scratch, she kept the large birch tree branches she used over the holidays and added a mix of fresh and faux flowers to give the arrangement a spring feel.
The forsythia branches add a splash of color and definitely say “Spring.”

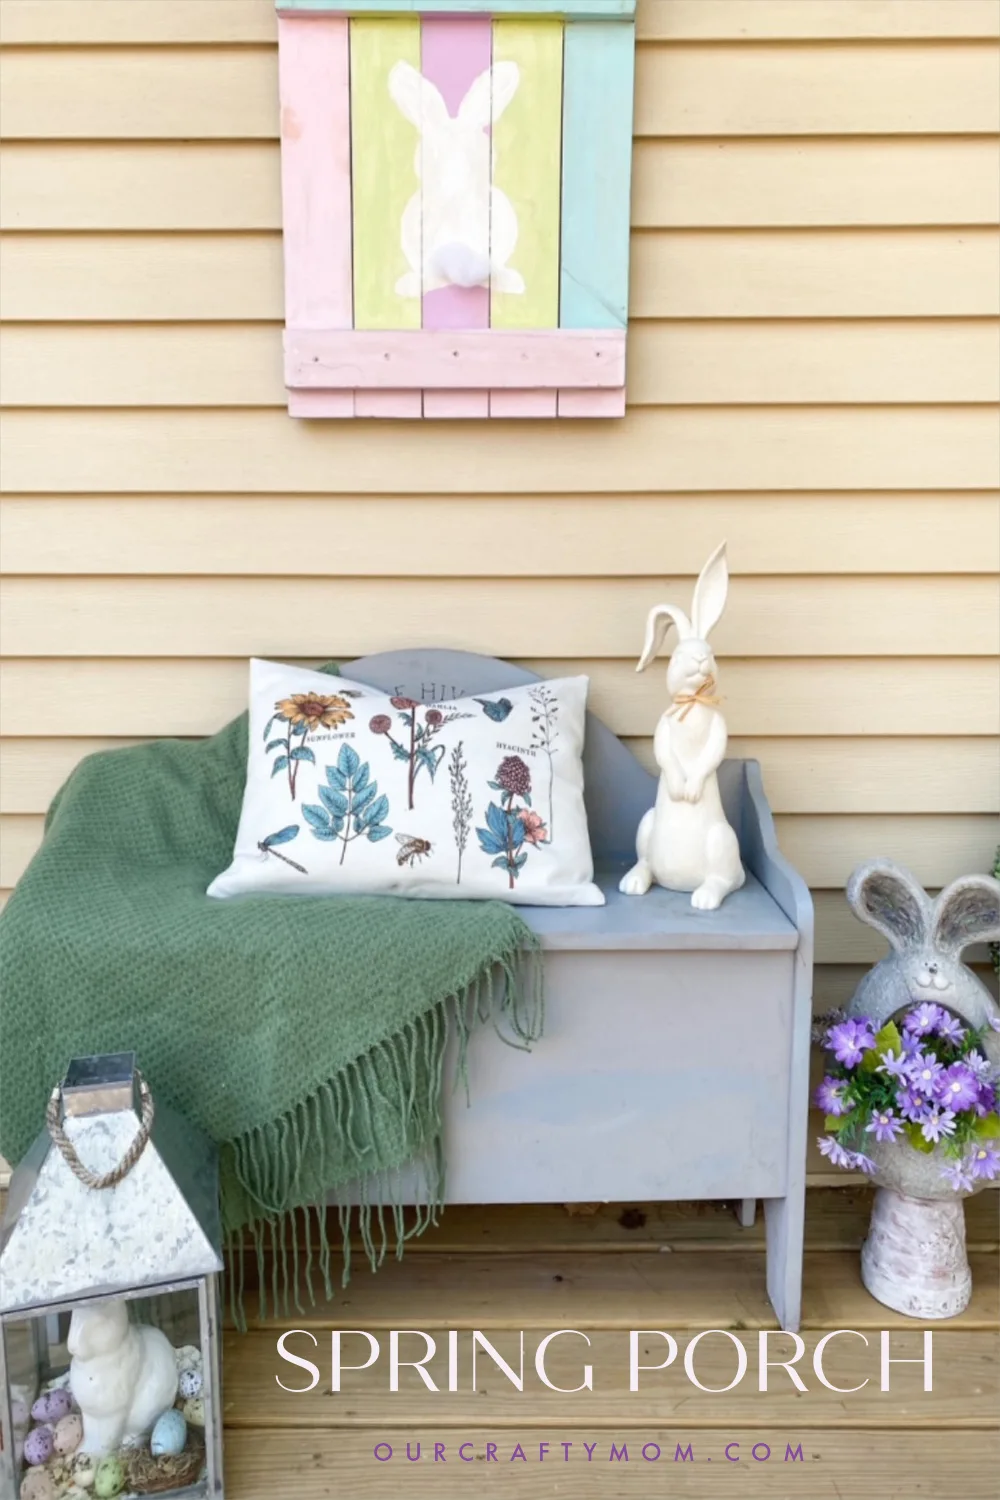
Easy Easter Front Porch Decor
Michelle from Our Crafty Mom thinks her front porch is the perfect place to decorate for Easter. She adds a touch of charm with a variety of small decorative items, including lanterns filled with colorful eggs, fresh spring flowers, and a cute DIY easter bunny sign.
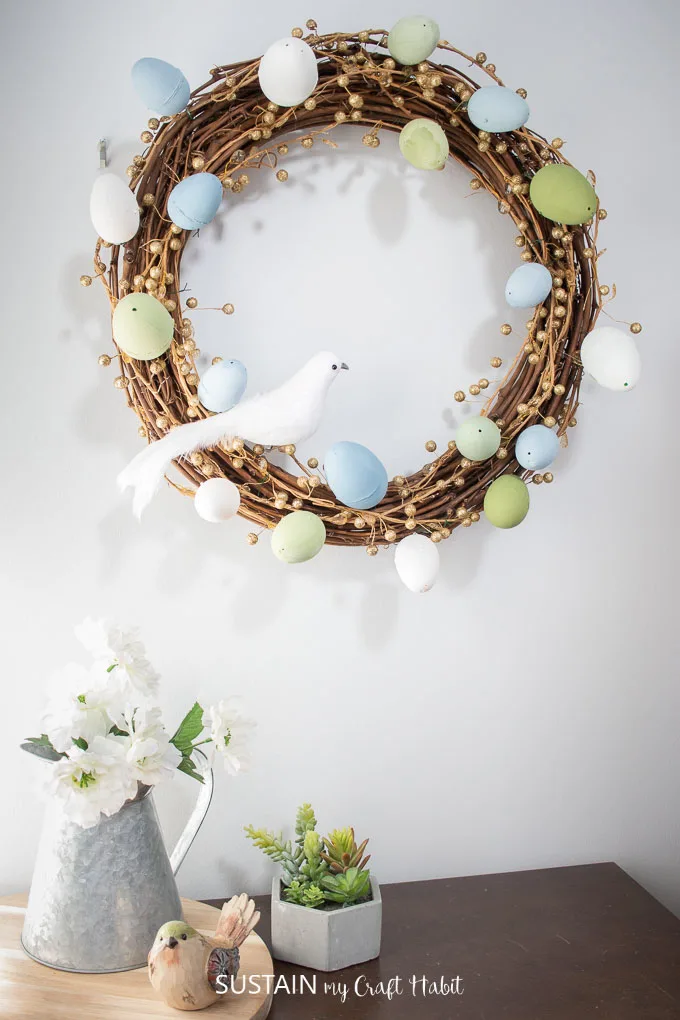
Painted Plastic Easter Egg Wreath
Jane from Sustain My Craft Habit used chalk paint to paint regular plastic eggs with pretty pastel colors. She attached them to a grapevine wreath using a hot glue gun and accented with some gold berries. The result is an adorable easter wreath that cost her hardly anything to make!
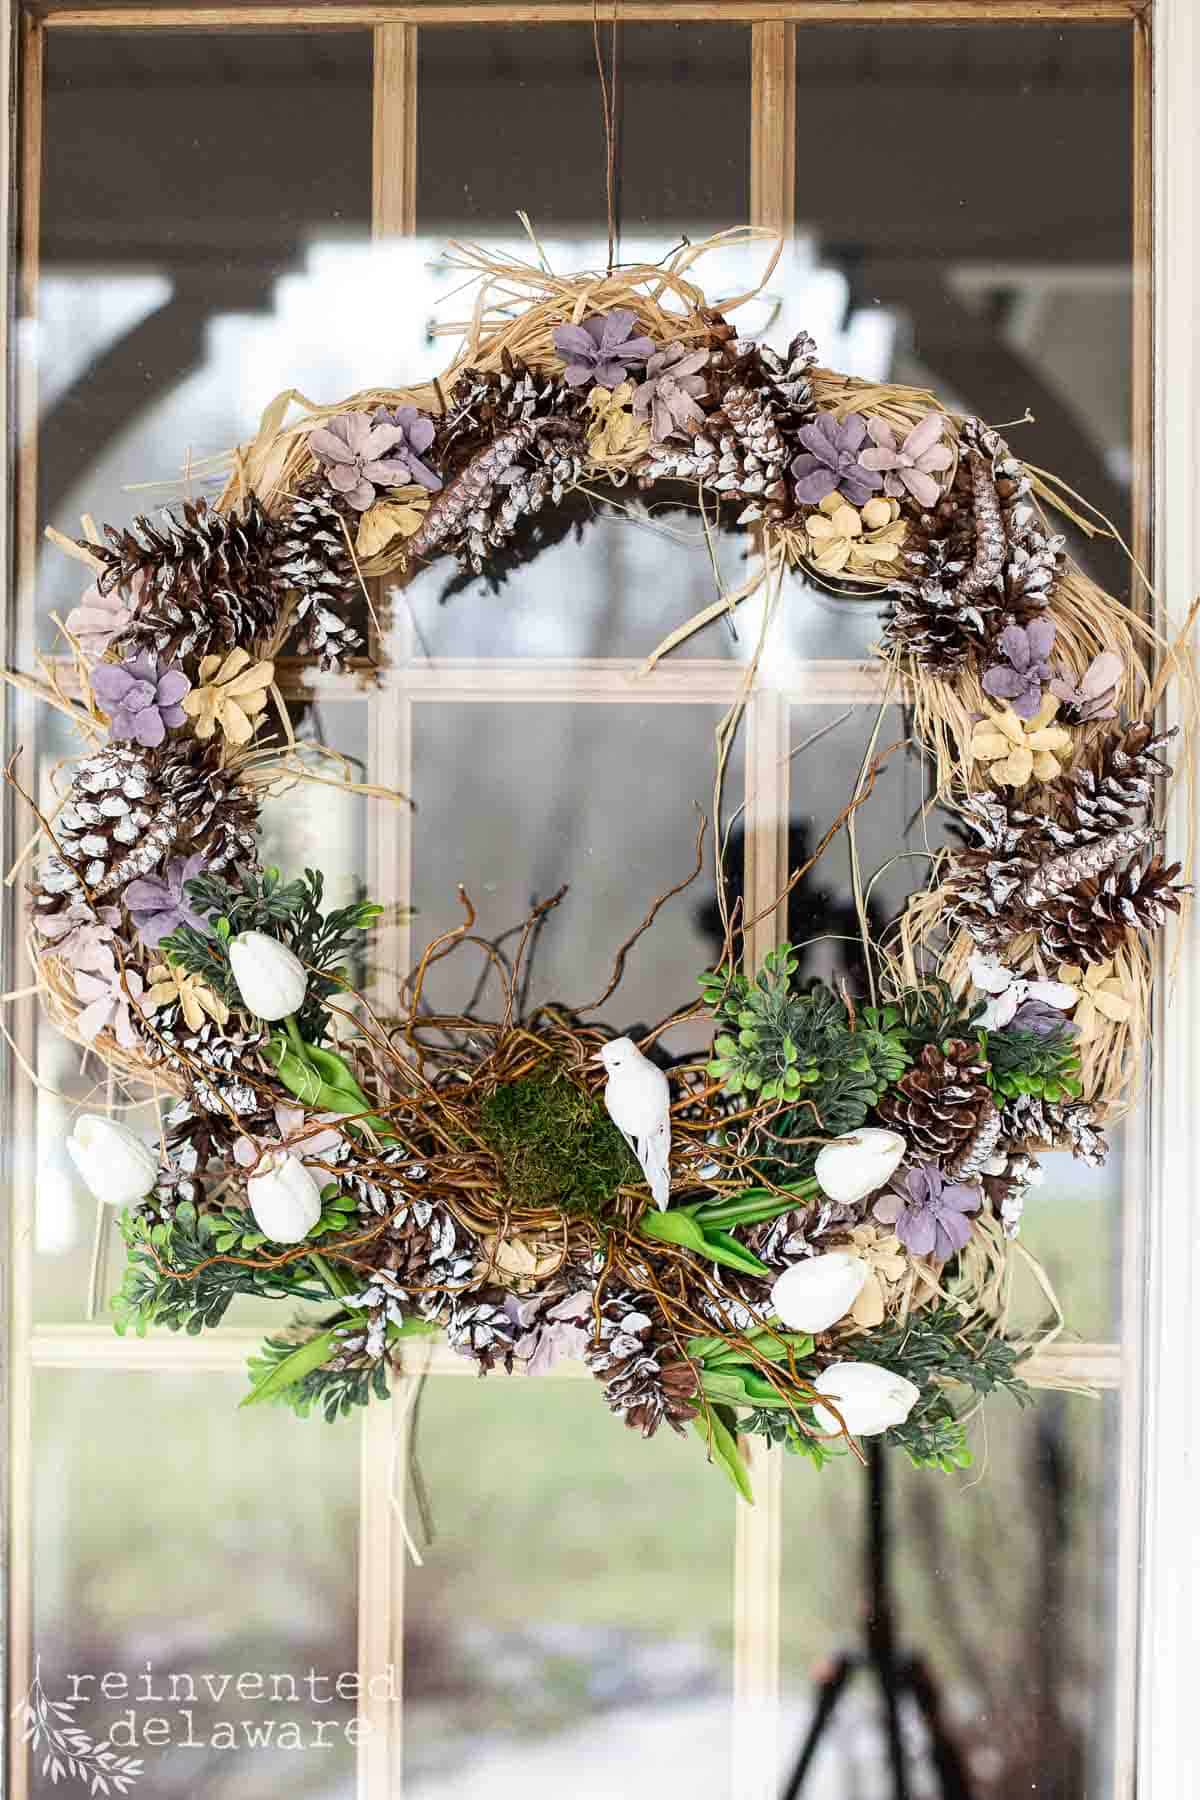
Neutral Floral Wreath for Easter
Taking a wreath you already have and upcycling it for a new season is an easy way to decorate on a budget. Cindy from Reinvented Delaware did just that when she took a wreath she was using for winter and added new elements to give it a spring look.
She painted the pinecones in different colors and added a small bird’s nest she made from twigs she found in her yard. If you don’t happen to have twigs that will work for this in your yard, your local craft store is a great place to find faux bird’s nests.

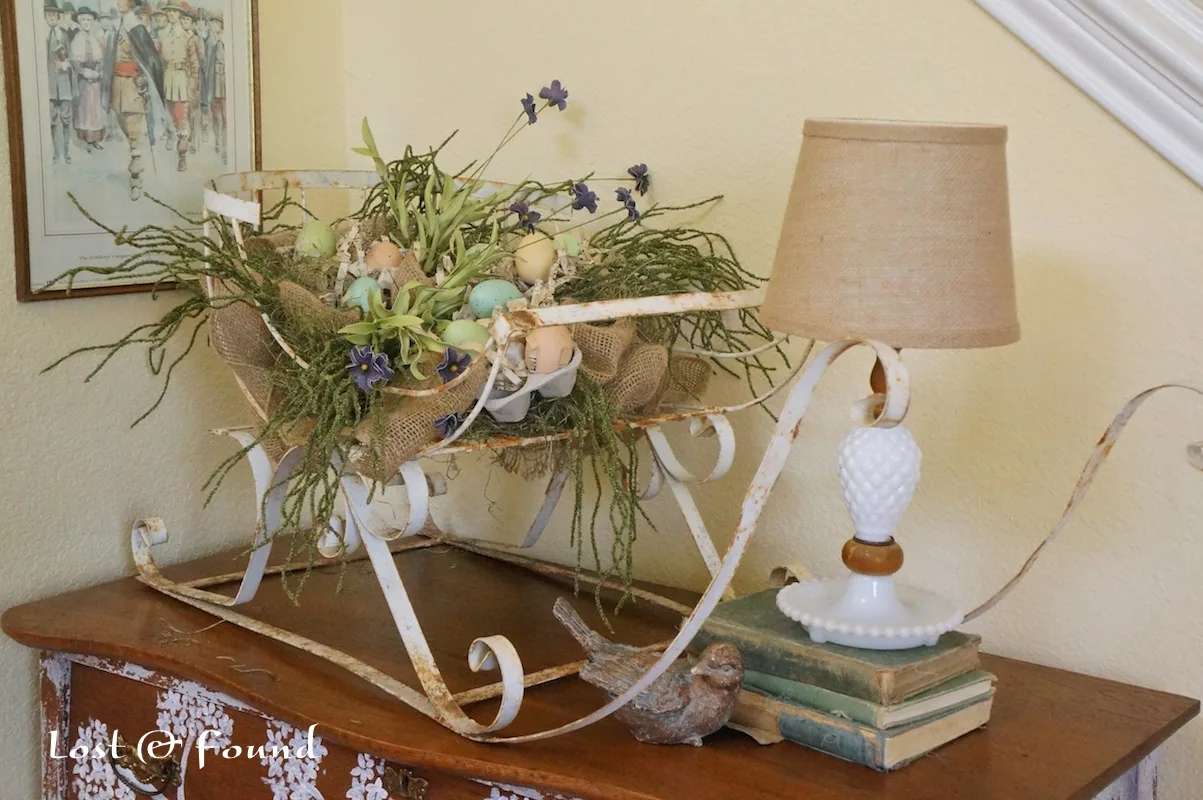
Upcycled Flea Market Sleigh Easter Decor
If you’re itching to try another spring project, you can check out my Christmas flea-market leftover turned Spring Sleigh Centerpiece post for another DIY spring-themed idea.
I used this project inside, but you could easily use something like this outdoors as well if you have a covered porch area.

Thank you for Joining Me Today!
I hope you’ve been inspired to make some of your own DIY Easter porch decor this year! If you try any of these projects, please stop back by and leave a comment telling me how they went. And Happy Easter!


Christina
Thursday 10th of March 2016
Oh this is turned out beautifully! I've always wanted to try this technique and your tutorial is wonderful- I just love the Graphics Fairy too Visiting from the blog hop Cheers
Christina
Thursday 10th of March 2016
Oh this is turned out beautifully! I've always wanted to try this technique and your tutorial is wonderful- I just love the Graphics Fairy too Visiting from the blog hop Cheers
Bliss
Wednesday 9th of March 2016
Excellent tutorial. Questions; what is the open time of the medium before you must get that picture onto the surface? And what about using other pictures, have you tried actual photographs, or postcards, other bits of ephemera?
Bliss
Wednesday 9th of March 2016
Excellent tutorial. Questions; what is the open time of the medium before you must get that picture onto the surface? And what about using other pictures, have you tried actual photographs, or postcards, other bits of ephemera?
Karen @ Dogs Don't Eat Pizza
Wednesday 9th of March 2016
Wow - so cool! Really beautiful. Visiting from the #DIYMySpring blog hop! Pinned!