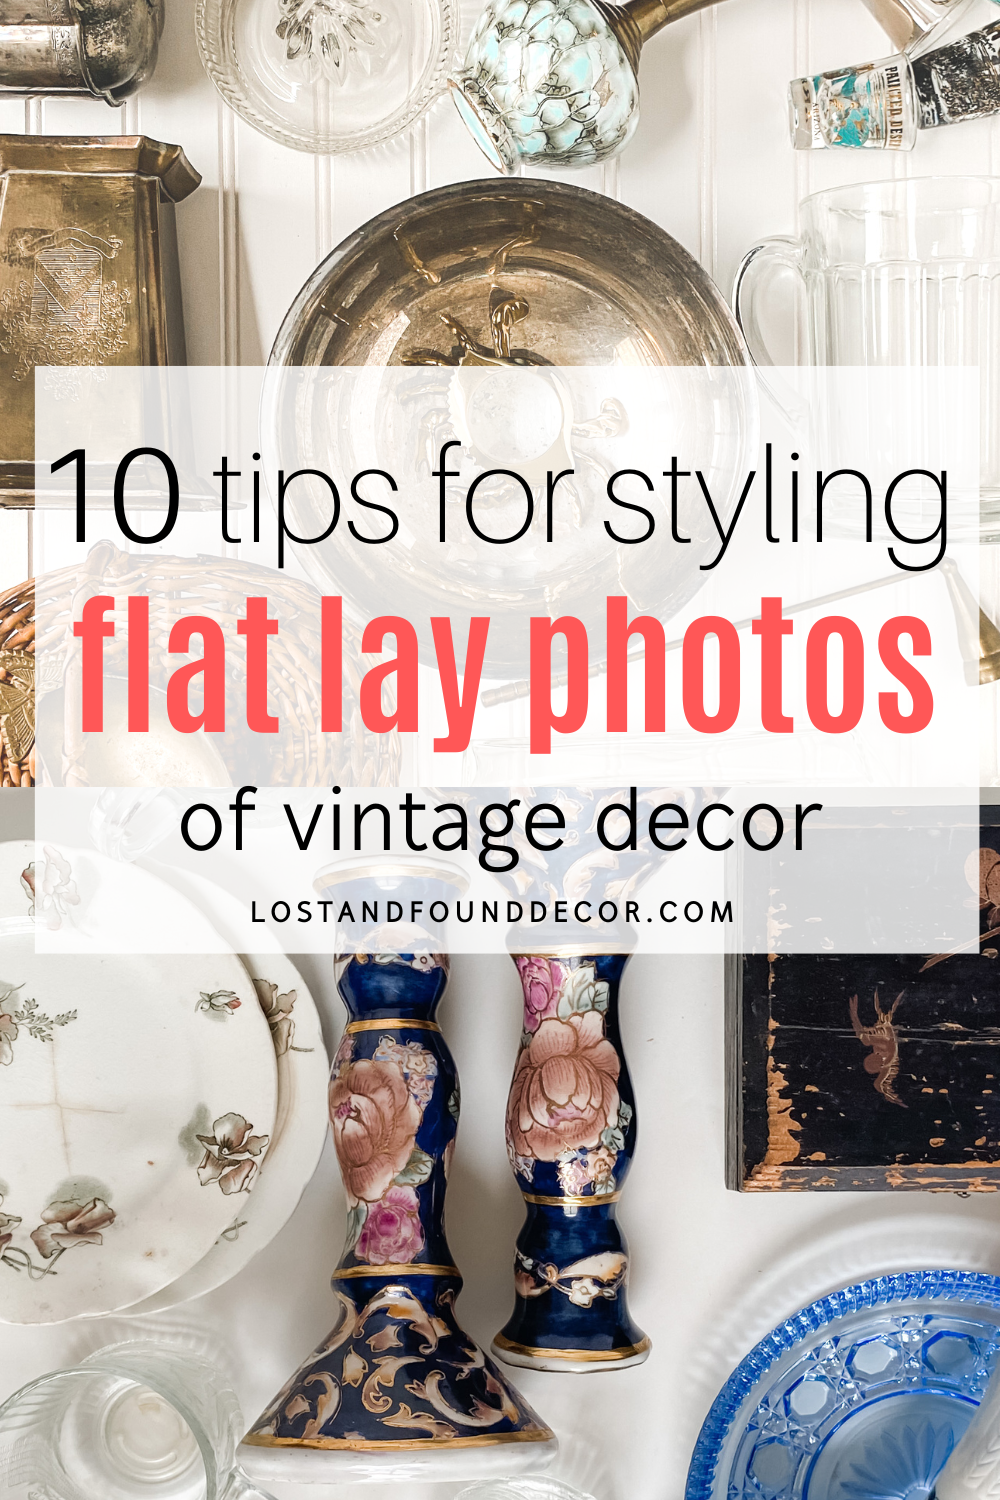
You see them everywhere now– photographs of items laying flat, taken from above, like you’re looking down on them.
There’s a name for this type of photography style, it’s called a flat lay.
The point of any good photo is to tell a story, and flat lay photos do this so well. Something about getting a bird’s eye perspective takes everyday items and makes them more interesting.
But styling a great flat lay image does take a bit of practice. So today I am sharing with you my 10 best tips for getting that perfect shot.

Selling Vintage Items Through Flat Lay Photos
In my area of business–selling vintage items– flat lay photography works really well for telling the stories of my vintage finds.
For several weeks now I have been participating in a community sale on Instagram that features flat lay product photography, and the results have been fantastic!
A good flat lay can be a real scroll stopper and is one of the best ways to highlight your vintage collection for sale.
Even if you are not a reseller though, you can use flat lay photos of your vintage decor for other areas of your business.
They make great header photos for your social media accounts as well as eye-catching content for blog posts.
Or if you just want a new way to enjoy your vintage treasures, arrange them in a flat lay and photograph for your own memory’s sake.
Materials Needed for Flat Lay Photographs
This first obvious need is a camera. I’m often asked if you have to use a nice, hand-held camera for a great flat lay photo, and the answer is no. I sometimes use my DSLR camera, but oftentimes I use my mobile phone.
The benefit of a DSLR camera is that you get more options for creating effects on your photo, as well as more control over the fine-tuning of colors and clarity of the image.
If you’re blogging or taking a lot of photographs for your small business, then I always recommend getting a good DSLR camera–it’s a worthy investment in your business that will pay off!
My friend Cindy has an ebook that is a great resource for anyone looking to learn the basics of DSLR photography, specifically for our vintage and home decor world.
But many newer smartphones have such sophisticated cameras that really, you can get a pretty great flat lay shot with one of those as well. So don’t let the lack of a DSLR camera hold you up.
Another material you need is a clean, level surface to be the background. You can use a spot on your floor if you like or a tabletop (I have done both).
For a different option, I purchased a sheet of white primed beadboard from a local hardware store, and use that often as the backdrop for my photos. It provides a clean, white background with also a bit of visual interest.
One last helpful item is a piece of white foam board. We’ll discuss this more later, but it’s a good idea to keep a piece of this handy to help deal with harsh shadows.
Tips for Best Results with Flat Lay Photos
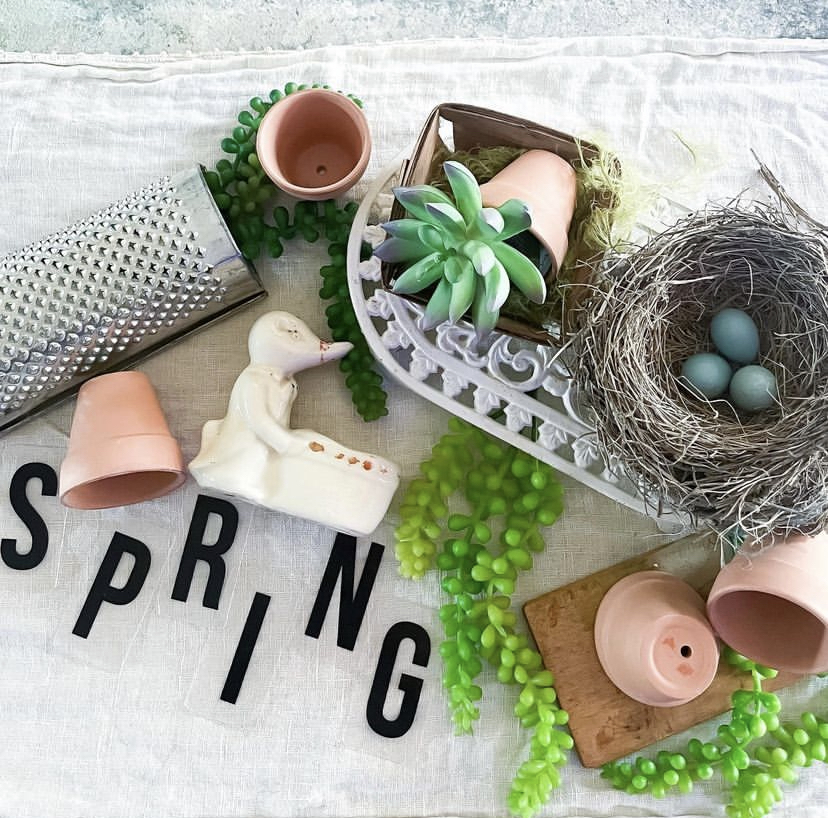
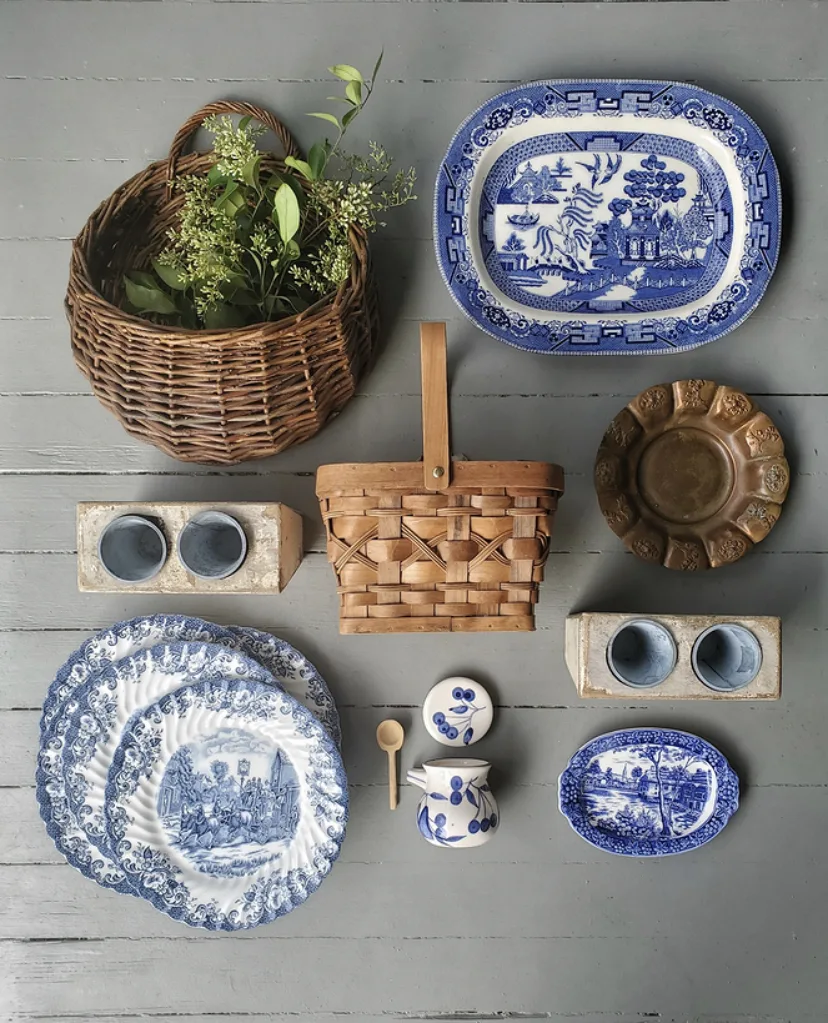
1. Pick a Color Palette
Like any great photo, too many colors in one photo makes for too much work for the human eye. So the first thing to do is decide the color direction for your photo.
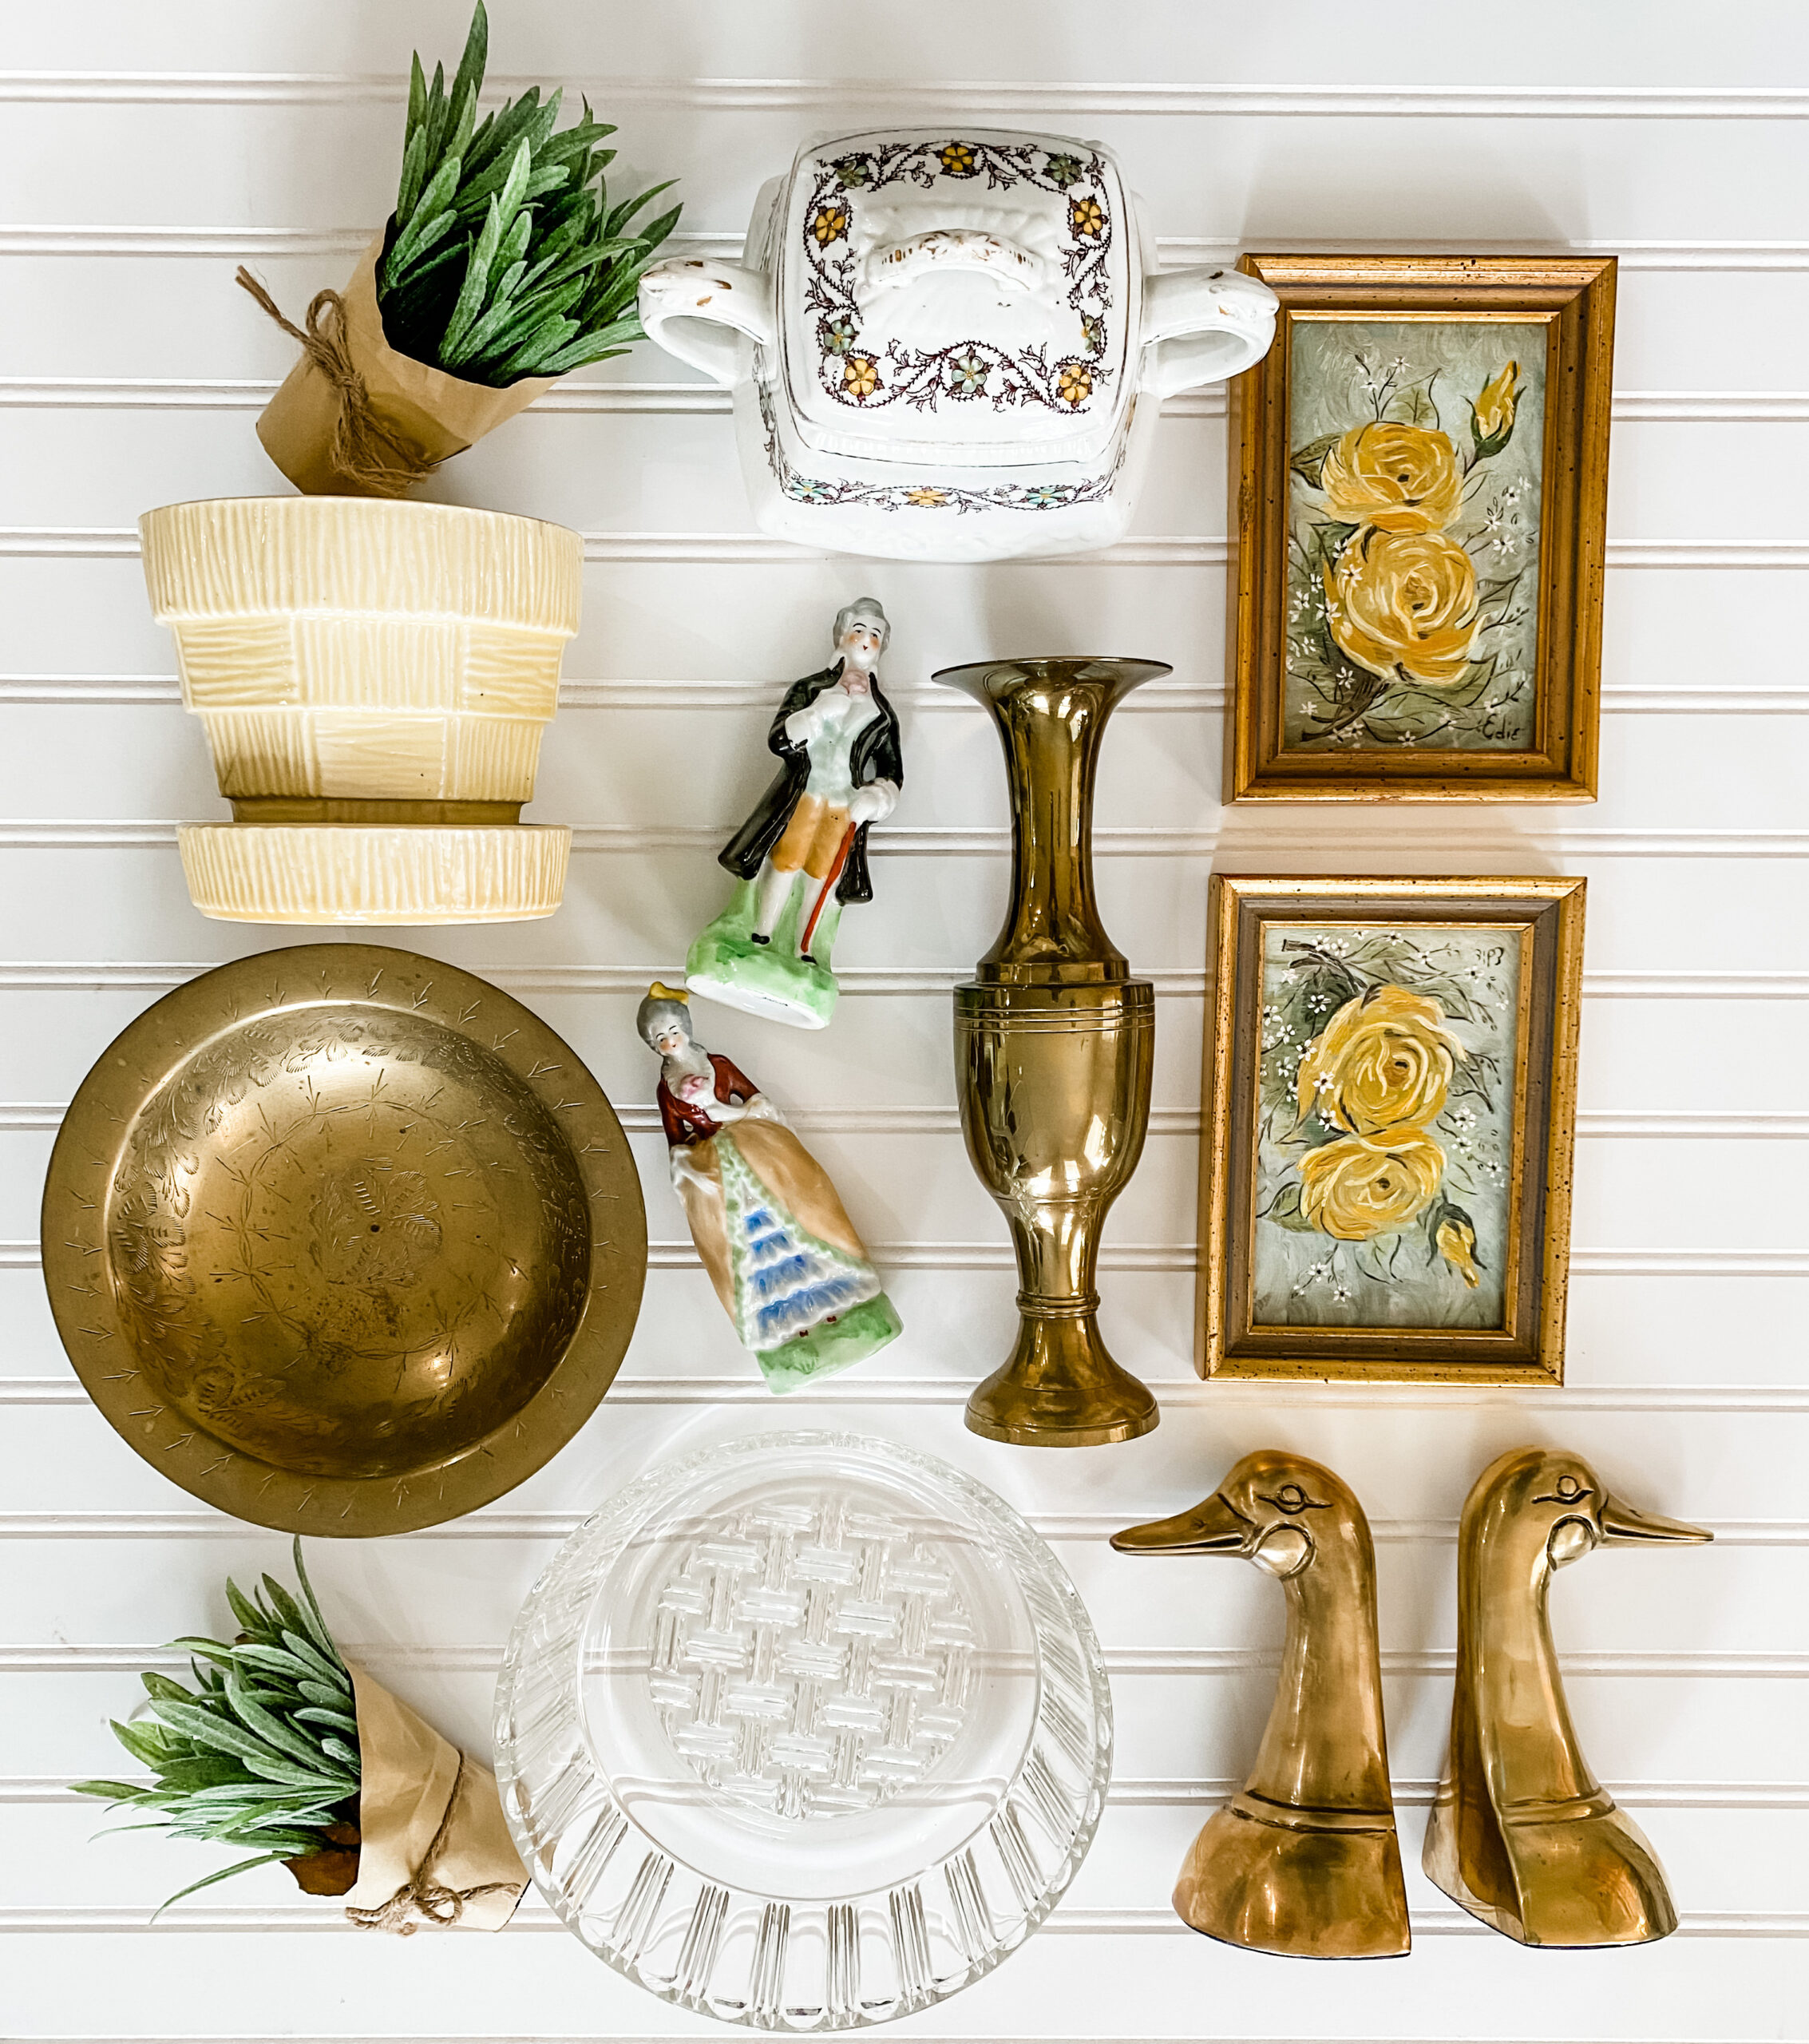
I like to pick a main color and then maybe 1 other accent. You can then fill in with neutral color items if you like.
2. Aim for Balance
When styling your photo, you want to avoid one side of the photo feeling heavier than the other. Be sure to space your items out in a way where the composition feels balanced.
Make sure your feature color is spread out throughout the photo, so that the eye can bounce and follow the color from one spot to the next.

from Britt at The Rusty Gate Farmhouse
This doesn’t mean everything has to be straight–with the flat lay below, the display is angled but the picture is still balanced.
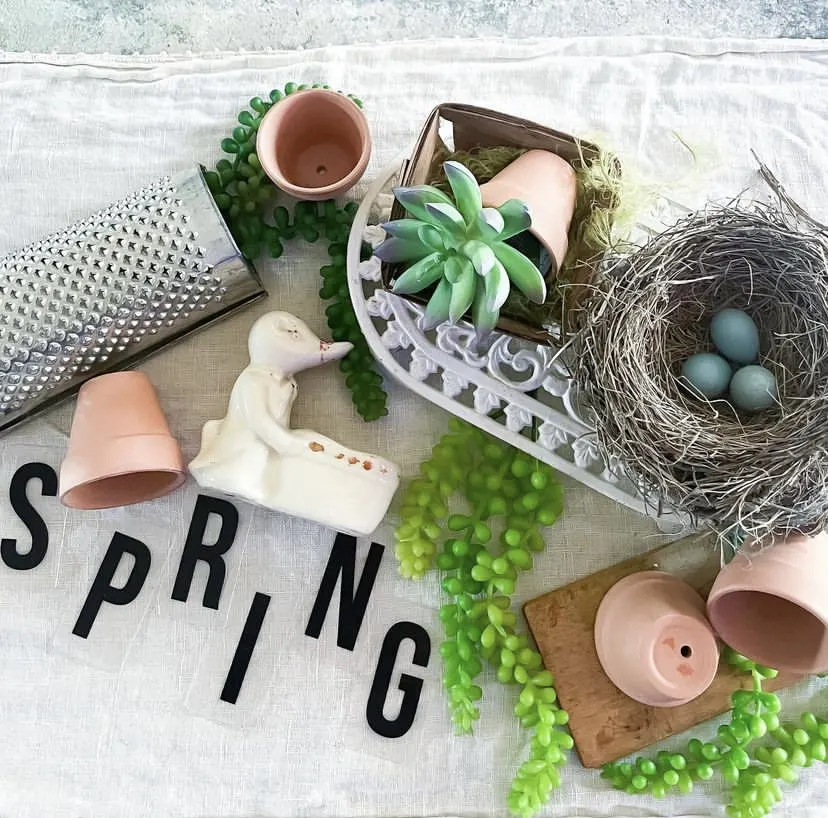
From Debbie of Lil Debbie’s Junk in the Trunk
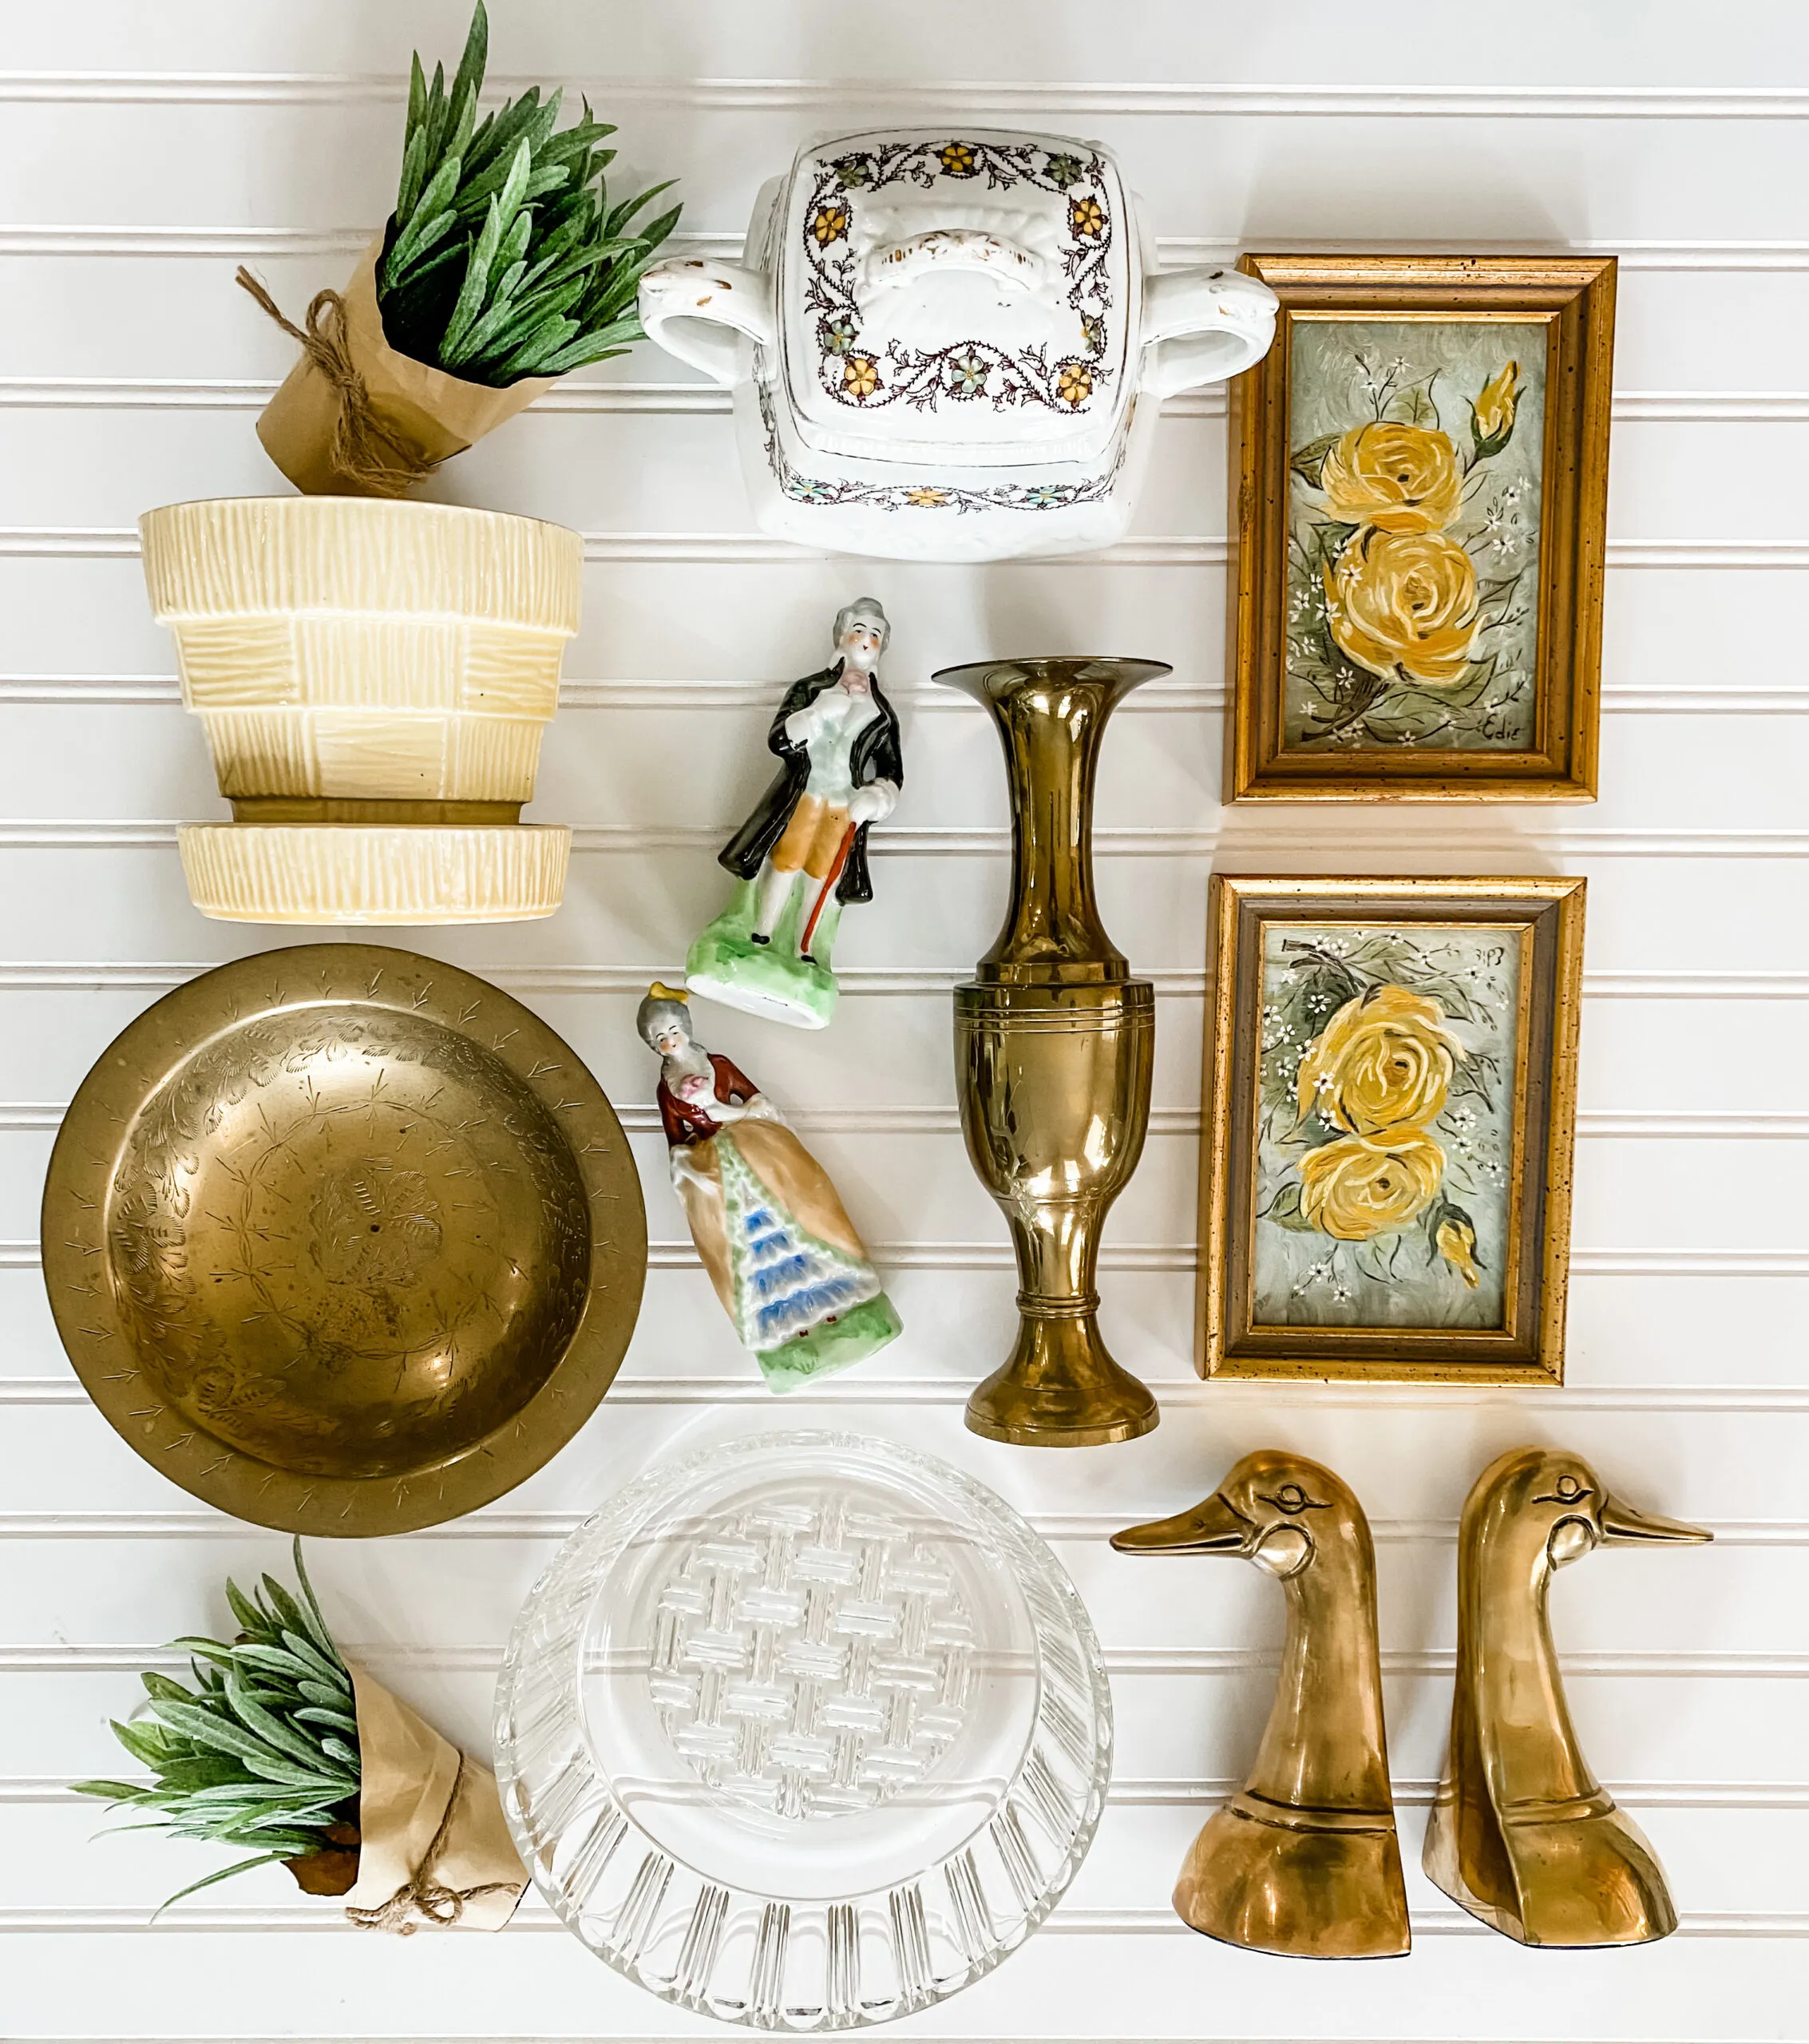
3. Avoid Clutter
Every inch of the surface does not need to be covered by an item. The human eye needs negative space to rest, so make sure there is space between your items and that you can still see the background.
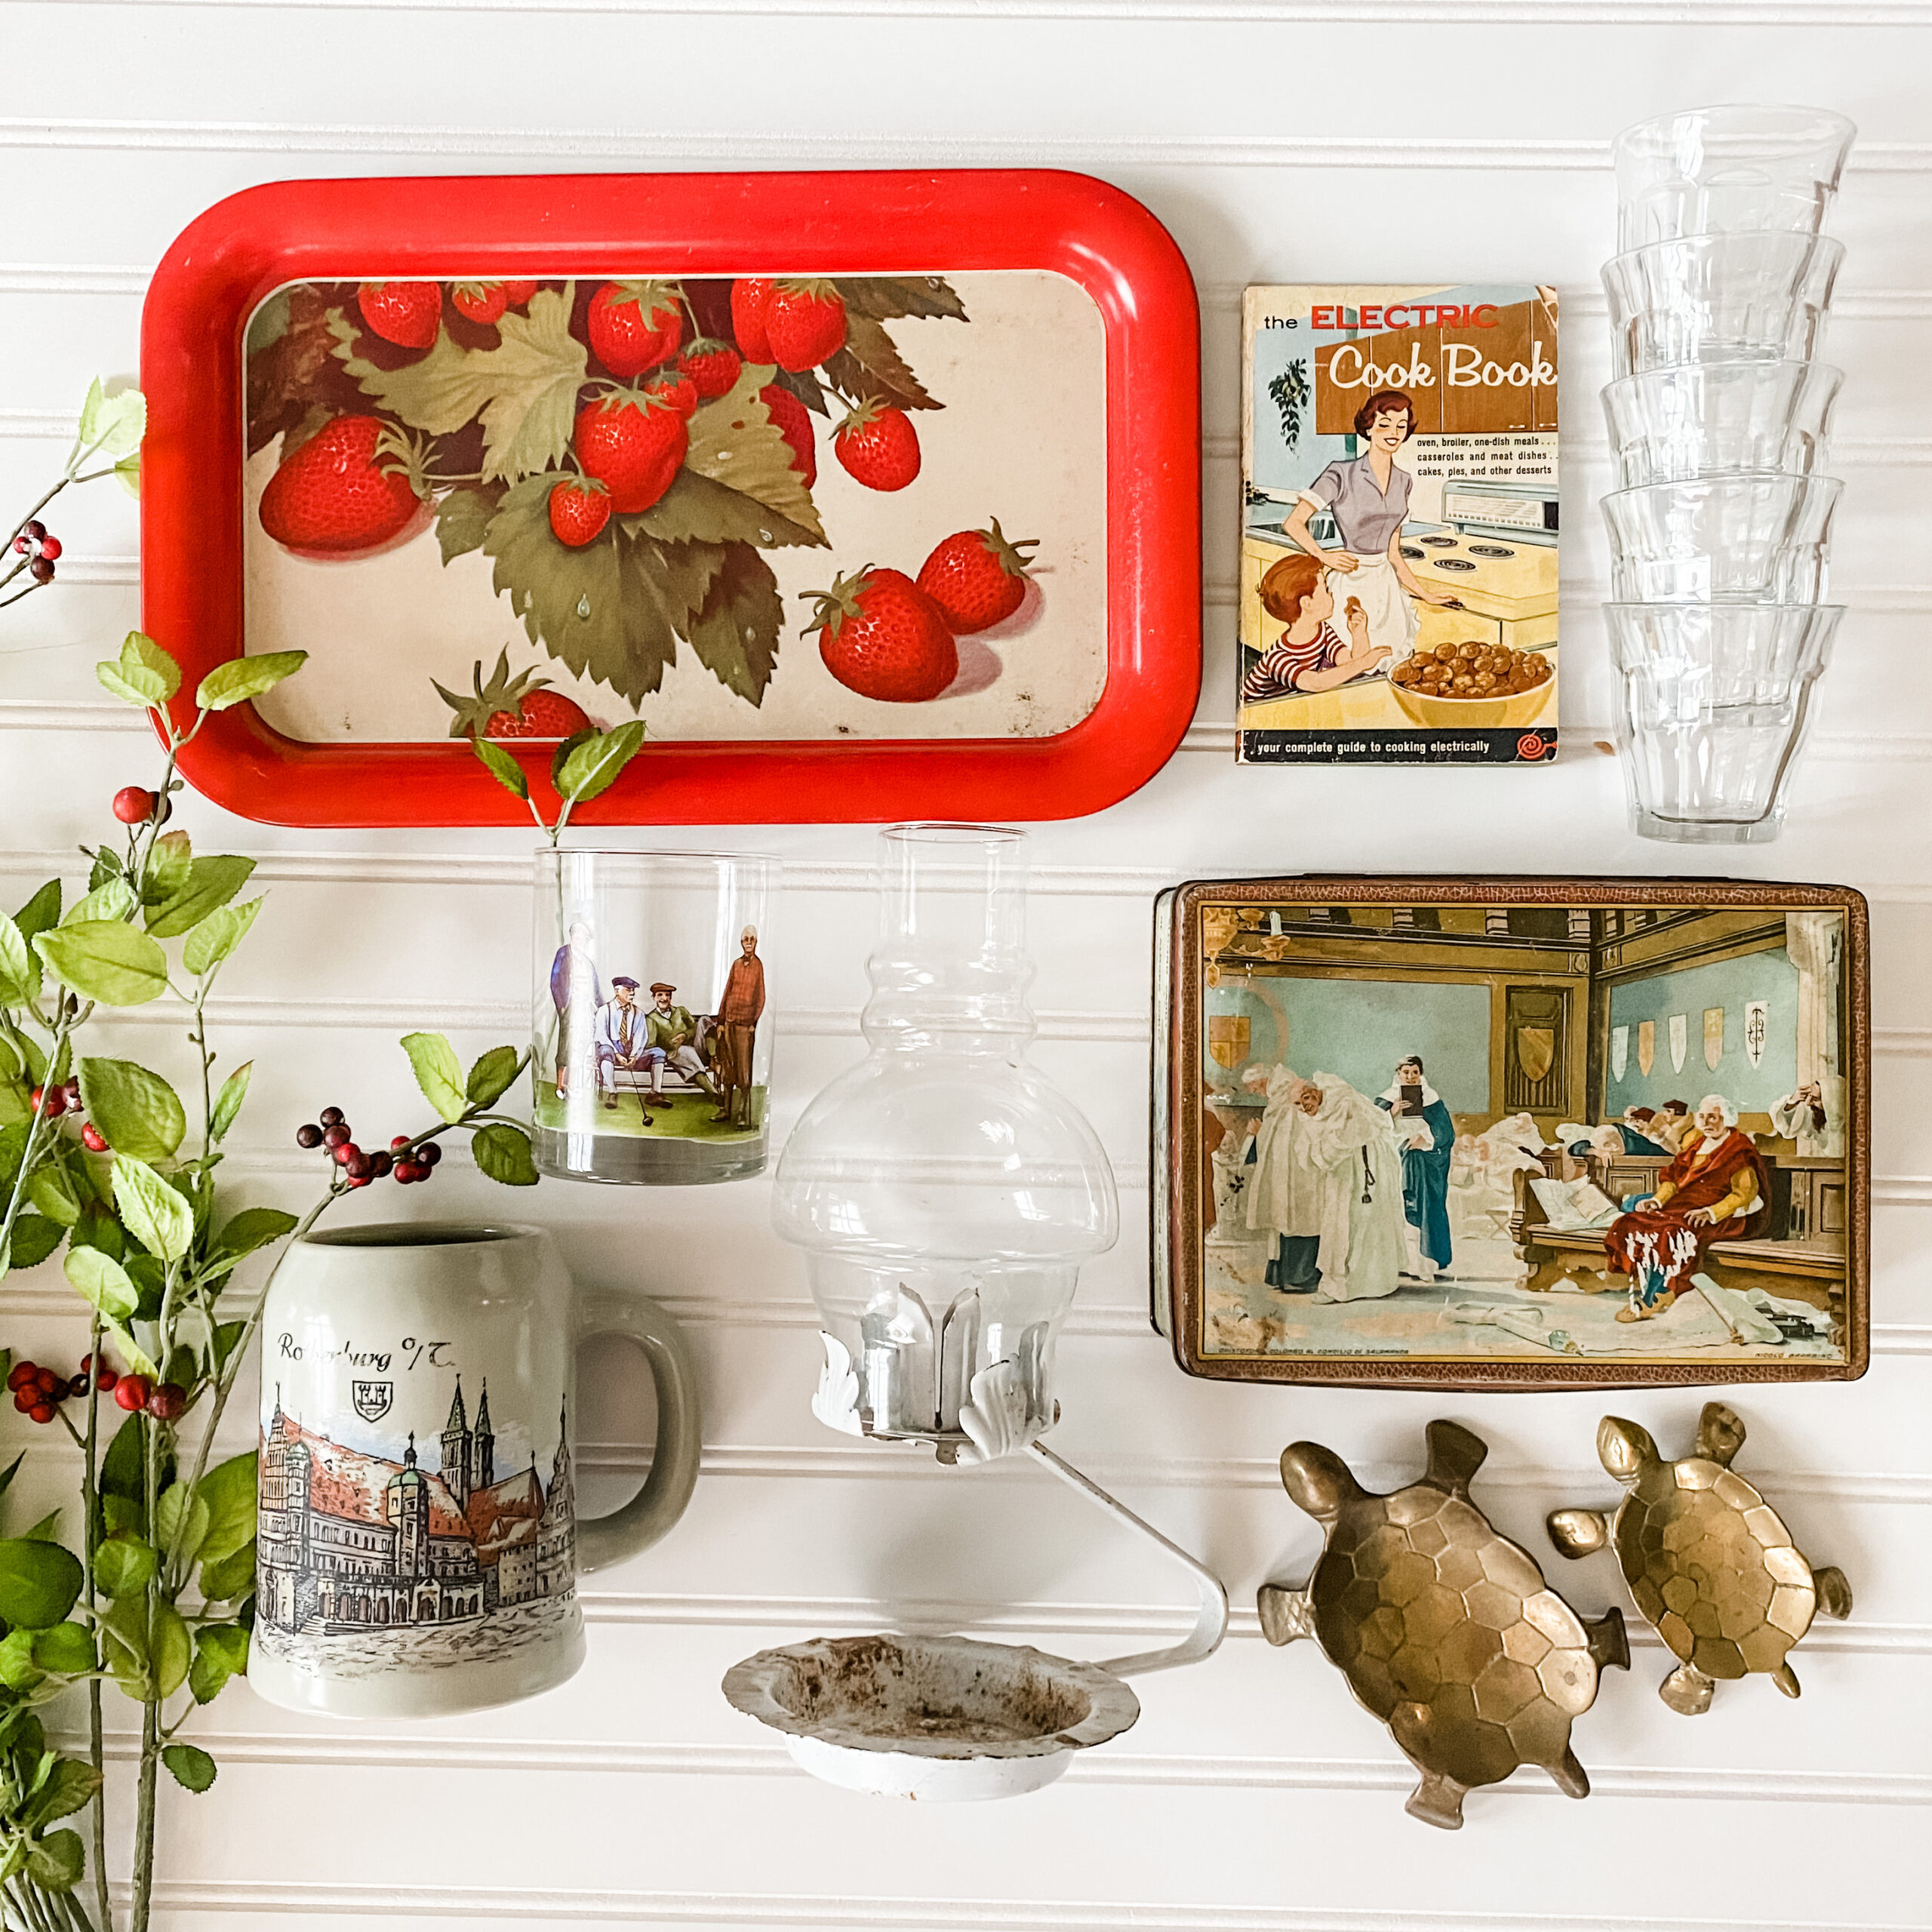

4. Experiment with Layers
Placing a smaller item on top of a larger item is a great way to add a bit more visual depth to a flat lay photo. It’s also another way to squeeze in a few more items without taking up the entire background.

by Jessica with Erin & Mills Co.
Just remember, if your goal is to sell, make sure every item is thoroughly visible at first glance. You don’t want to completely cover up one of your products for sale so that it gets missed.
5. Play with a Dark Background
Most of my flat-lays are shot on a white background. But a dark background can create a whole different mood for your photo. For items that are rich in mood and texture, sometimes a dark background is what you need to create the right look.

from Karen at The Fickle Fern
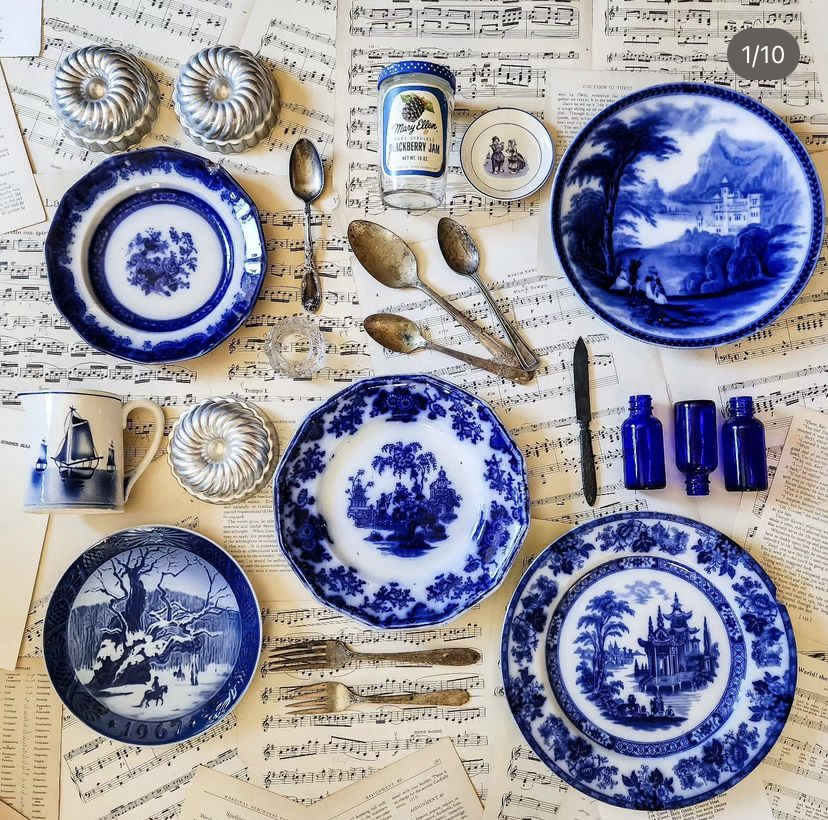
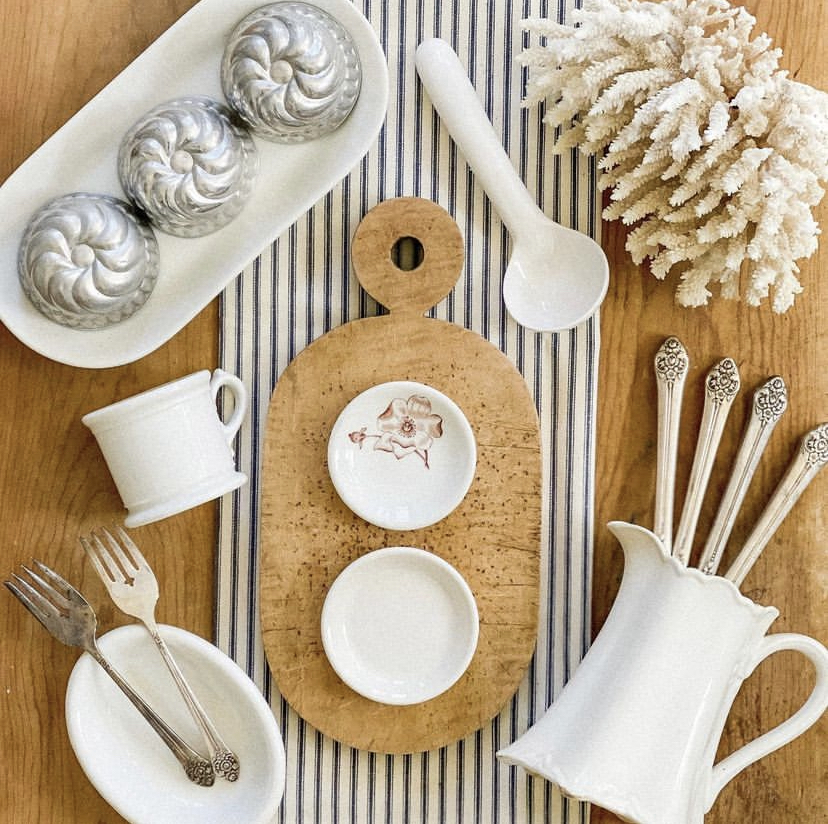
6. Tell a Story with a Theme
Maybe it’s summertime and you want to channel that feeling of a day at the beach.

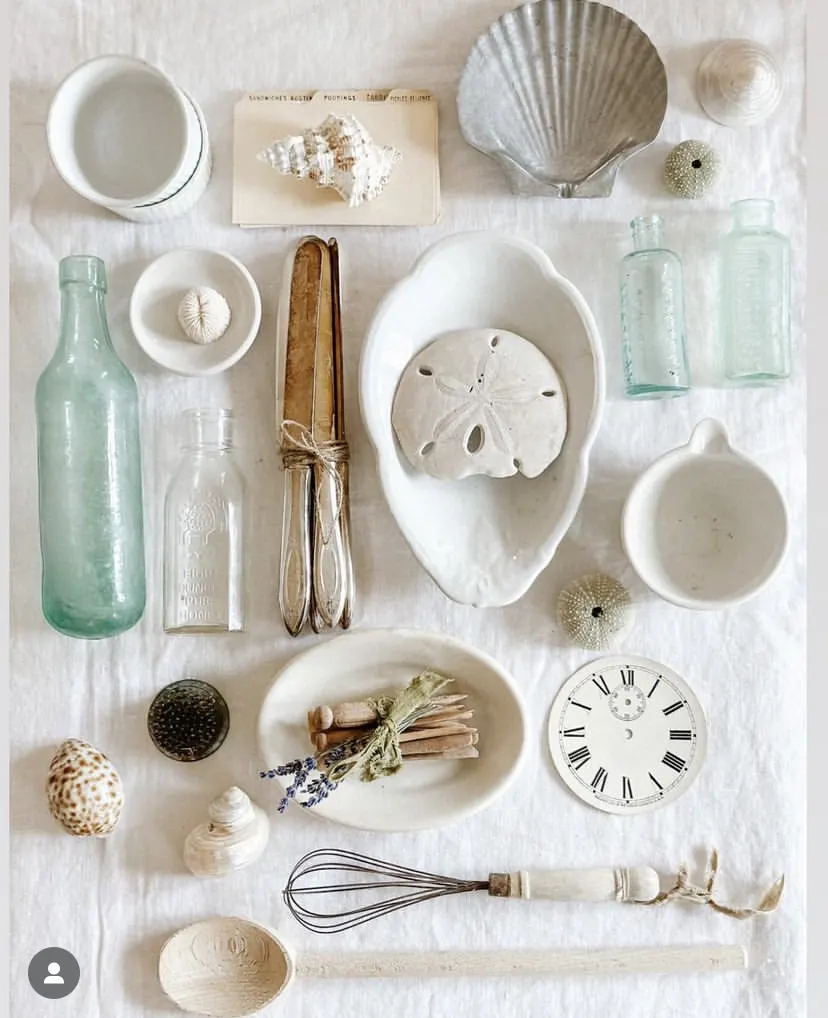
by Jessie from The Salted Poppy
Or highlight a holiday coming up, like these amazing flat lays that bring out all the best of the 4th of July.


by Kelly with The Teal Butterfly
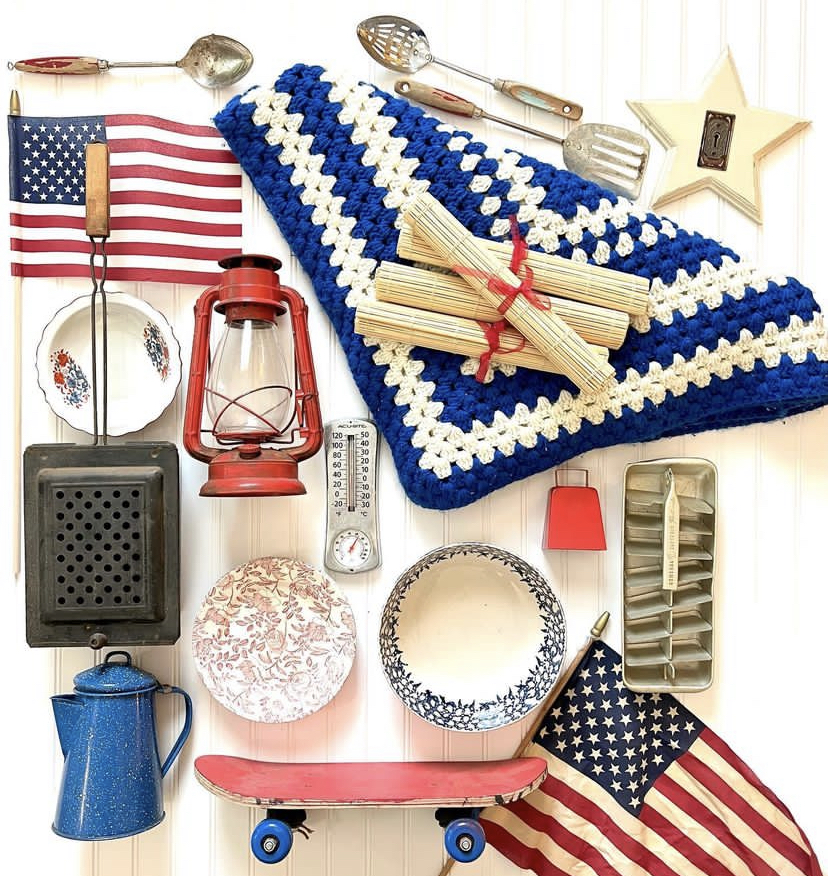
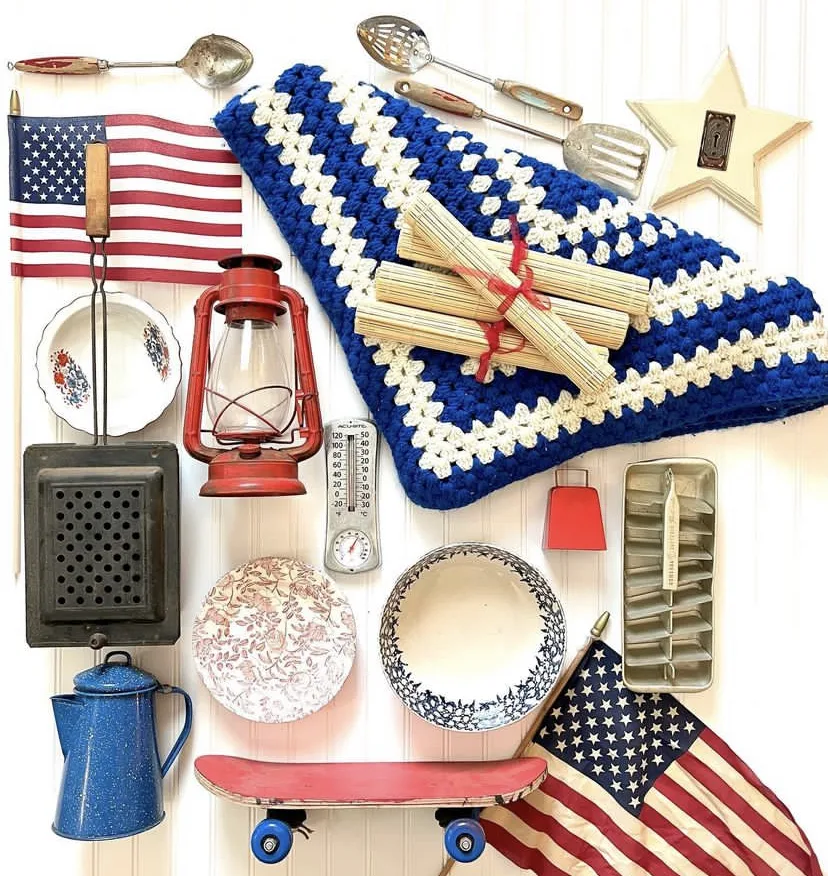
from Jenny at Redbird Interiors
The power of great flay lay collage is in communicating a story to the viewer. When all your items center around one theme, the story is clear and compelling.
A few more photography-specific tips . . .
7. Use Only Natural Lighting
This is a good general rule of photography–natural light is always gonna be your best friend and is one of the basic requirements for a great photo.
Artificial lighting creates harsh shadows and messes with the true colors of your items.
I like to stage my flat lay next to a large window in my house where there is bright, but not direct light.
If you can’t find a space with enough light and your photo still looks dark, don’t worry! Stick with the natural light anyway and we’ll discuss how to fix it in tip #10.
8. Minimize Shadows with Foam Board
If you’re using natural lighting, then your light is probably directional. That means your light will create shadows on whatever side is opposite the light source.
Standing up a piece of white foam board to reflect the light is one of the easiest ways to take care of these shadows.
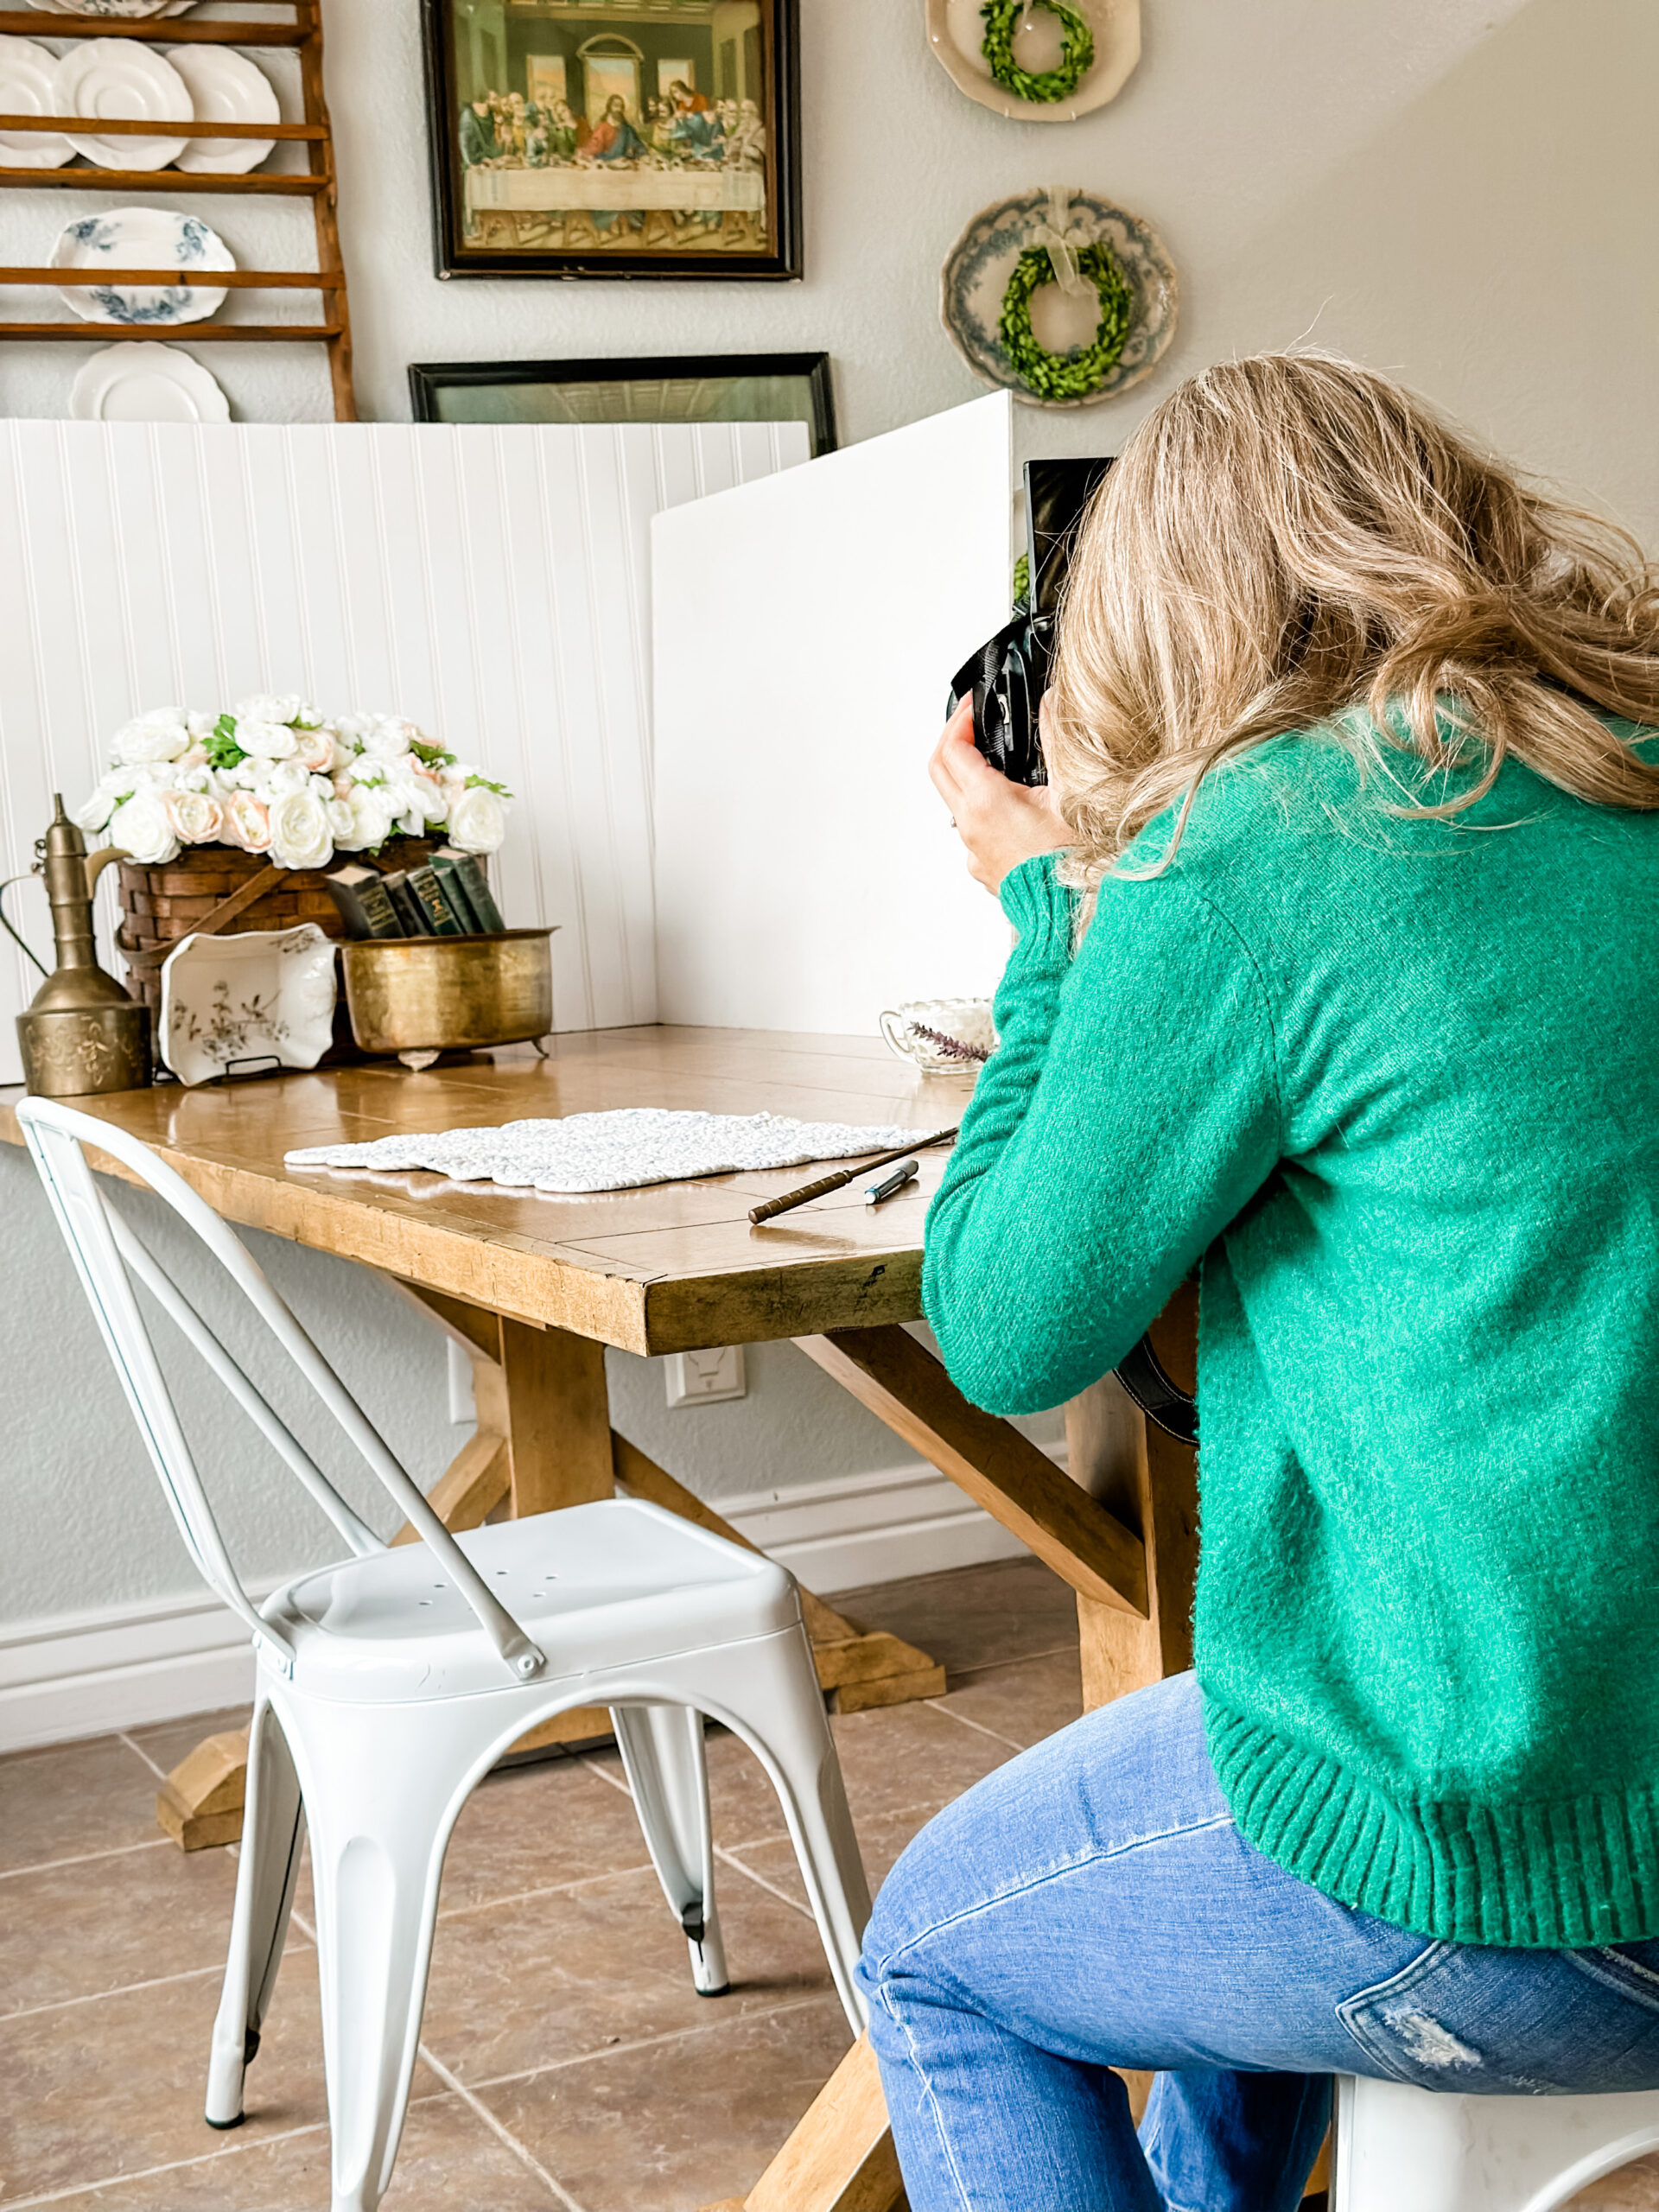

This isn’t a flat-lay photo I am taking, but you can see how I have the white foam board standing up next to my vignette. While the light comes in from the window on the left, it bounces off the white foam board I have set up on the right and helps minimize those shadows.
It’s a simple photography trick that can make a huge difference in your final photo.
9. Get Up High Above Your Flat-Lay
The power of the flat lay is in the bird’s eye view. That means you don’t want to photograph it at an angle, but rather straight on from above.
This is when a chair or small step stool may come in handy 🙂 Make sure you are up high enough over your arrangement that you can get in a completely straight-on shot.
10. Edit Your Photos with Editing Software
A true photographer will tell you a great photo won’t need to be edited. But let’s be real here . . . a little bit of editing can take care of a lot of photo problems!
I use the program Adobe Lightroom to edit all of my photos, whether I take them with my DSLR camera or my phone.
There is a free app version of Lightroom you can download for your phone, while the Lightroom program for your computer is a small monthly fee.
To make the editing process super easy, I purchased this set of pre-set edits that create the light and bright look so popular right now with just one click. It’s about as easy as it gets!
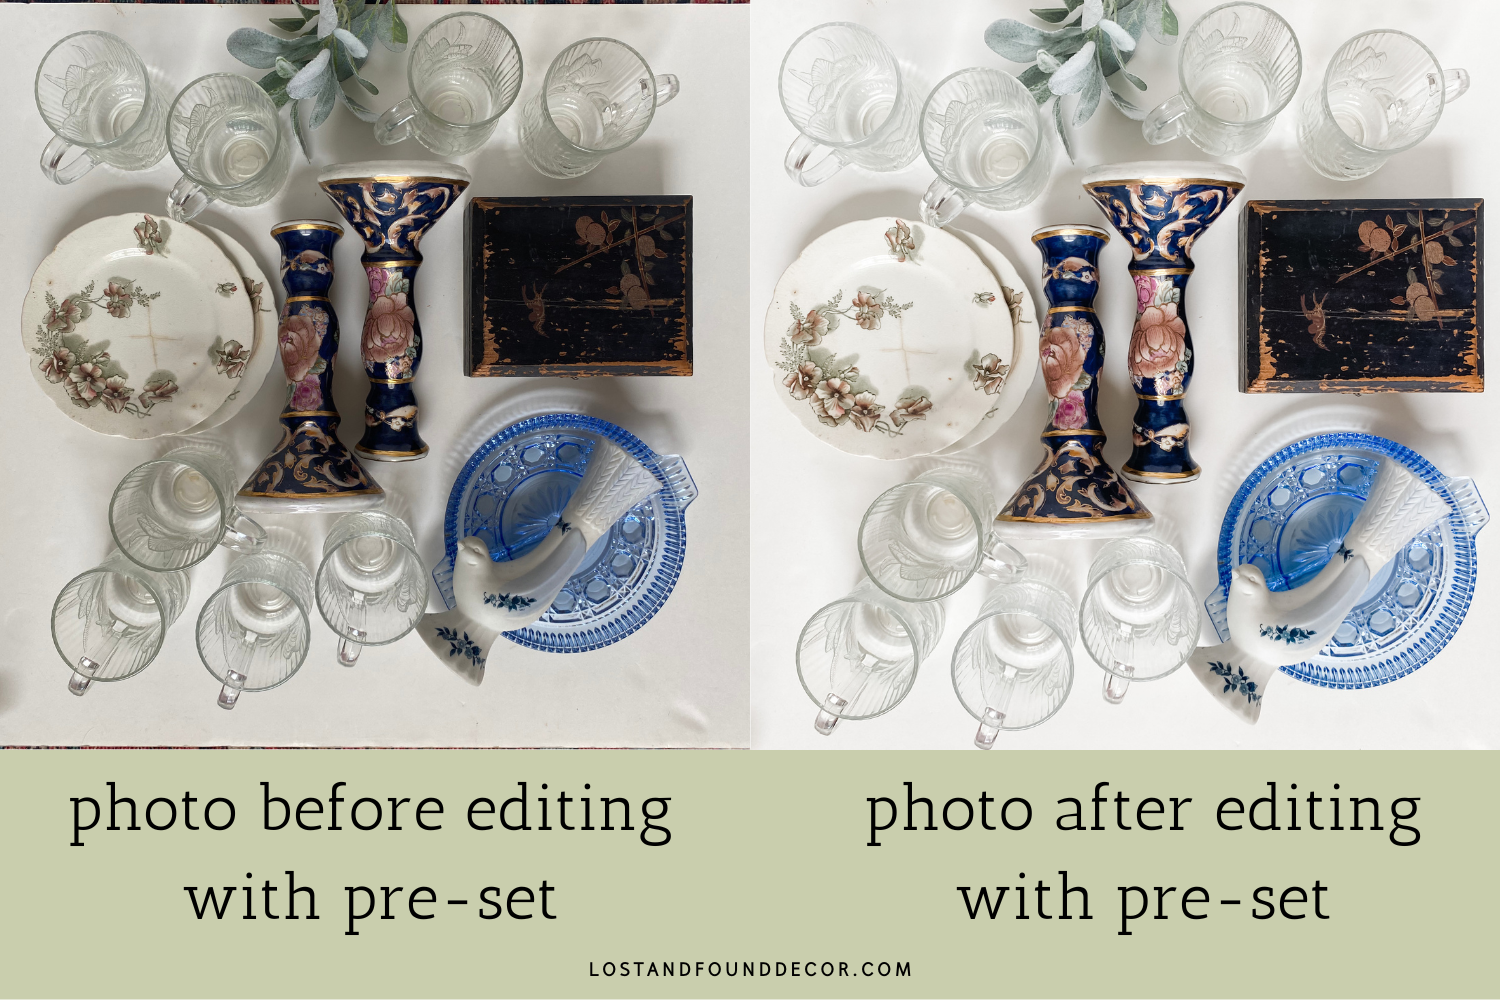

Even if you don’t use purchased pre-sets, take a few minutes to fine-tune your photos with a photo editor.
This is where you can fix it if the day was too dark. With basic editing software you can easily add more light to tone down shadows and brighten up your photo.
You don’t have to be a professional photographer to take great flat lay images of your vintage collections!
If you focus on the tips shared above–use natural light, control the shadows, get up high, and try some edits– you can learn to create amazing flat lat pictures for your social media, blog posts, or just to enjoy yourself.
Just like with everything else, practice makes perfect! The best way to improve styling your vintage finds is to gather different pieces and give it a go.
Experiment with different styles–light background, dark background, neutrals, pops of color, holiday themes, etc. Sometimes the best flay lay takes a while to pull together, so don’t rush the process.
Thank you for joining me today, I hope you have found this helpful and I can’t wait to see some of your great flat lay photos!
Are you looking for some more ideas for how to can grow your creative vintage business? Check out these posts!
Can You Make Money Selling at an Antique Mall?
Let’s Talk Options: Where to Sell Your Flipped Furniture Makeovers
4 Steps to Take Your Antique Booth from Hobby to Business


Marsha B
Friday 5th of April 2024
Wonderful tips! I love flat lays and really wanted to try them. Your ground rules will really help!
Home Imagined Link Party #19 - The Antiqued Journey
Tuesday 30th of May 2023
[…] 10 Tips for Amazing Flat Lay Photos DIY Potting Bench from an Old […]
Home Imagined Link Party #19 - Master"Pieces" of my Life
Tuesday 30th of May 2023
[…] tips for styling flat lay photos vintage decor repurposed cabinet turned potting bench […]
Kellie Ford
Thursday 25th of May 2023
I like the way you have items grouped, the bit of foliage adds interest while the lighting really brings out the detail of the items. Great job and good tips!
Melanie Alexander
Thursday 25th of May 2023
Thank you Kellie! Sometimes it comes together easier than others, practicing helps :) I'm glad the tips were helpful!
Bennie Mattox
Wednesday 24th of May 2023
Thanks so much Mel for these helpful tips.
Melanie Alexander
Thursday 25th of May 2023
Absolutely! You're most welcome :)