Update April 2015 . . . My tips and opinions in this post ring true for pretty much any furniture project, however I now use Fusion Mineral Paint in replacement of chalk paint (any brand). I have found Fusion to be more affordable and produce more durable results, and there is no waxing required.
While you’re in the learning zone, you might enjoy my Chalk Paint vs Fusion Mineral Paint post to see a step-by-step comparison and contrast. Now…back to prepping dirty furniture :).
I have a new french provincial bedroom set I have started working on this week.
Structure-wise, this set is in fantastic shape.
It is solid wood and about as structurally sound as a piece of furniture can get. Cosmetically though, it is somewhat of a nightmare.
One of the great pros of chalk paint people always mention is that you can start painting furniture without doing any prep to the piece.
A good bit of the time that is a true statement; but sometimes, when you have extra dirty furniture pieces, a little prep work on the front end will save you from dealing with issues later.
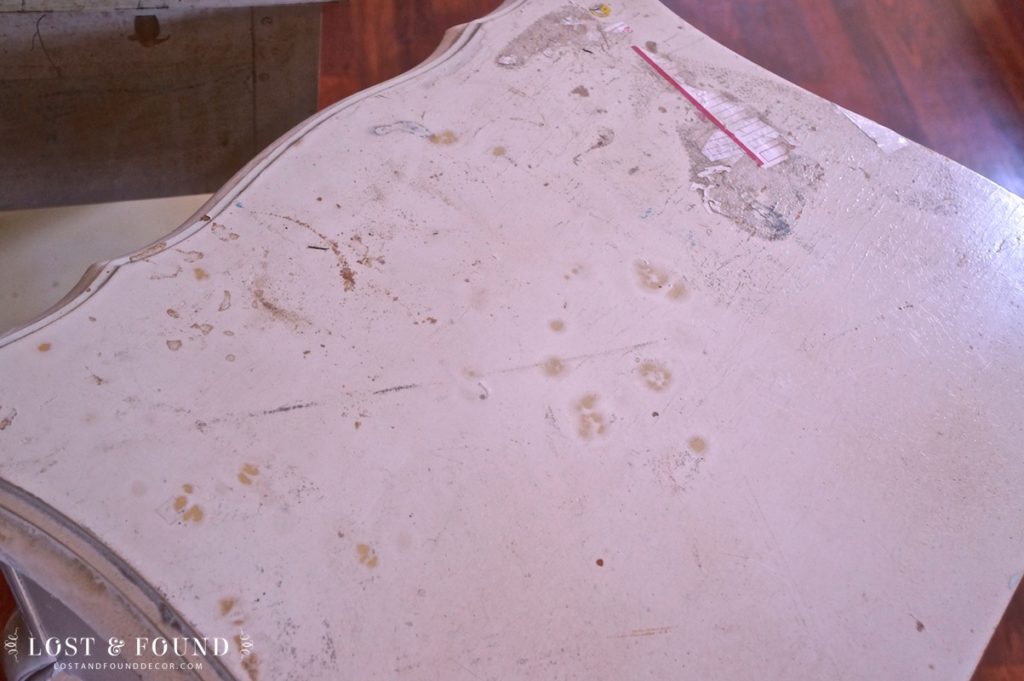
This furniture was suffering from two different cosmetic diseases–extreme dirt…
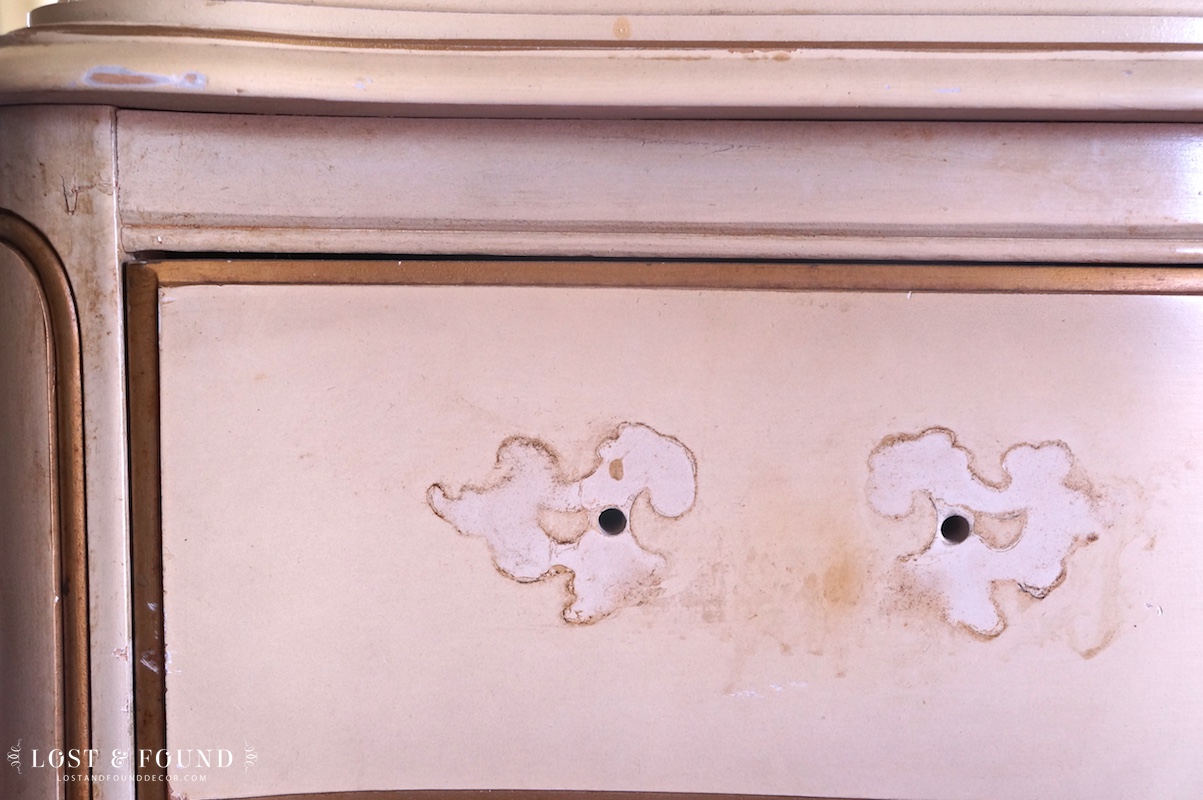

…and stickers.
To start attacking both of these issues, all you need are a few simple supplies:


This is my furniture cleaning kit, and it includes a scraper, a rag, and a spray bottle with 50:50 vinegar/water mix.
I love cleaning with vinegar and water.
It is cheap, environmentally friendly, and works well.
To tackle the dirt on these pieces I just sprayed and thoroughly wiped, paying special attention to flat areas where dirt had collected over time.

The surface doesn’t have to get squeaky clean, but large accumulations of dirt or big drips of dried liquids need to be dealt with–your paint won’t stick well to those spots and will cause you issues later.
Plus, it’s just gross 🙂
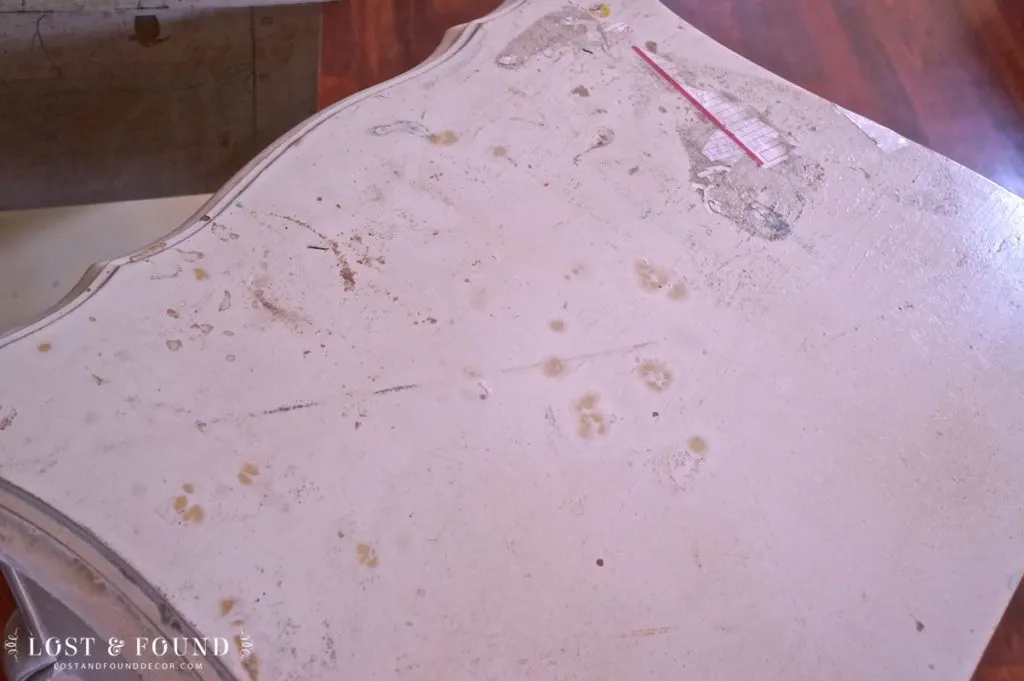
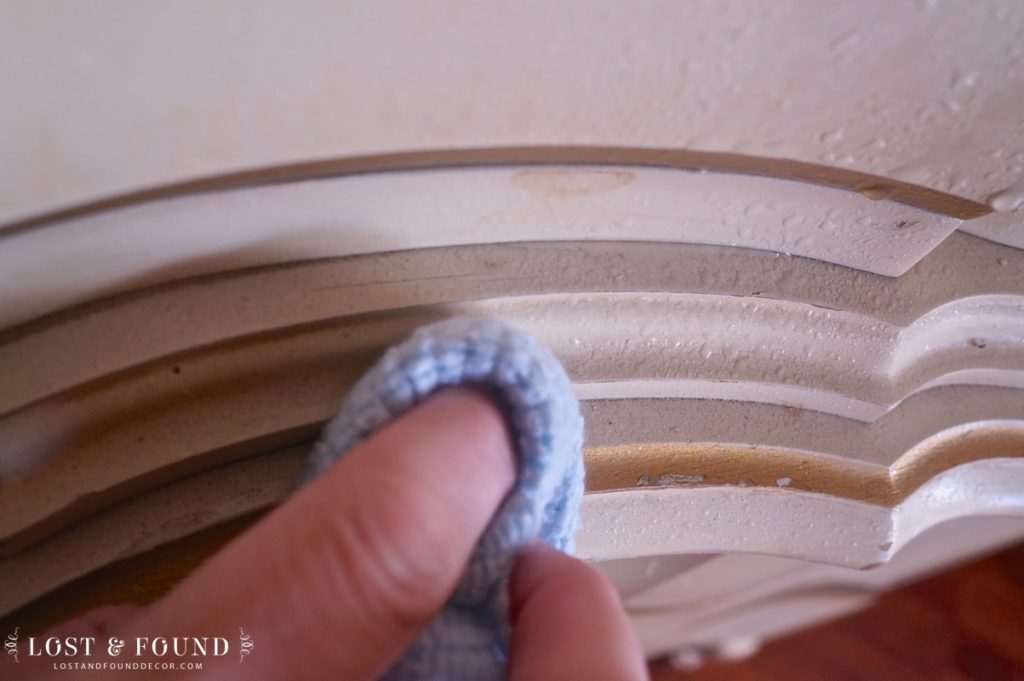
For the stickers, the idea is much the same, except I let the vinegar/water mixture sit for a few minutes, then scraped the area with my scraper.
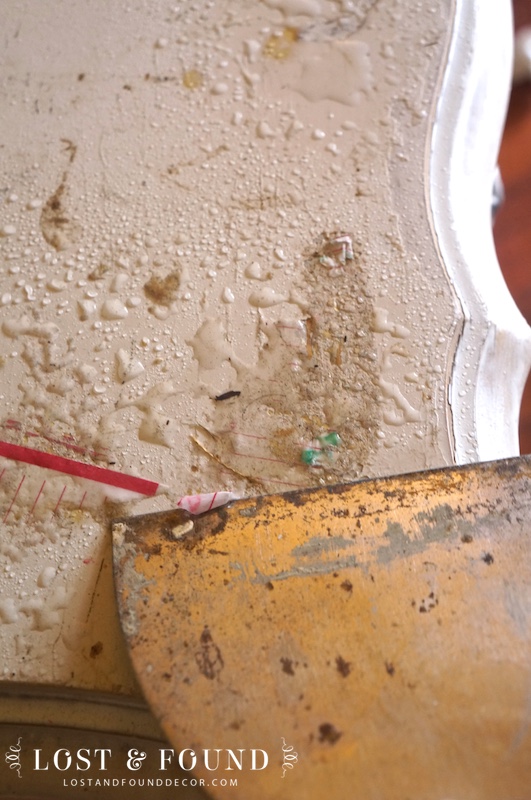

I have used Goo Gone for this problem before, but again I am cheap, so I prefer to just use everyday products I already have on hand.
I have had success before with just the spraying/scraping step, however, these stickers were a little more stubborn.
I ended up doing some light sanding to the top of the piece with my orbital sander to more fully remove the sticker residue.

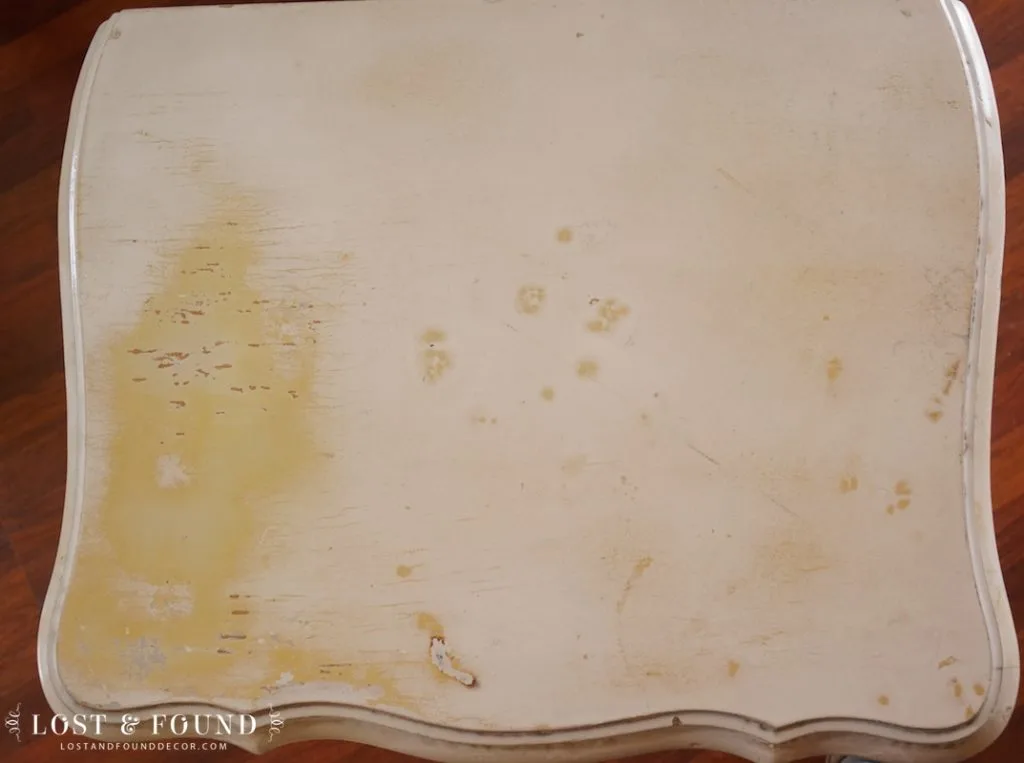
Here is the top after sanding.
NOW, it is very important to realize that if you sand your furniture before using chalk paint, you are inviting upon yourself the dreaded problem of bleed through . . .
Chalk paint is porous paint. If the top layer finish of a furniture piece has been sanded off to expose the underneath stain or raw wood area, you will often have areas “bleed through” the chalk paint.
That is why sanding before using chalk paint is generally a bad idea.
In this case though, I had to sand to get all of the sticker removed and the top smoothed off.
Another simple prep step though took care of the bleed through problem.

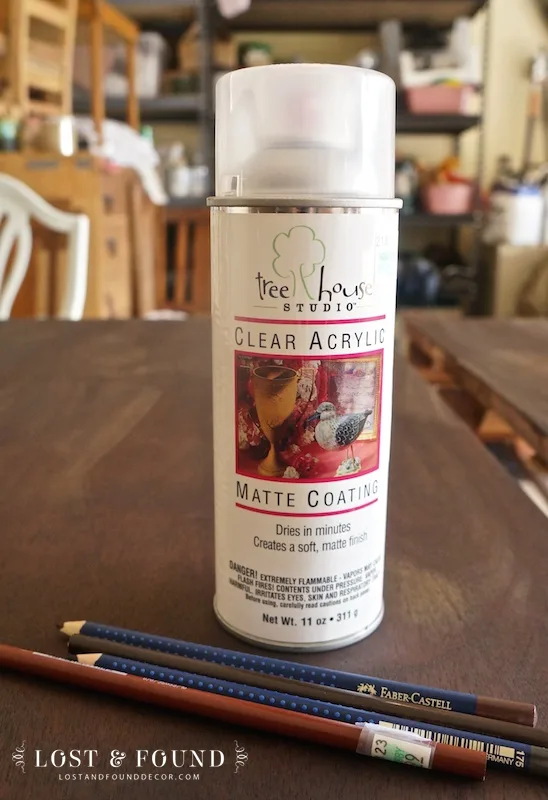
If you have to sand areas before painting with chalk paint, be sure to spray a clear acrylic or shellac over those areas and allow to dry before you begin to paint.
You can get this can at Hobby Lobby for under $5.00 (disregard the pencils, those were for another project!) and comes in handy.
The clear acrylic or shellac will seal off the exposed wood, providing a barrier between the wood and chalk paint so that no bleeding through can occur.
So, with those 3 simple steps completed, my pieces are now ready to paint!
Before embarking on your next chalk paint project, make sure there isn’t a little prep you may need to do in the form of cleaning or spraying some shellac.
You will thank me later!


Heather
Tuesday 7th of June 2016
Your website is awesome!
I am very intrigued by the idea of chalk paint, as I have a few pieces I am looking to refinish and have a toddler at home so quick and relatively easy is always a wonderful things for me!
Quick question - what are your suggestions on painting over a piece that has already been painted with acrylic paint?
Melanie
Saturday 11th of June 2016
Hi Heather! Thanks for stopping by. If a piece has existing paint on it, I usually give it a good little sanding just to be on the safe side. Clean it, then grab some 180 grit sandpaper and give it a quick rubdown. That should do the trick :)
Sean Cook
Monday 9th of May 2016
Thanks for sharing your experiences. I'm doing some research on painting. I have an old coffee table and I want to paint it. Now I know how to do that.
Dee
Friday 6th of November 2015
Im very interested jn the fusion psint as an optikn in kitchen cabinets. In your experience, eould this product hold up well in a kitchen? It certainly would be amazingly less daunting to take on annold dark kitchen if I didnt have to meticulously prep AND do several coats AND seal.
gayle jolluck
Saturday 22nd of November 2014
Melanie,the.can.you.pictured.is.not.shellac,,,,it.is.a.spray,acrylic,and.does.not.perform.like.shellac...so.do.you.use.this,or.a.spray.shellac?
Melanie
Sunday 23rd of November 2014
Hi Gayle. Thank you for pointing out my mistake. You are correct, the can is spray clear acrylic and not shellac. I have used both and found both to work fine.
chris aka monkey
Saturday 22nd of November 2014
melanie you explained in simple language what i would assume most people would know, thanks for sharing xx
Melanie
Tuesday 25th of November 2014
Thank you Chris. Just thought it may be some helpful information to share.