My Christmas decorations are finally up. I used to be able to get them all up in a single day, now it seems to take me at least a week. Y’all know I am just slow (Remember the 7-month long bathroom makeover?).
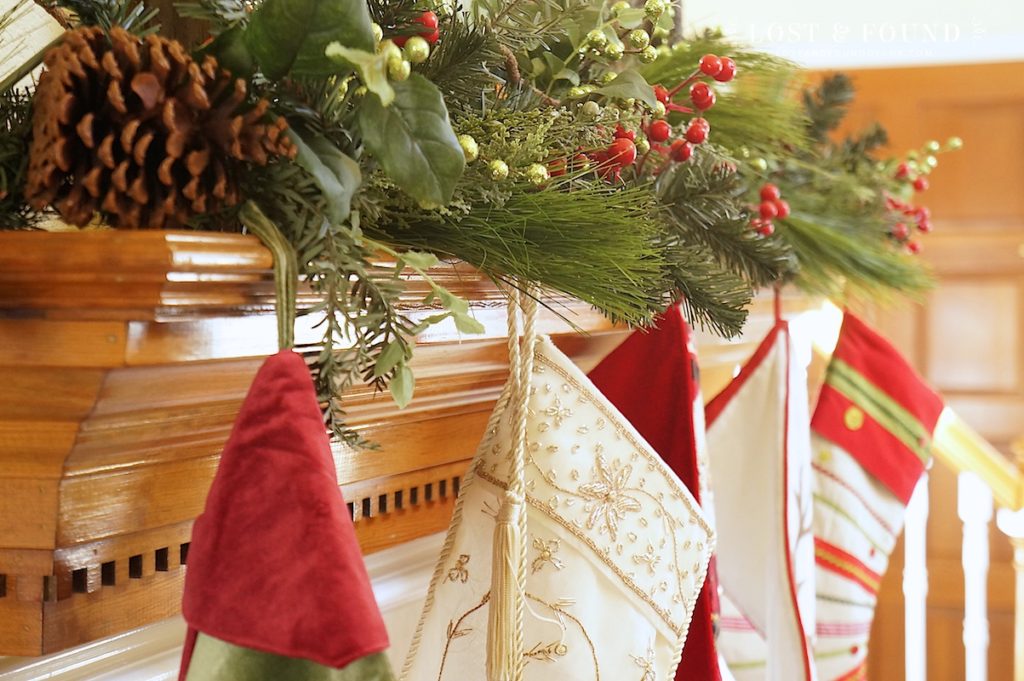
I scaled back a bit this year on our decorations. Sometimes it all starts to feel too cluttered . . . But all of the basics are here.

I shared with you all last year about my two Christmas trees and how I use this skinny one in the kitchen to house all of my kids’ handmade ornaments.


I have caught a little flack for this from time to time–apparently I’m a mean mom who doesn’t treasure my children because I keep their crafted ornaments on this tree. I hope y’all know me well enough by now to realize that’s not the case 🙂
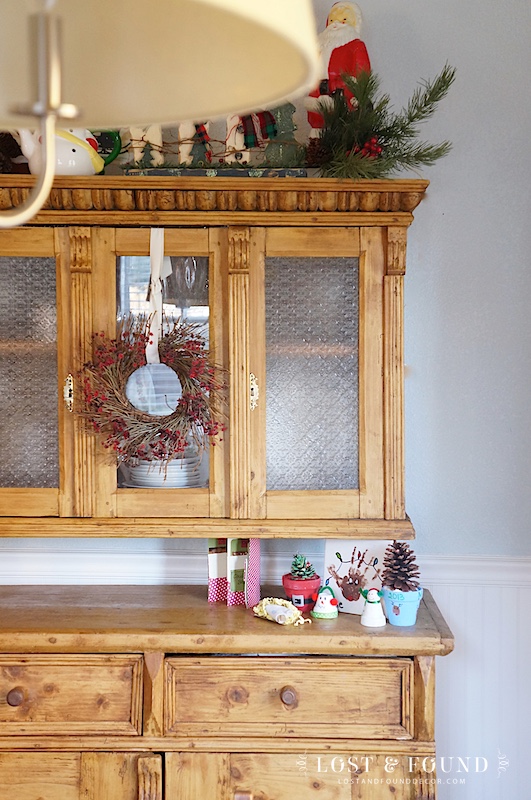
And THIS piece is a brand new addition to my kitchen. It’s my Christmas and Future Birthday gift all wrapped up into one piece of furniture. I hope to photograph it more soon and tell you a little more about how I came to own it.

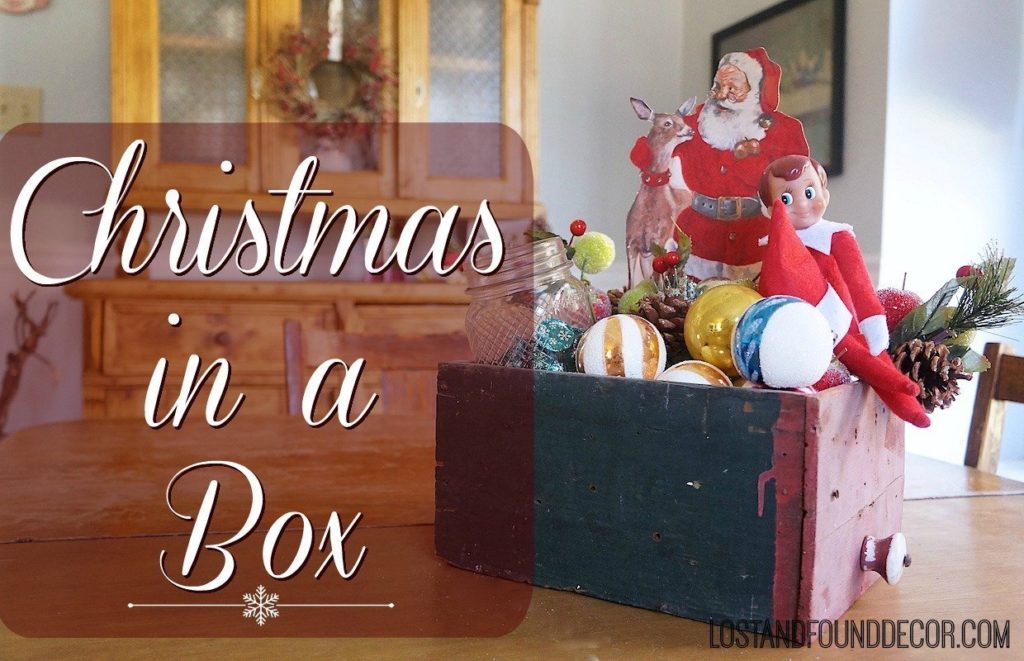
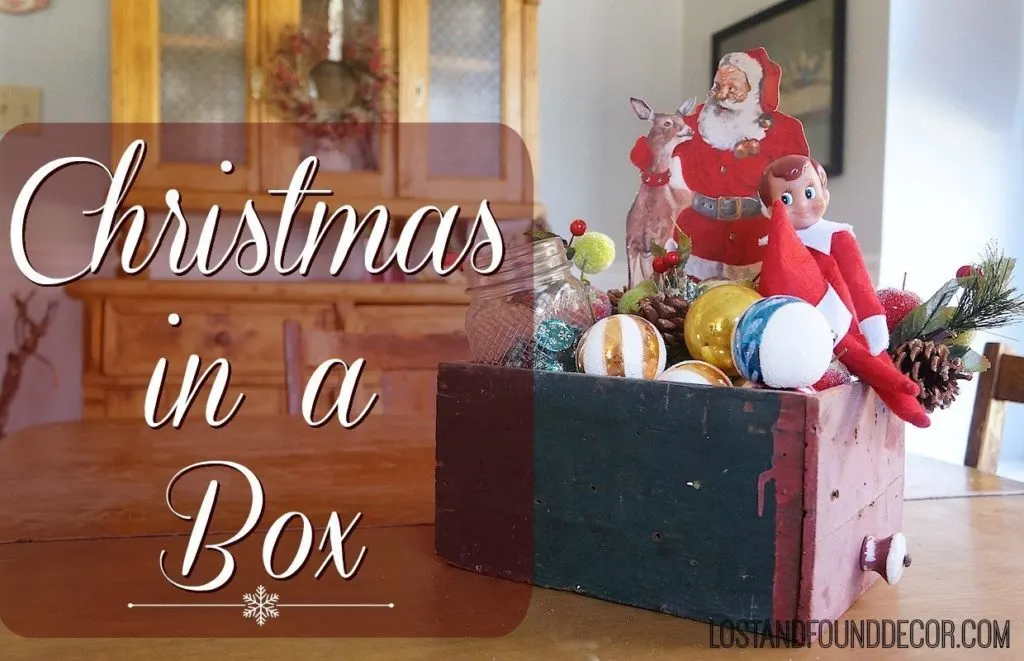
One little extra bit of decor I did add in this year was my “Christmas in a Box.”
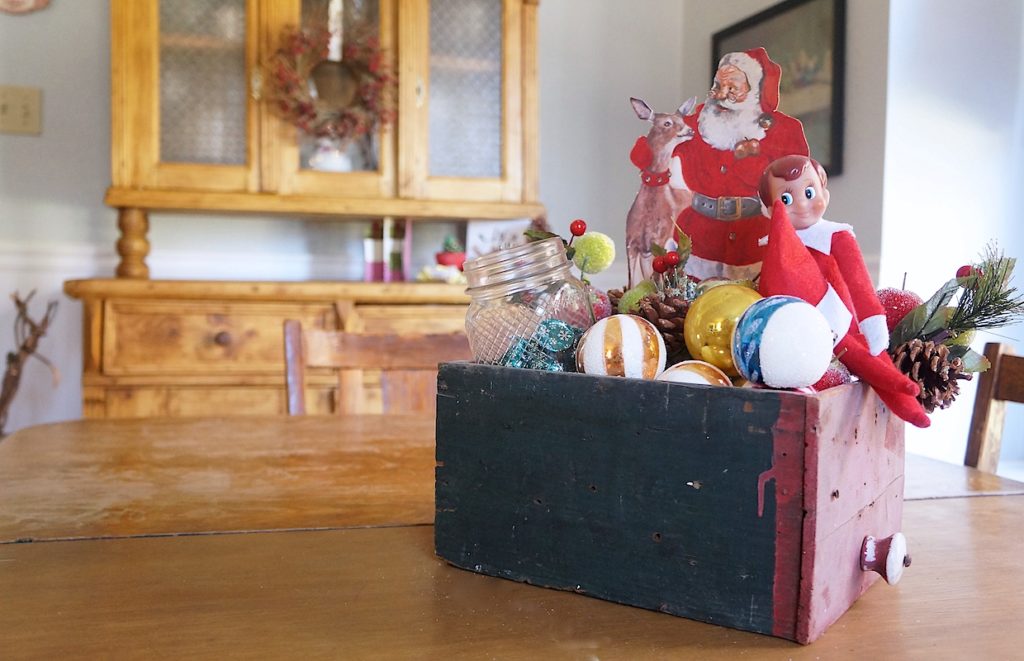
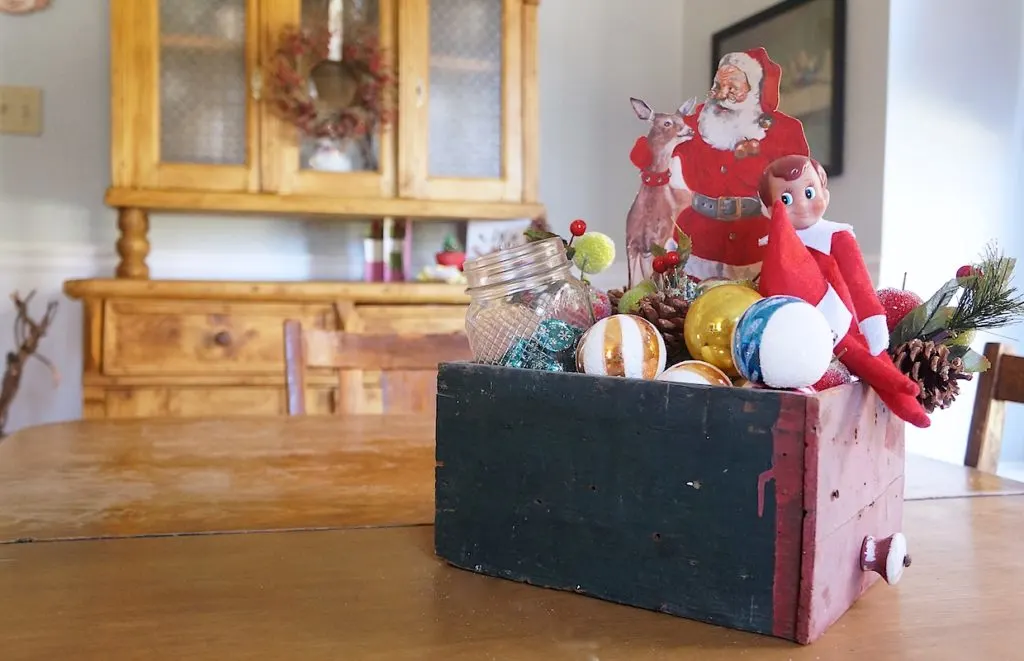
Christmas in a Box
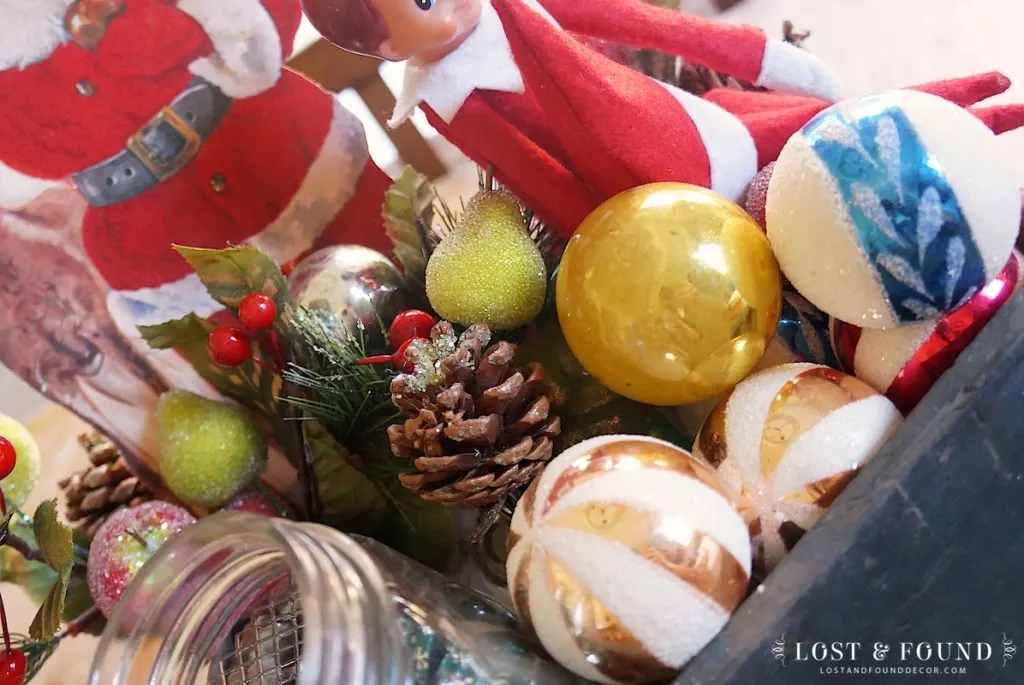
I found this adorable red and green painted primitive drawer at a recent flea market, and it was just begging to be turned into a Christmas decoration.
One of the simplest tricks to making your decor stand out more is to gather your decorative items together and group them in or on some sort of object–a crate, tray, box, etc. Grouped together, small items can form a cohesive display and have a bigger visual impact.
You could make your own Christmas in a Box with any small holiday decorative items you have lying around. For mine, I placed some crumpled up paper in the bottom of the box to act as filler, then piled in a set of vintage ornaments I have, passed down to be by my grandmother. I also stuck in a few floral sprays (I believe I bought several years ago at the Dollar Tree!) to fill in the gaps.

Our Elf on the Shelf is not a constant addition to the box, he just happened to show up there today 🙂
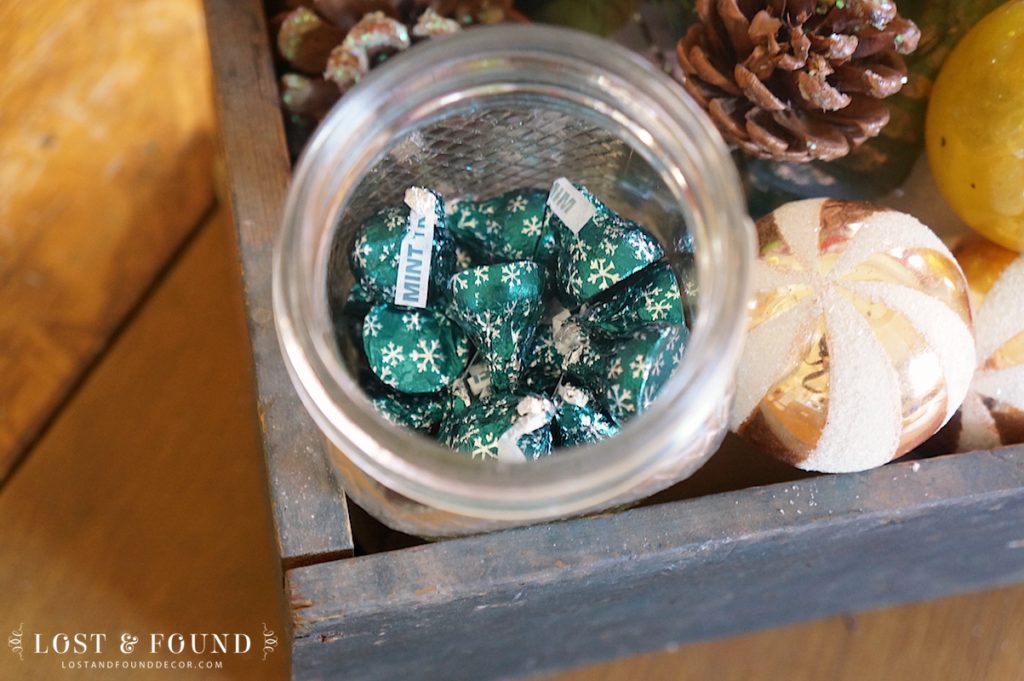
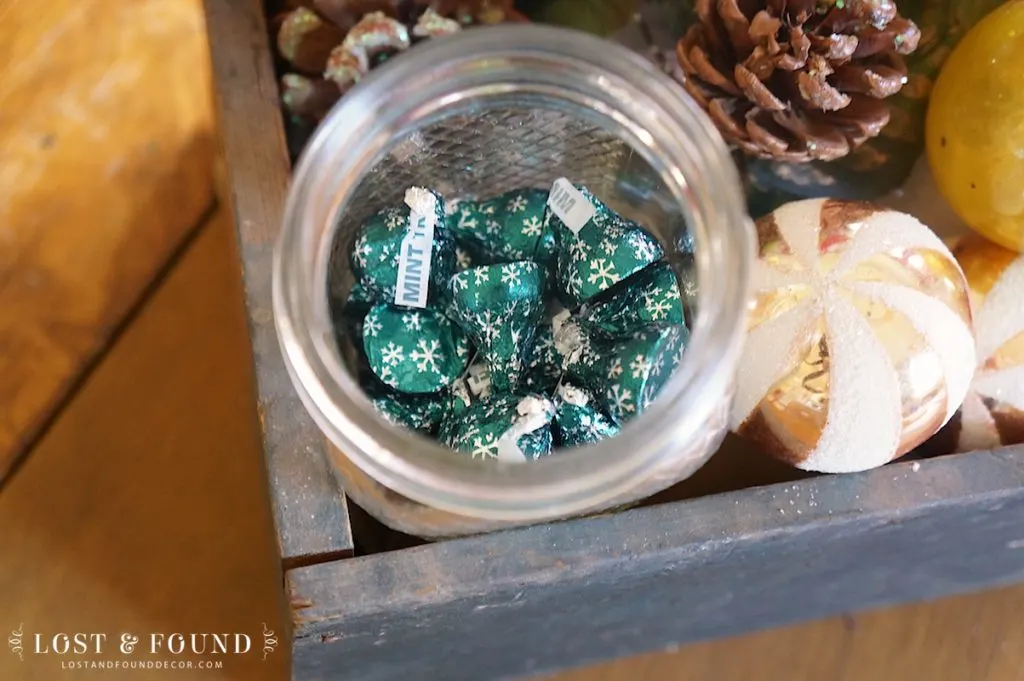
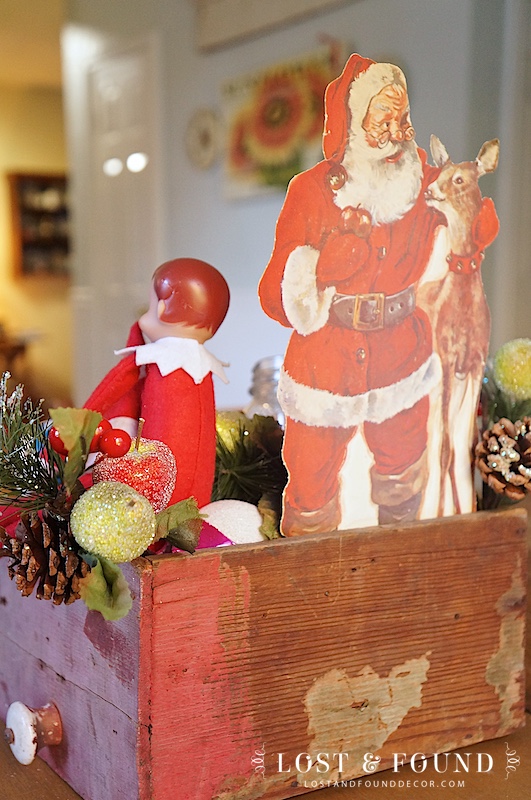
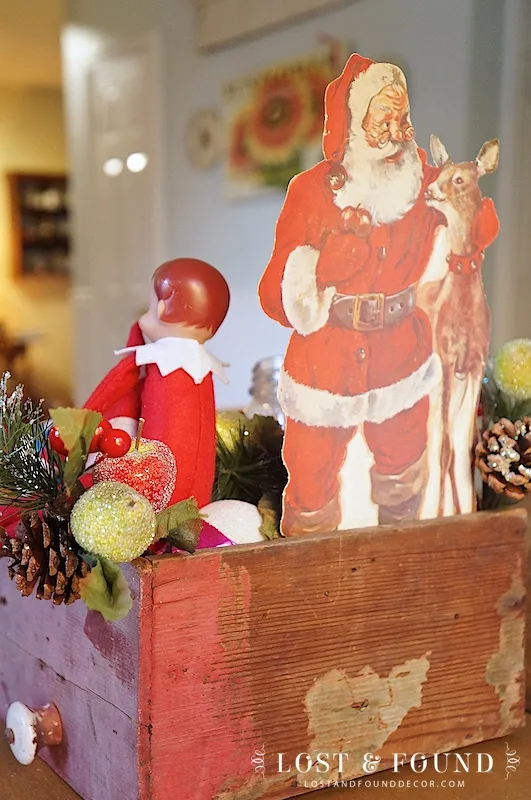
There’s also a jar filled with some holiday Hershey’s Kisses tucked into the corner (my kids’ favorite part of the box), and a vintage cutout Santa (my favorite part of the box).
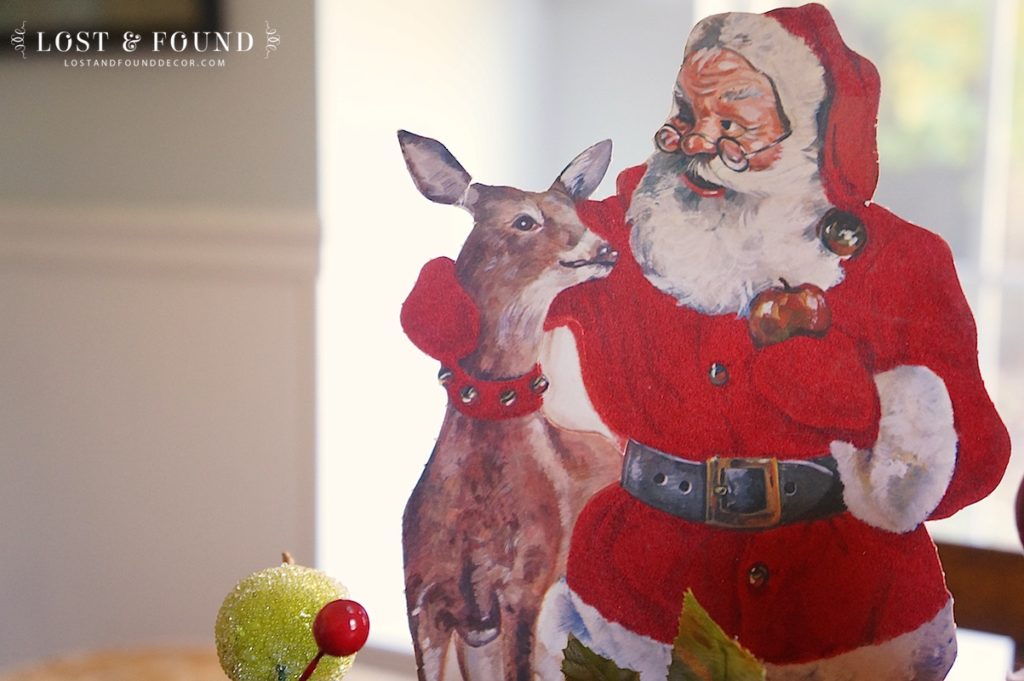

This Santa was also a flea market find. I purchased several cutouts, all with Santa in different poses, but sold the others and decided to keep just this one. This one was my favorite because of the reindeer.
What I love the most about the Santa cutout is that it’s double-sided, so it helps my Christmas in a Box have visual interest from both the front and back.
It’s a simple idea, and one I bet all of you can re-create with things you have on hand. Try customizing your Christmas in a Box with some vintage bottlebrush trees, or a collection of glittered pinecones with a few candlesticks of varying height. It can make an easy table centerpiece, or also works well on a kitchen countertop or other space where you may not have much display room.
I hope your decorations are coming along and that you are finding some time in the midst of it all to step back and enjoy the season. And Please let me know if you make your own Christmas in a Box, I would love to see it!


Linking up to: Project Inspired, Wow Us Wednesdays, Holiday Link Party
Vel
Thursday 17th of December 2015
I would definitely be very happy receiving that kind of Christmas! Great idea!Thank you for joining the 12 days of Christmas Blogger tour Link Party!Merry Christmas!
Melanie
Friday 18th of December 2015
Thank you Vel!
cassie @ primitive & proper
Wednesday 16th of December 2015
how fun is that! love it!
Melanie
Friday 18th of December 2015
Thanks Cassie!
teresa
Tuesday 8th of December 2015
I love all the ideas in this post. Your pine cabinets are so warm and inviting. Great to see some natural wood to help ground things.
Quandie
Tuesday 8th of December 2015
I'm so glad I'm not the only one who seemed to be in slow motion getting my decorations up this year. It usually takes me just one day too, and this year I seem to have needed a week. I love the skinny tree in your kitchen! What a great way to showcase your kids' handmade ornaments, and the chalkboard door behind it is fab. I'm intrigued by your new piece of furniture. It reminds me of both of the faux-tique pine cupboards that I have. I painted both of mine with milk paint and they turned out fantastic. Are you thinking of painting yours?