I have been teasing you all for quite some time now about this French chair project.
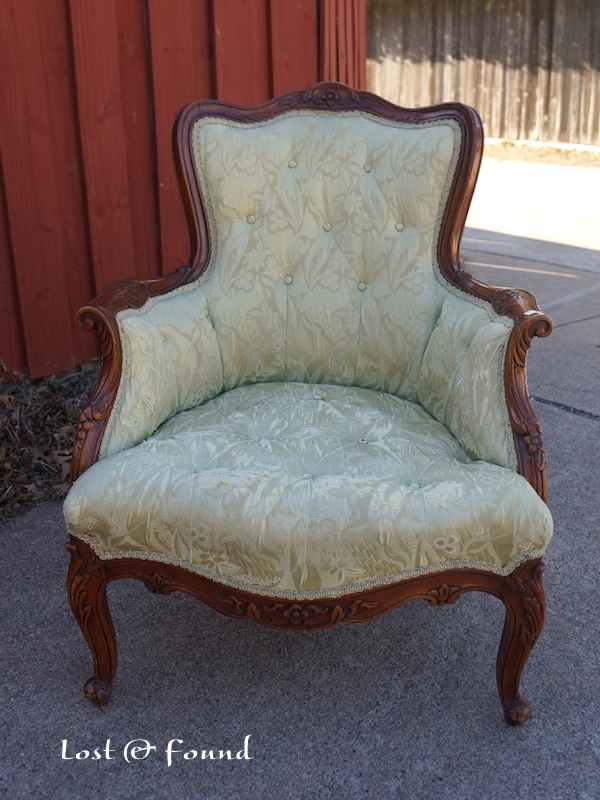

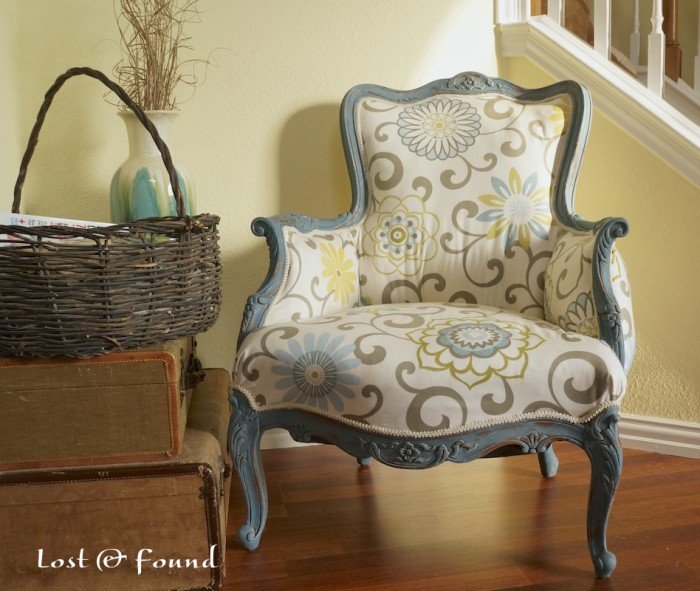
It was a thrift store find, and I was excited to try my hand at upholstery again after working on a French Settee last summer. The chair’s structure was sound, but the wood was scratched and faded and the fabric was well, terrible. Now here it is after a paint and re-paint, and with new, modern fabric.

It’s pretty amazing! I promised a walk-through of the process, so here we go. Warning in advance, there are a lot of pictures!
STEP 1: Remove the Old Fabric
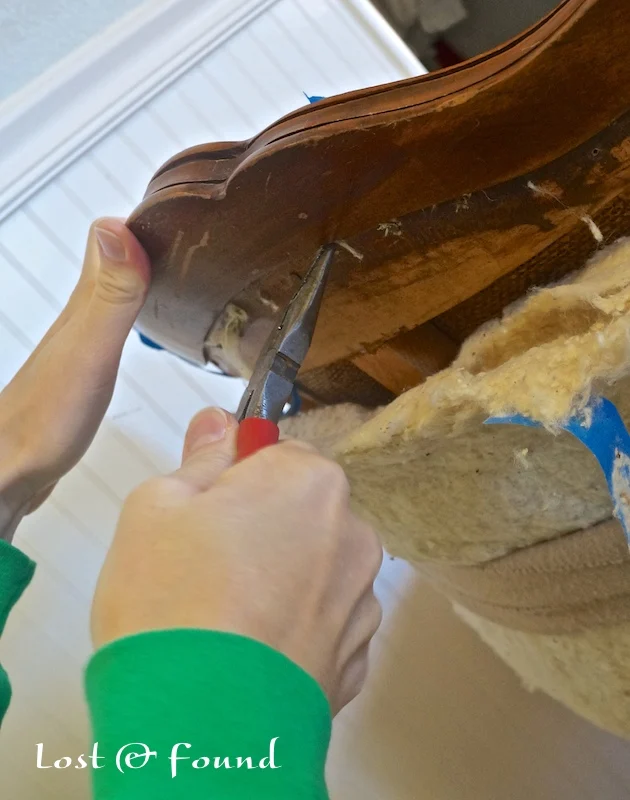
First step in any upholstery project is removing the old fabric. I started with pulling out the buttons, then, using some needle nose pliers, slowly ripped off the trim.

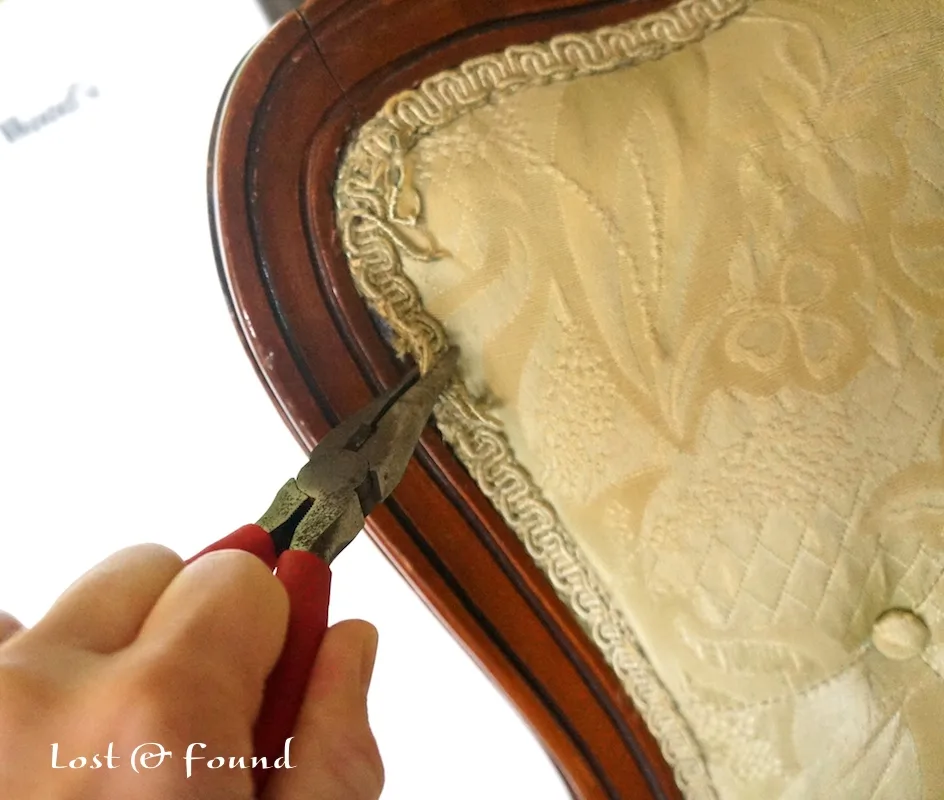
Don’t rip too hard or too fast, you want to try and keep the fabric intact. Some of the upholstery nails and staples will come out with the fabric along the way, some will stay stuck.
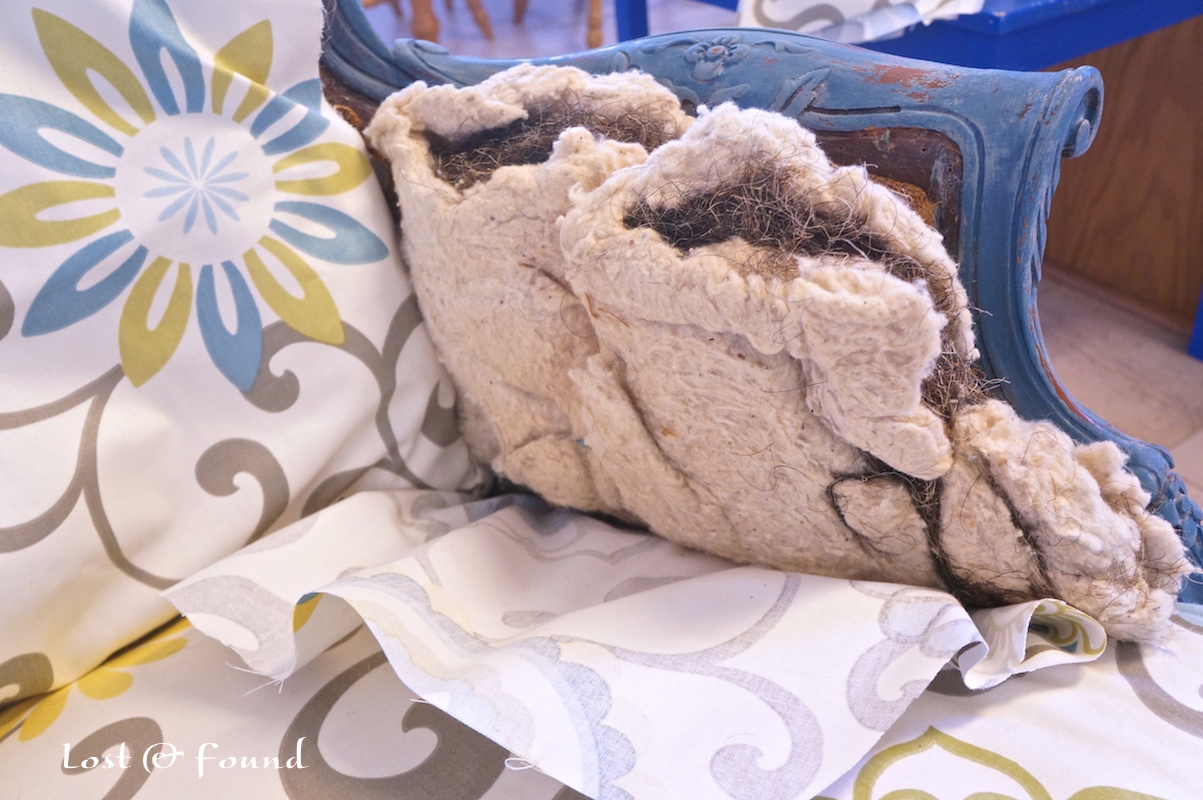
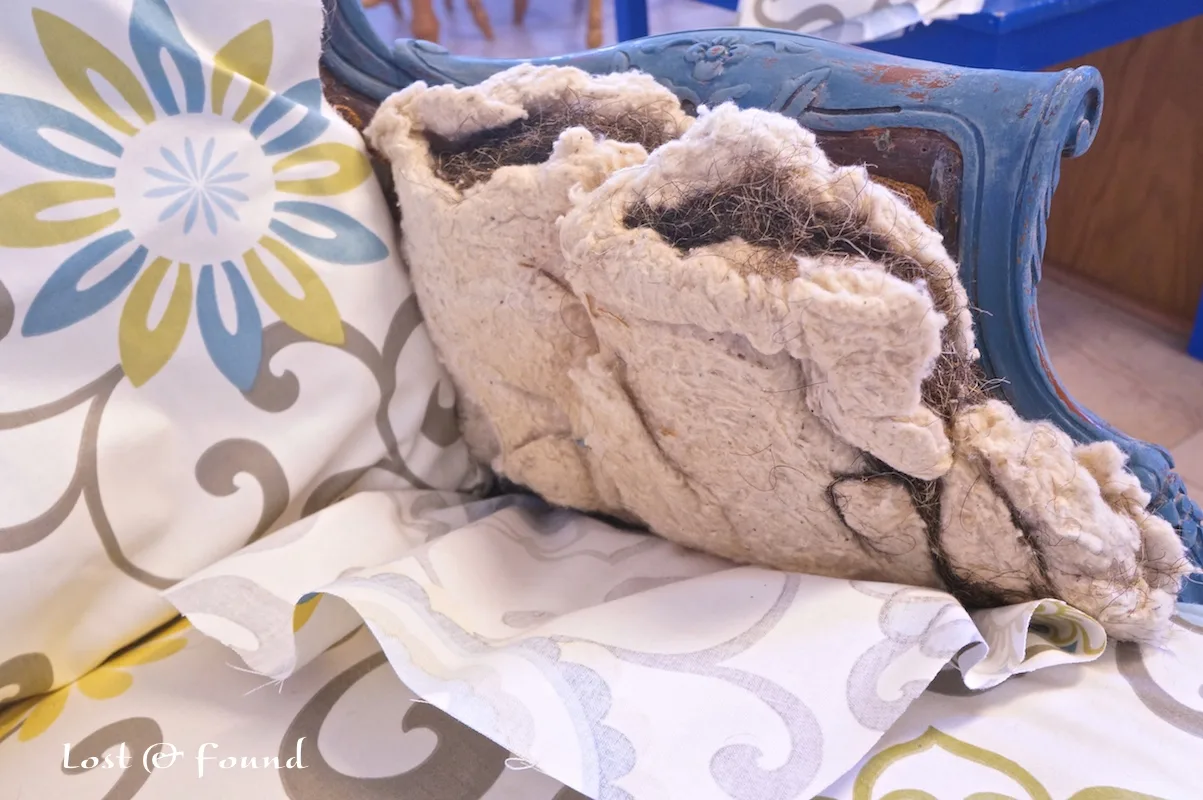
Here is what the chair looks like when all the fabric is removed.
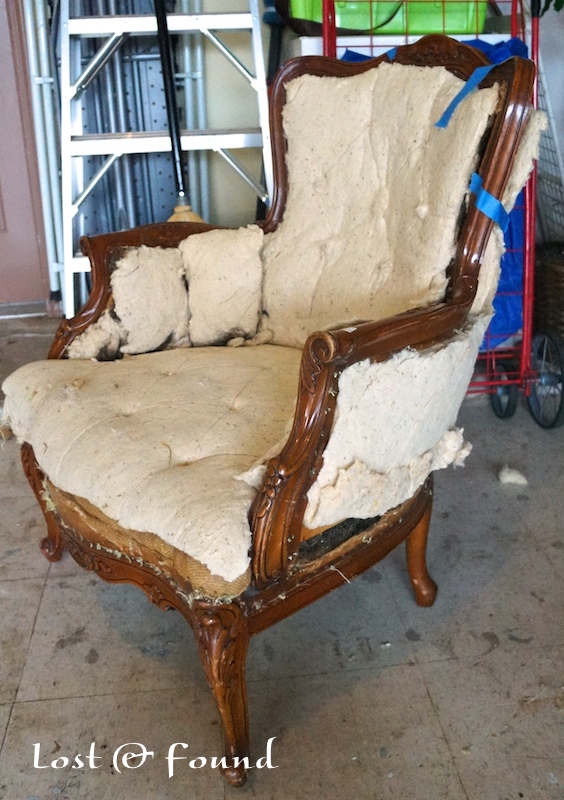

There is batting, over horse hair, over the burlap and webbing structure of the chair. (told you it was old!)
Why the painter’s tape? The padding and horse hair was in fine shape, so I wanted to keep it held in place so I could reuse it later. On a lighter note, check out what I found in one of the sides.
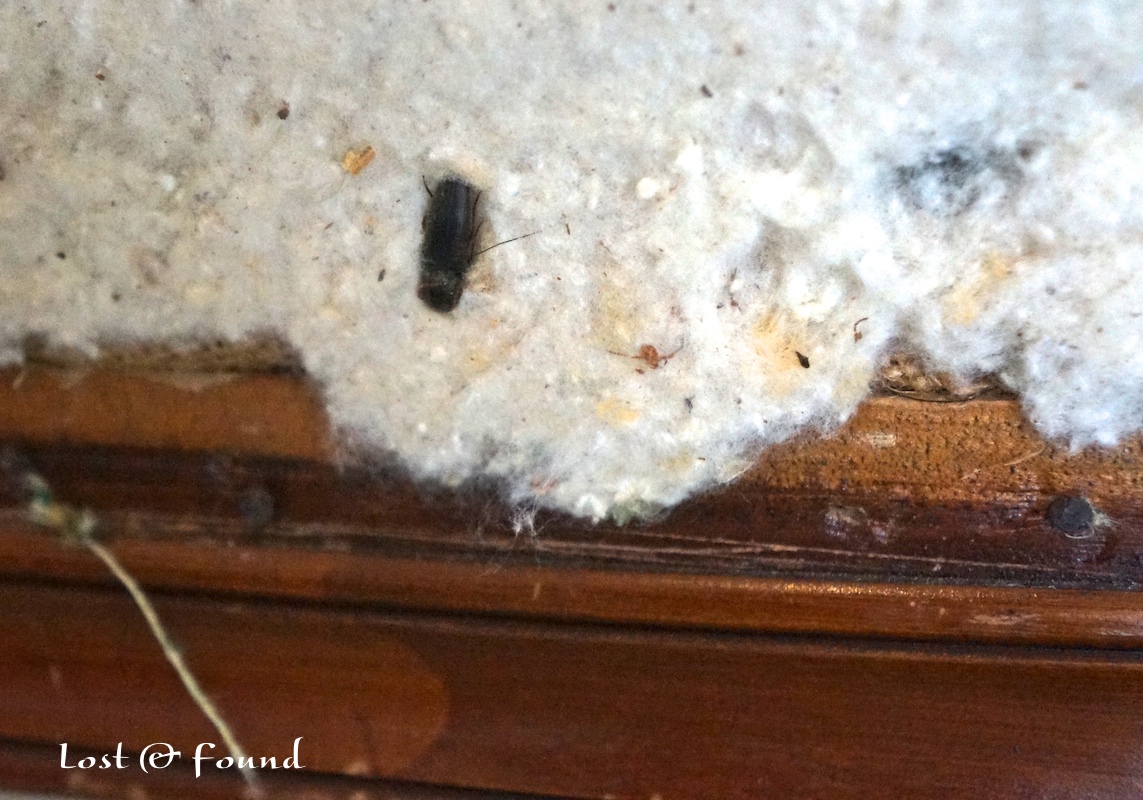

Haha, ick! Makes you wonder what sort of vermin are hiding in your own furniture . . .
STEP 2: Remove the Remaining Nails
The chair sat that way for a week or two, and every few days I would spend some time pulling out the remaining staples and nails.
I don’t have any fancy tools for this, just a screwdriver and pliers. It’s a tiring job, but the more nails you can remove the better. It gives you more clean area for your own staples and nails you will use later when it comes time to add the fabric.

LITTLE TIP: I keep the nails I pull out. They come in handy in the stapling process when you’re trying to attach fabric in a tight spot where the staple gun won’t fit.
STEP 3: Paint the Frame
After removing the staples and nails, I painted the frame. My plan starting out was a light gray wash look, which I achieved through dry brushing. I wrote about dry brushing here if you missed it.

I loved the way the finish turned out, but it just didn’t look right with my chosen fabric. I didn’t want to buy new fabric, so I decided to change the paint.
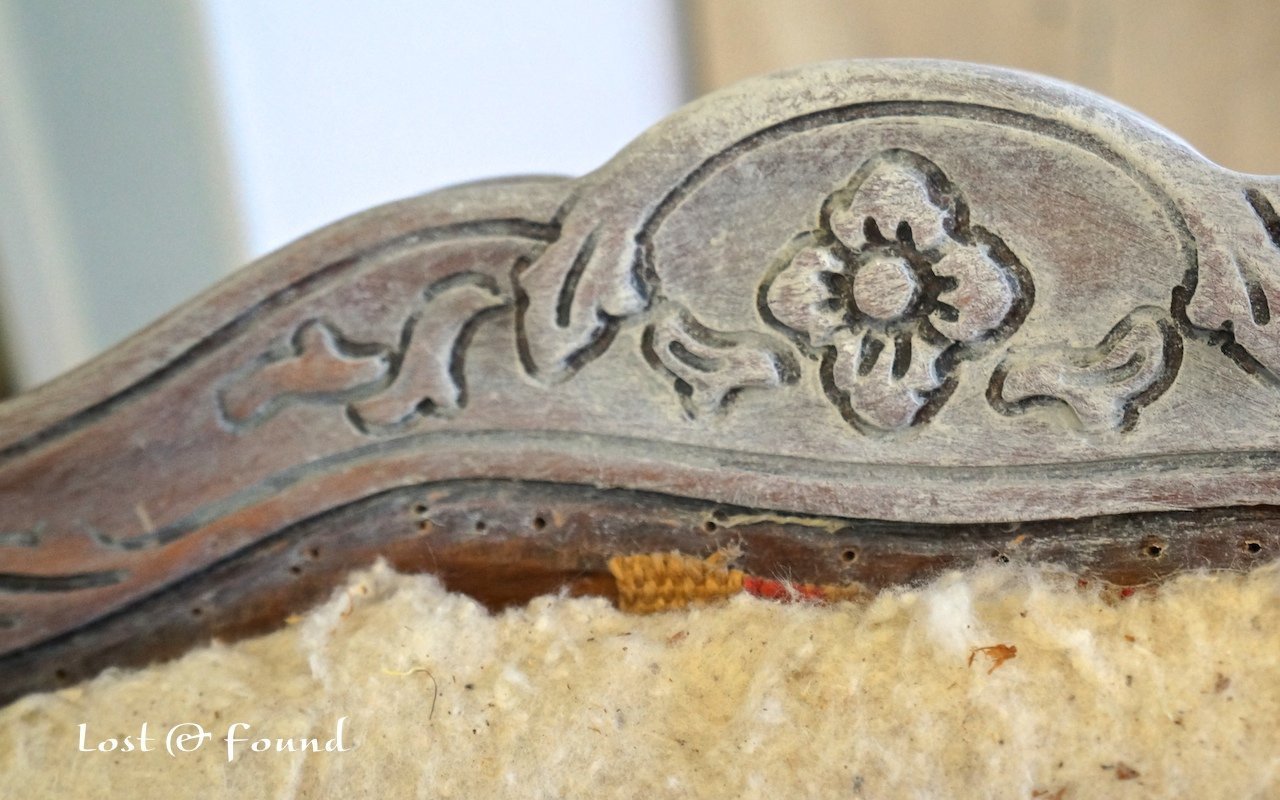
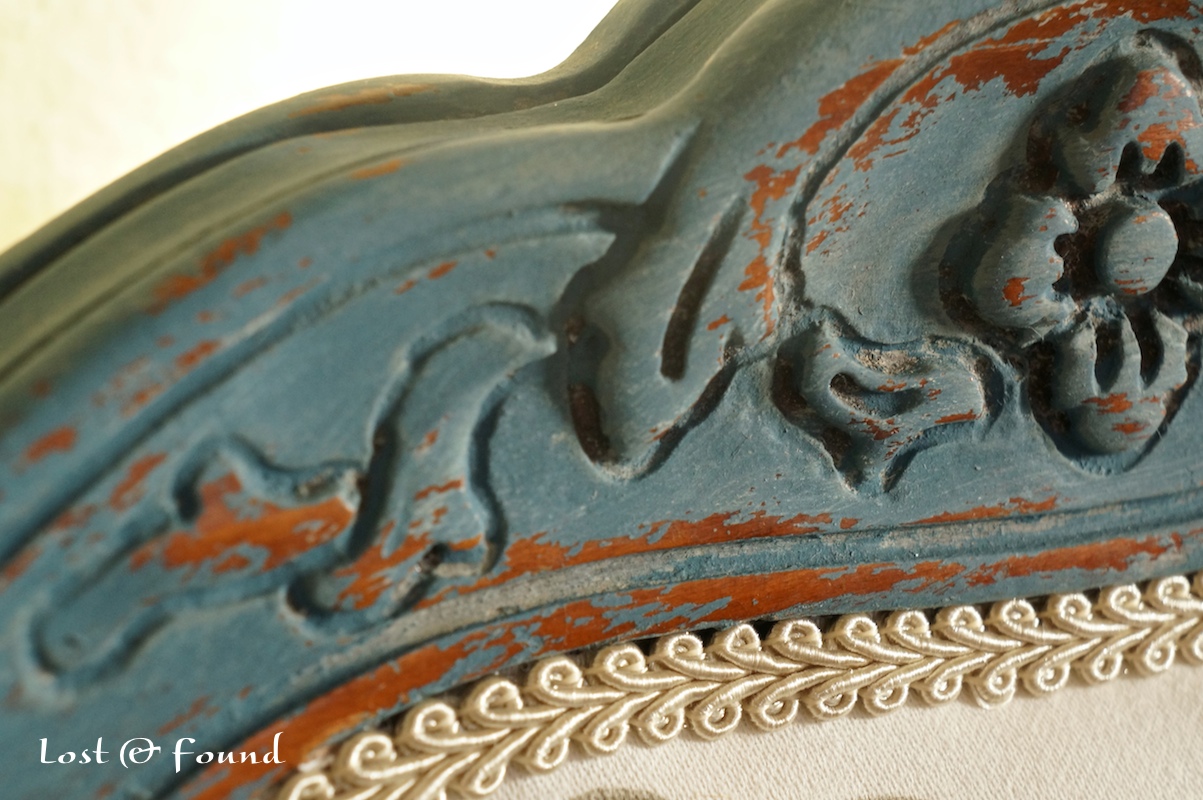
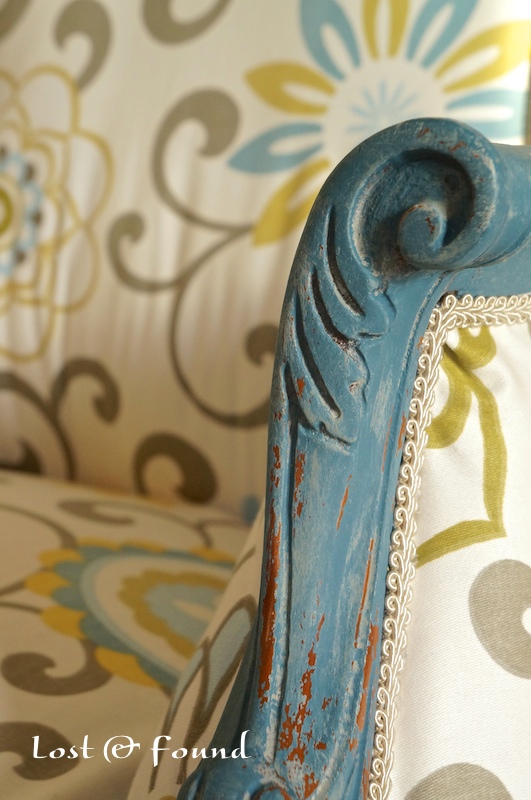
I took a wet rag and wiped off about half of the chalk paint, focusing on leaving in the cracks of the frame. I then painted one light coat of Annie Sloan Chalk Paint – Aubusson Blue. On top of the blue, I dry brushed again a little of the Annie Sloan Chalk Paint – French Linen.
After the paint, I wiped down the chair again, exposing a good bit of the wood.
The result was the perfect finish–the blue highlighted the fabric better, but the gray and wood poking through added depth and kept the finish from being too bright. Happy with the frame now, I moved on to the fabric.
STEP 4: Cut the Fabric

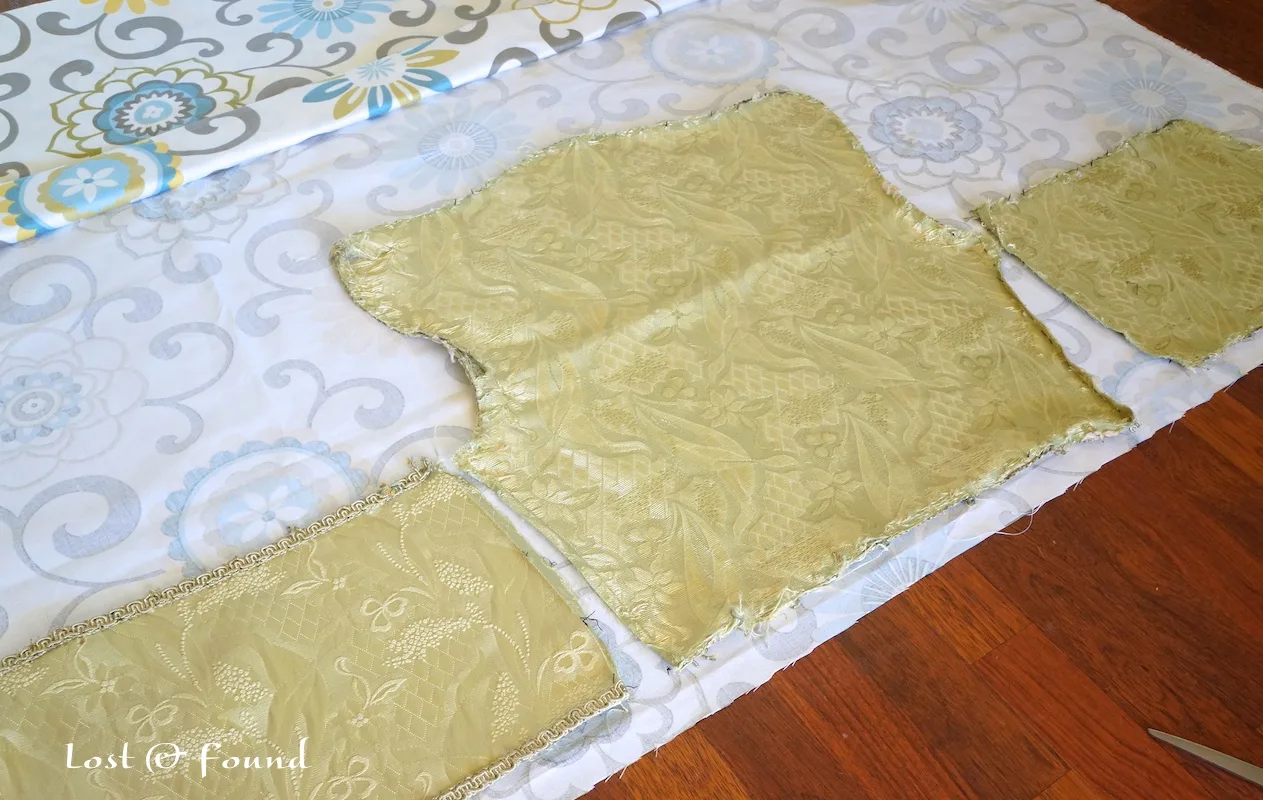
Lay out your fabric, paying attention to the fabric’s pattern if any. Then lay out the pieces removed from your project. To give myself a little more wiggle room, I cut around the pieces about another inch.
You can skip this part and just lay your fabric up on the furniture, staple some and start cutting it out. But that gets messy and I have found wastes fabric. Making a pattern keeps there from being too much excess fabric getting in the way while you work.
STEP 5: Staple the Fabric
Once all the fabric pieces were cut, I started stapling them onto the chair. Always start with the front, leaving the back exposed. You need access to the back to find the “guts” of the chair where you will be stapling on your fabric.
Always start with the front, leaving the back exposed. You need access to the back to find the “guts” of the chair where you will be stapling on your fabric.
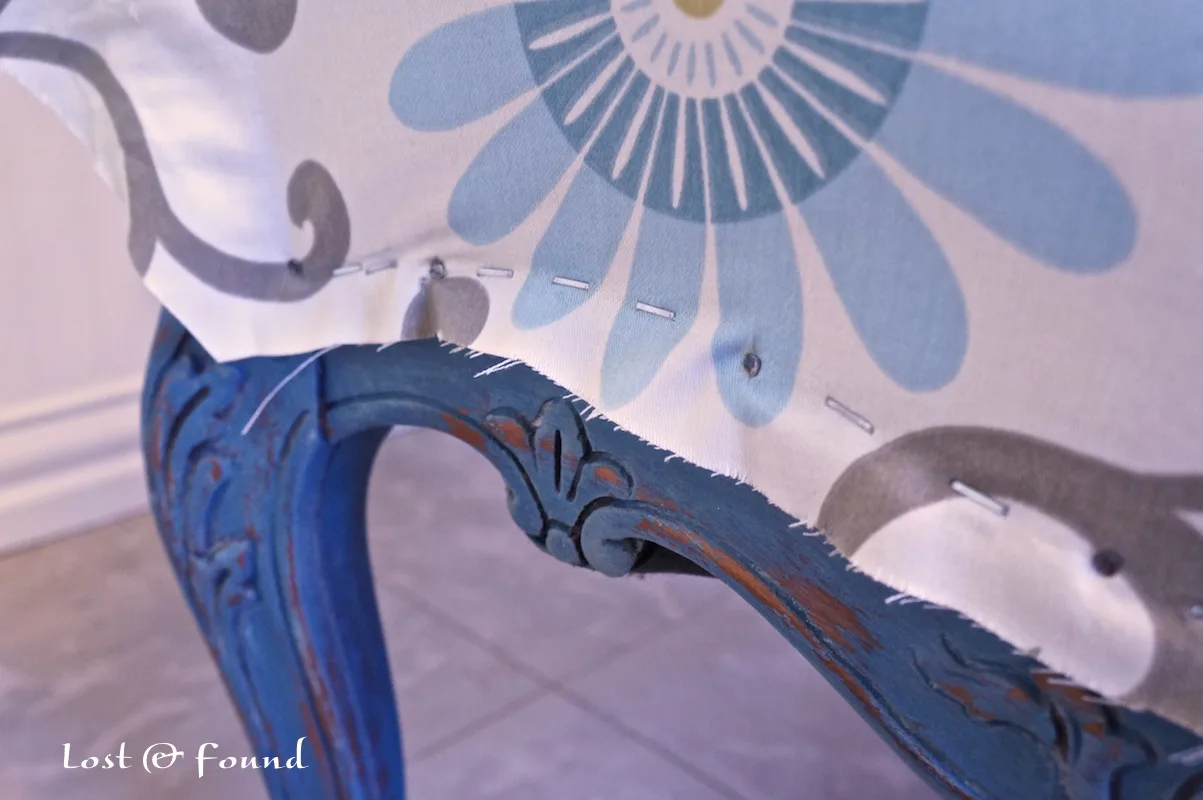
This is the bottom seat cover, being stapled onto the top of the wooden base. You can see the holes from the original nails down by the blue paint . . . keep that area open for your back fabric staples.


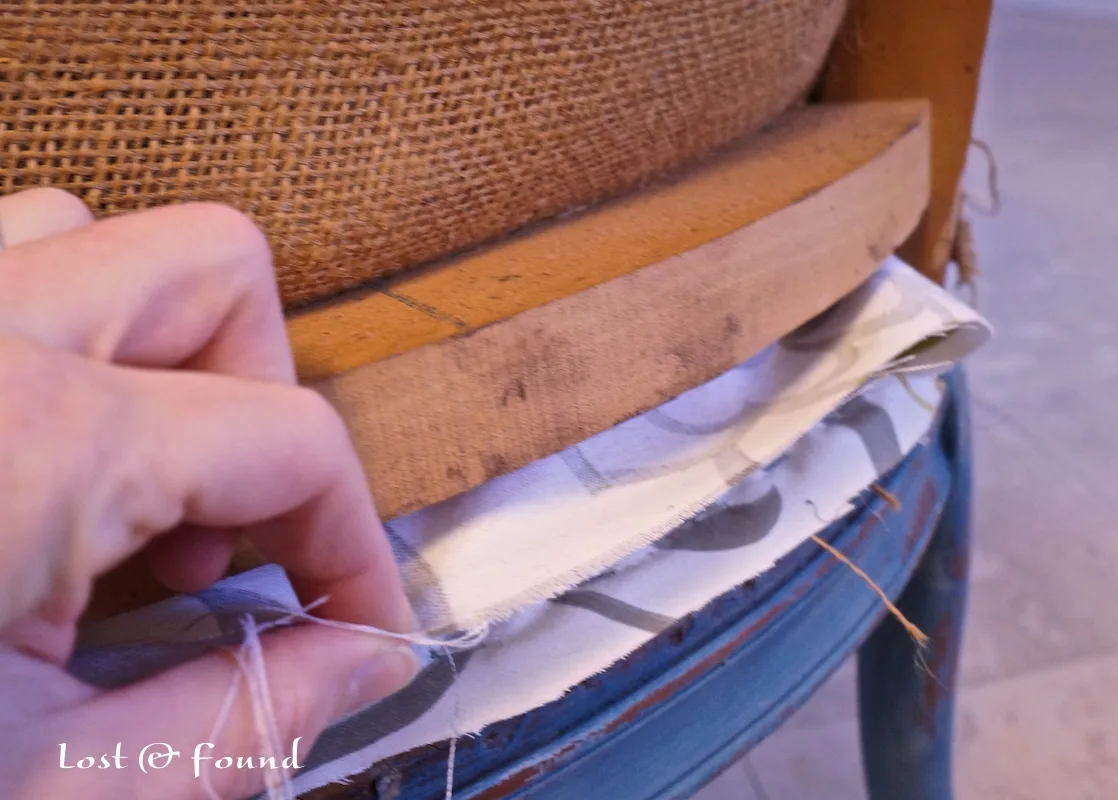
The front back and sides came next. I laid the fabric pieces out on the front, then tucked the ends down through to the back.
Here is that side panel being pulled through.
I actually flipped up this piece and stapled it to the unpainted wood frame piece above. Staple a few anchor staples in the back, then moving to the front, pull the fabric tight and staple around the panel.

This is the front seat, and like I mentioned above, it was handy in places to reuse those upholstery nails. The staple gun generally won’t get the staples all the way in, so you need to tap them in with a hammer.

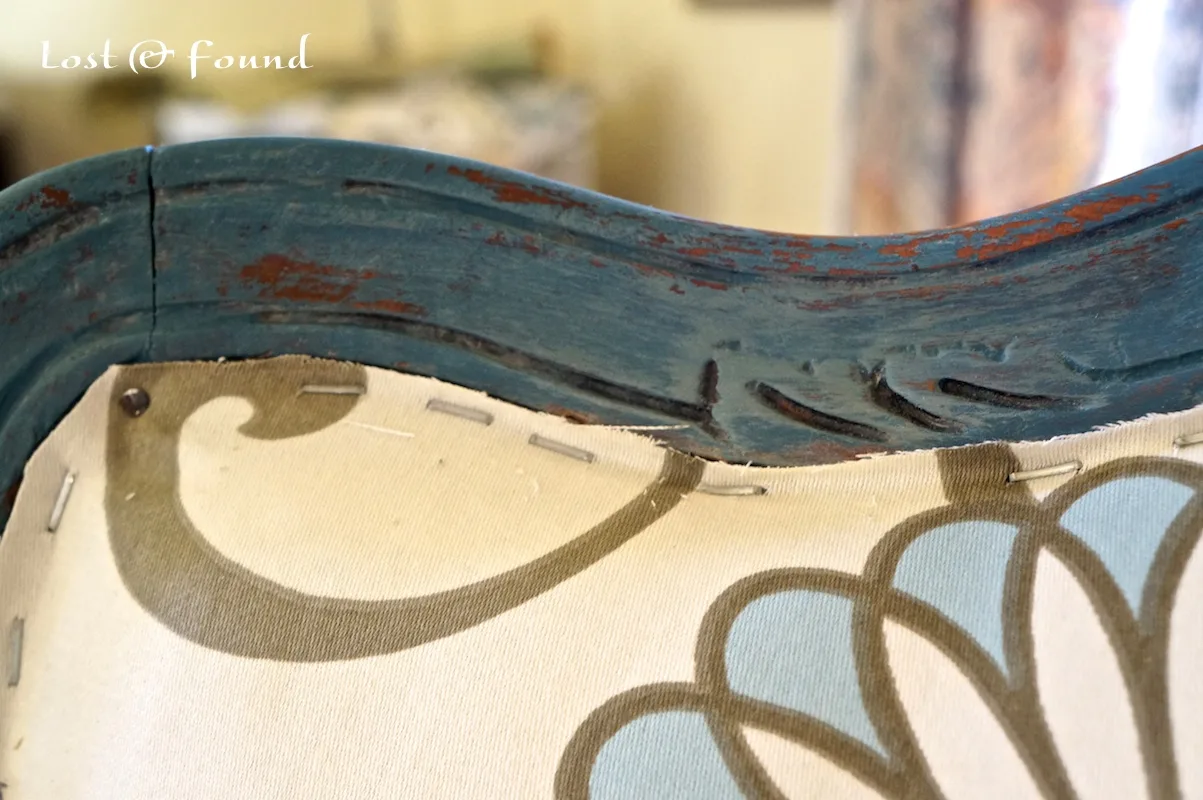
Once the front panels are all pulled tight and stapled on, you can start on the back. This where it gets fun because you cover up all those chair guts and front staples.
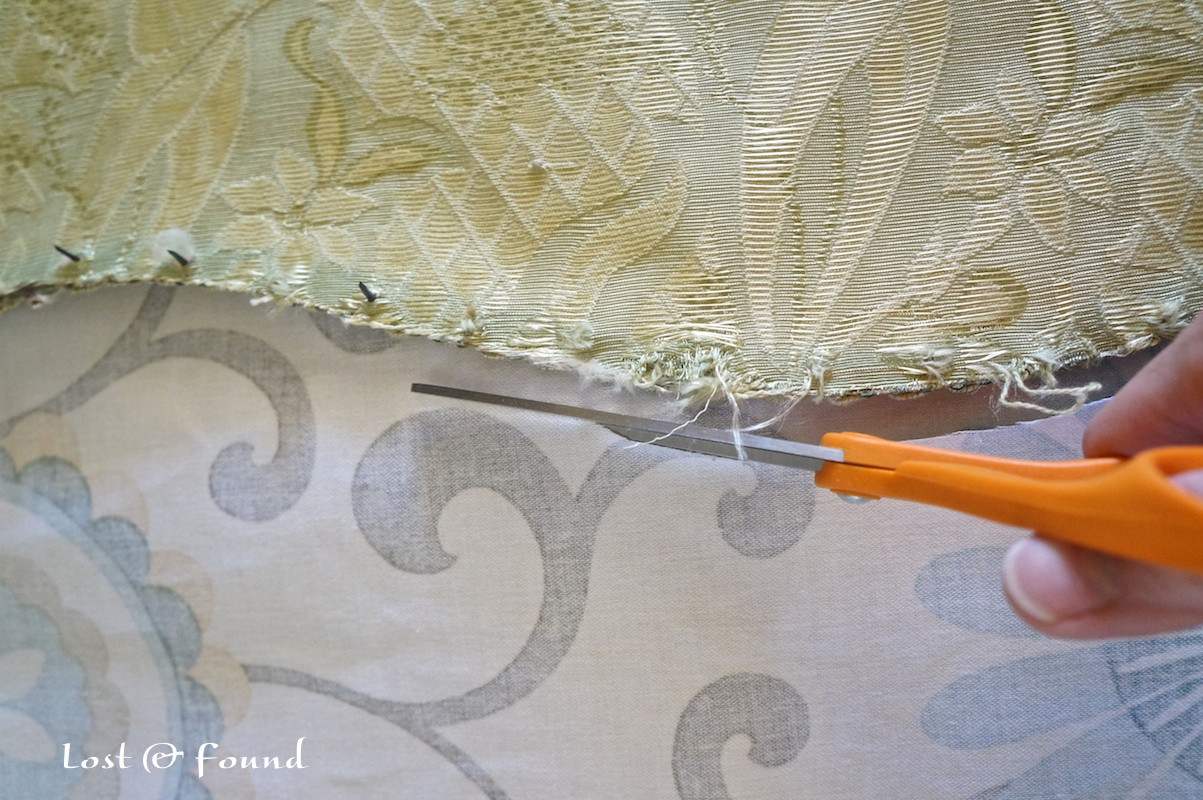
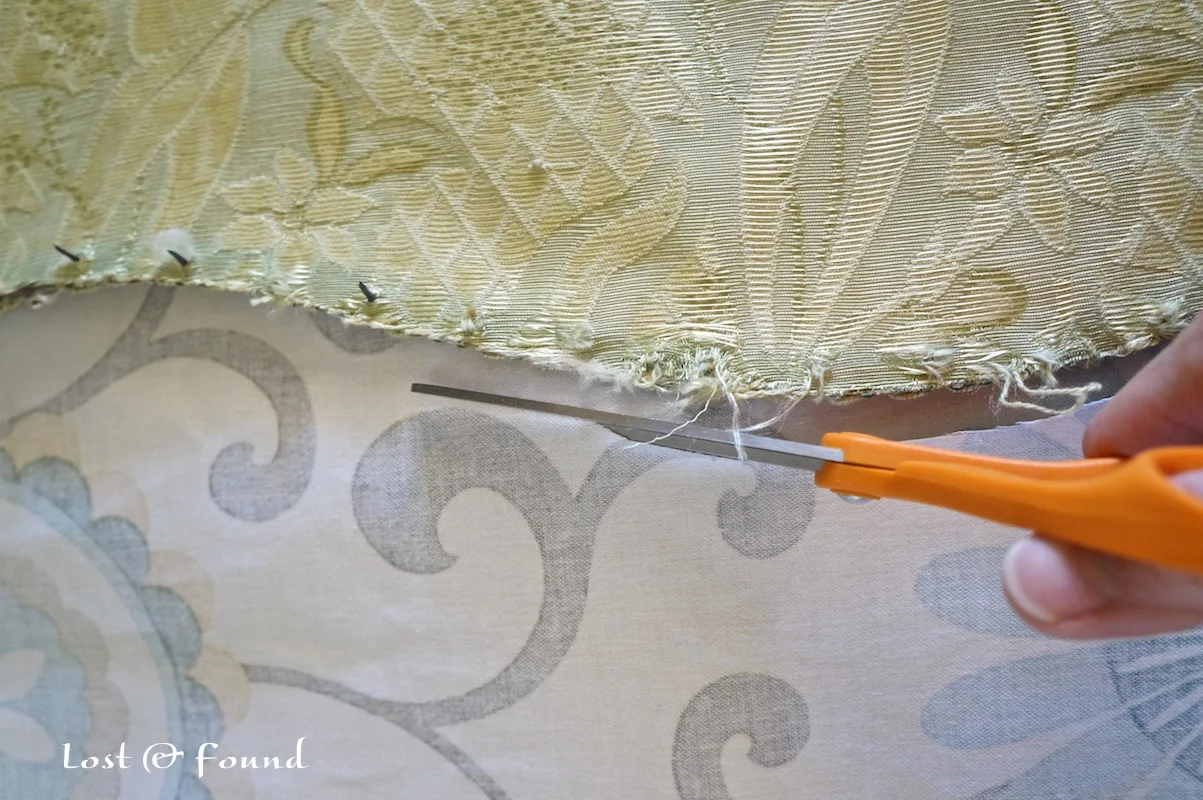
STEP 6: Trim Excess Fabric & Add Trim
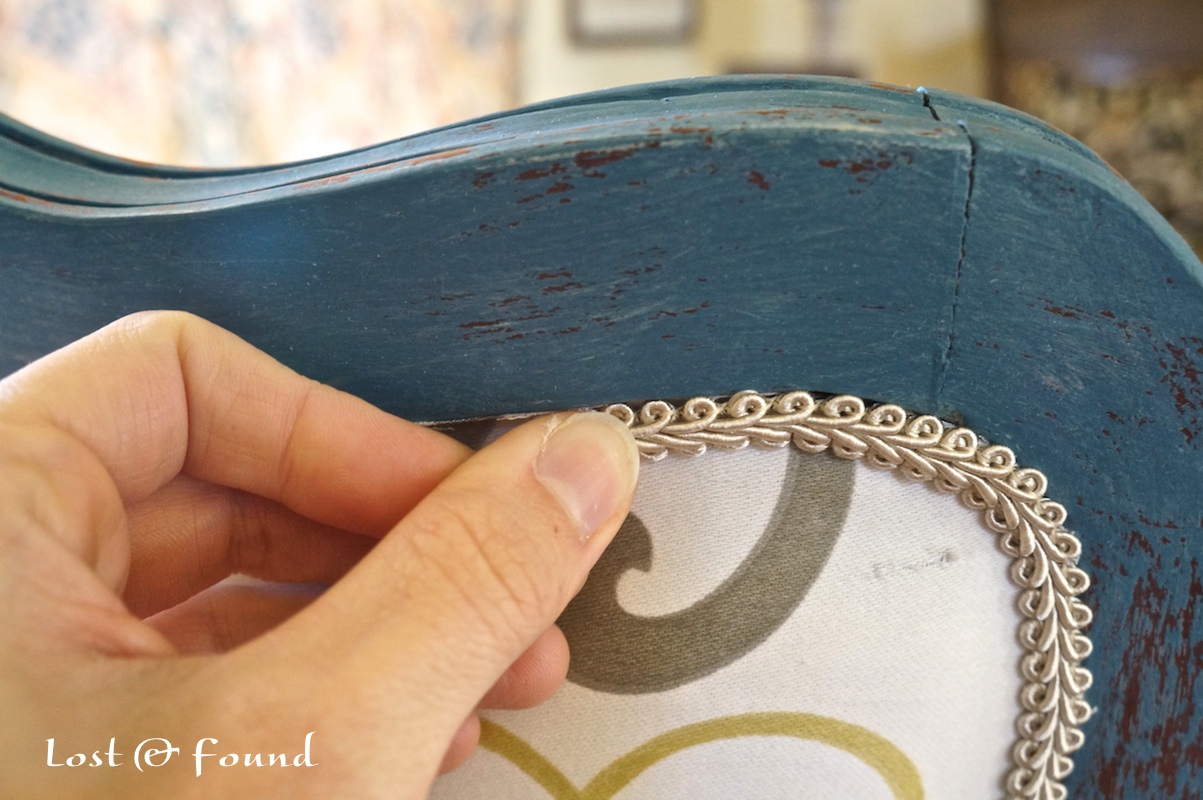
When all the stapling is finished, it’s time to trim off any excess fabric with some sharp sewing scissors, then add your trim with a hot glue gun.

The trim does wonders for hiding any small errors.
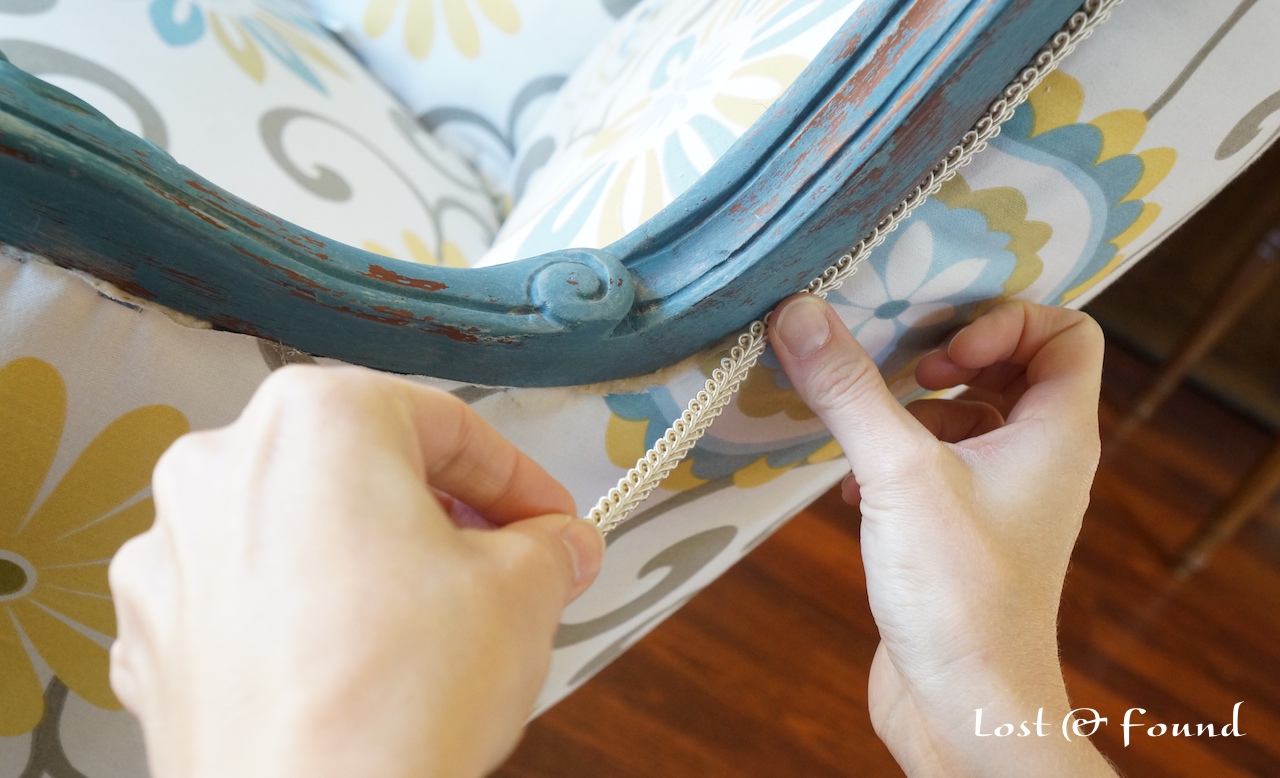

I like to apply the glue to the trim, hold it out from the piece with my left hand, and gently push it into the frame with my right thumb.
You don’t want to pull the trim tight, but keep it loose so you can maneuver it into corners. I have given myself some second-degree burns from this process before, and I’ve learned that holding it out this way is the best way to protect my hands and fabric.

I have no professional upholstery skills, and I know those who do would probably read this post and shake their heads . . . but when you’re a DIY-er, you learn as you go and do the best you can, sometimes improvising along the way.
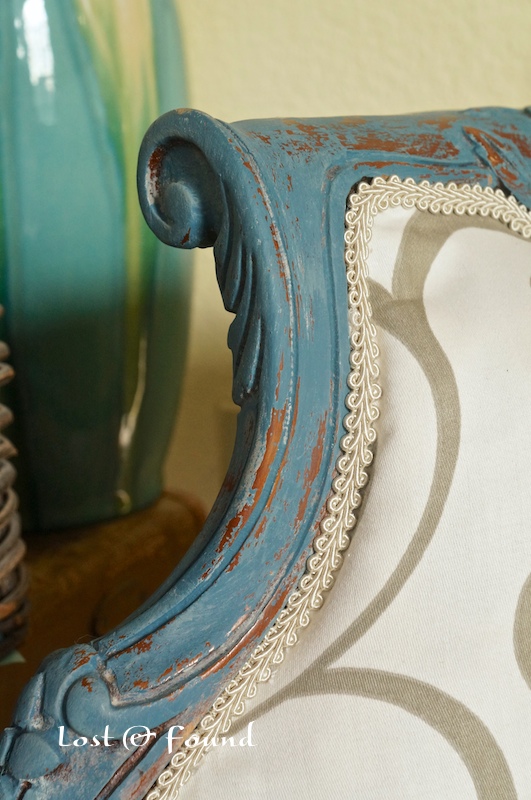
I think it turned out fabulous and was a fun, rewarding project. I’ll end with a few more “after” shots.
Thanks for following along with me!

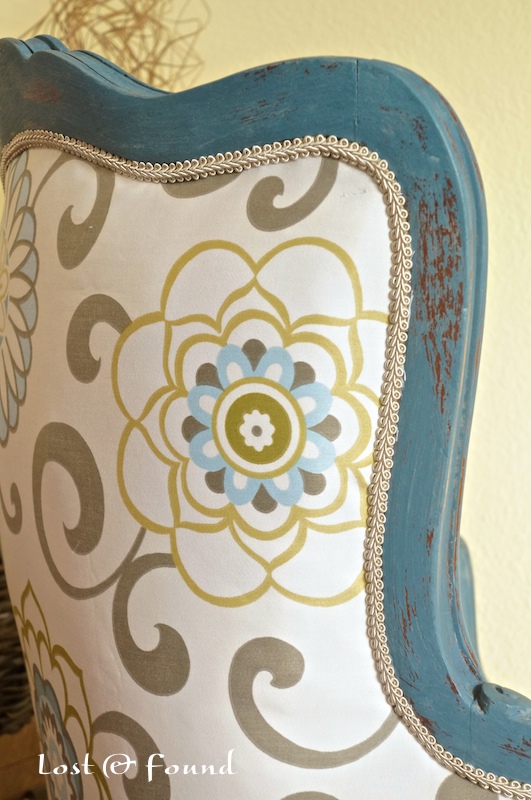


DIY Reupholstered French Chair
Linking up to:
Make it Pretty Monday, Metamorphosis Monday, Mod Mix Monday, Motivate Me Monday,
That DIY Party, Project Inspired, Nifty Thrifty Tuesdays, Inspire Me Tuesdays,
Anything Goes, Be Inspired, Wow Me Wednesday,
Power of Paint Party, Tutorial Tuesday, Chic By You,
Whatever Goes Wednesdays, Centerpiece Wednesdays, Be Inspired @ Common Ground,
Treasure Hunt Thursdays, What Have you Redone Friday?, Linky Party Palooza,
Karin
Sunday 9th of April 2023
I loved it a fabulous peice, I enjoyed your process, to give a beautiful peice of furniture a new life ,we throw away far too much instead of giving a new face n life so it can last and we respect the craftsmanship and most of all use less of our precious worlds resources 🙏🏽 well done I upholster ,I'm impressed, my philosophy is who taught the first upholstery the craft had to be trial and error ,u have found a solution that someone can follow and have a usable peice beautiful 🙏🏽
5 Easy tips for picking the perfect accent chair - Designed Decor
Thursday 26th of January 2023
[…] French Chair Makeover […]
andrew@the best chairs glider
Tuesday 17th of May 2016
I have been looking for a way to do this… looks easy… I just hope my attempts are successful lol. Thank you. You have a wonderful family, btw
Joanne Boulter
Friday 4th of September 2015
I so appreciate your tutorial on reupholstering. I bought a 100 year old chair and sofa and have never done this before. I have looked and looked for good tutorials and your was the best in my opinion. Thank you so much! Well, back to pulling staples! Jo
Melanie
Saturday 5th of September 2015
Thank you Jo! So glad you found it helpful. I would love to see your finished project!
Lisa
Monday 21st of April 2014
I love it, Melanie! The fabric, the paint color...it's beautiful!
Melanie
Tuesday 22nd of April 2014
Thank you Lisa!