I wrote in my last post about my battle with cedar allergies . . . unfortunately about 10 hours after that post published I woke up with fever, aches, and my dinner from the night before showing back up (if you know what I mean!) Yep, now I have the flu. They keep saying on the news that this is one of the worst years for the flu in Texas, and they must be right because this is first time I have caught it in ten years. I spent about 48 hours in bed, and was glad finally to be up a little bit this morning. I can manage about 30 minutes up at a time, but then back to bed it is. I’m so thankful that my husband can be home to help with my kids, and also that everyone else in the family got their shot so hopefully I will be the only victim.
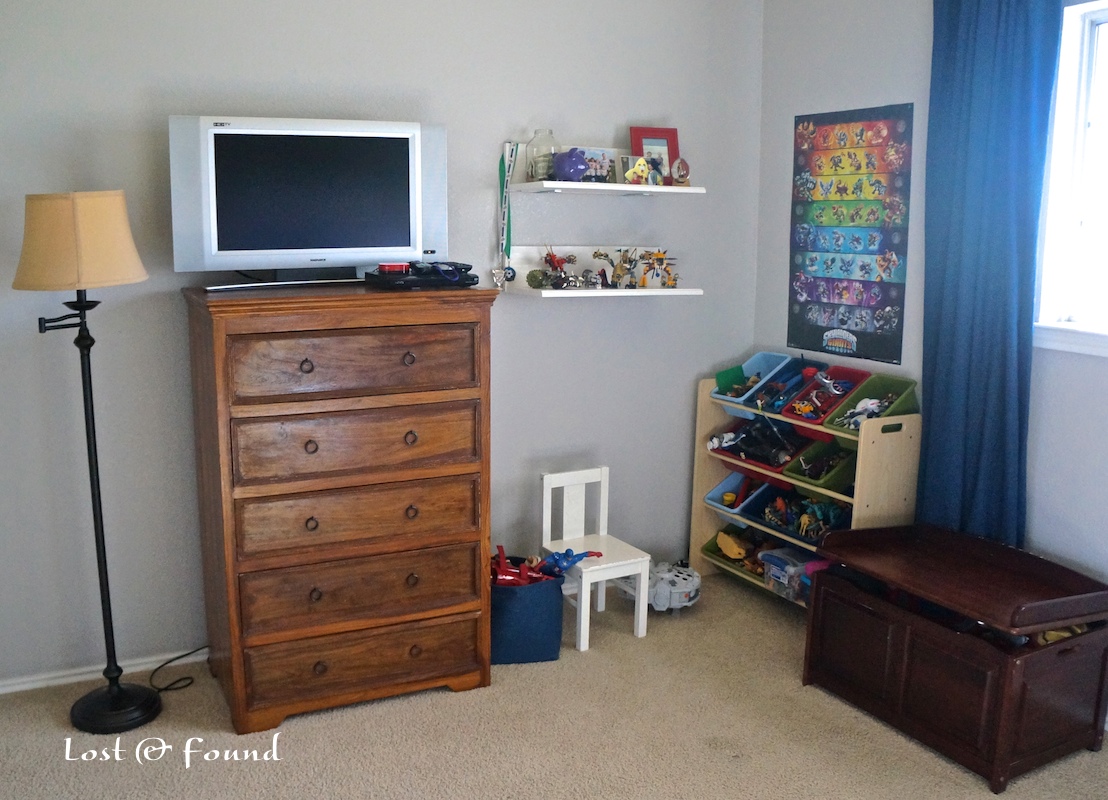
So with lots of time resting in bed, I thought I would take the chance to post again! Over Christmas break my husband and I arranged to have our oldest two boys spend a few days away with grandparents and cousins so we could work on re-doing their bedroom. This is what it looked like before:
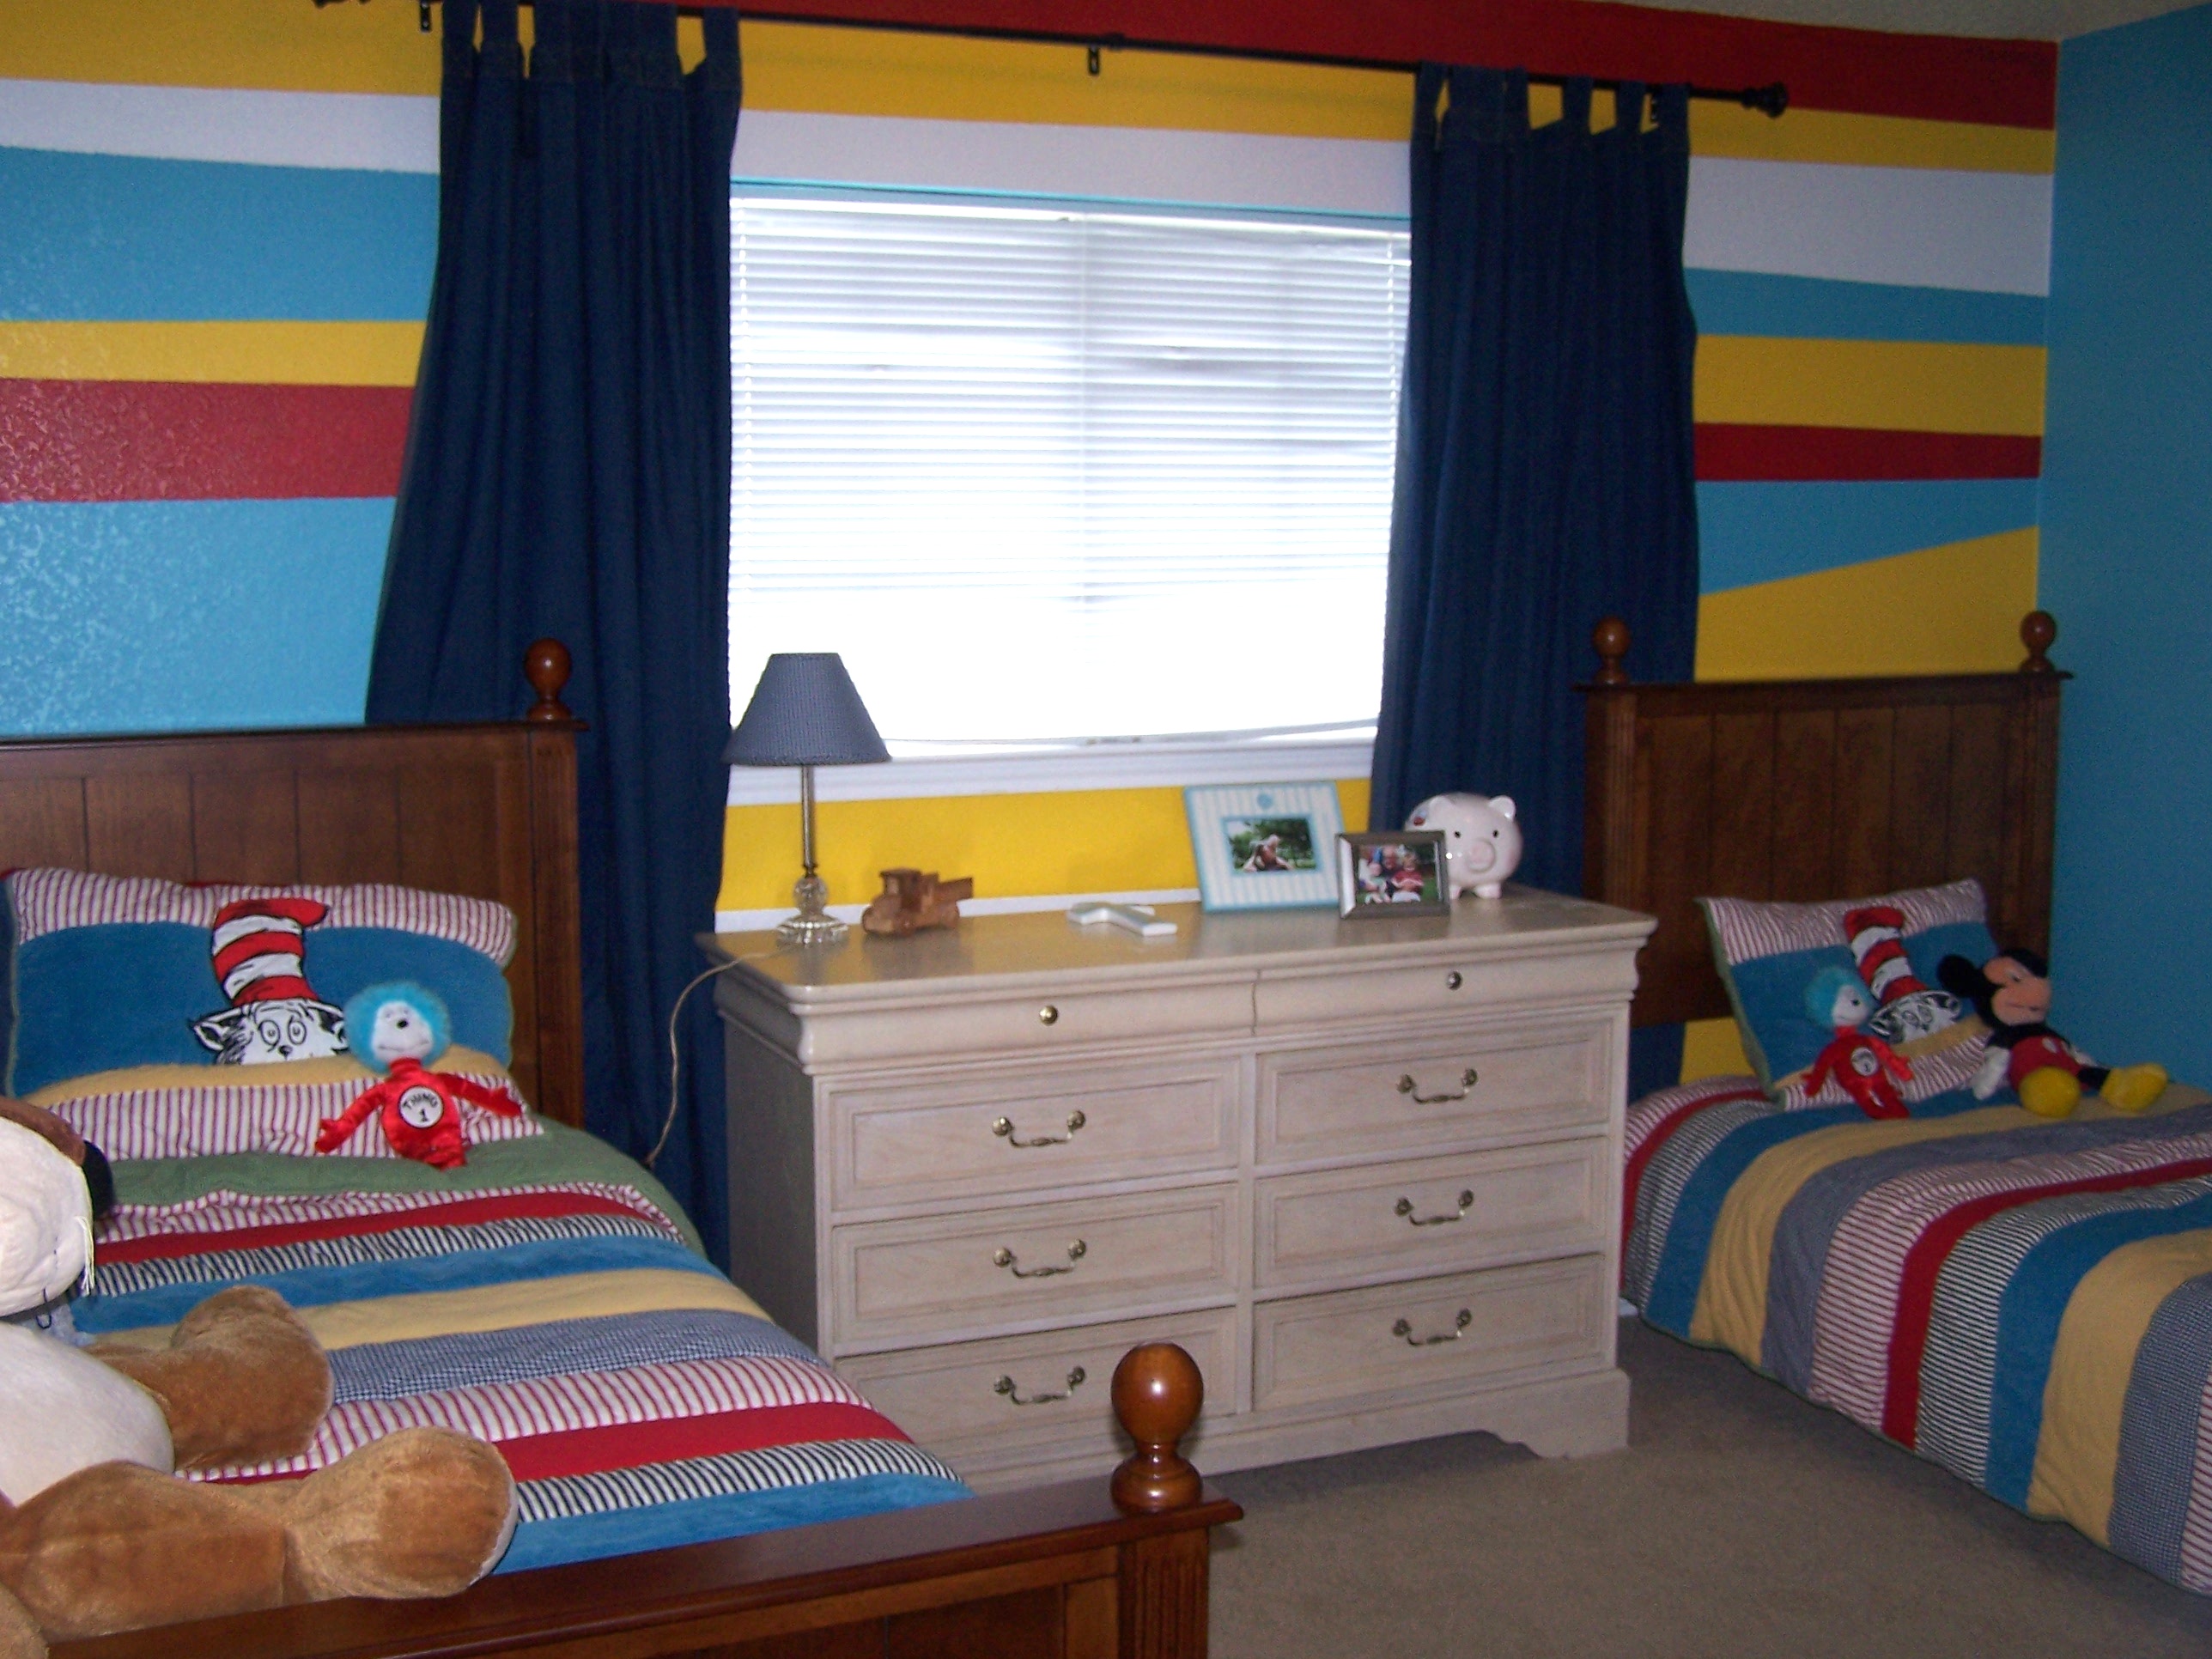
It was “Dr. Seuss” themed, in case the bright stripes didn’t give it away! My boys were 4 and 2 when we moved into this house, and this was their first “real” room. We had been living in rentals prior to this, and so I wanted to go all out with making a super-fun kids room. My oldest at the time loved Dr. Seuss and Pottery Barn had just come out with a Seuss line of bedding, so we decided to make it as bright and “Seuss-ical” as we could. The twin beds were purchased from JCPenney on clearance, and the bedding sets were from PBK (they were the big splurge). The dresser was mine from when I was a kid and had been used at one time as our master bedroom dresser. I always intended to paint it, but never could decide on a color, so it stayed the same.
It was a fun room, but my boys are now 7 and 5 and I felt like they needed something more “big boy”. Also, the room only has one window and doesn’t get much natural light, so the bright, saturated colors on the walls made it feel very dark. When my third was born I moved all of the big boys’ toys up to their room to make space downstairs for baby stuff. That made their room very cramped and it felt even more uninviting with the darker colors. They really never wanted to play up there, so another motivation in the room re-do was to give them a brighter space with more room to play.
Finding some of the new furnishings was a work in progress, but once those were found it took us about 3 days to re-paint and pull it all together.
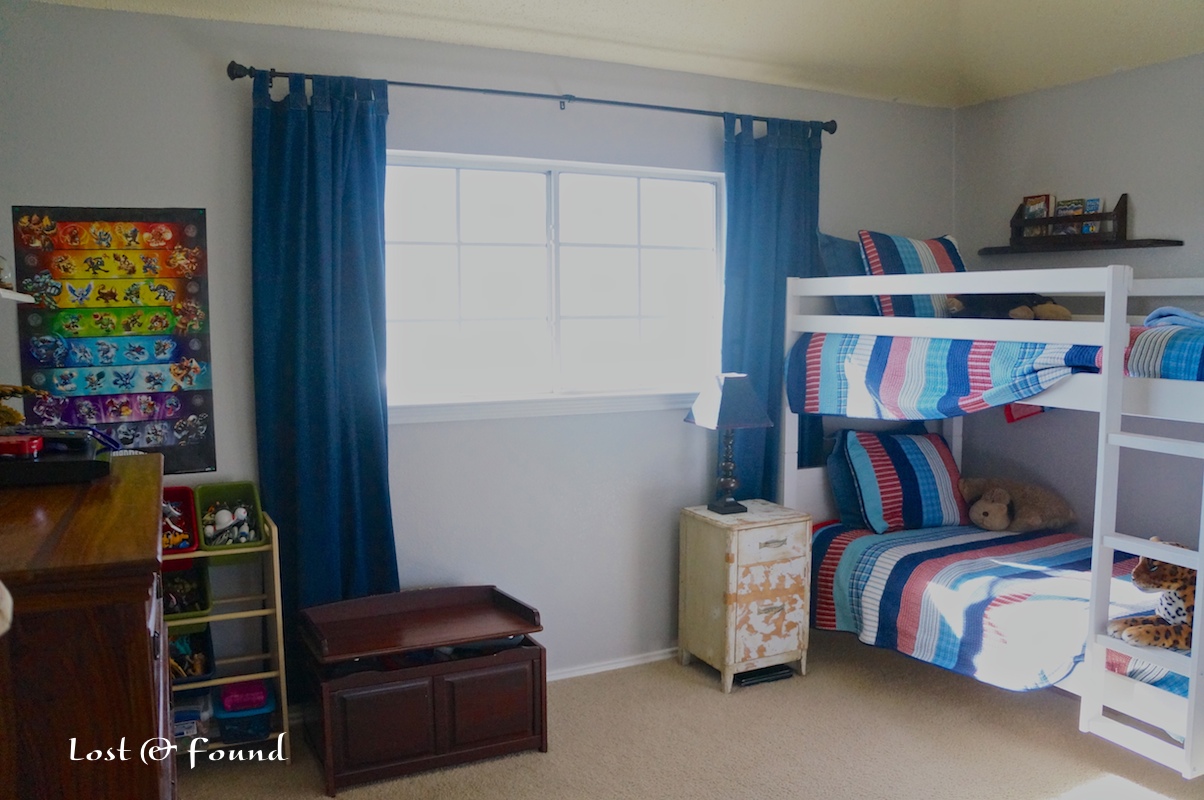
It’s about 90% finished now, and here is what it looks like:
Let me walk through the major changes.
First, I sold my old dresser and purchased one tall chest off Craigslist. My oldest’s clothes are now in that and my youngest’s are in a Elka drawer system (from The Container Store) in the closet. The Elka drawers used to be in the baby’s room holding blankets, bibs, etc, but it wasn’t really being used anymore so I moved it to this room.
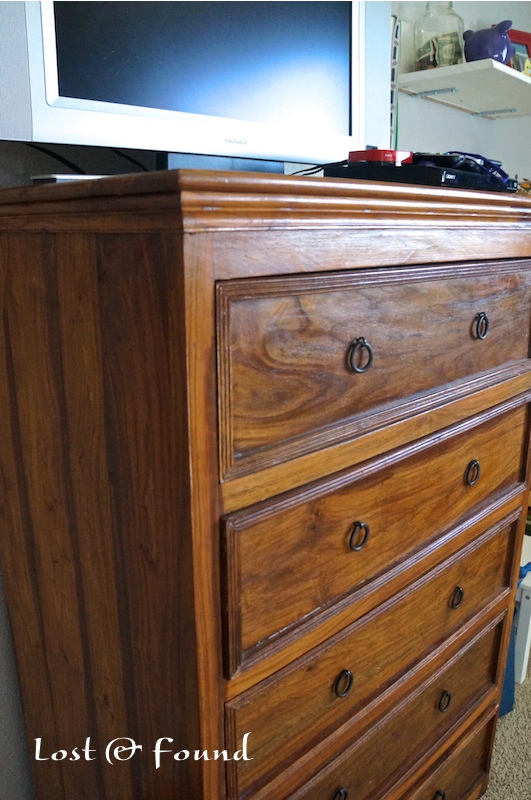
This chest of drawers is of amazing quality and is completely solid wood, including the back. It cost only $75 and with its deep drawers, will fit his clothes for many years to come. The TV was our old TV from downstairs and was moved up to their room when we received a new one as a Christmas gift. I know, I know . . . TV in kid’s bedrooms is a parenting faux-pas, but they are only allowed to watch with our permission and only have access to certain shows through streaming Netflix. Having it there provides a little relief to our overused family room.
Next major move was changing out the 2 twin beds for bunk beds. The bunk bed was purchased off Craigslist for $200 and is decent quality, good enough for the few years we plan to use it. The twin beds were nicer quality, so we didn’t want to get rid of them knowing they would probably use them again in the future.
One of them was taken down and stored, and the other was moved to the baby’s room to be his big-boy bed when he’s ready. To make room for it, we sold a full-size mattress set and bed frame that was going unused in the baby’s room. I also sold one of the PBKids Dr. Seuss bedding sets on Ebay, and put the other in with the twin bed in the baby’s room. Since we didn’t need box springs with the bunk beds, I moved one with the twin bed and sold the other. I found a like-new twin mattress on Facebook for $75 and purchased that for the twin bed now in the nursery. Whew, that’s alot of selling and swapping, I hope you followed me!
The bedding was purchased from Target and is really amazing quality. Both sets together cost roughly what one of the PBKids Seuss sets cost. They fit our needs much better because they are lighter (a better fit for our mostly warm TX weather) and fit the bunk beds also (the PB quilts were way too puffy).
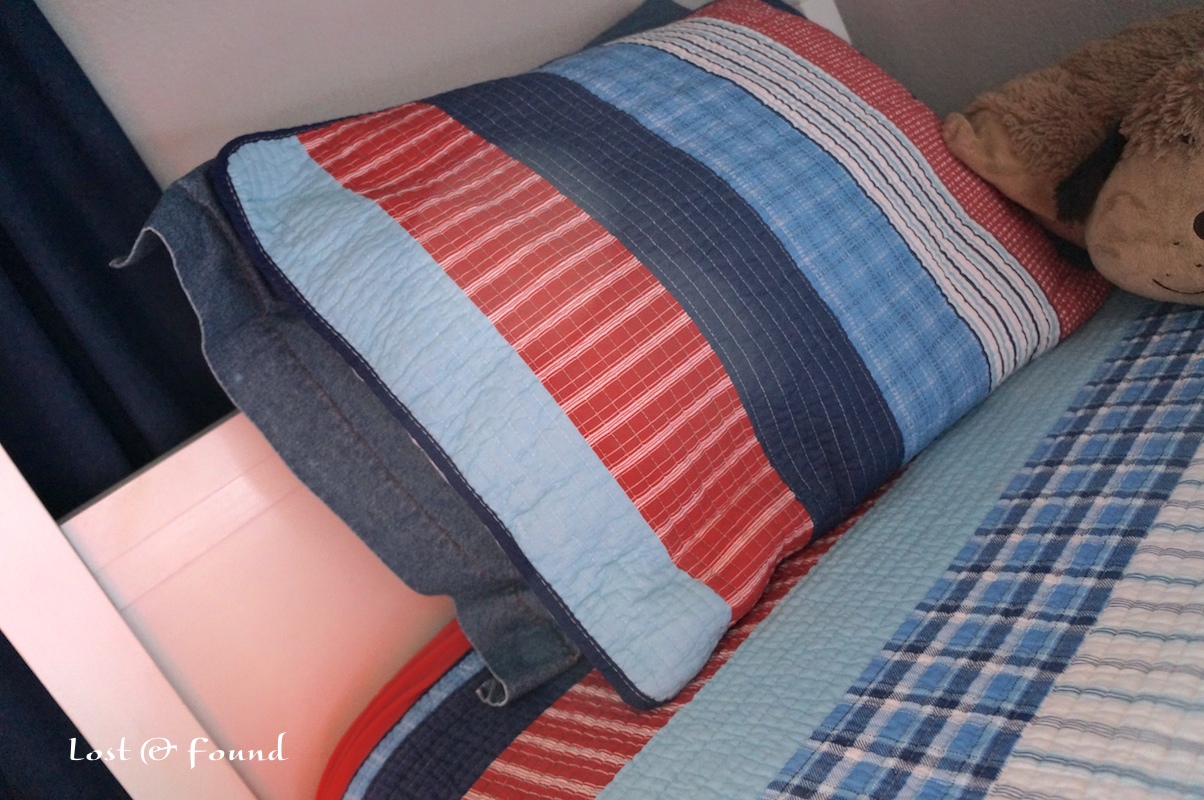
With the bunk beds the boys now have much more floor space to play.
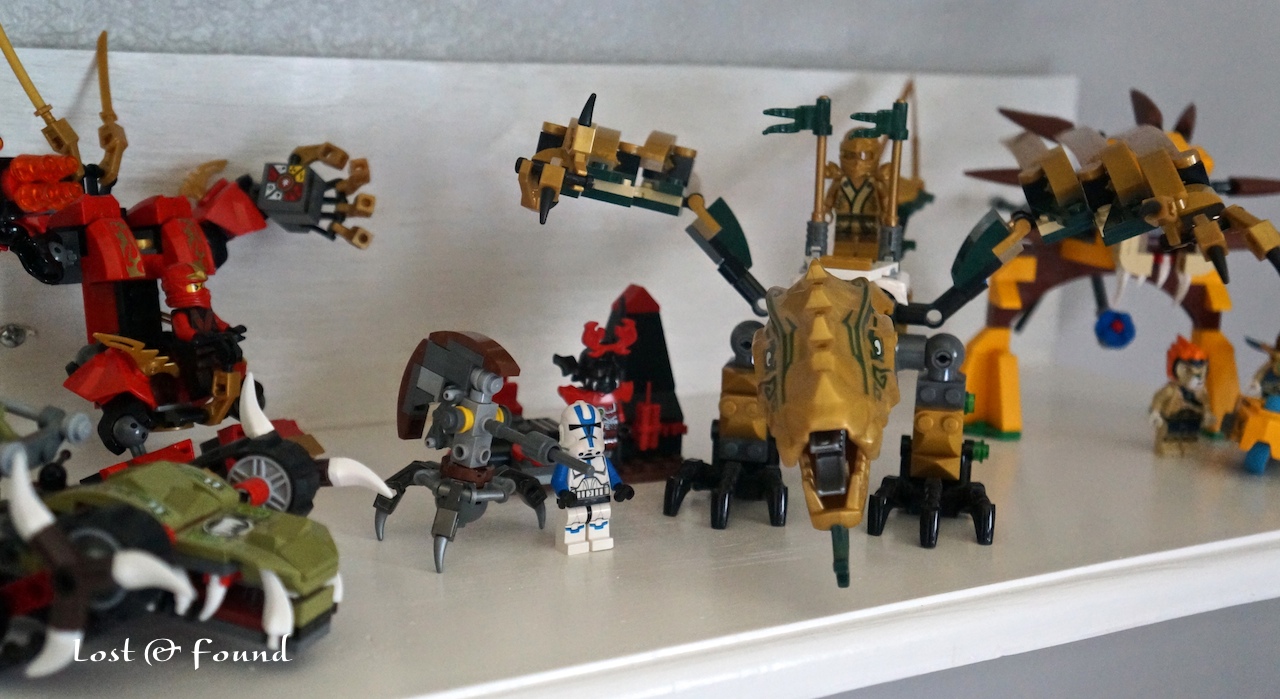
There is plenty of room for their toys now and even now a special shelf to display their Lego creations. The white shelves were actually $0 cost . . . my husband cut them down from a shelf that was left in my booth space up at ACM. The lamp is an extra one that was going unused in the corner of our master. Use what you have!
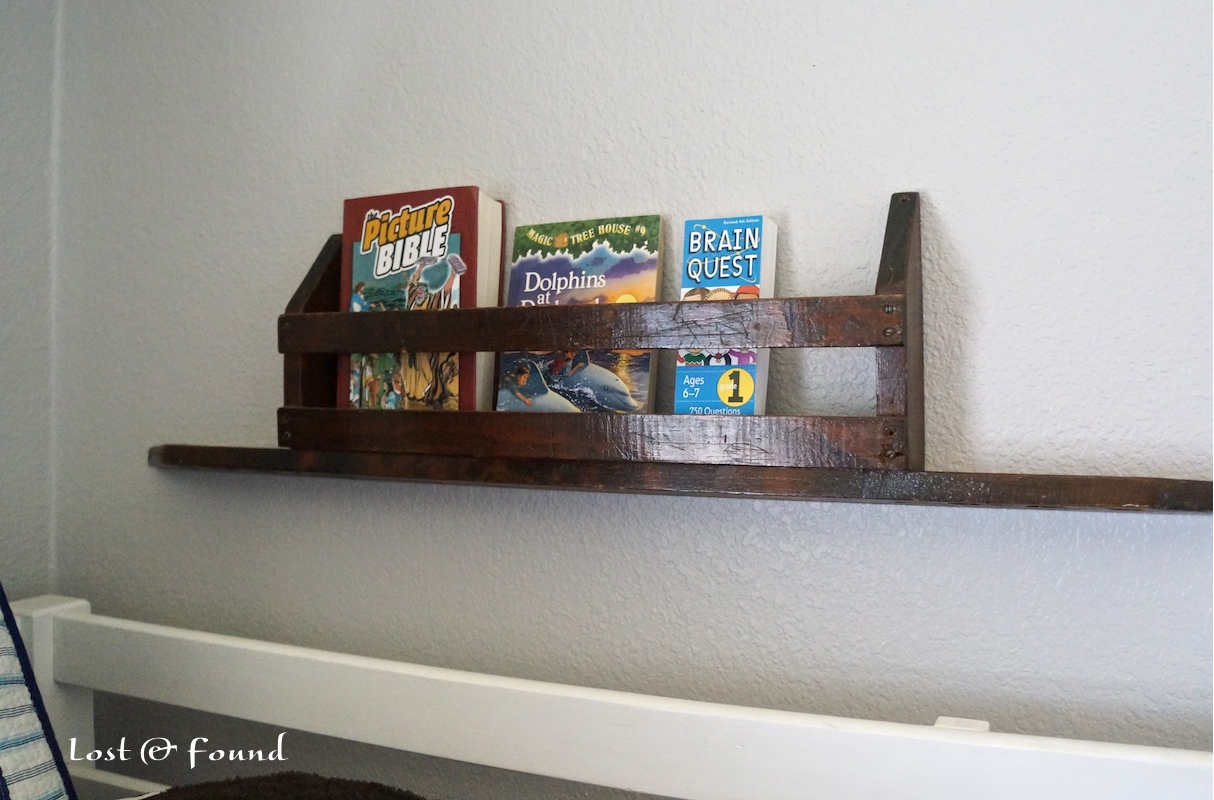
Another fun find is the pew shelf that serves as the top bunk’s bookshelf. I bought two of those a few years ago off Ebay for the baby’s room, but was having trouble finding one for an affordable cost this time around. I finally stumbled upon this one though at an estate sale and paid $1 for it. Amazing!
The curtains were hold-overs from their last room and the small nightstand I bought at a flea market for $30. I have intentions to paint it navy, but it may take me a bit. The vintage letter “a” came from a yard sale and cost $2. I plan on hunting down a few more letter “a” signs to fill up that space.
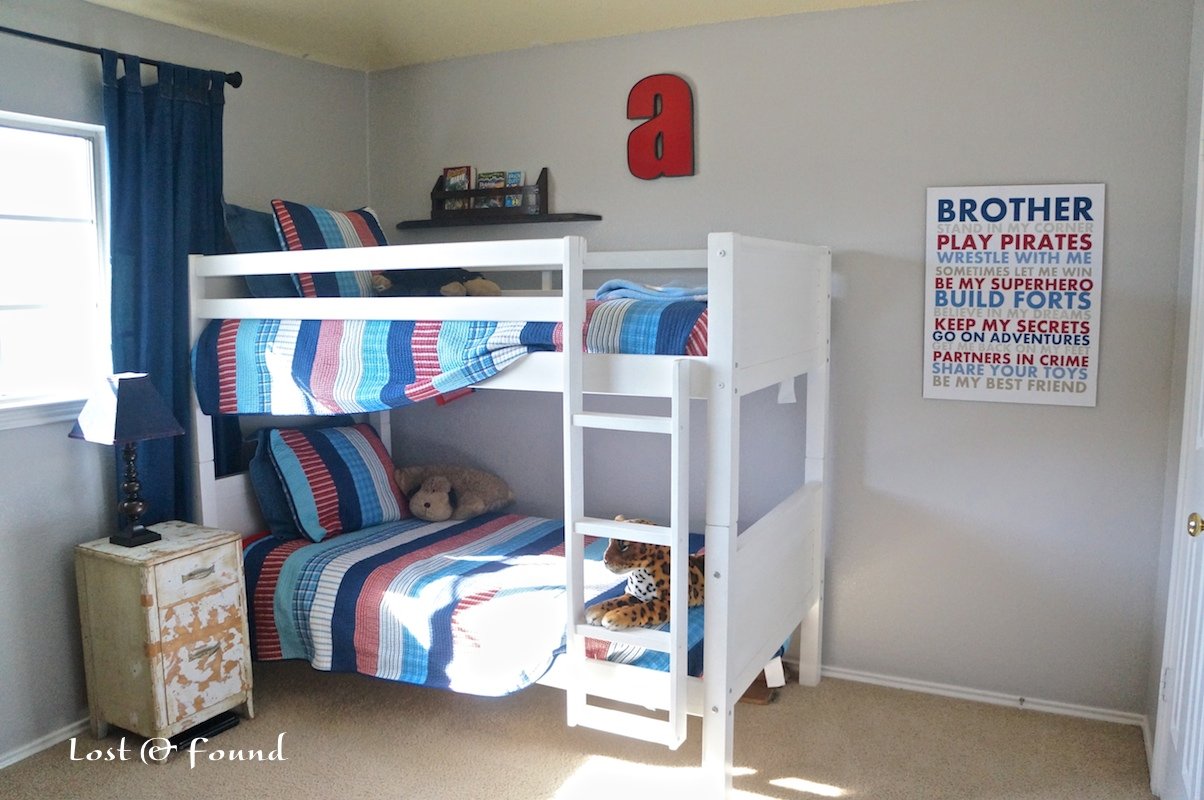
The “Brother” sign is one of my favorite additions. I purchased the digital print off Etsy for $12 then paid $30 to have it printed at a FedEx Kinko’s. My husband mounted it on some particle board we had in the garage. The only other new purchase was the lamp base, which was $12 at Wal-Mart. The denim shade was one I had kept from a previous broken lamp. I knew it would come in handy one day!
This room was achieved through lots of selling and deal-buying.
A quick recap of what I sold to fund the makeover:
– one PB Kids bedding set
– my old dresser
– one twin box spring
– full size mattress and full size bed frame (from baby’s room)
– an antique mirror that didn’t sell in my shop and was being stored in my garage
The money from those sales covered the new chest of drawers, bunk bed, Target bedding sets, nightstand, lamp, “Brother” print, and twin mattress for baby’s room.
The only cost that came out of our regular budget was the paint, which was the high quality Behr Premium Plus from Home Depot. It’s roughly $30 a gallon, and we had to purchase 2. (On a side note, the paint did an incredible job covering those stripes!) So that makes for roughly $60 out of pocket for a completely new bedroom.
So here are some take away thoughts for those of you trying to accomplish a major room makeover on a budget:
1. Sell what you don’t need or want anymore. Look around your home, and whatever is sitting unused let it become a blessing to someone else. Let that be your seed $ for your new project.
2. Don’t be afraid of “used”. The bunk beds we purchased off CL are not the highest quality, but we don’t see ourselves using them forever. They cost about $600-$800 less than something like them new, so why waste the money? Also, the new twin mattress we purchased for the baby’s room was only $75, compared to over $200 new. It was used as the extra mattress on a trundle bed for a few years, so it truly is like new.
3. Look for quality in hidden places. The Pottery Barn Seuss bedding sets I first bought were great quality, but when all is said and done, they turned out to be more than what we needed. The Target quilts appear just as nice to me and cost 1/3 of the PB ones, and they fit our needs even better.
4. Be patient. Like I wrote above, the new furnishings and decorative items were accumulated over a few months time. Re-doing a room on a budget means you will have to take time to look around at all options, and wait for a good deal to show up. Piece it together as you find it, then once most of it is accumulated, take a few days to paint and put it all together.
I hope this has been helpful. My boys love their new room! And I enjoyed sharing it with you all.


Shelley @ Calypso in the Country
Friday 28th of February 2014
Great boys room! I have two boys and have Lego creations all over the place! Yours look nice and organized! Love your blog...following by email now. -Shelley
Melanie
Friday 28th of February 2014
Hi Shelley! Thanks for being a new follower and for stopping by. Yes, every mom of little boys is always trying to figure out how to deal with Legos! They aren't quite as organized as now as they were in those pictures, but giving them a "display area" has helped. Have a great weekend!
dadriscoll
Saturday 25th of January 2014
The room looks so big and bright now! Thanks for sharing at Silver Pennies Sundays! x
melaniealexander
Sunday 26th of January 2014
Thanks Danielle. The boys seems to like it :)