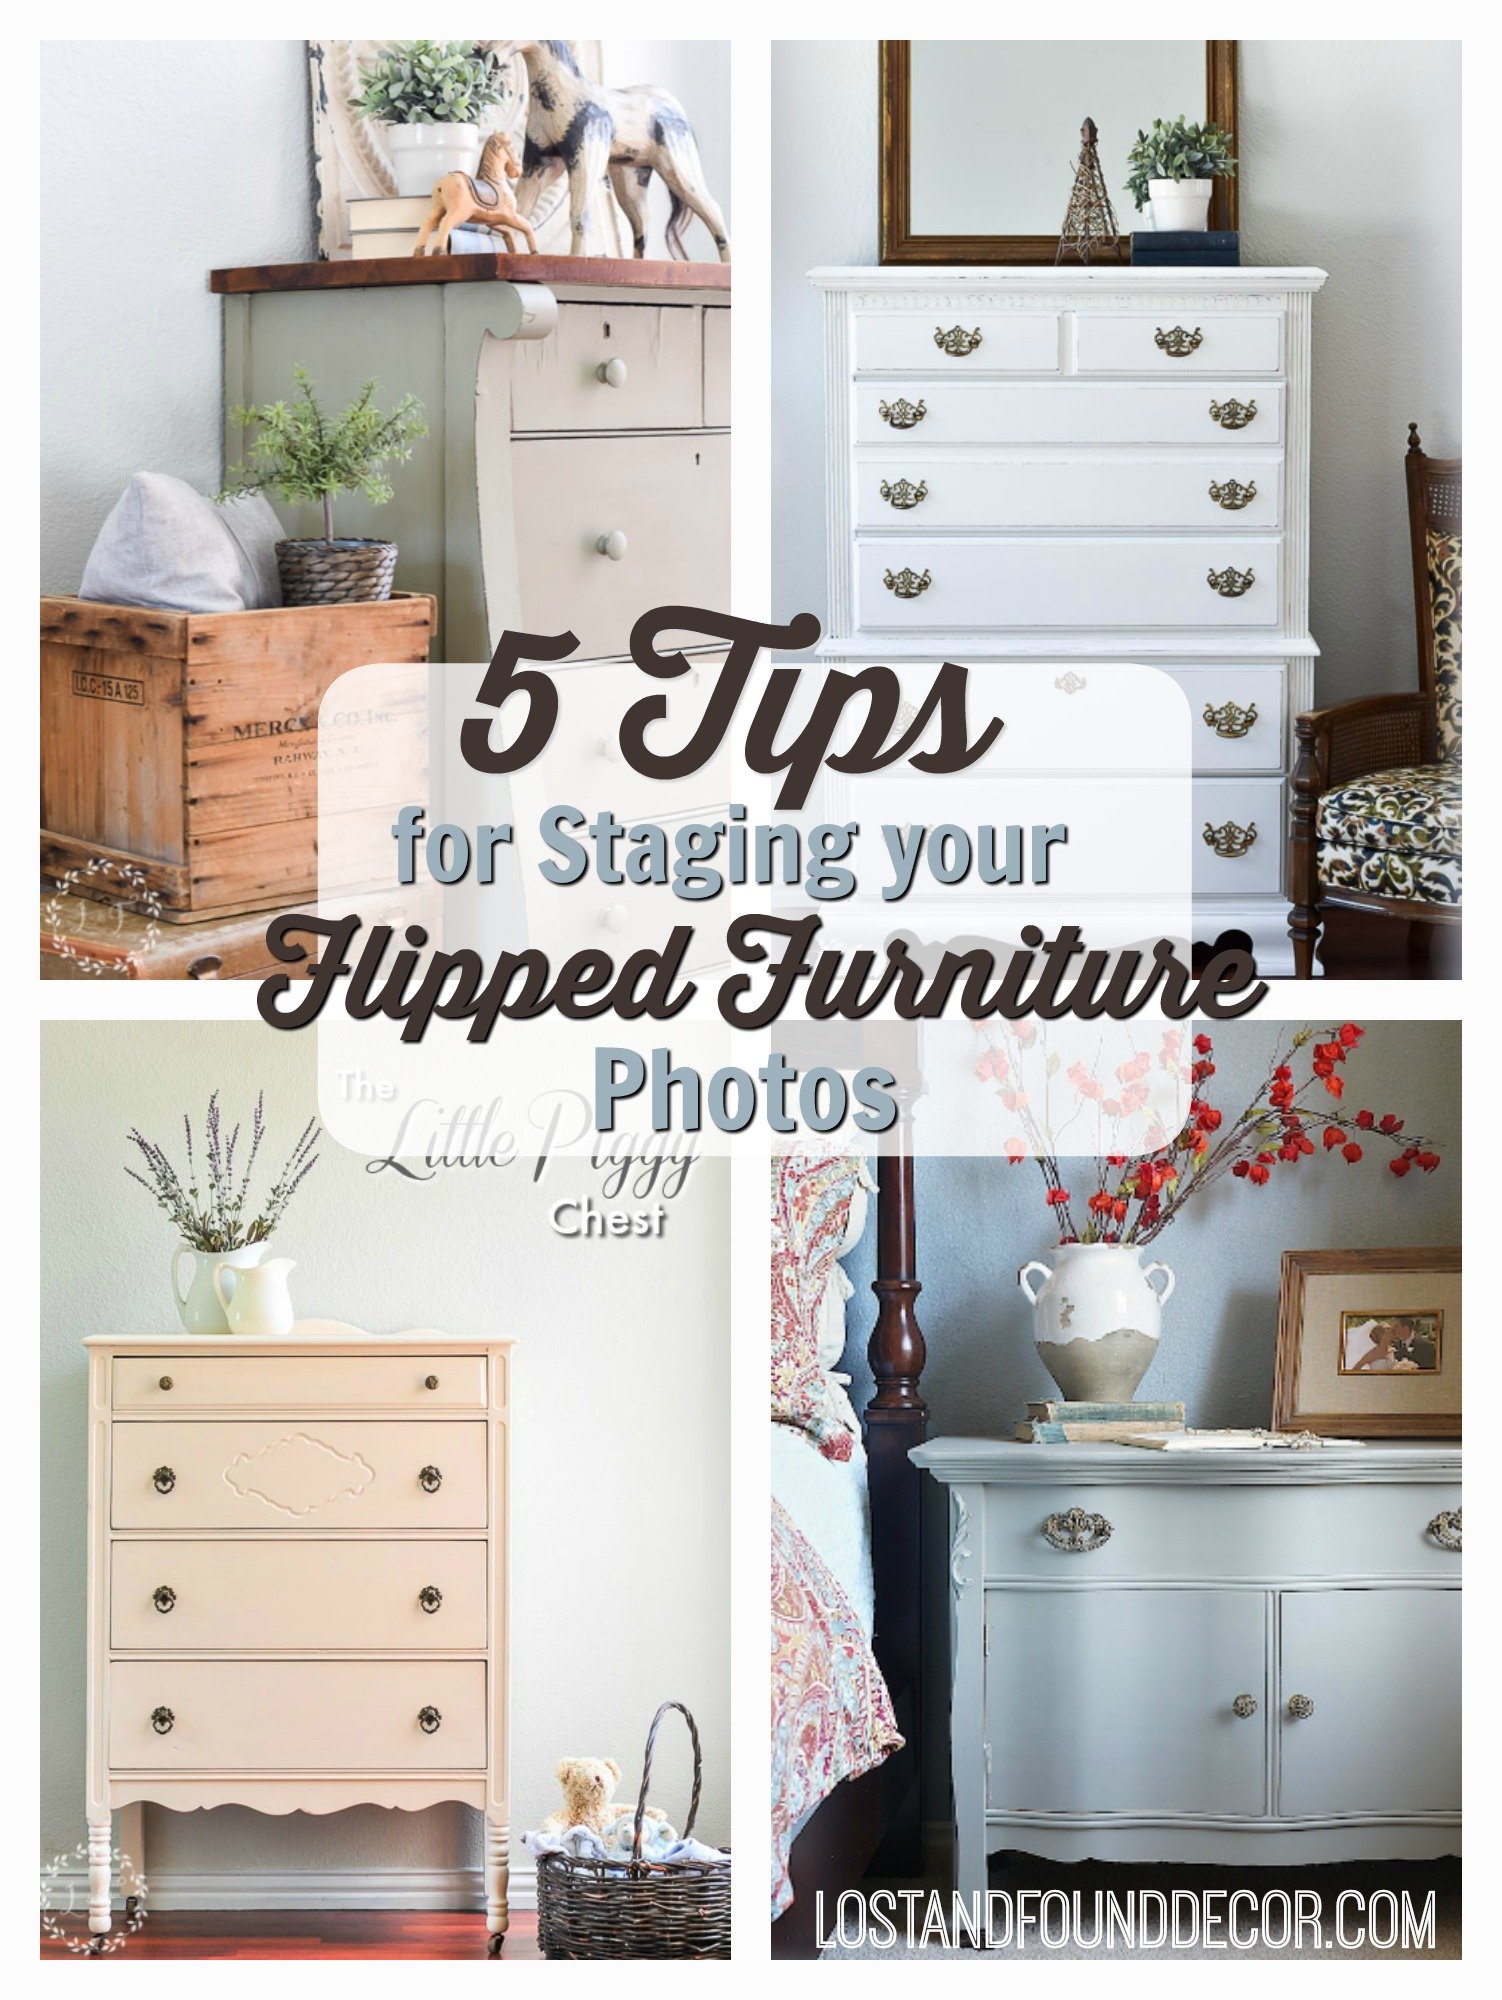
Today I want to talk a little business with you all, specifically about how to set up and stage attractive, well-thought-out, professional looking photos of your furniture makeovers.
Some of you may cringe as I mention photography, thinking “I’m just a painter! It’s not my thing!” Or are sure that since you don’t have a blog or website and just post pictures of your pieces on social media, taking good photos may not be important for you.
So let me respond with 2 things:
1- Good photography isn’t as hard as you think!
2- Good photography is a great investment in your business, however you sell!
I know all of the technical lingo of photography–the F-stop, aperture, shutter speed, etc–can sound really scary. I promise you though, it’s easier to understand than you may think. The hardest part is deciding to give it a try!
And I’m also a firm believer in the power of a great photo.
To grow and expand your business, you have to begin to think of yourself as a Brand . . . Every word you type, every image you share, every logo you print all fit into creating the experience of your personal business brand. And you want customers to walk away from an experience with your brand thinking that it was professional, good quality, and high-end.
It’s hard to quantify the power of branding for your business, but I promise it makes a difference! Especially if you’re thinking long-term about growing your business.
One of the best ways you can start establishing the professionality and quality of your brand is by showing beautiful photos of your work!
Think about it . . . Does it make sense to work long and hard on a making a worn-out piece of furniture beautiful again, only to present it to your customers through a poorly lit, unstaged iPhone photo? That would be like Picasso taking one of his paintings and sticking it in a plastic dollar store frame!
So, now that I have you convinced that this matters, let’s talk about how to do it 🙂
Getting better at my furniture photo staging has been a goal of mine for the past few months. It can be so easy to bypass this stage of the process, but I’ve learned with a little creativity and thought, you can create a beautifully staged photo without a lot of extra money or time. I have 5 tips to share with you today on how you can start growing in this skill as well.

Before we start though I want to clarify that in this post, I’m not going to go into the basics of photography. I have written on that topic in 2 other posts, that you can visit here and here.
And if you’re looking for more in-depth (but still easy to understand) education on basic digital photography, I would highly recommend Aniko Levai’s ebook, The Ultimate Photography Book for Bloggers (affiliate link). I share about this resource in the 2nd post listed above if you want to know more. It’s a fantastic resource though for anyone taking interior photos and it’s helped me take my photography to the next level, for a minimum investment.
Now let’s get started with the tips:
1. Find or Create a Good Background
In your photos, you want your furniture piece to be the star! One of the best ways to make this happen is by placing your piece in front of an uncluttered, neutral backdrop.

100% of my furniture photography takes place in my living room. I have a regular wall that I use, and when it’s time to take a photo my regular furniture and decor gets pushed out of the way. Yes–it takes a little extra energy and kind of makes a mess in my living room, but it costs me no extra money.
When considering a location for your backdrop, look for an area that has good, natural lighting and minimal color behind it.
Now for a long time, my living room walls were yellow and not this neutral gray, but I was typically able to make it work. So don’t think you need to go repainting your walls to make it possible to photograph your furniture if you have colored walls! It may mean though that you wind up finding a secondary location or putting up a false background if the color of your piece clashes too much with a non-neutral wall color.

If you don’t have a free wall space, another option that may cost a little upfront is to create your own neutral backdrop. Home Depot and Lowes both carry large sheets of wooden wall or faux-brick paneling, which can be painted any color you like and set up against a wall in your home. Attach a painted strip of baseboard to the bottom of your paneling and you now have a new “wall” to place behind your pieces!
If inside is not an option, you can create a great background outside as well. They key here is to place your furniture piece in a location where any background features (plants, trees, walkways, buildings) are far away. You want the outside elements to fade into the background so the focus can be on the furniture piece itself.
Linda at Q is for Quandie is the master at beautiful outdoor photos. She was kind enough to let me share one of her outdoor phoos for this post, and you can see many more on her blog.
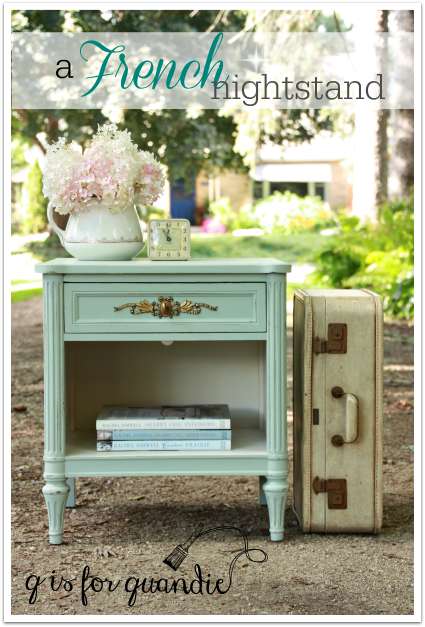
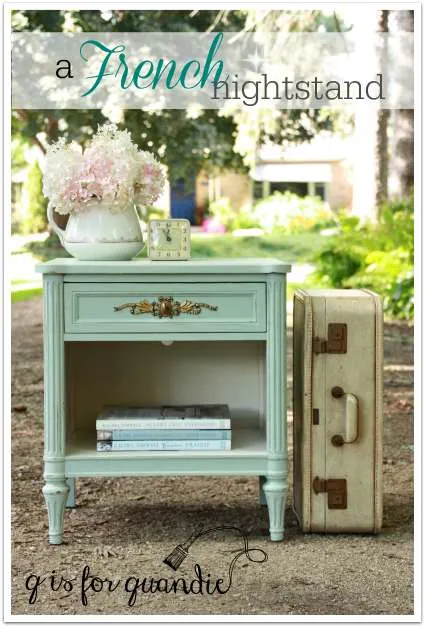
So wherever you stage your piece inside or outside, think about how you can create a clean, uncomplicated backgroud where the focus stays on the furniture.
2. Use Props to Set the Mood, not Display Reality
Several years ago I took a course to be certified in Home Staging–you know the folks that come in and redecorate houses before they go on the market to sell?
One of the biggest things you were taught as a home stager was to make the home look lived in, but not personal. You want people to walk into a home with a clear idea of what each room is meant for and also to help them imagine their own lives in that space. Home staging is about creating the illusion of a perfect space which entices the buyer to want that home more.
To create that illusion, you pull out any family photos or anything that’s too personally styled. You also take out anything that speaks to the utility of daily life–trash cans in the bathroom, dish rags in the kitchen sink, alarm clocks on the bedroom nightstands, for just a few examples.
It’s about making the space look magical–like living life there would always be perfect, clean, and cozy.
You can create that same type of feeling in your furniture photos!
Let’s look at this gorgeous Fusion Mineral Paint photo, for example:
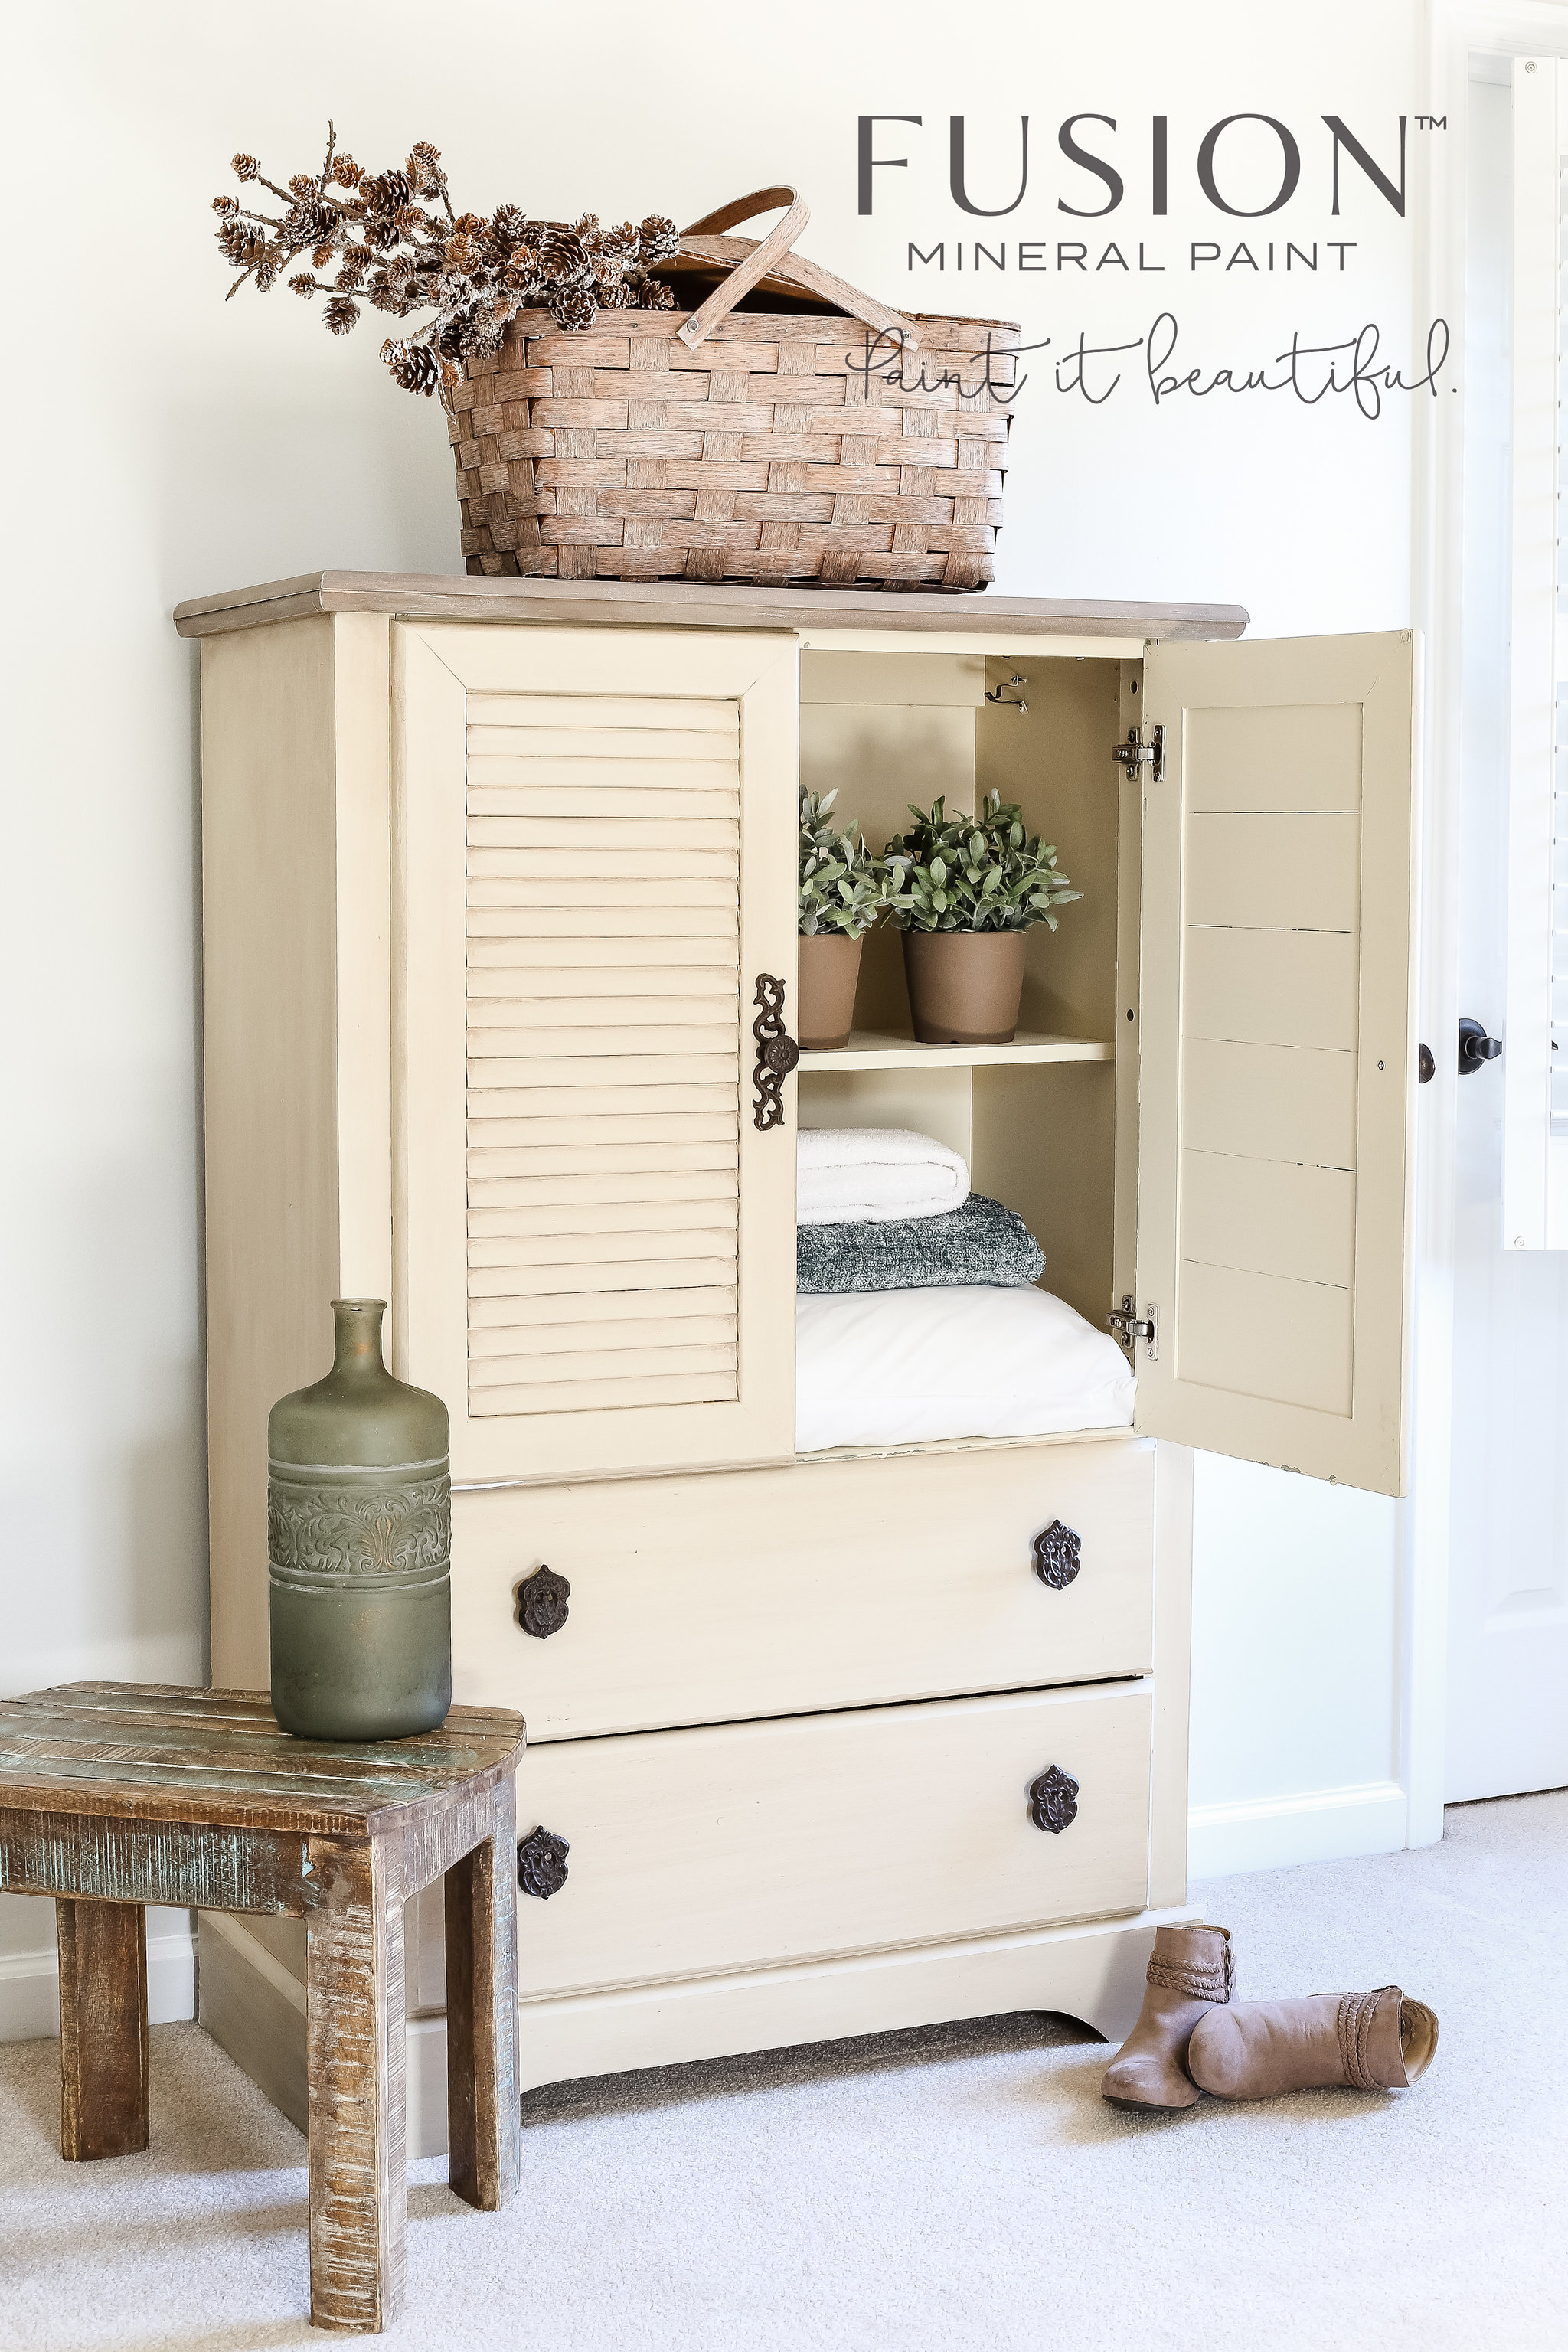
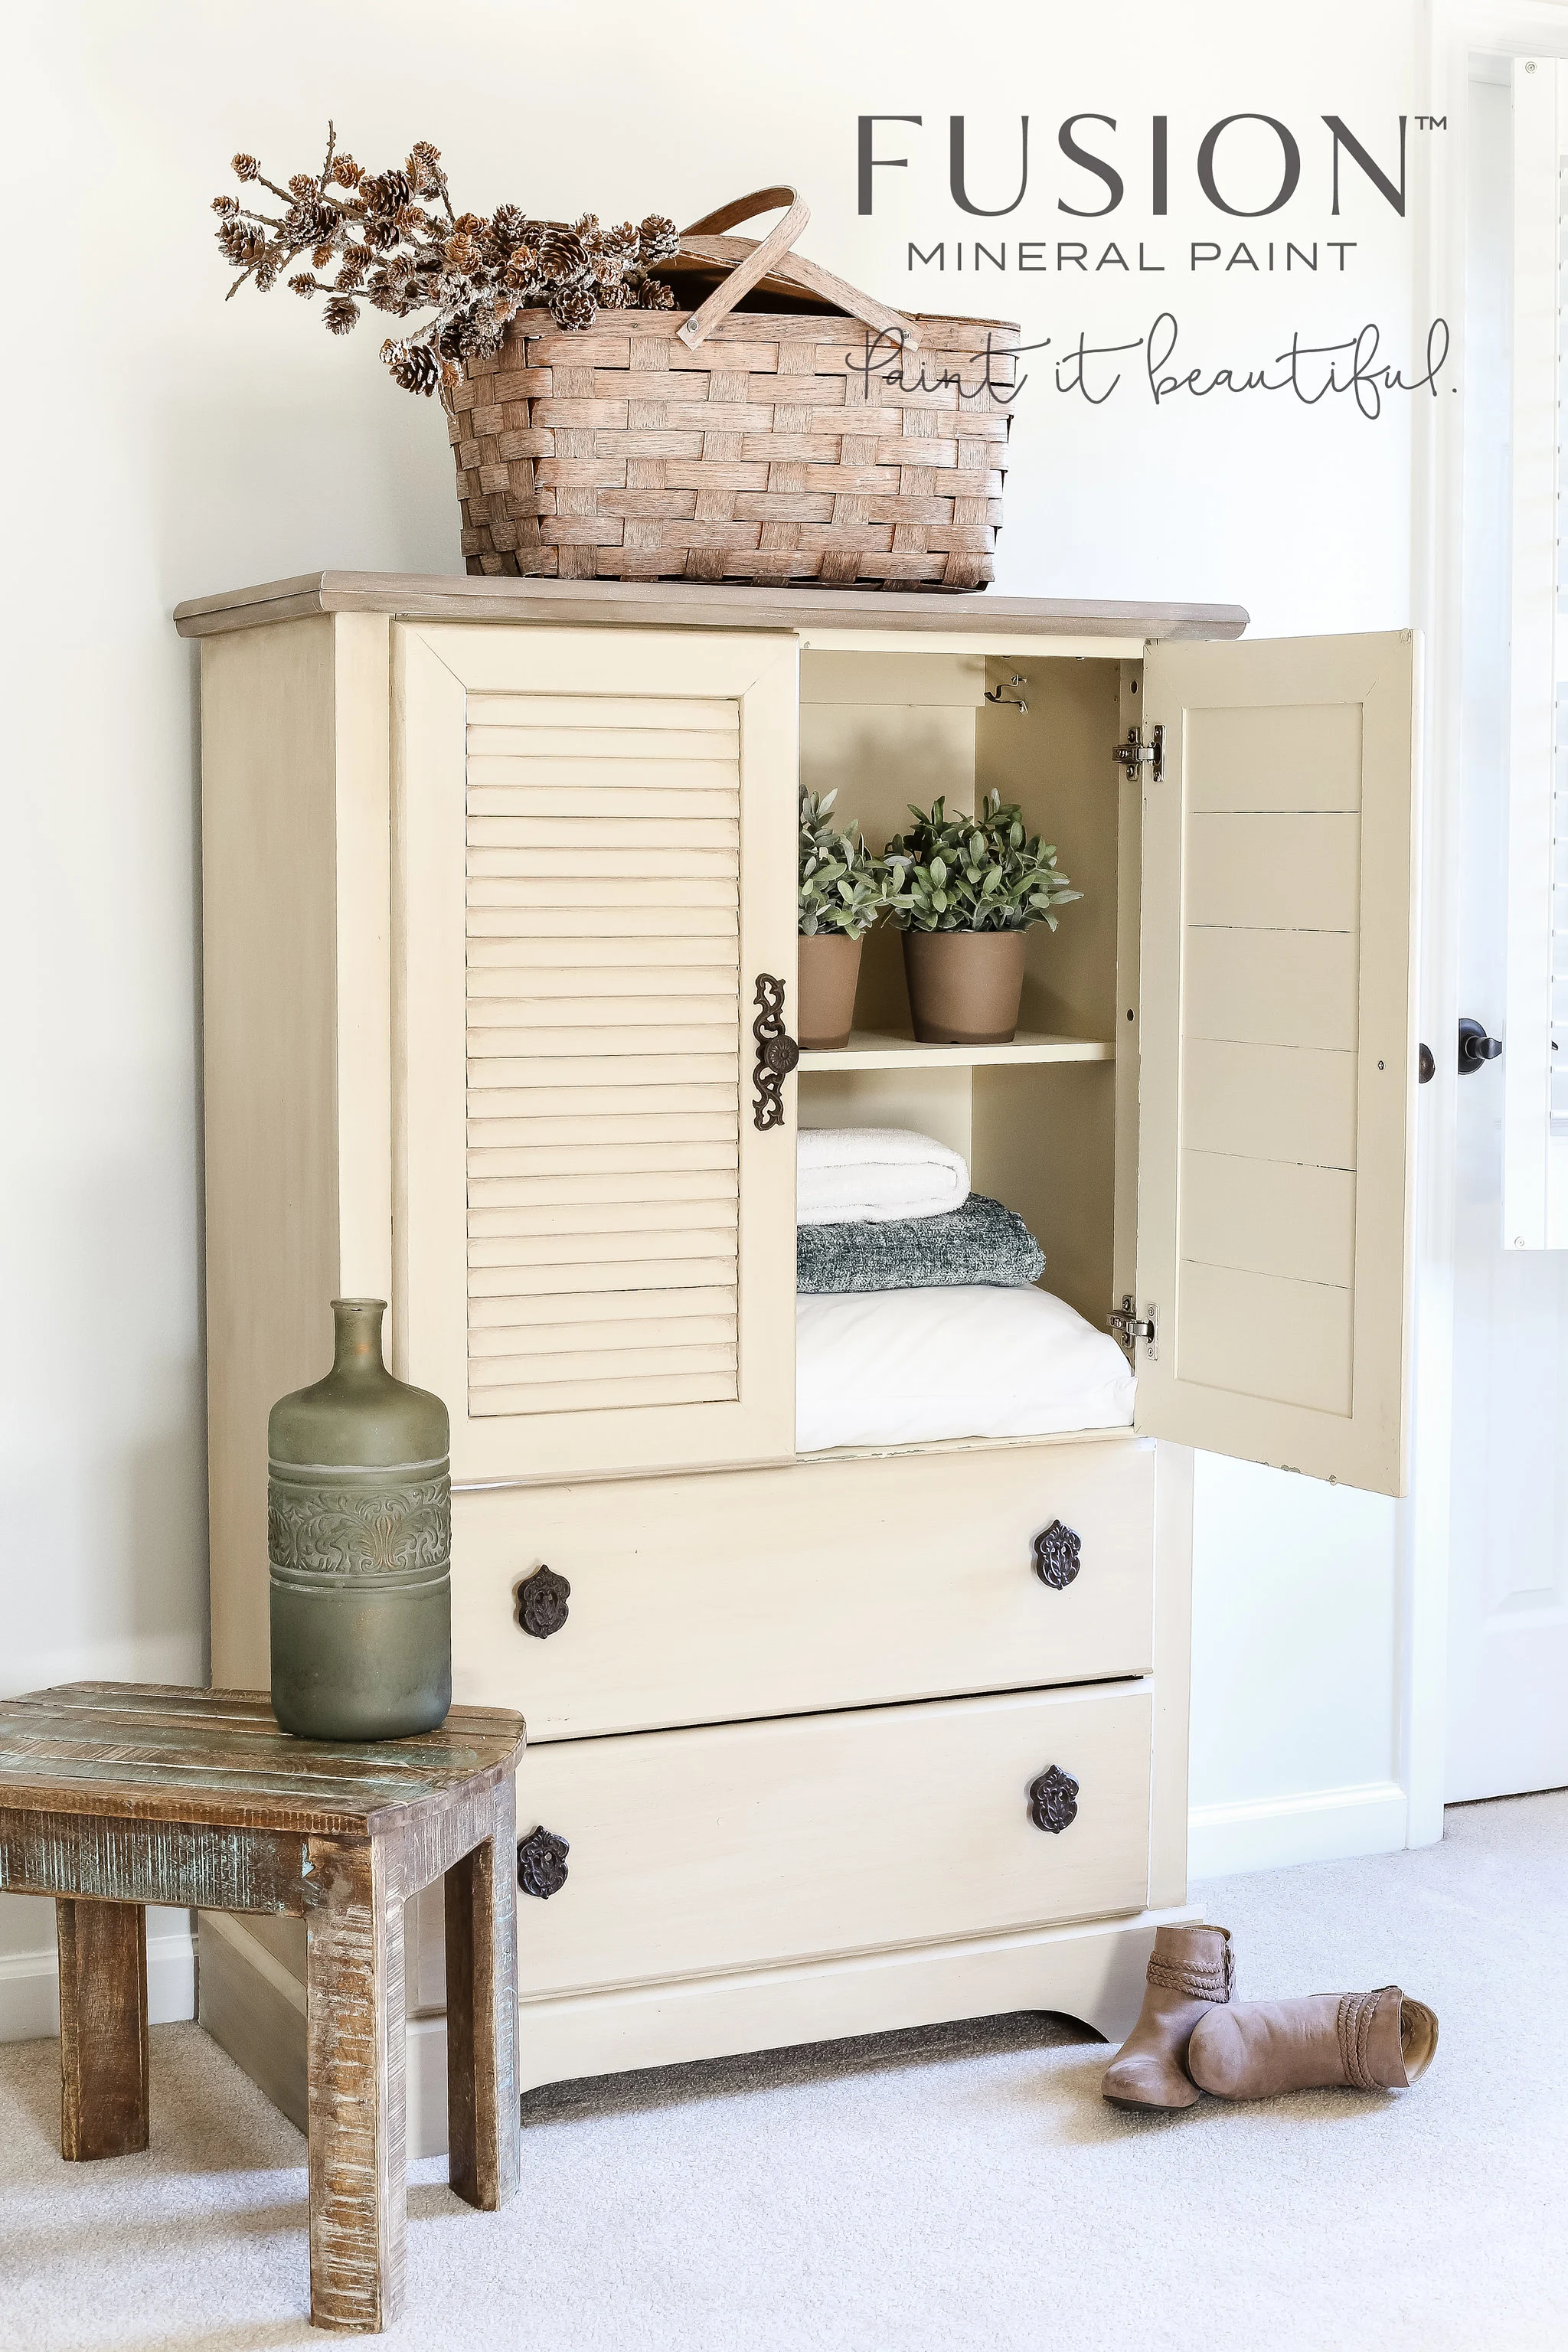
Now in real life, that little side table would not be set so closely to the armoire because you wouldn’t be able to open the drawer! And would you typically store cute little plants inside the shelves? Probably not! But the point isn’t to show how this piece is necessarily used in every day life, but to show how beautiful it can be in a dream world 🙂
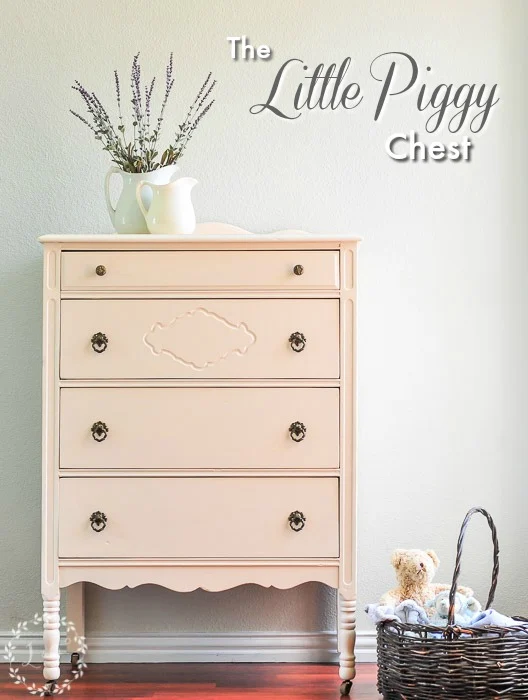
Here’s a photo of my own, not quite as good as the above but it’s still helpful to illustrate this point:

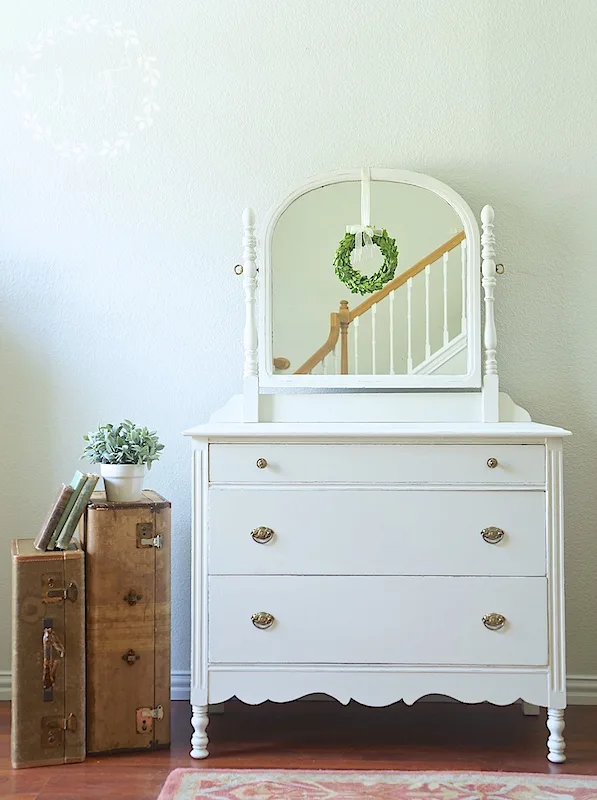
This dresser was for a little girl’s room, and I bet in real life she doesn’t have a wreath hanging from the mirror because that would cause issues with the the actual function of the mirror! And typically you don’t stand suitcases up on their sides as decor next to dressers either. But I needed something to fill the space and contrast the white, so up they went.
So when you’re adding props to your pieces, don’t think about what would realistically get used on a dresser or table and think that has to be the item you use. You are selling a dream of what this furniture could look like in a perfect world where nothing has to actually function, so have fun creating a beautiful scene!
3. Set a Theme using Color or Subject
To make your photos feel cohesive, use props that fit together in some way. You can repeat a certain color or find a collection of objects that tells a similar story.

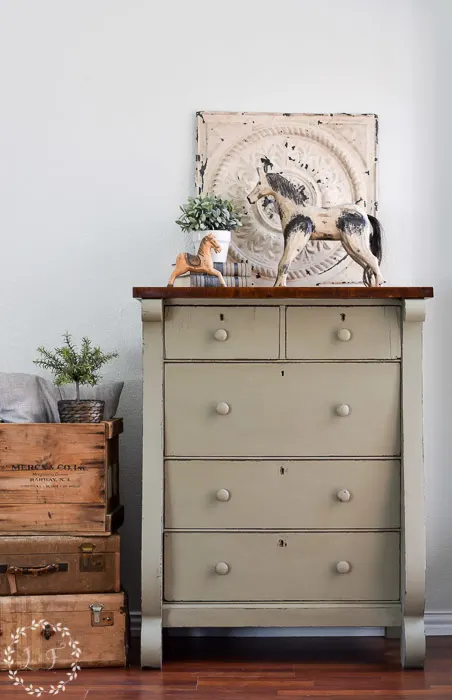
With my Lichen Antique Chest, there’s an obvious horse theme and also a repetition of tan and brown accents with the suitcases, books, crate, and ceiling tin. The props all tie in with one another and everything looks like it belongs together.
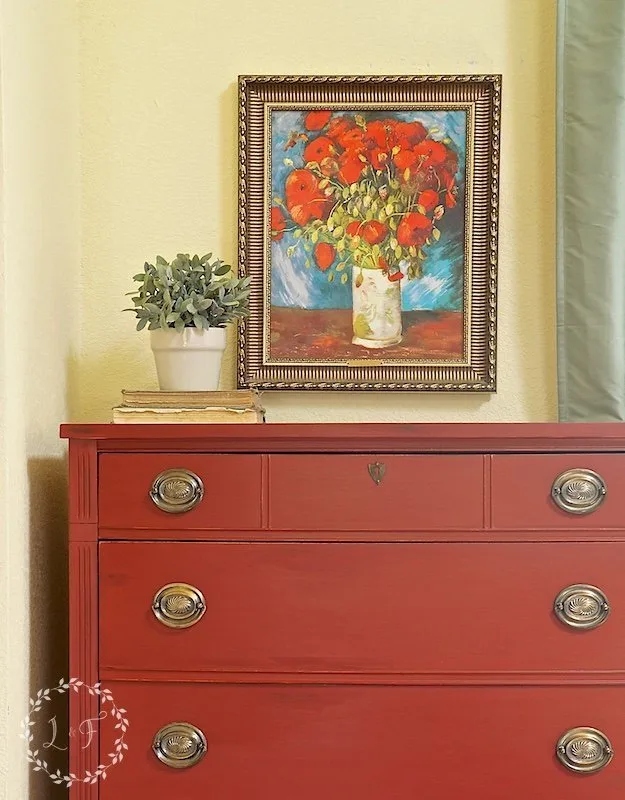
I do something similar with my Cranberry side table, repeating books and the color black.

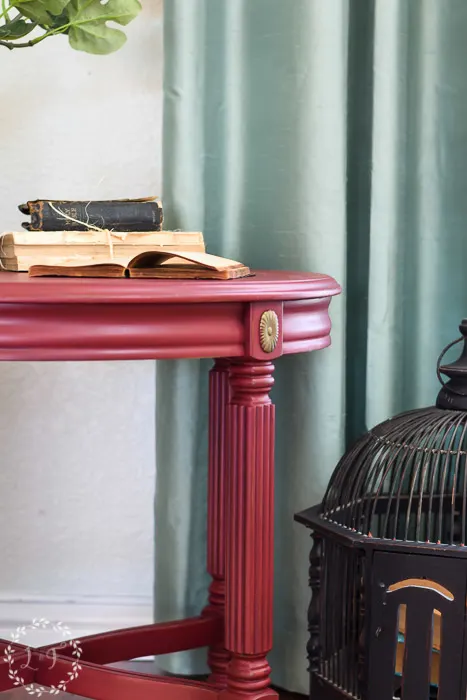
Repeating props–stacks of books, pieces of dishware, etc–and repeating color in your props will help keep your staging from looking cluttered.
4. Keep in Mind the Style and Era of the Furniture
If you paint different styles of furniture pieces, then you will likely need different styles of props as well. Antique pieces match well with vintage props and likewise modern pieces look best with more clean, modern decor.
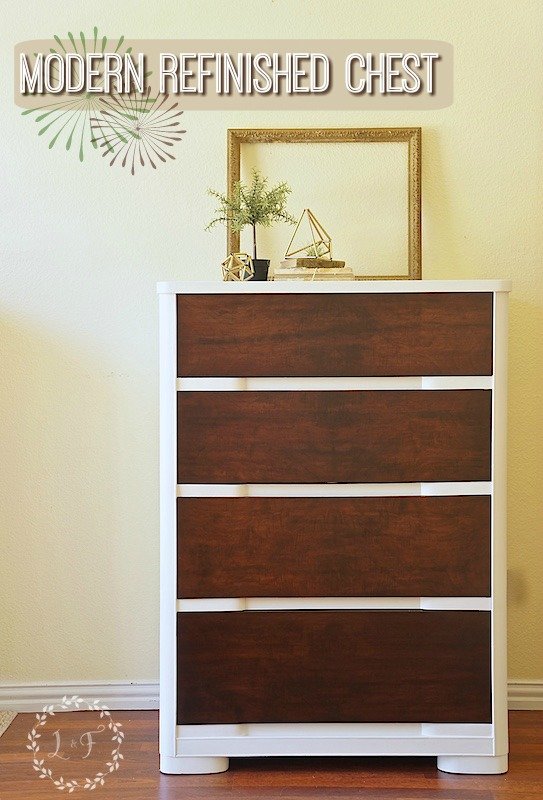

I don’t paint a lot of modern-styled pieces, so when I made over this chest I struggled a bit with finding the right props. I still used one of my go-to old frames and books, but added in the gold geometric shapes. They match more with the style of this piece and made more sense than using more vintage decor to fill in the empty space.
Want to know more about painting and styling mid-century modern pieces well? This post here shares a lot more!
With this next piece I used the same gold frame, but a vintage botanical print because this is a softer, more feminine, vintage-styled piece.
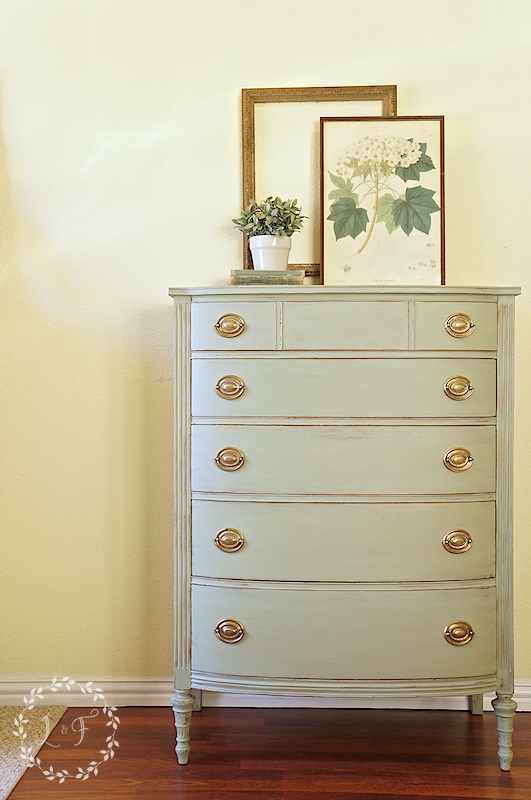

So match the style of your props with the style of your pieces to get a look that makes style sense.
5. Sometimes More is Less
Staging well is much more an art than it is a science. Sometimes a piece looks great with a lot of props added in around it, but sometimes it needs to stand alone.
In general, I think the more complicated the design of your piece, the less complicated your staging needs to be.


For my Liberty Blue Chest of Drawers, I chose to only add 1 prop to the photo, since the design on the piece is pretty complicated. I was afraid more props would only make the photo feel cramped and heavy.
But with my Linen Chest, the simplicity of the piece meant I could add more staging into the photos.
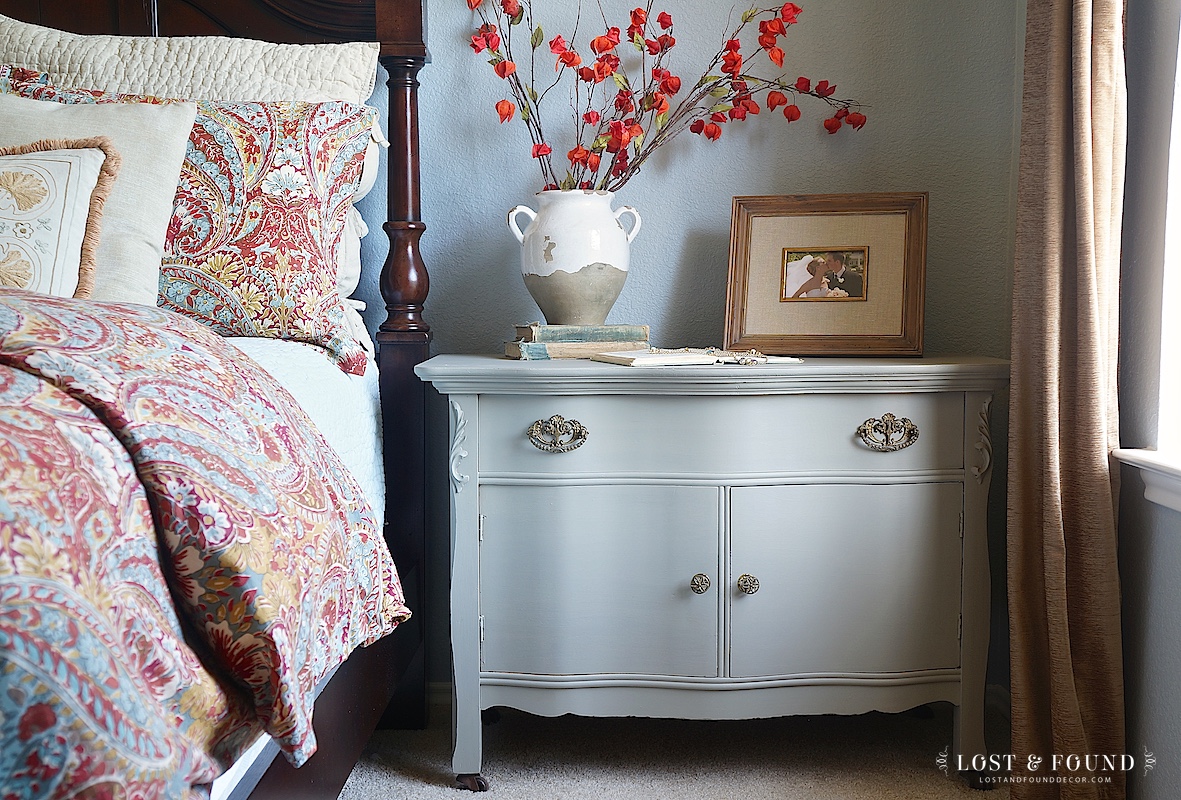

If you look closely enough, you can see that I broke my own rule by having one of my wedding photos as a prop . . . Oh well, live and learn!
In closing, I hope you see how valuable good staging can be!
And how with a little practice, you can create beautiful photos that show off your amazing work and help establish your business brand as upscale and stylish.
I don’t claim to be an expert on this subject, but I keep trying to learn and get better with each project I have. There are a few other bloggers who I regularly look to for inspiration with my photo staging: I’ve already shared Linda at Q is for Quandie, but would also encourage you to visit Mary at Orphans with Makeup and the ultimate stylist, Marian at Miss Mustard Seed. I am certain you will find their photos inspiring!


Kim
Friday 17th of March 2017
Hi Melanie! Great post and very informative! I love your staged photo even with the wedding photo in it. Looks great to me! That is the one thing that has always bothered me about staging homes, removing personal items, photos, etc. When we sold our home years ago, the realtor told us to take down all our photos and personal things to us, so the potential buyers could see themselves in the home. That never made sense to me! Ha! I had several gallery walls and there was no way I was going to take down all those frames and stuff. My thing was, if they couldn't see themselves in this home with our stuff in it, then it wasn't the home for them. Needless to say, I didn't take her advice and kept up my gallery walls and personal photos and such, (it was hard enough keeping the house clean and kept up with 7 kiddos running underfoot all the time) and eventually the house sold with no problems. In fact, the people who bought it liked the idea of the gallery wall of photos and planned to make one when they were settled in the house. But, I do see the reasoning behind that idea with staging, it does look pretty and inviting. I guess I look at things with a realistic view more times than not, but I do like the tips posted here and will for sure keep it all in mind.
Your photos are always so nice to look at and I am always drawn to the furniture piece so you stage well in what will draw the viewer in. It's very obvious what the main focus is in your photos. I think all the "extras" just add that nice touch and overall feel to it, balancing it all out. Thanks for the links to Mary and Quandie, have really enjoyed looking at their sites as well and always fun finding new blogs to read! :)
Mary
Tuesday 7th of March 2017
Melanie you are too kind. Thanks for the shout-out.
Mary
Tuesday 7th of March 2017
Melanie you are too kind. Thanks for the shout-out.
Quandie
Tuesday 7th of March 2017
Great tips Melanie! I'm so flattered that you included me in your post! Thank you :-)