Today we start off a new series!
Each month this year I will be highlighting one Fusion Mineral Paint color, both online and in my Antique Company Mall booth space.
I thought it would be a fun way to showcase some of the lesser-known colors and offer some seasonally-inspired color inspiration.
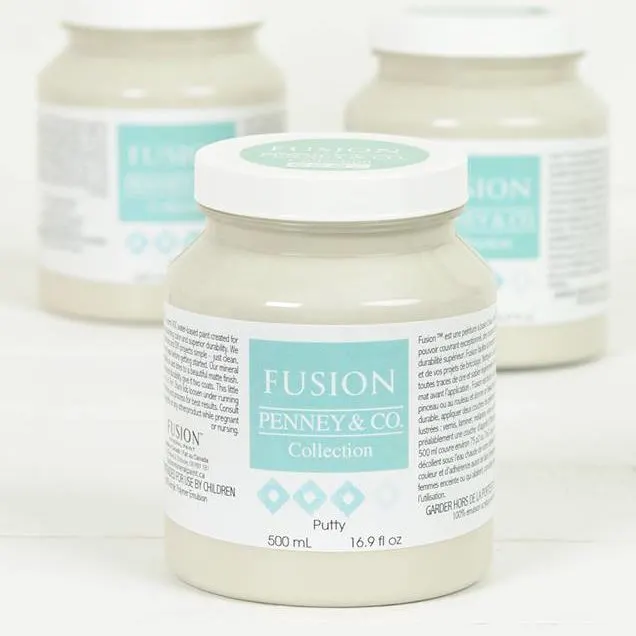
January’s Color is Putty!

You may remember seeing this color very recently . . .


Just last month I used it to paint the base of this old pine coffee table. I loved the color so much I decided to go ahead and make it my first Color of the Month. And it seemed fitting–picking a neutral, like
And it seemed fitting–picking a neutral, like Putty, to start off the blank-slate of a new year.
What I love about this color is that it is the perfect middle ground between white, gray, and beige. If you are afraid of going all the way into any of those 3 colors, Putty is the mix you’ve been waiting for!
I really think it’s perfect for that neutral, farmhouse pallet everyone is doing these days too. It’s warm enough to create a soft feel, but still bright and light.
How To Do A Farmhouse Style Desk Makeover
I recently finished another piece in Putty, so I want to share those before and after photos with you also today.
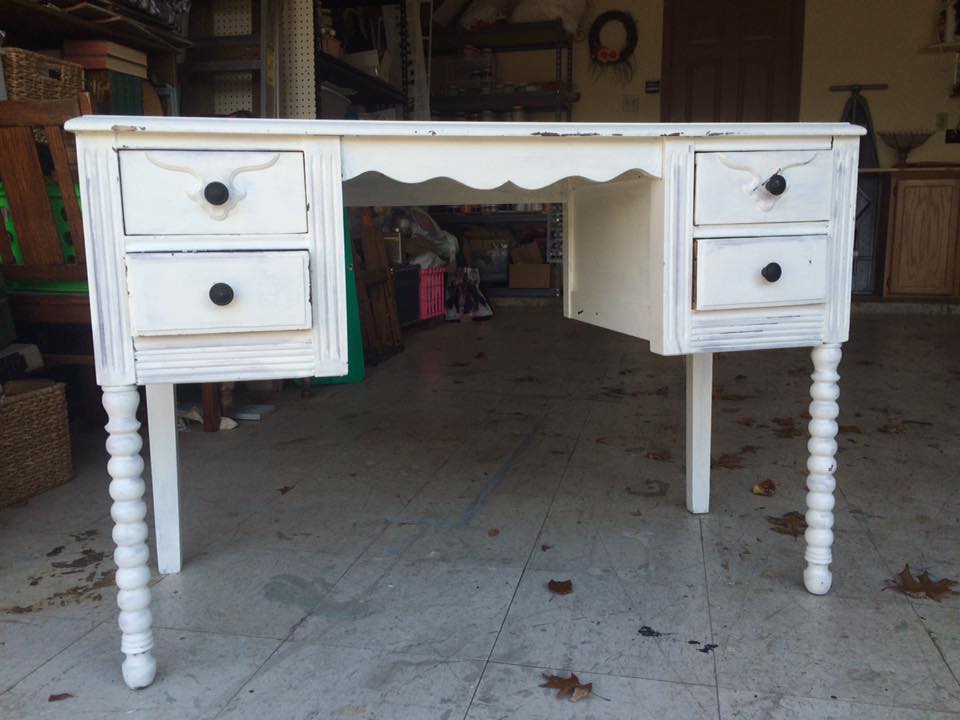
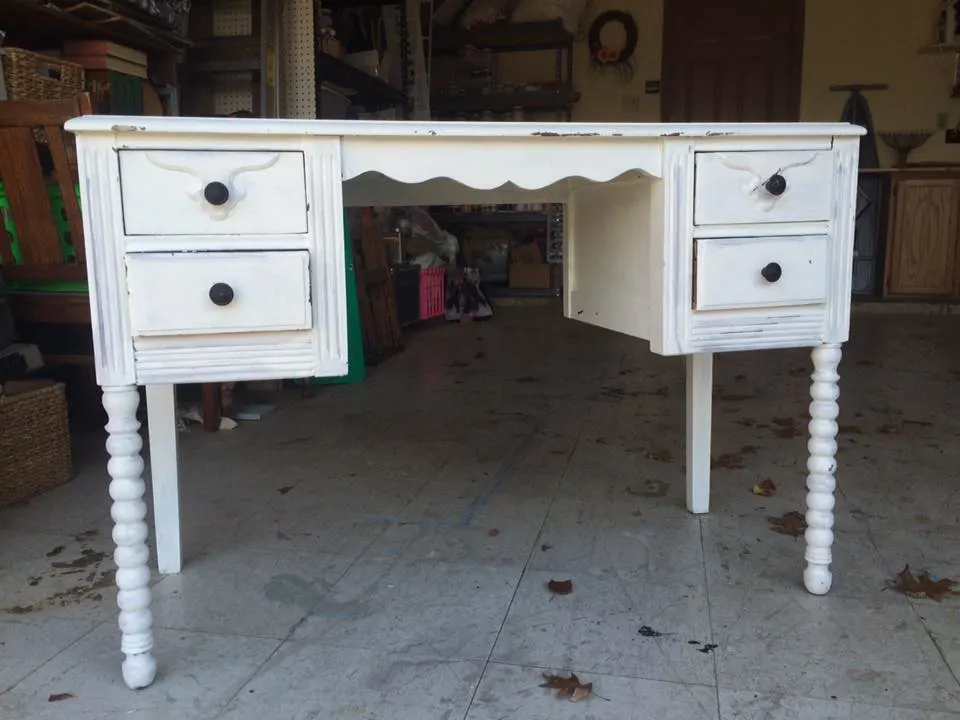
This little desk was being sold by another dealer in my mall. Sometime long ago, someone had given it a very bad spray paint job, so it was in need of some TLC.
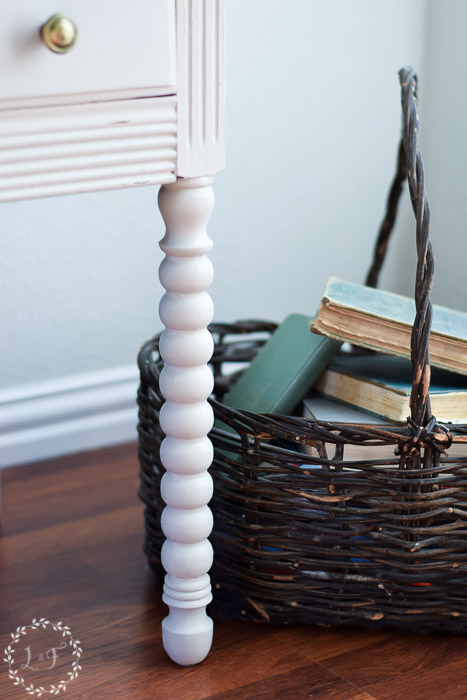
Structurally, though, this solid-wood piece was in great shape–and just look at those turned legs in the front!
Because this piece was already painted, I took a few different prep steps than normal, so I will walk you through those now: (affiliate links included)
Prep Steps for This Farmhouse Style Desk Makeover
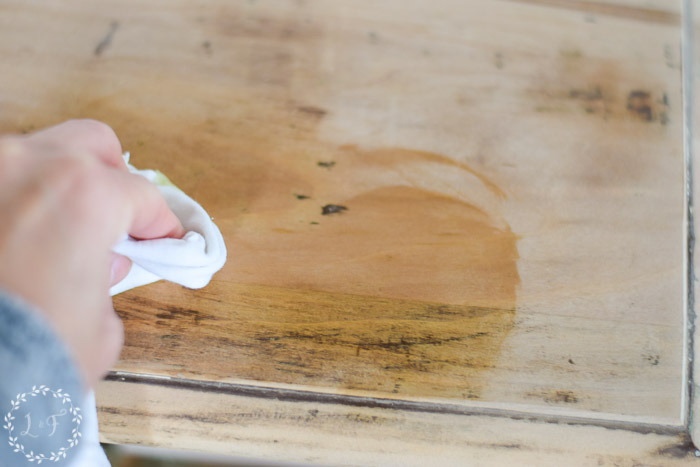
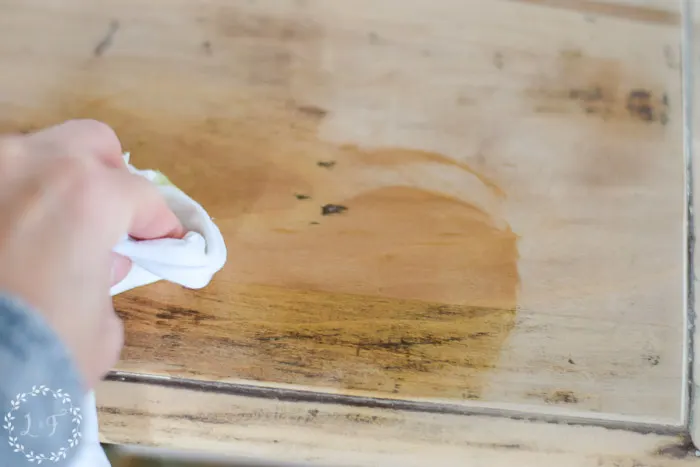
- Using Citristrip, I stripped the paint off the top of the desk. I typically prefer sanding rather than using a stripping agent, but given the thickness of the paint on the top stripping seemed to be the better option.
- Once the majority of the paint was removed, I wiped down the top with a piece of steel wool and some odorless mineral spirits.
- I let the top fully dry out, then sanded off the stain still left on the wood using my orbital sander and a 220 grit sanding pad.
- For the base of the desk, I first wiped it down with my favorite degreaser.
- Much of the paint on the base was flaking off, so I sanded smooth any areas of chipping paint with 180 sandpaper and gave the rest of the piece a light, quick sanding as well. When working with an old painted finish, it’s always a good idea to open up the surface a bit before you paint with a light sanding.
With the prep finished, the desk was ready for its new look.
Starting with the top:


This was some really old wood, so there were lots of dings and dents in the top that retained the old stained finish.
Even with my power sander, I wasn’t having much luck getting the top 100% smooth and unfinished again, so I decided to go with it and leave it very rustic.
All I did to finish the top was wipe on a coat of Fusion’s Beeswax Finish, which moisturized the old wood and brought back its luster.
I reaaaaaally love this stuff!! It’s completely natural, food-safe, and one jar will last you forever. You can see how quickly it transformed that old wood!
And then finishing off the desk base.
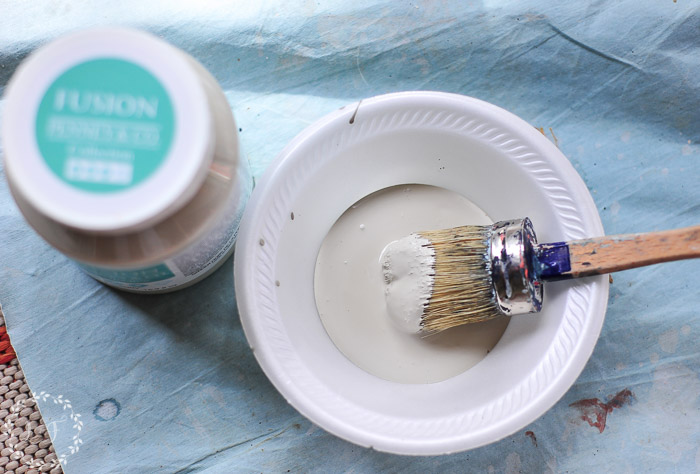

Putty has awesome coverage, so this was about a one-and-a-half coat paint job.
Honestly, had I not been painting in the dark and missed a few spots, one coat probably would have worked great.
And I think you probably know by now that Fusion is acrylic-based so it needs no wax or other topcoat to seal it . . . so after the second touch-up coat of paint, I was finished.


I did give it a little light distressing on some of the corners and edges, to show off a little of the white and wood underneath.
But nothing drastic–just enough to make the base not feel too perfect compared with the rustic top.


Speaking of the desk top, I love the raw wood and how well it works with the Putty base!


And those curved legs are still to die for.
They really don’t make furniture like this anymore!

I have two more Putty pieces to share, painted by some fellow talented bloggers.
My hope is that you can get a real feel for the color by seeing it in different lighting and settings.

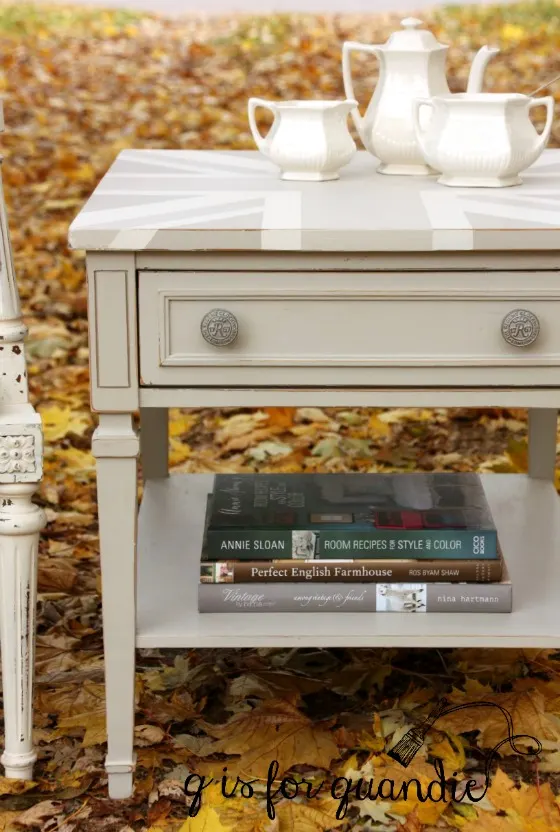
Union Jack Table by Q is for Quandie
See her full post here.
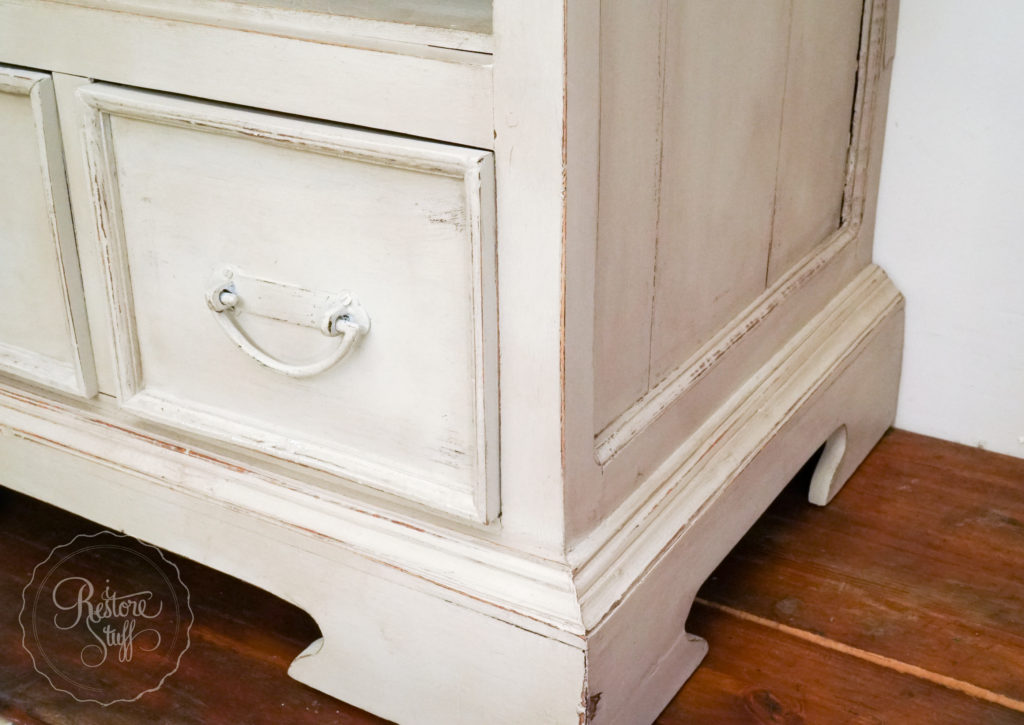

Side Table with Putty and Espresso Wax by I Restore Stuff
See this post here.
So why not give Putty a try?
Instead of your go-to white, gray, or beige, try out Putty instead.
I think you will be surprised with how beautiful a neutral color can be.
Happy Painting!


Quandie
Tuesday 10th of January 2017
Thanks for the shout out Melanie! And your desk makeover is fantastic. I love that rustic look on the top and it works so well with the Putty.