Christmas-time is typically not a big selling season for Lost & Found, especially where my antique booth is concerned.
For whatever reason, I have never really been able to harness the power of the holiday shopper. I’ve come to accept that this is usually a slow season for my business–I don’t want to beat myself up about it 🙂
For whatever reason, I have never really been able to harness the power of the holiday shopper. I’ve come to accept that this is usually a slow season for my business–I don’t want to beat myself up about it 🙂
With all that said, though . . . part of me can’t resist jumping on an opportunity to try something new that may bring my business a little jolt! So a few weeks ago when I came across the Christmas-theme stencils from the
So a few weeks ago when I came across the Christmas-theme stencils from the Funky Junk Old Sign Stencil line, I decided to order a bunch and open up a little stenciled-sign factory in my kitchen.
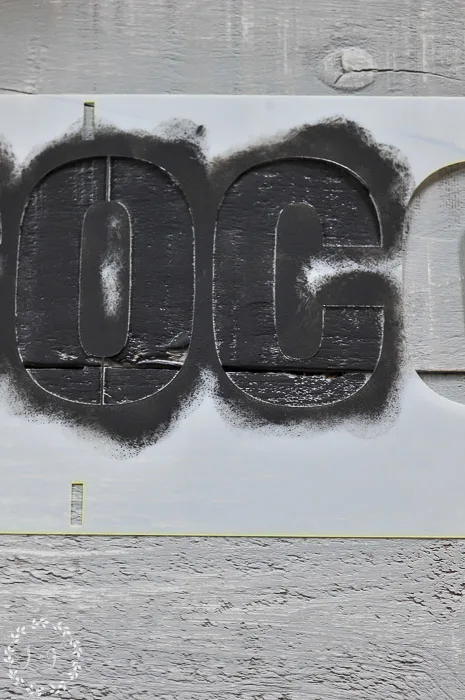
You may remember a few months ago that I made a Grocery sign for my kitchen using one of the stencils from this line, using some wood I salvaged from an old house tear-down. I have never had the skill of free-hand lettering (you know those girls in high school that doodled their name super-cute all over their notebooks? That was never me), so I loooove these stencils!
And, I still happen to have quite the pile of wood sitting in my garage from the old house, so why not make a bunch of Christmas signs??
The process for making a great old sign is really pretty straight-forward, but I do have a few tips to share that may help you in your own sign-making.
1. Use Texture and Sanding to Add Age to New Wood
Most of the old wood I had on hand was covered in white chippy paint, which would work as the background for some of my signs, but not all.
So using some newer wood I had, I was able to make my own “old” wood in various background colors.


This post contains affiliate links to sites outside of LostandFoundDecor.com. Links are provided for your convenience and comply with all affiliate program and FCC rules and regulations.
The top 2 boards were new pieces of dark stained pine, leftover from one of my husband’s work projects.
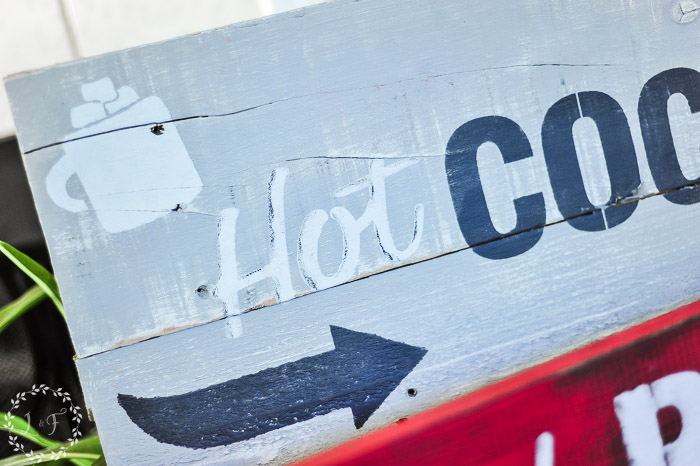
The bottom gray sign was 2 different pieces of scrap wood I had in my garage, connected together using a Kreg jig (the most amazing tool ever, by the way).
Old paint has texture to it–rarely it is nice and smooth. So to make these boards feel a bit more aged I added a bit of Fusion Fresco to each paint color before I painted the board.
Fresco is a texture medium that comes in a powder form; depending upon the amount you mix into your paint, it can help create a coarse, gritty, or clumpy texture in the painted finish. One of my favorite techniques is to mix Fresco into a base color, then paint a contrasting color on top (no Fresco mixed in).
When you distress back the top color, the textured Fresco base color shows through–which is the technique I used on the middle gray board.
One of my favorite techniques is to mix Fresco into a base color, then paint a contrasting color on top (no Fresco mixed in). When you distress back the top color, the textured Fresco base color shows through–which is the technique I used on the middle gray board.

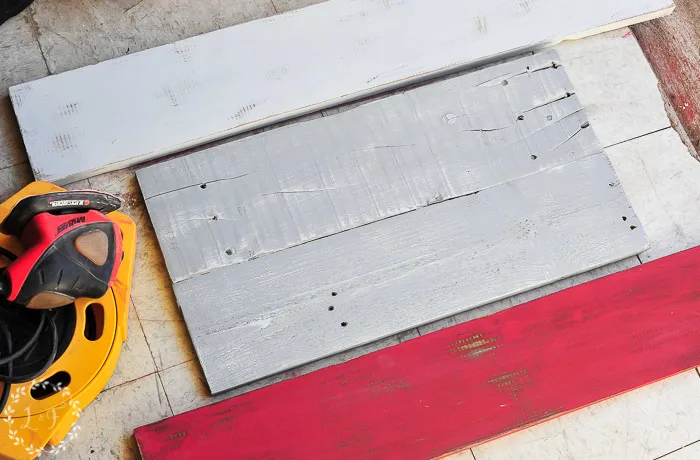
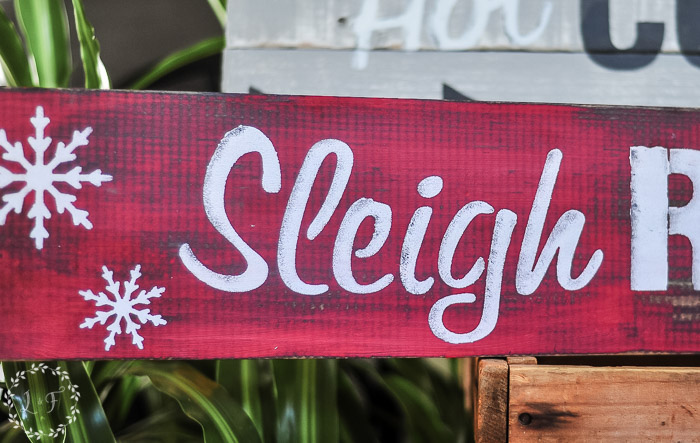
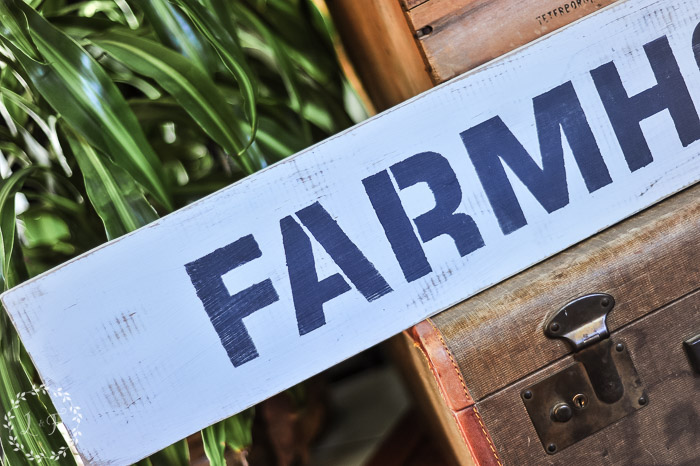
Once the boards were all painted (I used Casement for the white, Ft. York Red for the red, and Little Lamb over Casement for the gray board), I hit each board pretty heavily with a power sander.
It’s hard to get this amount of distressing with using just sandpaper and your hands . . . you really need a powered sander to do the trick.
So now my new boards have a nice, aged look to them!
2. Use Proper Stencil Tools and Be Light-Handed with Paint
Once you’re ready to stencil, you need something besides a regular paint brush to apply your paint through the stencil.
A regular paint brush is going to hold too much paint, and I have found that the bristles will push under the edges of your stencil (especially if the surface of your board has any texture) and you won’t get a crisp line.
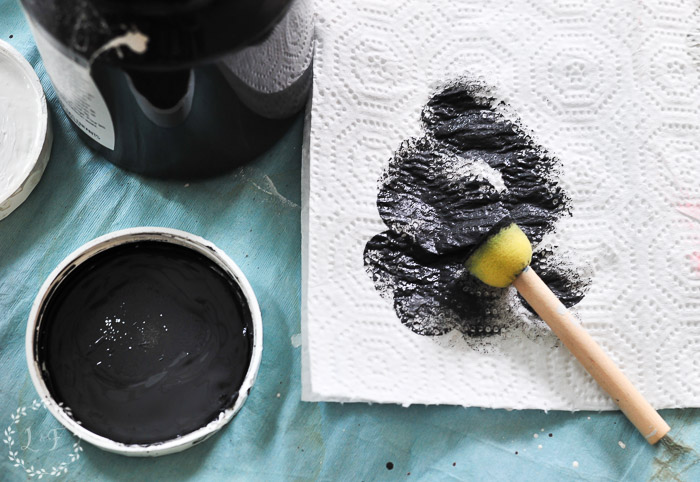
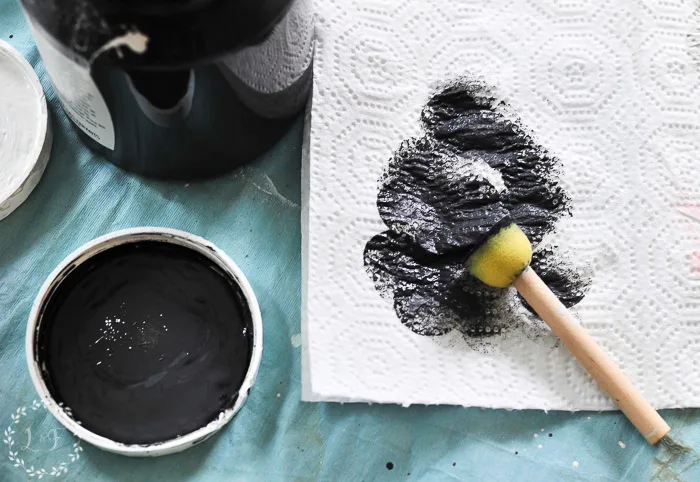
My favorite thing to use when stenciling is a flat, foam stencil brush. No bristles to come off or push under the edge of the stencil . . . there’s just a flat foam surface.
You also want to apply the paint through the stencil very lightly and in layers. The more paint you have on your brush, the more likely it will bleed under the edge of the stencil pattern.
I usually dab my foam brush into a little bit of paint on the lid of my jar, then dab the brush onto a paper towel 3-5 times, so that the amount of paint left on my brush is very light.

If your first pass over the design isn’t dark enough, then just go back and dab on another layer of paint.
It’s better to stencil on 2-3 thin layers instead of one thick layer that bleeds!
3. Use Contrasting Colors and Extra Touches to Embellish your Sign
Especially when you are stenciling wording, it’s important to use a contrasting color for your words so they can be clearly read. For example, if you paint a white background, don’t use a light gray for the wording.
Or if you paint a dark background, avoid other dark or heavily saturated colors for your stencil.
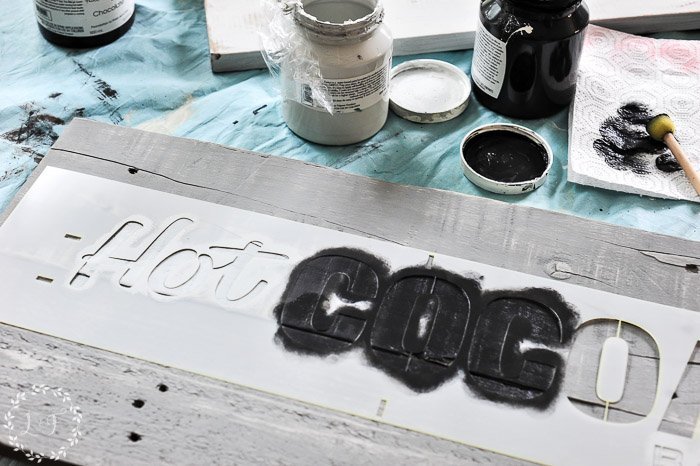

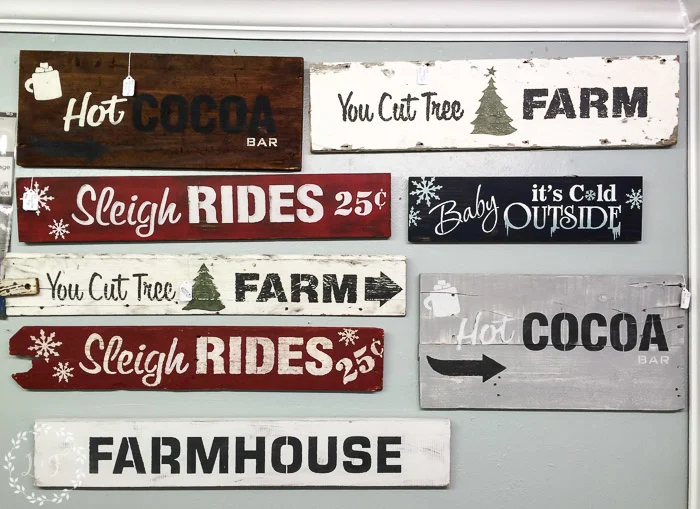
You can also stencil different words different colors, to provide even more interest and contrast to your sign. For this sign, I used both Casement and Ash for the words over the background of Little Lamb.
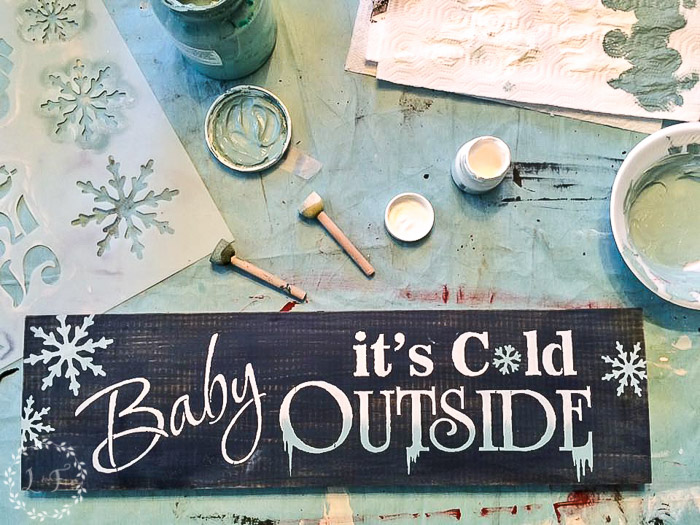
You can also play up your signs by adding some extra elements that fit with the theme.
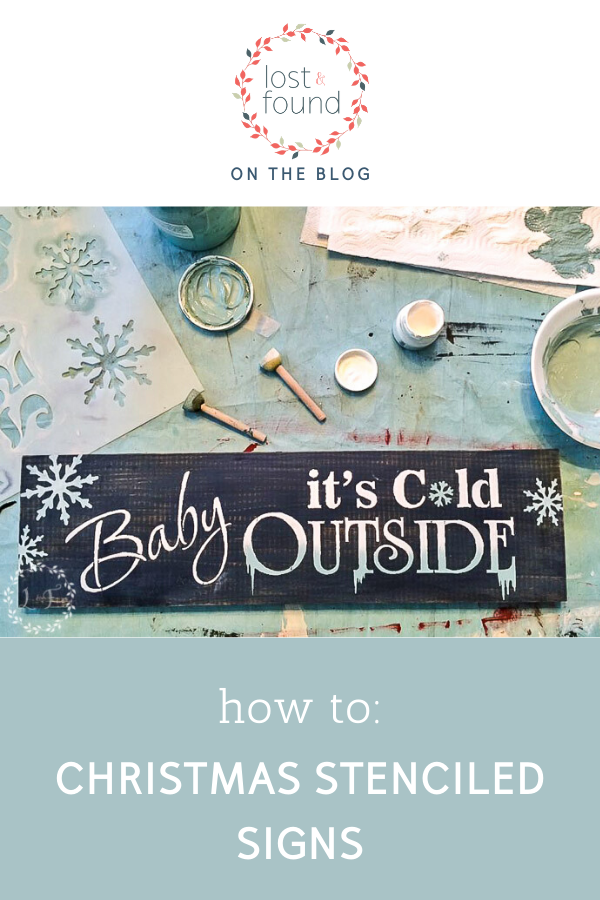
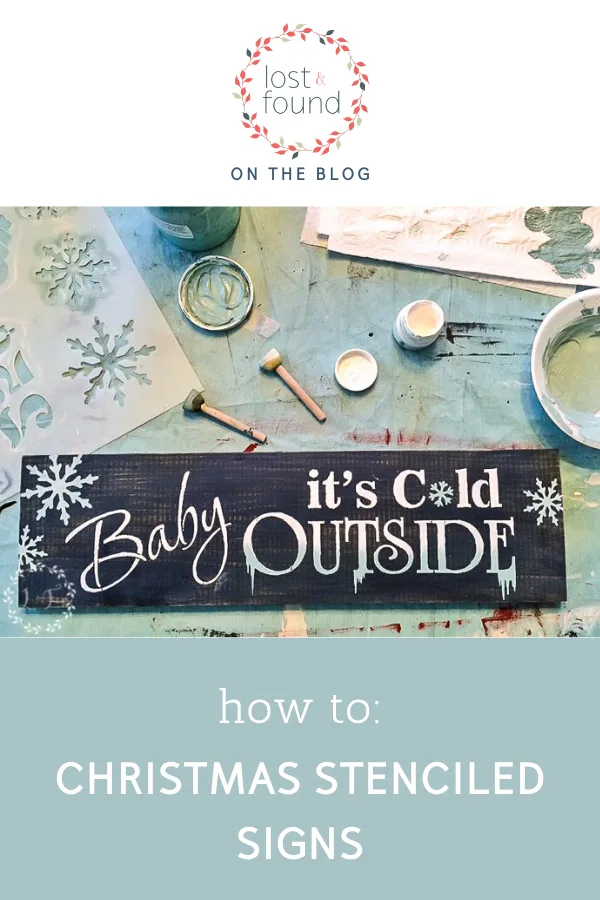
For example, on my “Baby, It’s Cold Outside” sign, some of the words have icicles dripping off of them.
So to enhance that theme, I added a little Sand Stone texture to my white paint and stenciled the base of those words, as well as the snowflakes, with the textured white.
I also added a little bit of blue onto the same spots, and the result is that the snowflakes and those parts of the words have a raised, shimmery effect, which kinda mimics the look of snow and ice.

Bottom line–be creative!
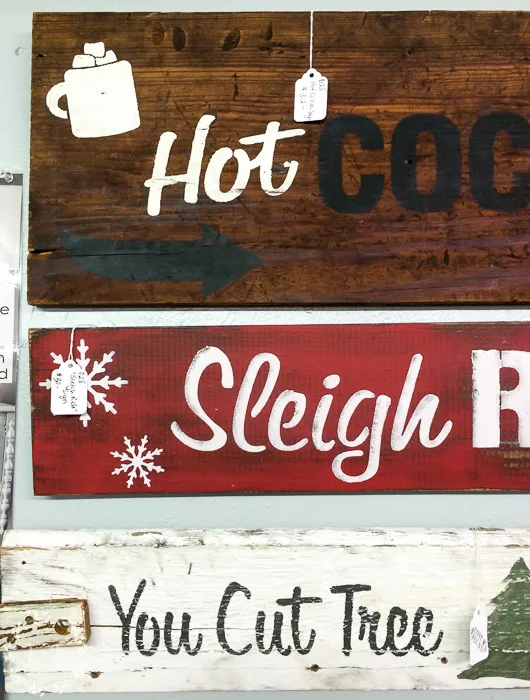
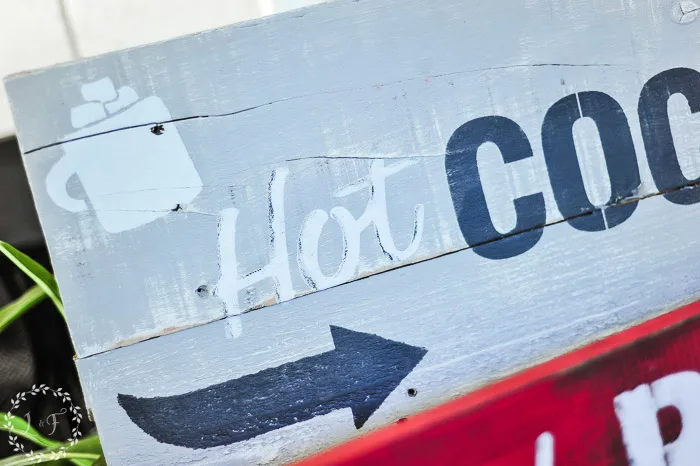
Especially with Christmas-themed signs . . . You can use a shimmery pearl or other metallics, or add some more Fresco to a white paint to make the marshmallows in the “Hot Cocoa Bar” sign really “pop”–just have fun!
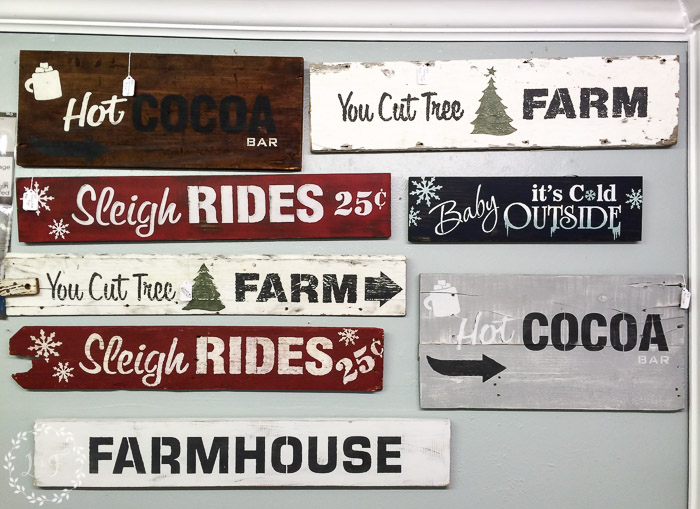
When it was all said and done, I made a total of 9 signs, some with boards I “aged” myself, others with old scrap boards from my stash.


And even better–I had fun doing it!
If you want to try making some of these signs for yourself, you can shop for the stencils at with me in my online shop!
I would love to see what you make with your stencils!


Wendy Jamieson
Friday 2nd of December 2016
Thanks for sharing, Melanie. I enjoy all your posts and the work you put into instructions for us all.
Wendy Jamieson
Friday 2nd of December 2016
Thanks for sharing, Melanie. I enjoy all your posts and the work you put into instructions for us all.
Lori
Thursday 1st of December 2016
Those are adorable! I may need to stop by the booth and pick one up :)
Lori
Thursday 1st of December 2016
Those are adorable! I may need to stop by the booth and pick one up :)
Susie
Wednesday 30th of November 2016
Love every single sign! I bet they do great for you!!
Melanie
Thursday 1st of December 2016
Thanks so much Susie :)